Maxbrand
Members-
Posts
25 -
Joined
-
Last visited
Maxbrand's Achievements

Member (2/5)
57
Reputation
-
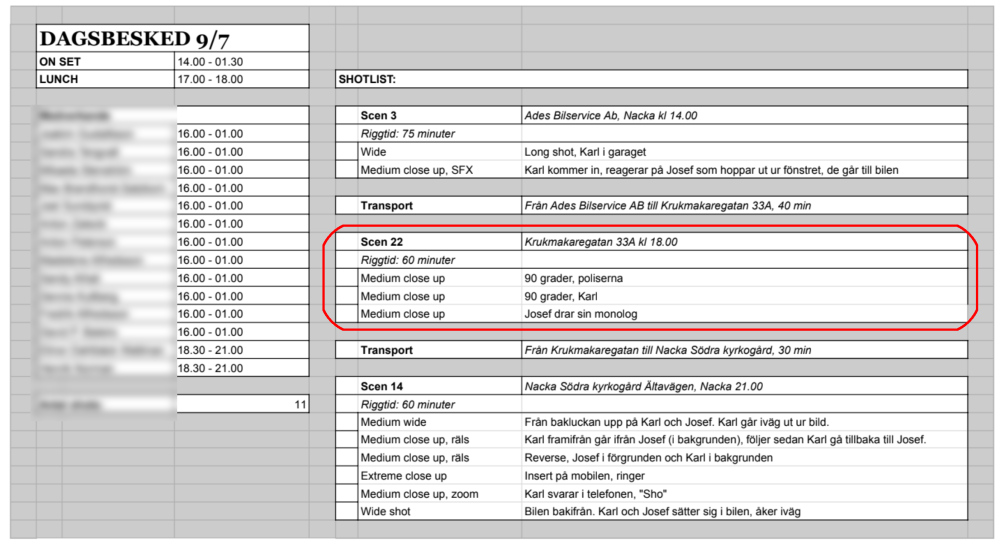
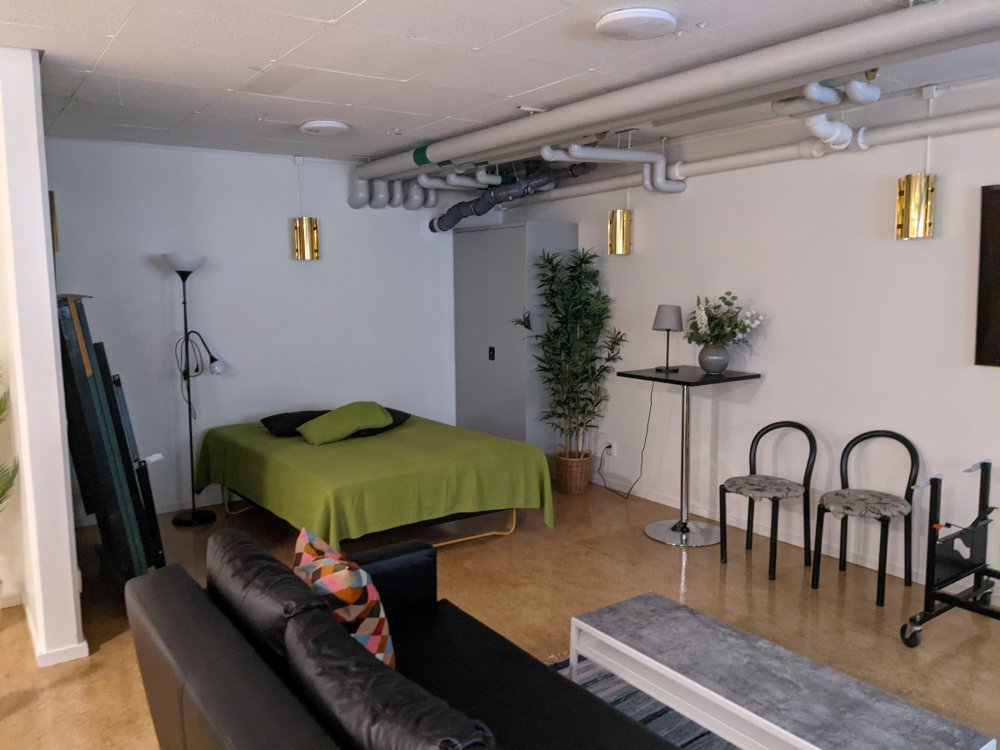
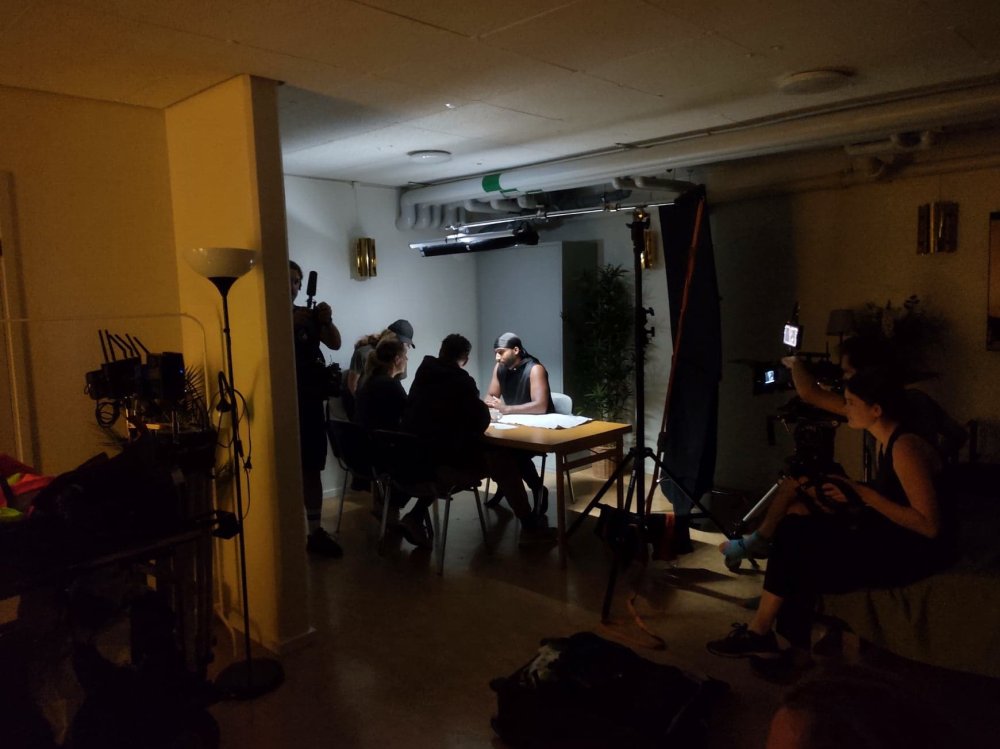
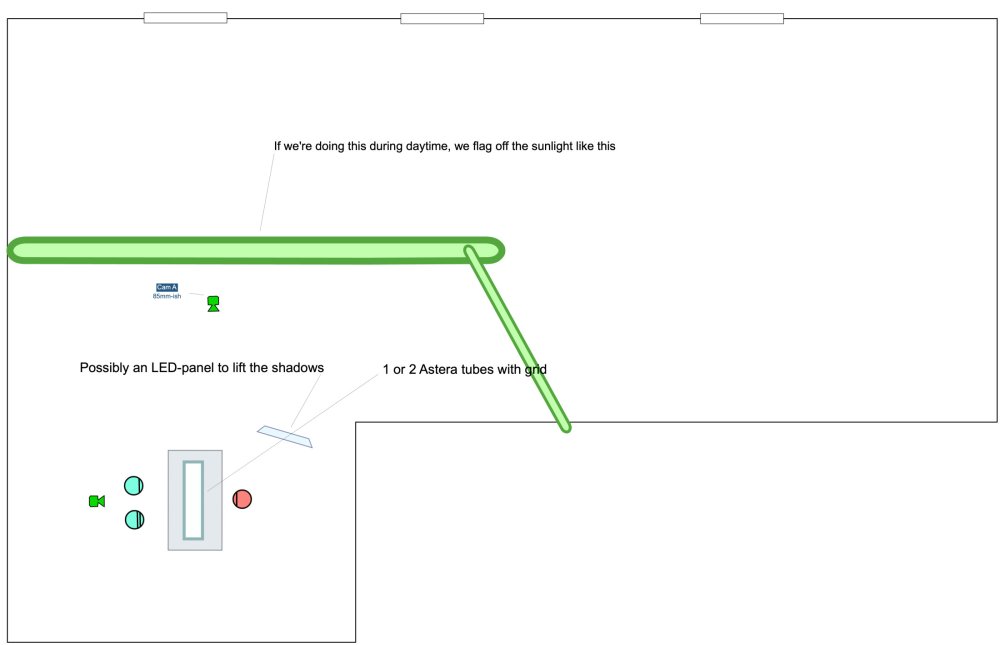
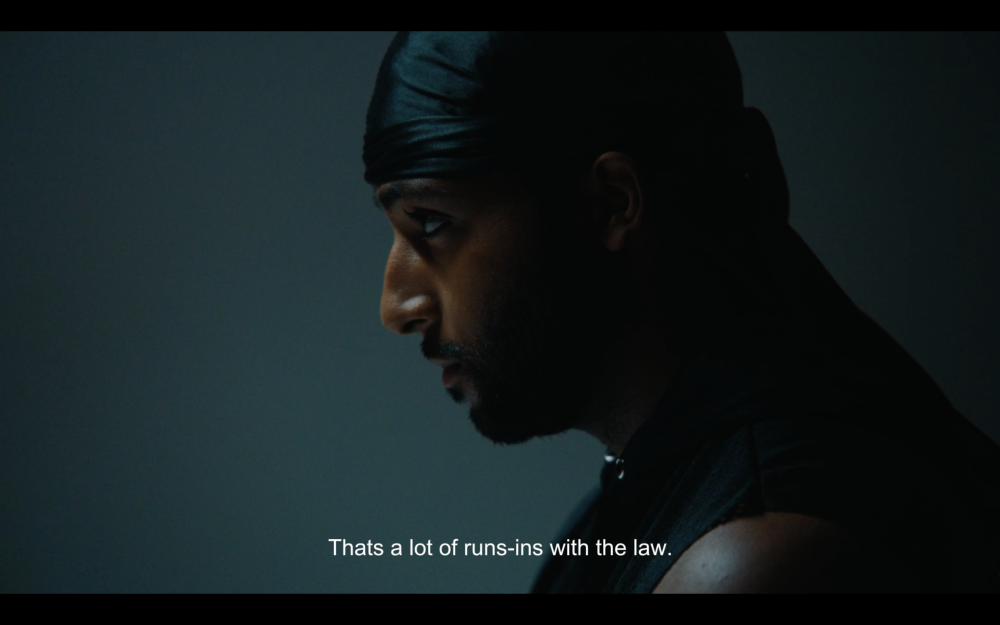
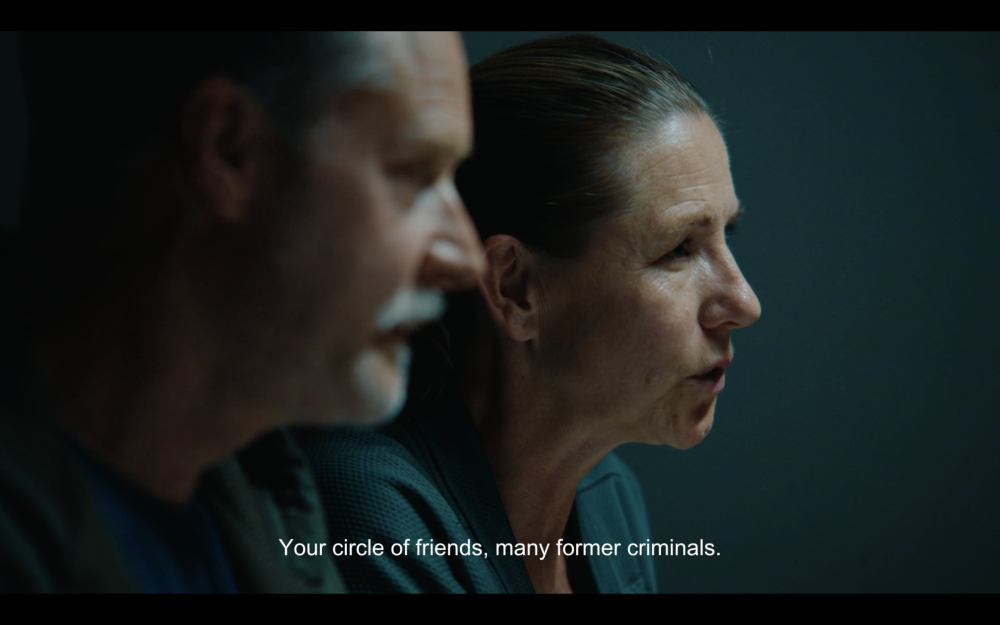
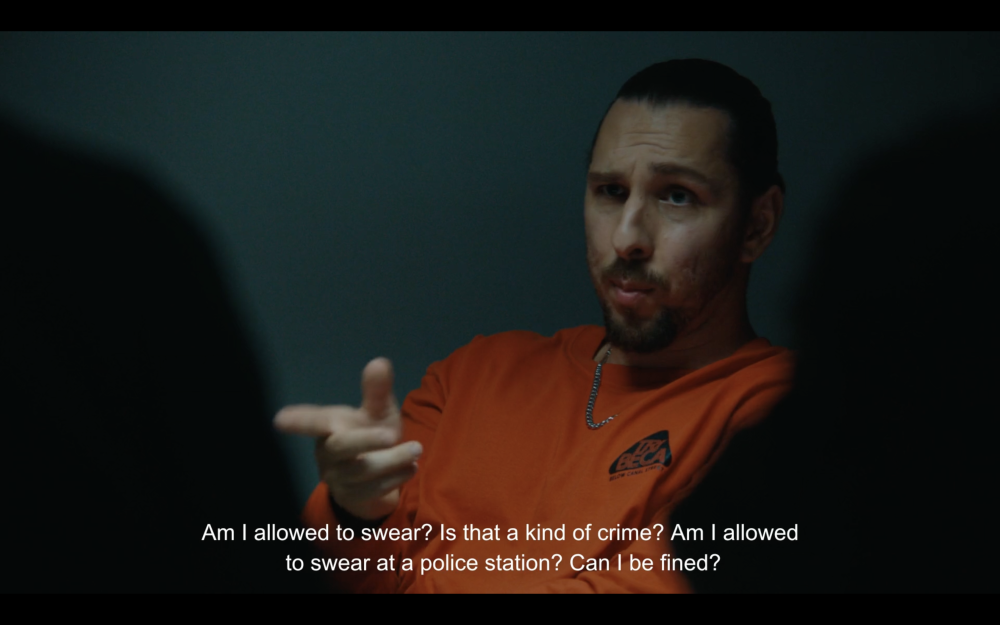
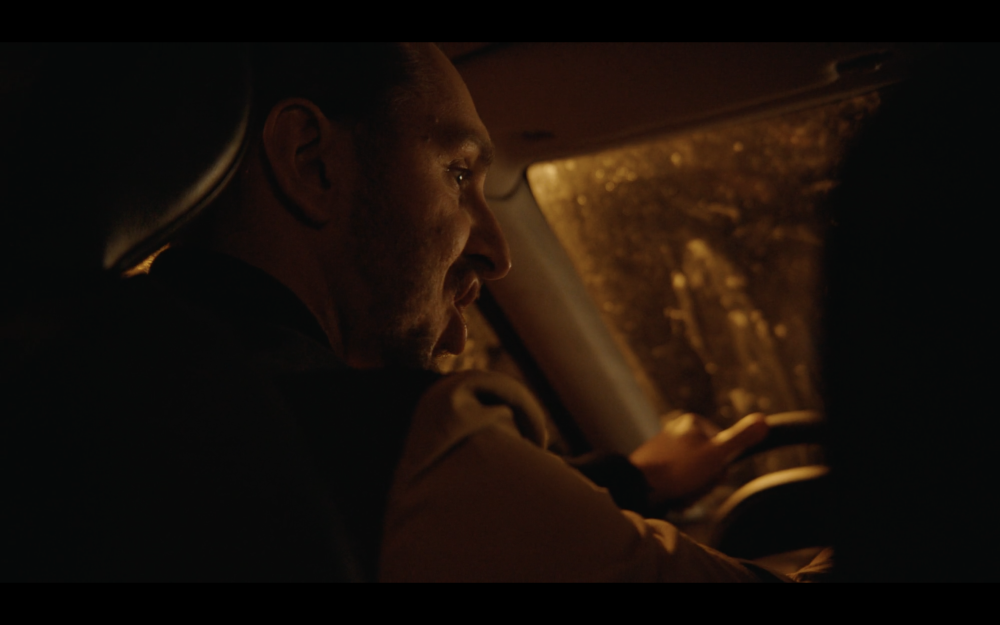
This post is available on my blog a little more nicely formatted: Link Trailer for the film The making of RE:ACTING Two weeks ago I wrote a post talking about how we shot our micro-budget short film. I talked about how we planned and shot one scene in the film. I got some questions about where exactly the $3000 budget went, so I'm going to start this post by breaking down our costs. Food & snacks for about 10-15 people per day (cooked in the evenings after the shoot) - $500 Camera equipment was mostly lent to us for free, but in order to move quickly we also had to rent two zoom lenses for seven days - $450 Props & costumes - $400 Location costs (parking, location rent etc..) - $400 Post-production - $1250 Keeping the budget this low was only possible because we were able to borrow a lot of gear, being smart about planning and making deals with other companies. For example, we planned the shoot in June because that’s the month most Swedes are on vacation and we managed to get sponsored by a production company that did not have anything scheduled during the shoot, they would let us borrow most of the camera and lighting equipment for the whole production. Additionally, we managed to save costs on props by negotiating a deal with a company that rents out police gear for film, including cars. Usually this would cost a lot as police gear is highly regulated, but we were able to get what we needed for one day of shooting in exchange for doing a short production for the company. Another place where we had to get creative with costs was locations. As we wanted to shoot a total of 26 scenes in 13 different locations, we had to choose and plan our locations and scenes carefully. Not only did they have to come for free or at least very cheaply, we also had to get to three locations per day with a small crew. In the last post I talked about scene 3 in the film and how we shot it in about two hours from arriving at the location. After Scene 3 we drove about 20 minutes to the next location to shoot Scene 22 where we transformed an inconspicuous location into something that would work for the production in more ways than one. Schedule for day 4 of the shoot Scene #22 Scene 22 is a police interrogation with the main character Karl, where he finally gets the courage to act well and completes his character arc. The good thing about interrogation rooms is that when you really look at them and how they appear in films, they're just rooms with neutral-coloured walls and often a one-way mirror. We realised that all we needed for this location was a white wall and enough space to fit a table and chairs. I figured the common room in the basement of my apartment building would fit our needs, and we could rent it for just $30 a day. The corner where the bed is standing is where we shot this whole scene. Doesn’t look like much when you look at it like this, but just dress it up right and light it with intent and you can make anything work. Dressed up and lit. When I scouted this room there were several things that made me feel like this was going to make a good location: Few, small windows, making it easy to block out sunlight Big space, fitting the whole crew without problem Access to a bathroom and a kitchen so we could break for lunch here. (which we did) Bottom floor, so we could get our equipment in and out of the room quickly. We shot during the daytime, so we had to block out the light from the windows and ended up using just an Astera tube with grid for lighting as well as a floppy for some negative fill. Floor plan & lighting schematic I made ahead of the shoot For this scene we chose to shoot from a 90-degree angle to emphasise the movement when Karl leans forward and takes control of the situation. In contrast to the rest of the film which is shot around 28-35mm, we chose to use a tighter lens to make Karl appear more cramped up and put on the spot. Acting tough Being out-witted These are the two shots that run for most of this scene, and the third shot is of Karl's friend and dim-witted drug dealer Josef who is (poorly) trying to talk his way out of the situation. Josef, the drug dealer This shot we chose to do from head-on with the police in silhouette instead. This is both because Josef is acting as comedic relief in the middle of a tense scene and comedy genereally plays better in a wider shot, and also because we wanted to sell the feeling of it being an actual interrogation room more. Rounding up This interrogation room scene is a simple scene but I still think that many good principles were applied in its planning. We kept the lighting simple, we got a location that was close to the other two locations of the day, we didn’t have to do a lot of rigging, and in the end we shot it in a way that made it a lot more interesting than you’d expect when you saw the room for the first time. So, the next time you’re faced with a scene that you don’t have the budget for. Take a step back and consider what the essential parts of the scene are. Then try to be creative with lighting and blocking to enhance your location. If you do this you can often get away with shooting a scene that you thought was out of your budget. In the third part of this series I’ll give another example of how we got away with shooting a scene that on the surface seems impossible at this budget - an interior scene in a moving car during night time. Josef, shocked that we pulled it off. Again, feel free to reach out to me if you have any specific questions.
-
Yeah, I understand that it sounds ridiculous to say $3000 when we had an Alexa and lighting equipment borrowed. But it's always going to be a big part of the low budget producing to secure the gear for a low cost. We rented the lenses but the rest of the camera package we could borrow specifically because we planned the shoot in June when 90 percent of the film market in Sweden is on vacation. It's all part of the producer's job to get as much as possible with as little money as possible. Additionally I'm certain we could get almost the same result with a pocket cinema camera and cheap lights. There is so much more to filmmaking than just camera and lighting gear.
-
Thank you! I might get into this, I could do a post about the setup we used. My first posts will not talk about this though since I think too much focus is put on what equipment is used than what's necessary. To me whether it's Alexa, Sony or Canon it will have a minor effect on the end result compared to how big of an effect changing the lighting, camera movement and placement has. But since two of you have already asked a quick breakdown of the gear, most of which I was able to borrow: Alexa mini LF (In super35 mode) DZOFilm Pictor zooms This scene has barely any lighting in it except for unplugging some of the ceiling lights, a later post will get in to scenes where we used Titan Tubes, tungsten lights, ultrabounce, litepanels and more.. I'm glad to answer any of your questions, so just ask away if you're wondering about anything!
-
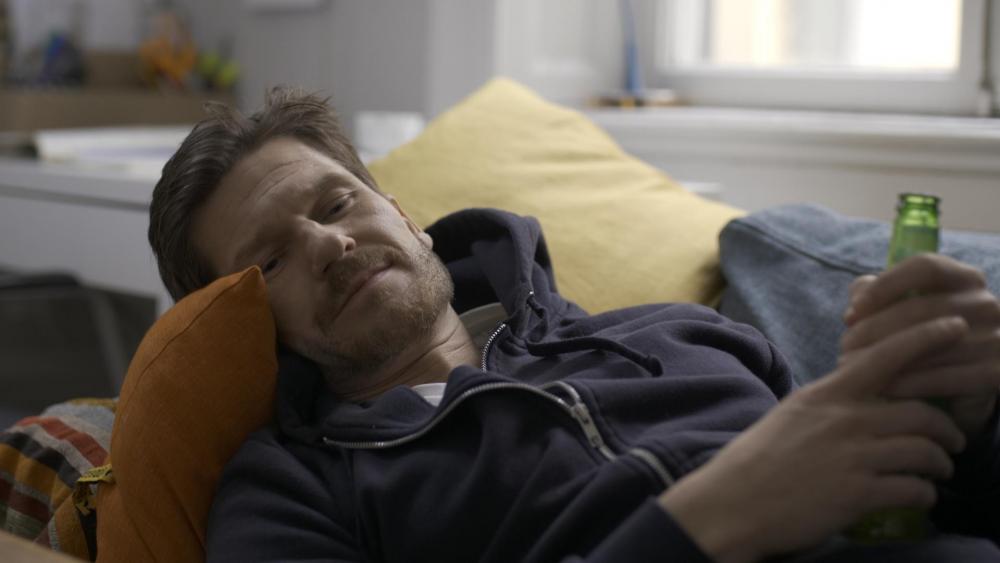
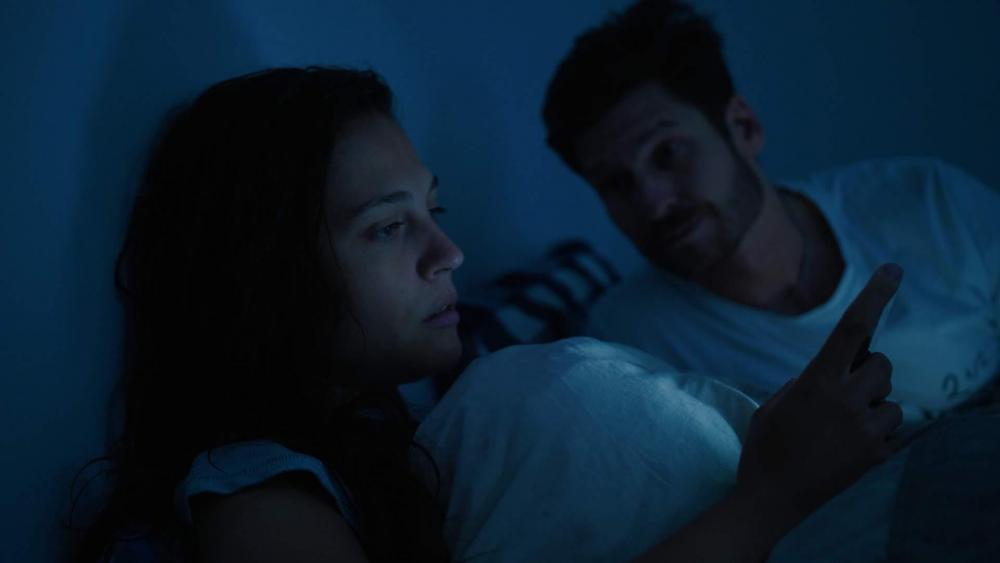
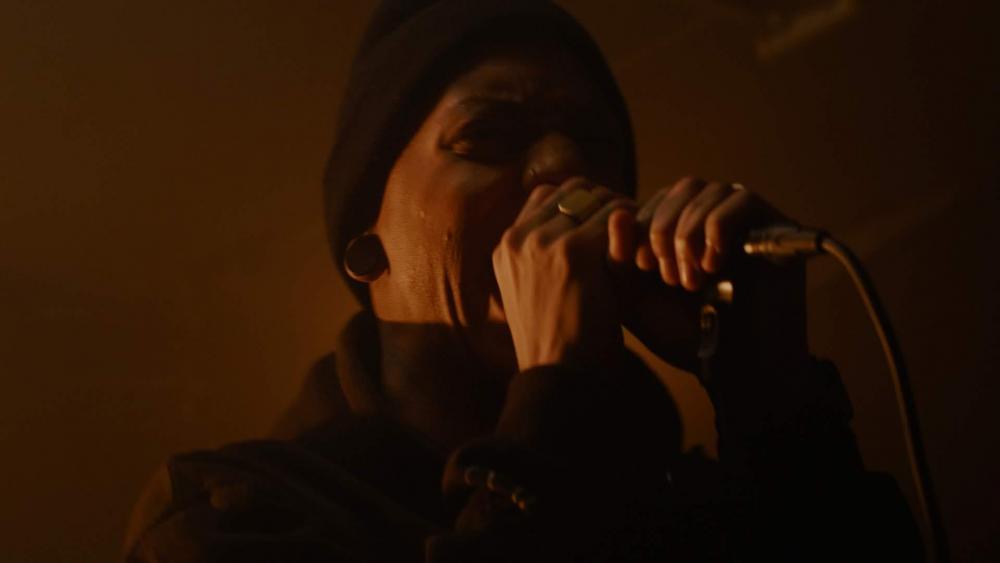
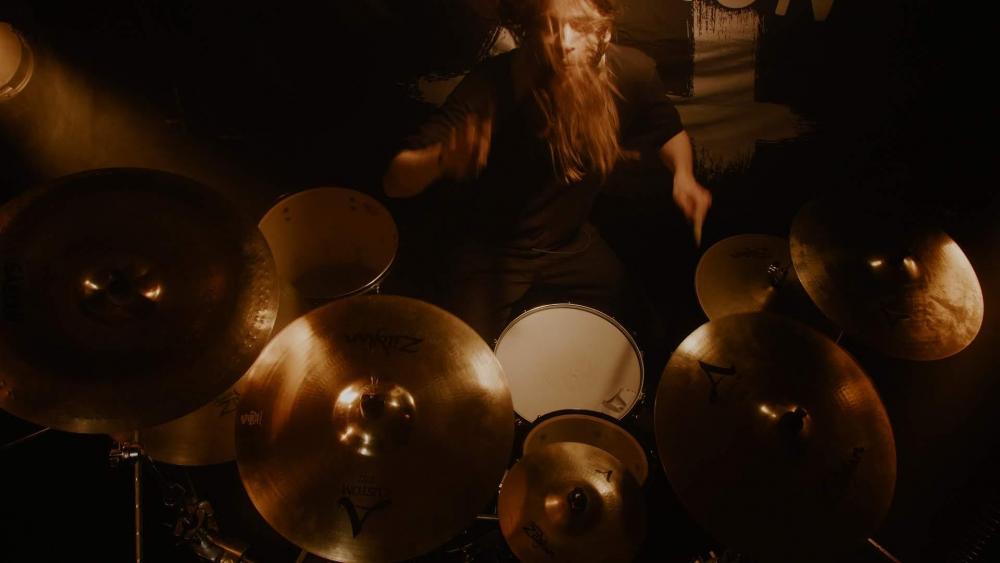
Trailer for the film I'm the producer and cinematographer for the short film RE:ACTING, a film that is right now being submitted to festivals around the world. We shot this film last summer and I think we ended up with a very high-end result despite our low budget. I figured that some of you other filmmakers who are either starting out or are looking for inspiration for how to shoot a film with a limited budget would be interested in some of the things I learned along the way so I'm making a series of blog posts where I will break down how we shot the scenes, why we shot them in this way and also give a producer's perspective on how we secured locations and managed logistics. Part 1 in this series of posts breaks down this scene and talks about why we shot it like we did and why we ended up shooting it this way. Read more about it in this blog post and comment if you have any follow-up questions!
-
 Maxbrand reacted to a post in a topic:
My wishlist for the next Panny upper tier S-camera
-
My wishlist for the next Panny upper tier S-camera
Maxbrand replied to Amazeballs's topic in Cameras
This has been a problem for as long as I've used Panasonic ILCs though. I've had this problem with GH3, GH5, S1, S5 and now it's apparently the same for S5II. So I doubt it's a preproduction issue unfortunately. -
My wishlist for the next Panny upper tier S-camera
Maxbrand replied to Amazeballs's topic in Cameras
Not that they are taking note, but to me the biggest improvement needed that I can't believe is still an issue is the HDMI delay. As long as the latency is this high it will never be able to be used in a professional setting. Both pulling focus and just monitoring in general is so much worse because of it. -
I went for S1 and then S5 and most recently A7sIII with an fx6 ordered. I think image-wise the s1/s5 (same image) wins and I love having waveform on the press of a button. But the killer feature which made me go Sony is the autofocus. I just shot a spot for an electric scooter company and used the autofocus for all the shots, doing dolly shots, tracking the scooter in movement etc and it is phenomenal. Being able to do those shots as a solo operator får outweighs the marginally better image that I get out of the Panasonic. 120/4K is also a nice bonus.
-
aylmechner started following Maxbrand
-
Has anybody else had issues using V90 cards and having the camera tell you that you need a "card faster than v60" for certain modes? Does anybody know of a way to bypass this?
-
From someone who has used both, I'd say the S1 sensor is equal or better. What you get with the EVA is the i/o and ergonomics which does make it worth it if you need them but I would probably go for saving for fx6 or c70 instead in that case.
-
The almost forgotten ARRI Super 35 4K cinema camera
Maxbrand replied to androidlad's topic in Cameras
Source for this? -
 Maxbrand reacted to a post in a topic:
Preproduction breakdown of a low budget commercial I shot.
-
 Maxbrand reacted to a post in a topic:
Preproduction breakdown of a low budget commercial I shot.
-
 Maxbrand reacted to a post in a topic:
Preproduction breakdown of a low budget commercial I shot.
-
Of course it's all relative. I do a lot of work with GH5/EVA-1 as well, I honestly don't often feel limited by the camera package. It is all about the lighting and camera placement no matter what gear you have. That is the point of most of my blog entries. Don't let the gear available stop you from creating great work. My reel has GH5/RED EPIC/EVA-1/Alexa and more cameras intercut and I doubt that many people can tell the difference, I can barely do it myself. ?
-
Hey! I'm back again with another BTS look at lighting. This time I breakdown the process of planning a shoot with high-end results without using any lights. As always, I hope we can get as good a discussion going , so if you have any questions at all - just ask away and let's start a conversation! Link to blog post.
-
Thanks! Actually I just ignore a lot of the stuff that Sage writes in the white paper. For example here I had white balance at something like 4000 and a light bulb with 6000k WB, nothing is done to it other than using the excellent GhA-LUT. Mostly this decision is because I seldom get the benefit of grading the things I shoot, and therefore I try to do as many decisions as possible in camera so that the people in post don't do their own version of it. I'm happy that you took this frame specifically because it is lit only with a cheap e27 LED light bulb from the hardware store for something like 8€ and their phone screens that I made them turn up to maximum. This whole short was done in like 6 hours and I went with a lighting style that was super simple, quite fun to try to figure out different looks in the same room in a short amount of time! Thanks! Here you go! I remember now that I added some contrast as well after your LUT. But that's all. HLG_1.8.1.dpx
-
I find that using the pre and then working as if I had shot in V-log works very well when using HLG. I was somewhat forced into this workflow when I bought the Ninja V because of the whole video levels thingy making v-log impossible to use if you want a reliable preview on the monitor. I find HLG more or less as good anyway though, so doesn't really matter much to me. Some examples of using HLG with GhA:
-
 Maxbrand reacted to a post in a topic:
Lighting Breakdown - Short Film "Guard the Robe"
-
Hey! I'm back again with another BTS look at lighting. This time with a scene from a short film I shot a while back. I hope we can get as good a discussion as we got going with the last post, so if you have any questions at all - just ask away and let's start a conversation! Link to the lighting breakdown


