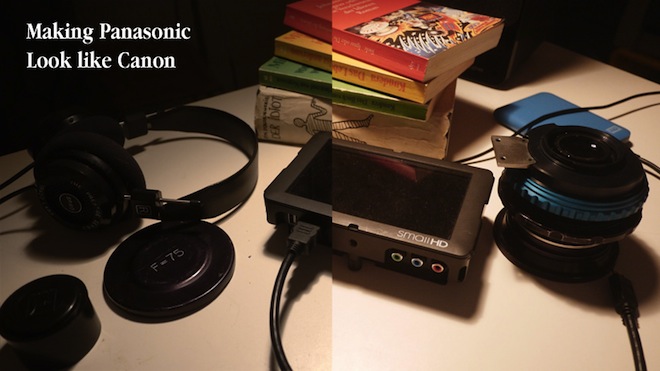
This tip will give you a 1 stop brighter exposure, a punchier image and better colour from your GH2 / AF100 and GH1.
Don’t miss it.
Panasonic’s colour science is very technically correct but not as emotionally satisfying as Canon’s, here’s how to change that.
I’ve always preferred the more cinematic colour on Canon DSLRs. The 5D Mark II pleased me with it’s vivid rich tones, the 7D gives a beautifully warm image, very cinematic and the 600D also does a better job with colour overall than the GH2.
Panasonic’s out of camera video and JPEG needs careful handling with the film mode / picture profiles and customised white balance, otherwise they look murky, grey and often yellowy green compared to the warm, punchy and lifelike cast of Canon’s video.
The GH2 is a big improvement in this regard on the sensor in the GH1, and especially the first generation sensor in the GF2 and GF1 – but it still needs a helping hand with customised picture profiles and white balance.
Here is what to do…
Why this matters
In-camera settings are essential on DSLRs. You can’t shoot RAW video so you need to get the basic colour information baked into the shot because you have limited means afterwards to do heavy colour adjustments on a highly compressed video format.
Think JPEG
With RAW photos you can do all this afterwards, but DSLR video is like a straight out of camera JPEG – you are more or less stuck with it.
Part 1: Choose the right film mode
I have chosen Nostalgic because it lifts the characteristic gloom of Panasonic’s colour profiles, lifts shadow detail and gives you a much brighter exposure. It doesn’t help highlights but the GH2 is never going to have as much latitude as the 5D Mark II and you won’t notice the difference to usual. The other picture profiles protect the highlights too much at the expense of the overall image.
Part 2: Compensate for Nostalgic’s weirdness
Nostalgic is a weird picture profile, it’s low contrast and colour is a bit bleached out. So to compensate for this customise it with +2 contrast and +2 colour to get a punchier image and maximise saturation. It’s much easier to de-saturate in post if desired rather than to compromise on colour data in an already highly compressed codec which lacks colour data. Don’t turn saturation down in-camera!
Part 3: Tweak the GH2’s white balance
The Lumix sensors are also all a bit predisposed to green at the expense of warm reds, yellows and oranges. Energy saving lightbulbs especially don’t help, since these have a green cast and the GH2 exaggerates it.
On any white balance preset (even auto) that you intend to use, customise them so that the notch in the colour chart is two steps toward yellow (on the left) and 1 step down toward Magenta. Don’t go any further than this because it will give whites a pink cast. This compensates for the green cast, and warms the auto white balance preset slightly to remove the grey and neutral colour tones. This will give you much stronger results indoors, in studios and render sunsets and evening skies in a much more lifelike way with deep scarlets and oranges rather than pathetic yellowy greens!
Part 4: Save it
You can now select the ‘memory’ option in the Nostalgic picture profile to save it to a My Film mode – you can have two of these. I have this profile as My Film 1 and a softer less contrasty version in My Film 2 based on Cinema Gamma when I desperately need to protect highlights or get a murkier looking low-fi image.
Summary
Film mode: Nostalgic
Contrast: +2
Sharpness: User preference
Colour: +2
Noise reduction: User preference
White balance: User preference of preset, 2 notches toward Yellow and 1 notch toward Magenta


