

Here’s a quick and easy way to get raw recording setup on your 5D Mark III thanks to the recent Magic Lantern developments.
1. Prepare your 5D Mark III
Charge the battery fully.
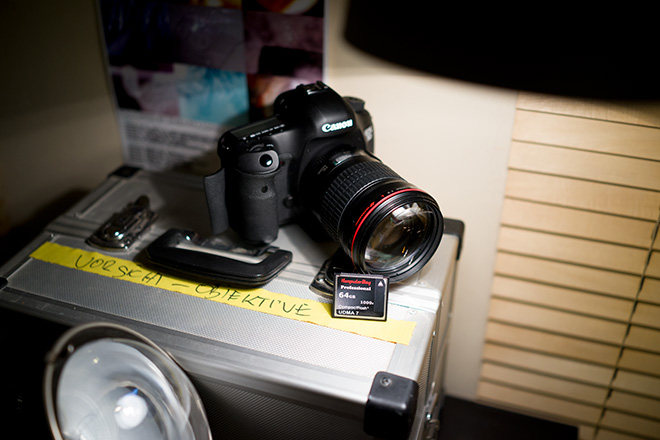
Set the camera to movie mode on the live view dial and set the mode dial to M. I also recommend assigning 5x focus magnification to the SET button.
Attach a lens. DSLRs don’t work without a lens 🙂
2. Download
If you’re running the new uncompressed HDMI firmware from Canon (version 1.2.1), download and install the older version 1.1.3 instead. Unzip the firmware files and copy to your card, then go into the camera menus and select Firmware Update.
Download Magic Lantern – the zip on this page (nightly 5D Mark III Magic Lantern)
Unzip it (double click) and copy all the files to the root directory of your card.
- Windows users: Download EOScard.exe and raw2dng.exe to a folder on your computer
- Mac users: Download macboot.class and macboot.command and Raw2DNG (Mac) to a folder on your computer
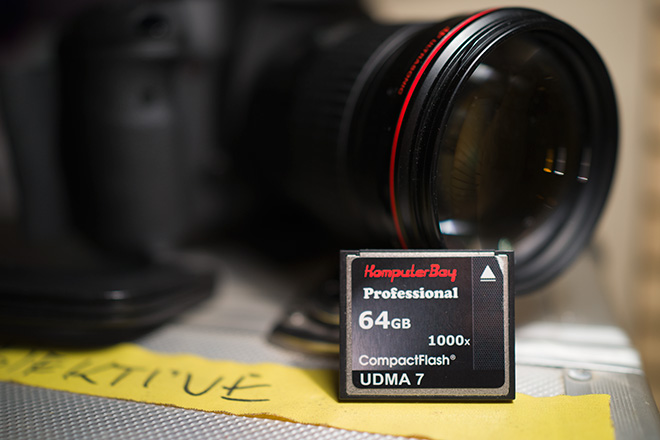
Above: KomputerBay – the Comic Sans of Compact Flash cards 🙂
3. Prepare your Compact Flash card
For 1080p will need a 1000x speed card, preferably 64GB as some of the higher capacity 128GB cards currently have issues with lower than expected write speeds.
Mac users should use Mac Boot to prepare the card, whilst Windows users can use EOS Card. You just downloaded these in step 2.
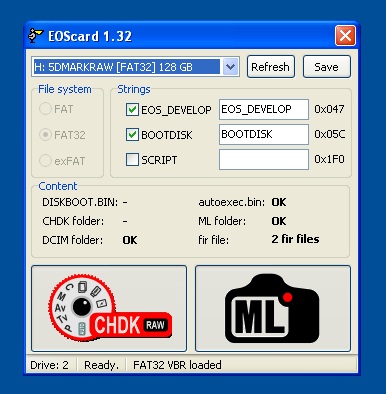
Windows users: Open the EOS Card app and choose your compact flash card from the drop down box (it must be in your PC / USB card reader) click the Magic Lantern logo and click Save. Done.
Mac users: If you have OSX Mountain Lion first double click the macboot.command shell to run it. This must be in same folder as the Mac Boot class app. Then you can run the app. Select card drive in drop down box at the top, click Make DSLR Bootable and then Prepare Card.
Tip: EOS Card can also install one of the existing 600D / 5D Mark II Magic Lantern releases on the card. If it does, delete those files and repeat the part of step 2 where you copy your downloaded Magic Lantern files to the card.
4. Record raw video
Put the card in your camera and go to the Canon main menus. Select Firmware Update and follow the commands on screen. From now on your camera will automatically use the Magic Lantern firmware on the card. (To go back to the normal camera firmware you simply turn off the camera and use a normal SD or CF card).
Enter the Magic Lantern menu with the delete key on the camera (it has a trash can on it). The top dial navigates the tabs and the rear scroll wheel and joystick navigate the menu options. The Q button goes into a sub-menu and back out again.
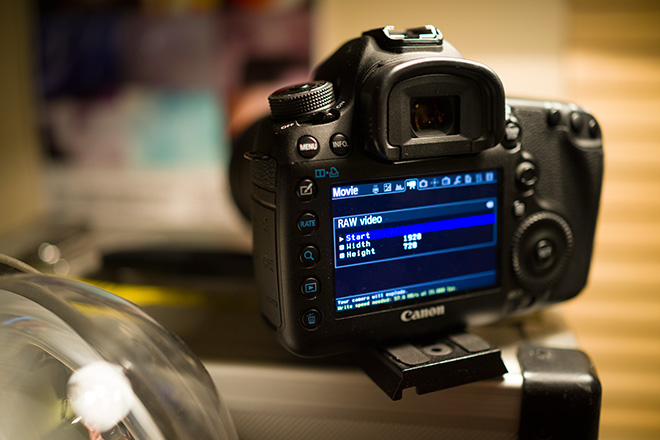
- You can choose your resolution and start the recording in the Raw Video menu of Magic Lantern
- You can stop the recording by pressing the Playback button (or by going back into the raw menu)
- Copy the raw clips from the DCIM folder on the card to your PC or Mac
- Drag and drop your 5D Mark III raw files into the Raw2DNG app to convert to DNG format
- Be amazed
After Effects Workflow
First step is the Raw2DNG app that you downloaded in the zip. This app too, like the raw recording module on the camera, is hot off the lab and very very early code! This is required to make your raw files compatible with mainstream Adobe, Avid, Apple and Blackmagic post production software. You drag and drop the raw clips into it, and out come DNG raw image sequences like the Blackmagic Cinema Camera. One important difference is that these are standard DNG image sequences, no Cinema DNG metadata. You can’t yet put them straight into Resolve unfortunately.
Once in DNG format you can load individual frames in Photoshop for inspection or load the folder of frames in After Effects to render it out as a sequence. After Effects is how I am doing it at the moment. Drag each folder of DNG clips that Raw2DNG created on your drive into After Effects.
In After Effects you can render the DNG sequence in any codec you like – be it CineForm, ProRes or space saving H.264.
After Effects allows you to grade the first frame using standard Photoshop camera raw controls. That grade is applied to the whole sequence. In the future, using Resolve would be preferable (like Blackmagic) but a stills DNG to Cinema DNG utility needs to be made first for that to happen.
Summary
Of course in the future the raw video feature of Magic Lantern will have more options. Some of the functionality is still in the Canon side of the firmware. For example to activate crop mode and higher resolutions than 1920×1280 you need to enter 5x magnification focus assist mode. I currently have this assigned to the SET button. To access higher frame rates than 30p you need to set the video mode to 720p in the Canon menus rather than 1080p, and use the FPS Override menu in Magic Lantern to choose your frame rate. 24p and 25p work most reliably.