

hyalinejim
-
Posts
970 -
Joined
-
Last visited
Content Type
Profiles
Forums
Articles
Posts posted by hyalinejim
-
-
You get different options depending on whether you have mlv_rec or mlv_lite modules loaded.
MLV LITE: If you go into the menu for RAW Video you should see an item for Data Format - you can change bit depth and compression. Lossless plus slightly lower bit depth allows longer recording times, higher frame rates, higher resolutions in crop_rec. There is no sound, or at least there wasn't last time I looked into this. But read this https://www.magiclantern.fm/forum/index.php?topic=16650.msg192161#msg192161)
MLV REC: You can change bit depth only
-
The advantage of MLVFS is it just mounts a virtual directory of DNGs straight from the MLVs - no converting is necessary. The disadvantage is that it's almost impossible to figure out how to install it on Windows!
I know that at one point in time I followed this video, and it works. But this might be out of date.
But I can't remember if I changed things since then. MLVFS still works for my now on Windows 10. I just right click on MLVs and select "Quick Mount" and they mount into DNG folders (if you have a lot it can take quite a while).
You won't regret learning Resolve. It's very useful to know it.
-
There's a world of options when it comes to ML post. I just want to point out some things here that might be useful when you have time to investigate them.
Check out MLVFS to quickly turn your MLVs into DNGs without transcoding. Then you can try workflows that have better image quality. These are Camera RAW to AE (slow but excellent) and Resolve (fast and good).
For example, these screengrabs show highlight recovery is worst using MLVs directly in Premiere:
Premiere:
Camera RAW (ML-Log DCP profile) to After Effects:

Resolve (Arri Log-C):
-
On 2/6/2018 at 1:11 AM, buggz said:
Any thoughts about the below?A Different Approach to Making Your GH5/GH5S Footage Look More Cinematic
Just saw this video now and used the Channel Mixer settings he shows in Premiere (or After Effects). I like it. Another tool in the box!
Here are some comparisons. This was shot in natural light on the Daylight WB preset. Here, the redness of skin in Joos's settings isn't particularly evident to me.
VLOG:
Add contrast:
Add Channel Mixer (Joos settings):

Compare with Sage's GHA with matched contrast:
Compare with my current Ektar look:

EDIT: On second thoughts, some reds are just far too saturated with Joos's Channel Mixer settings. Look at the radioactive reds that it creates on the inner lip area in this next example.
Plain VLOG with contrast:
Add Channel Mixer:
-
28 minutes ago, cpc said:
You can use the spotmeter for this.
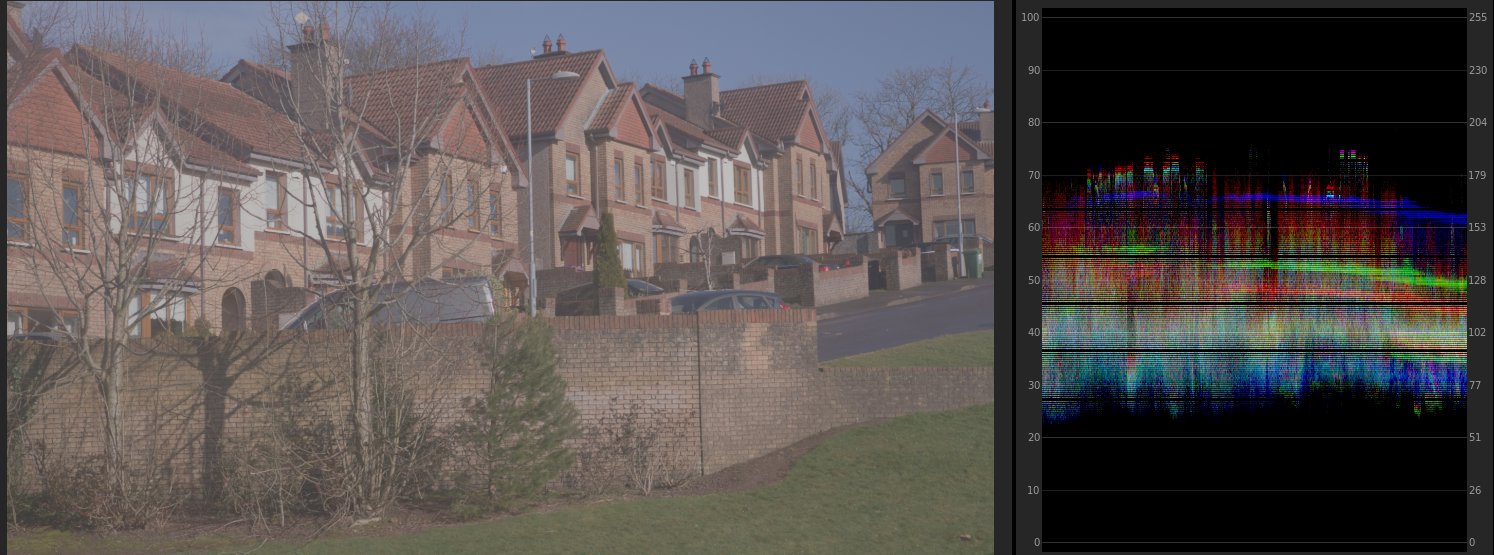
As a starting point, middle grey as understood by the 5D3's internal meter clocks in at around 128 in RGB values, or 50% if you use the "percent" readout. This remains roughly true across all stock picture styles and contrast levels. But values above and below this middle point would change when you change the picture style.
If you set the spotmeter to show RAW EV (number of stops below clipping) then you're getting a readout of the actual RAW data, which is independent of picture style. Here, middle grey as understood by the metering system is approx -4 EV.
@kidzrevil You could also try setting your histogram to show RAW values - this helps an awful lot with exposure.
-
7 minutes ago, mercer said:
One of the reasons Canon is King is that their Auto functions work really well.
When I'm on holidays I bring a Canon P&S and shoot on Auto and everything looks great. With my DSLR, on the other hand, I was always trying to ETTR as a matter of principle. Yes, it will ultimately lead to a cleaner image but the whole process of taking a shot, checking the histogram, and maybe taking another version of the same shot with slightly different settings, and then maybe again... all this means you're staring at your camera LCD and fiddling with settings.
Recently I had a go at shooting on film, and followed Kirk Mastin's excellent guide for those starting out with film. He gives "set it and forget it" settings for shooting in daylight. It was such a pleasure to just shoot through the viewfinder with no image to review, no exposure tweaks necessary. I was looking at the world and not looking at the back of my camera. So if auto exposure for digital can really be trusted, then shooting becomes a whole lot more pleasurable.
-
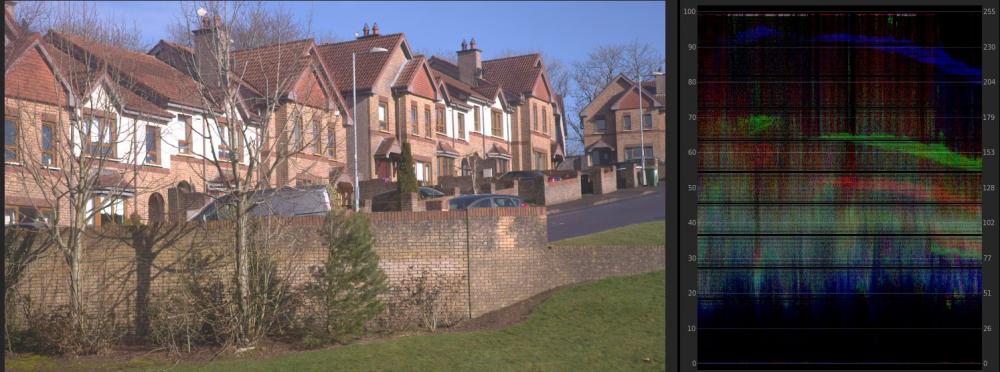
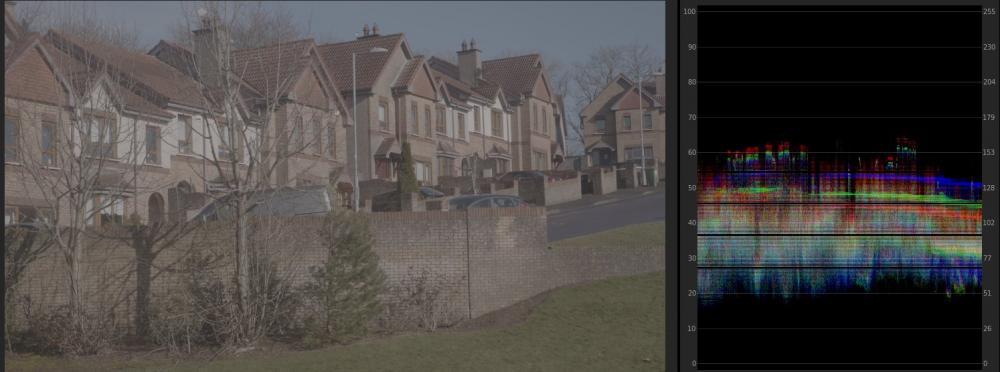
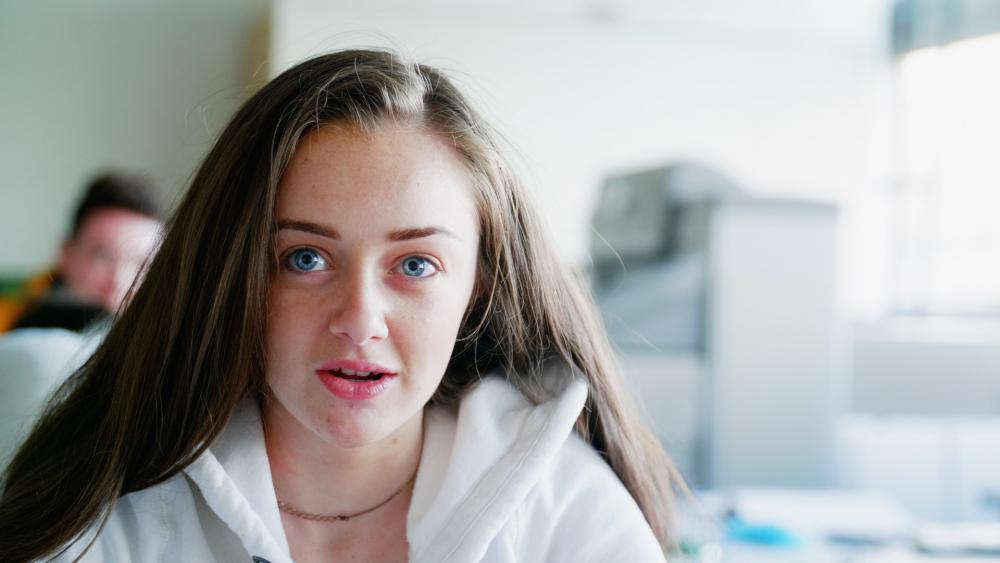
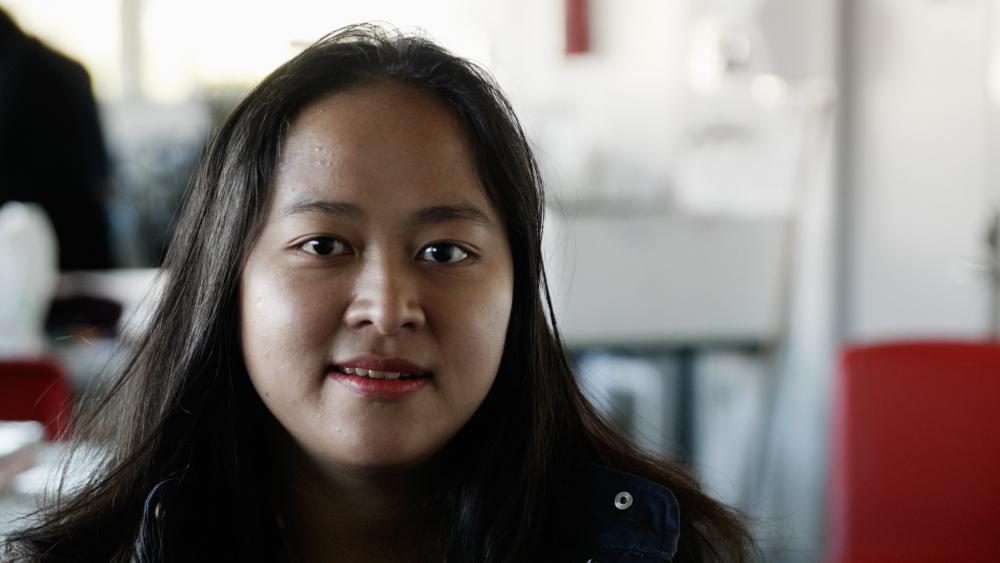
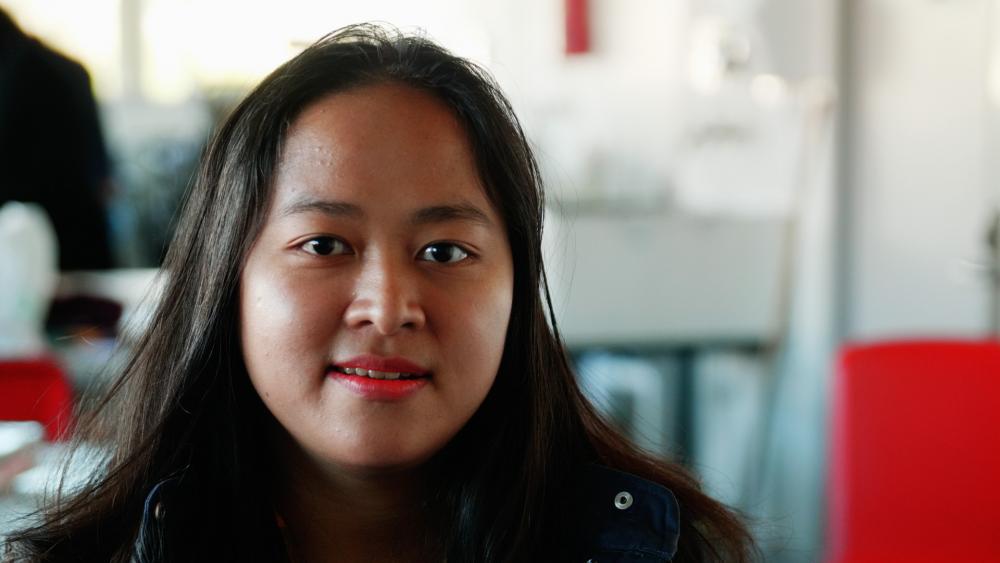
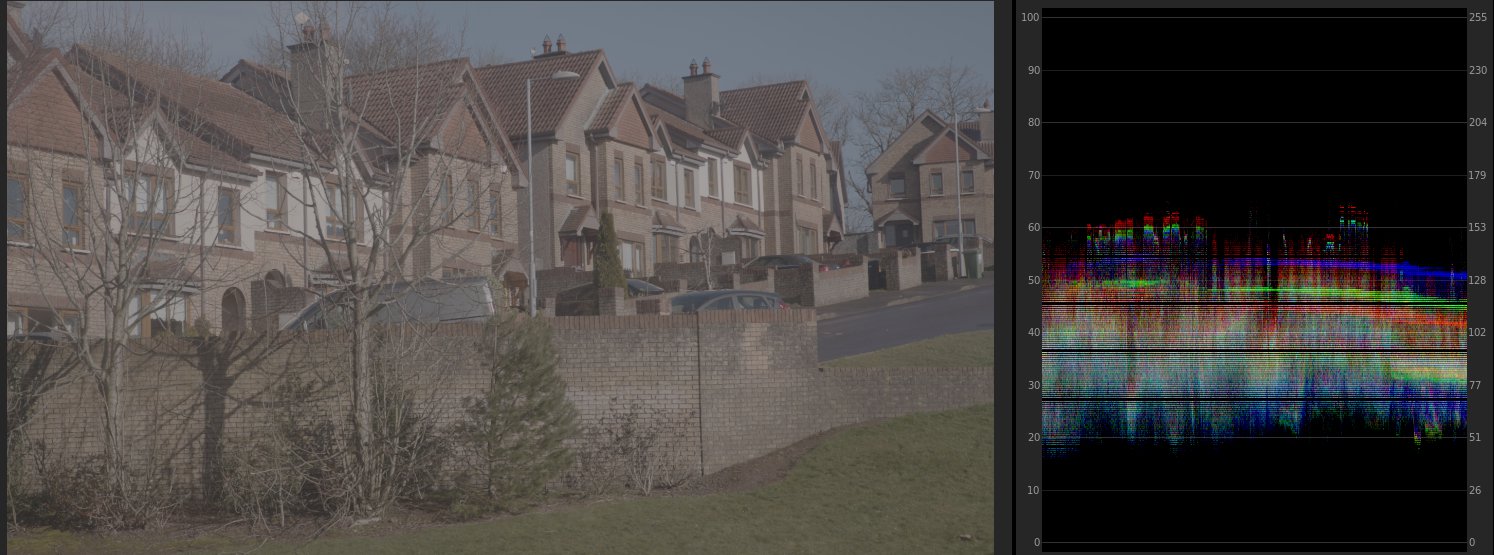
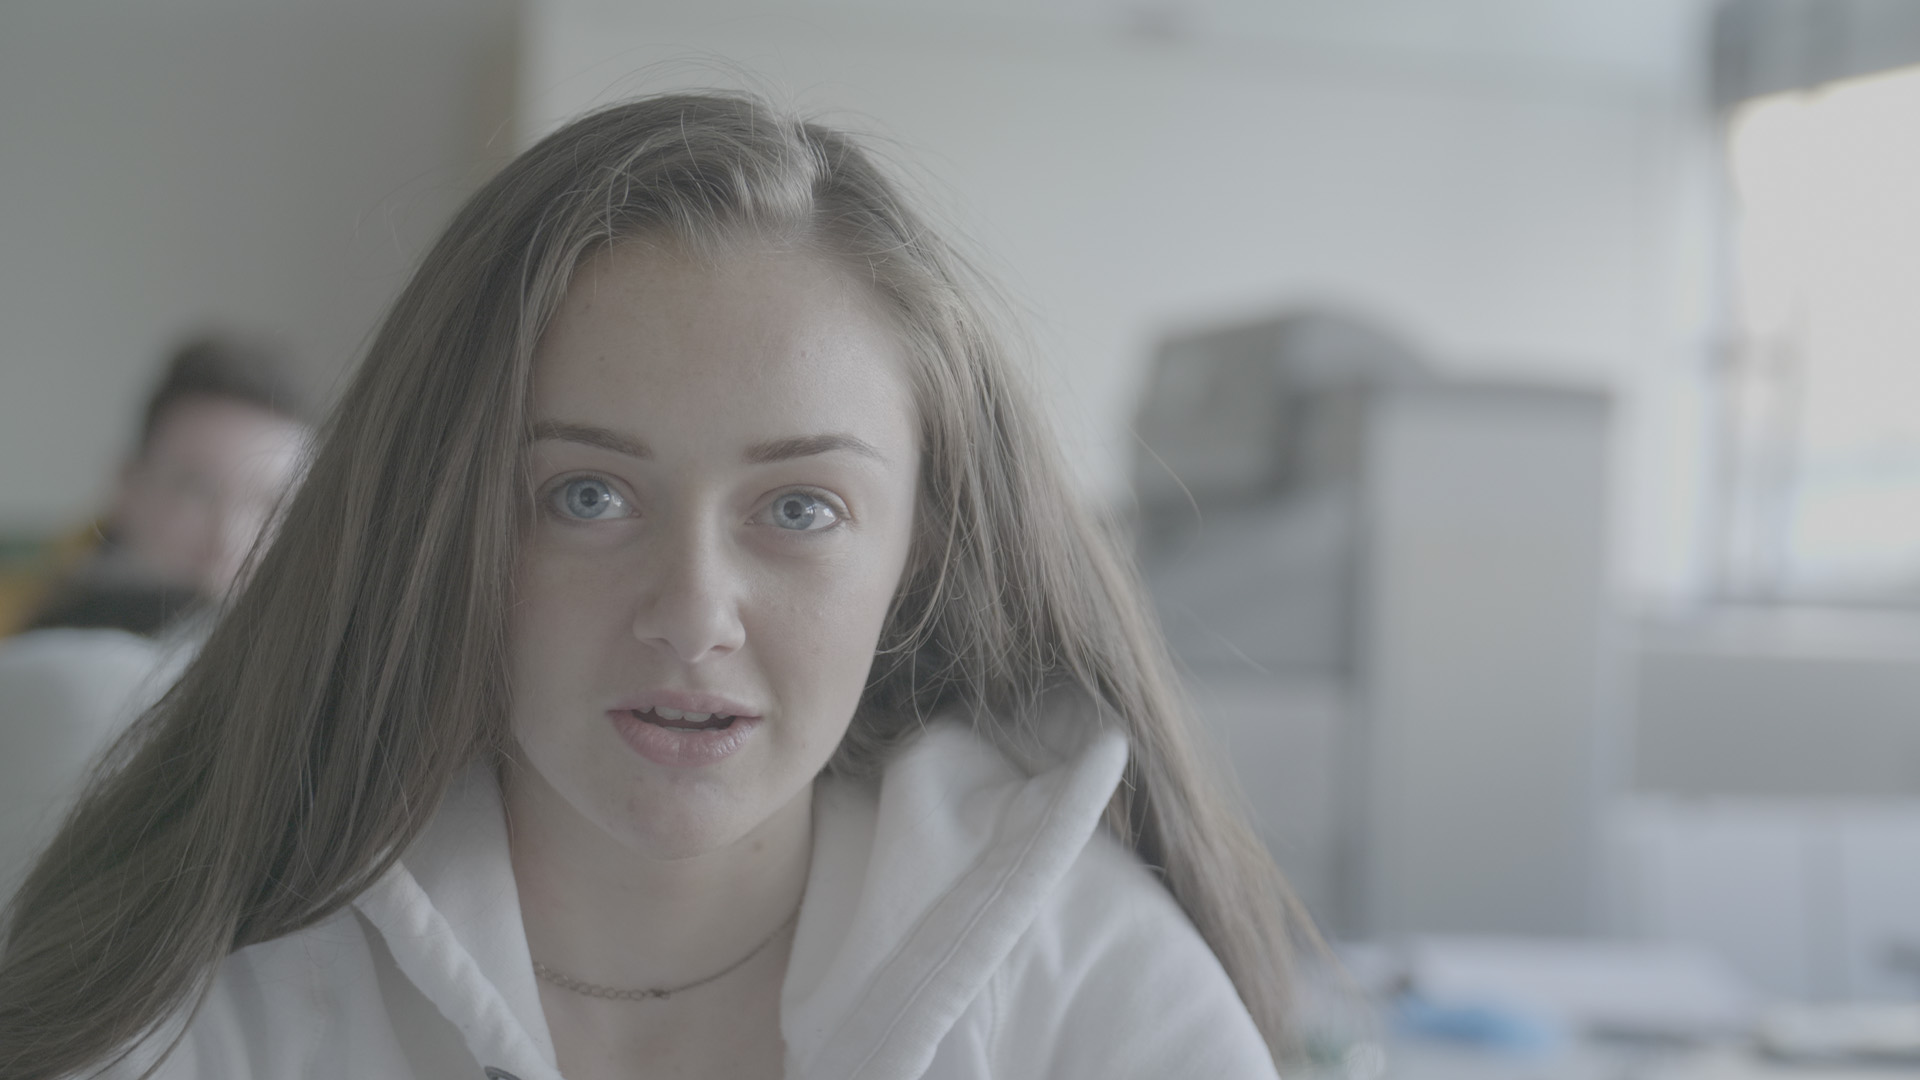
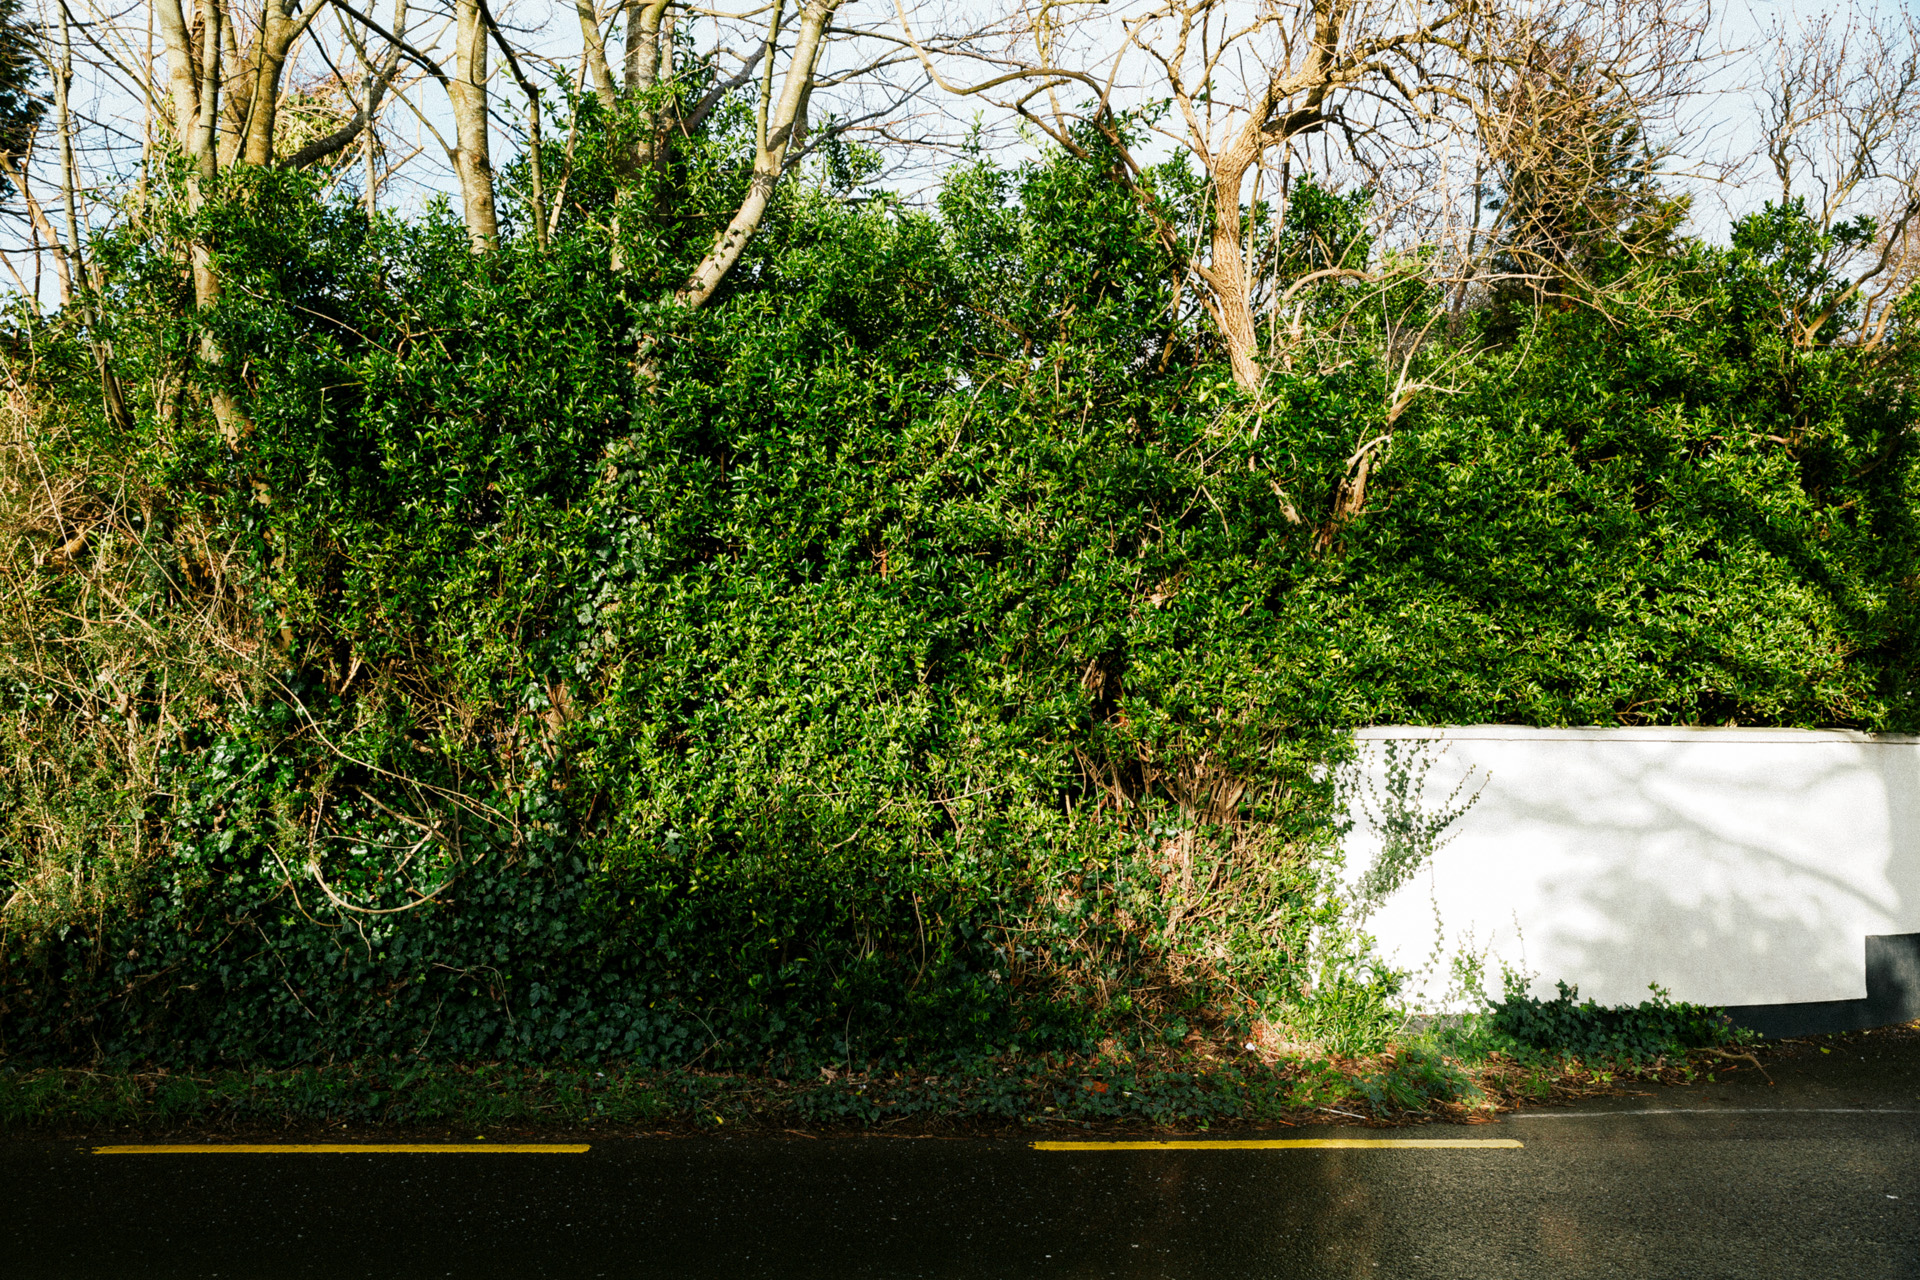
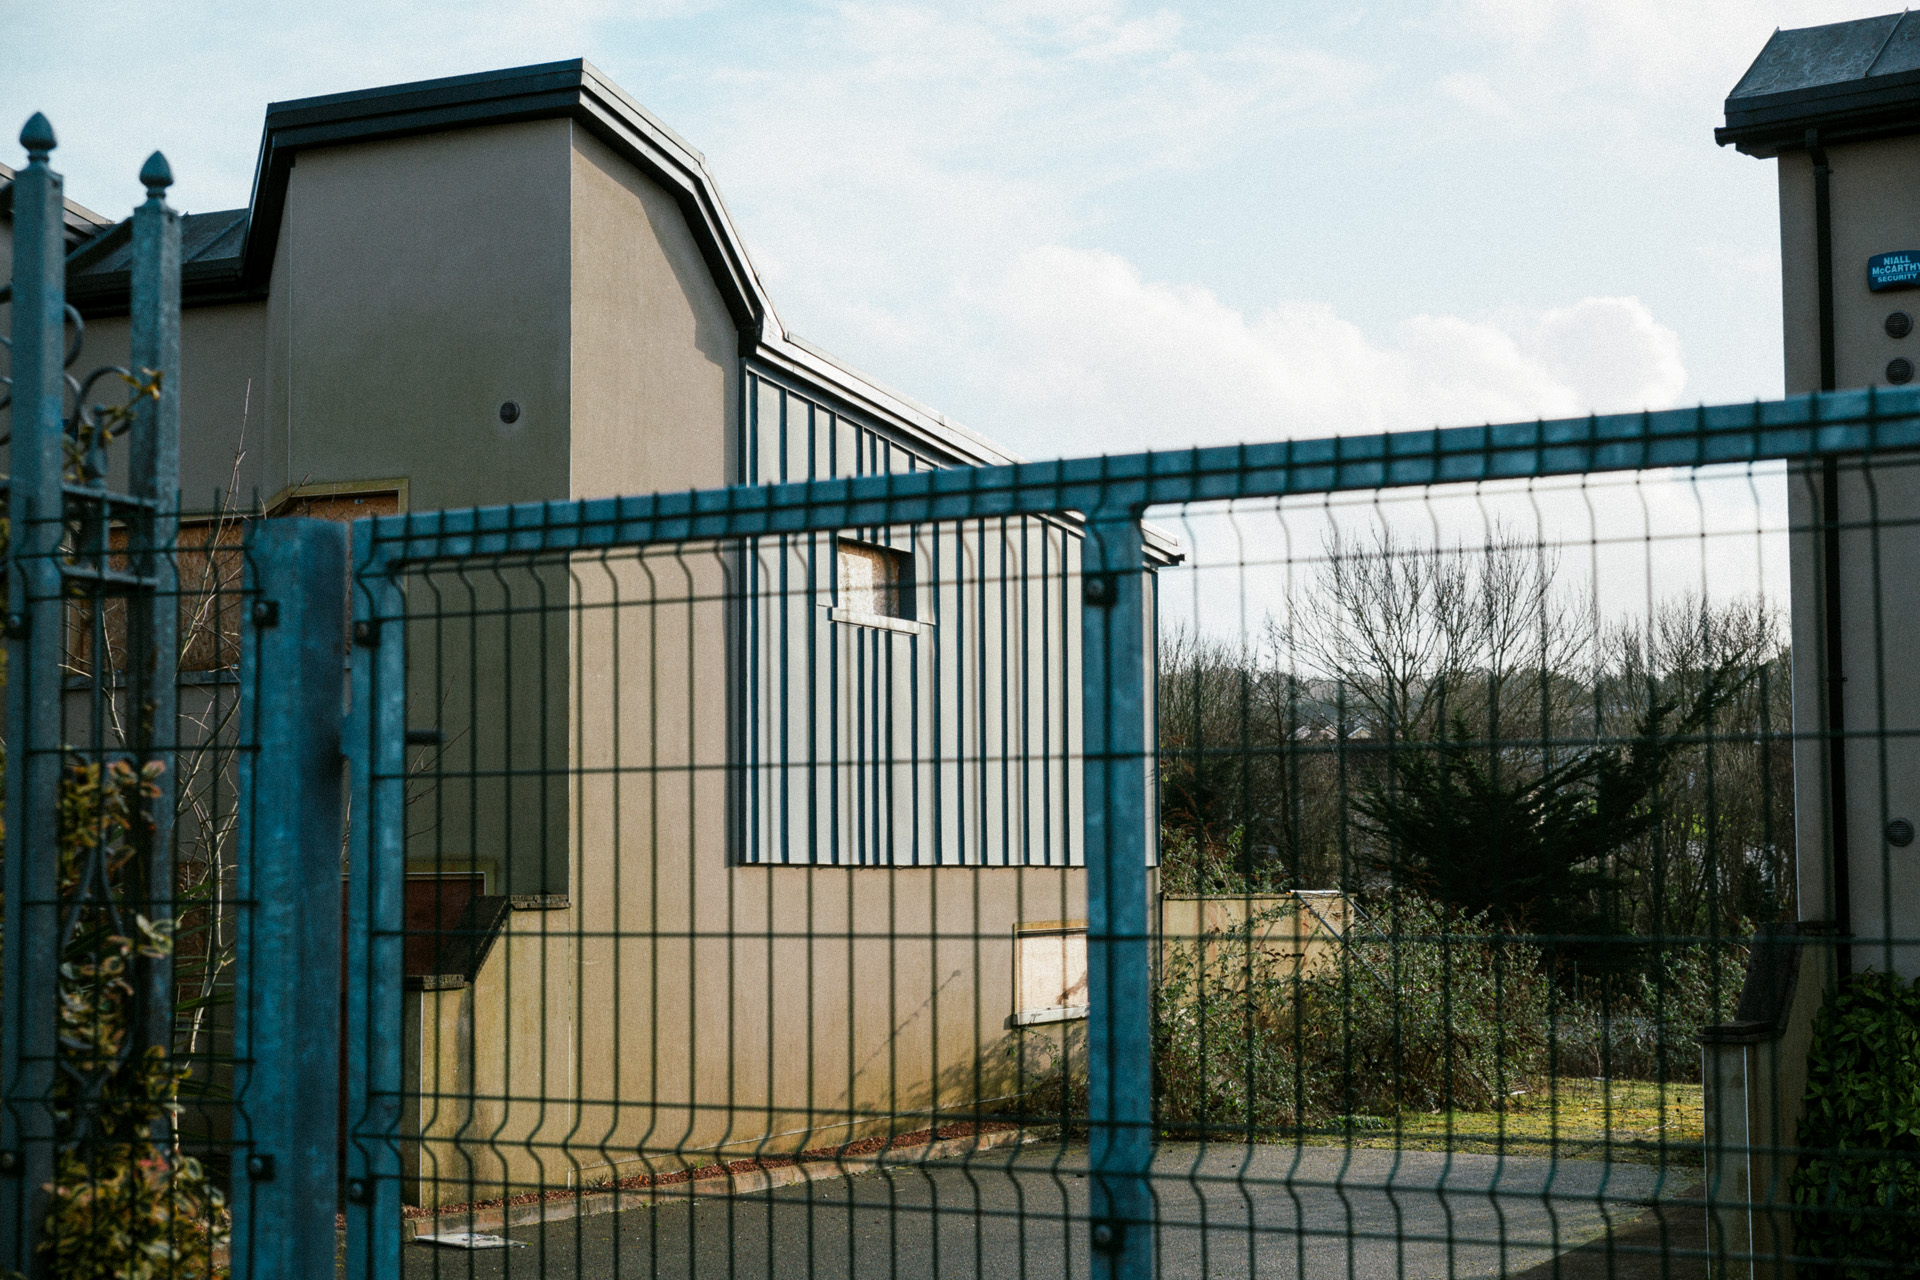
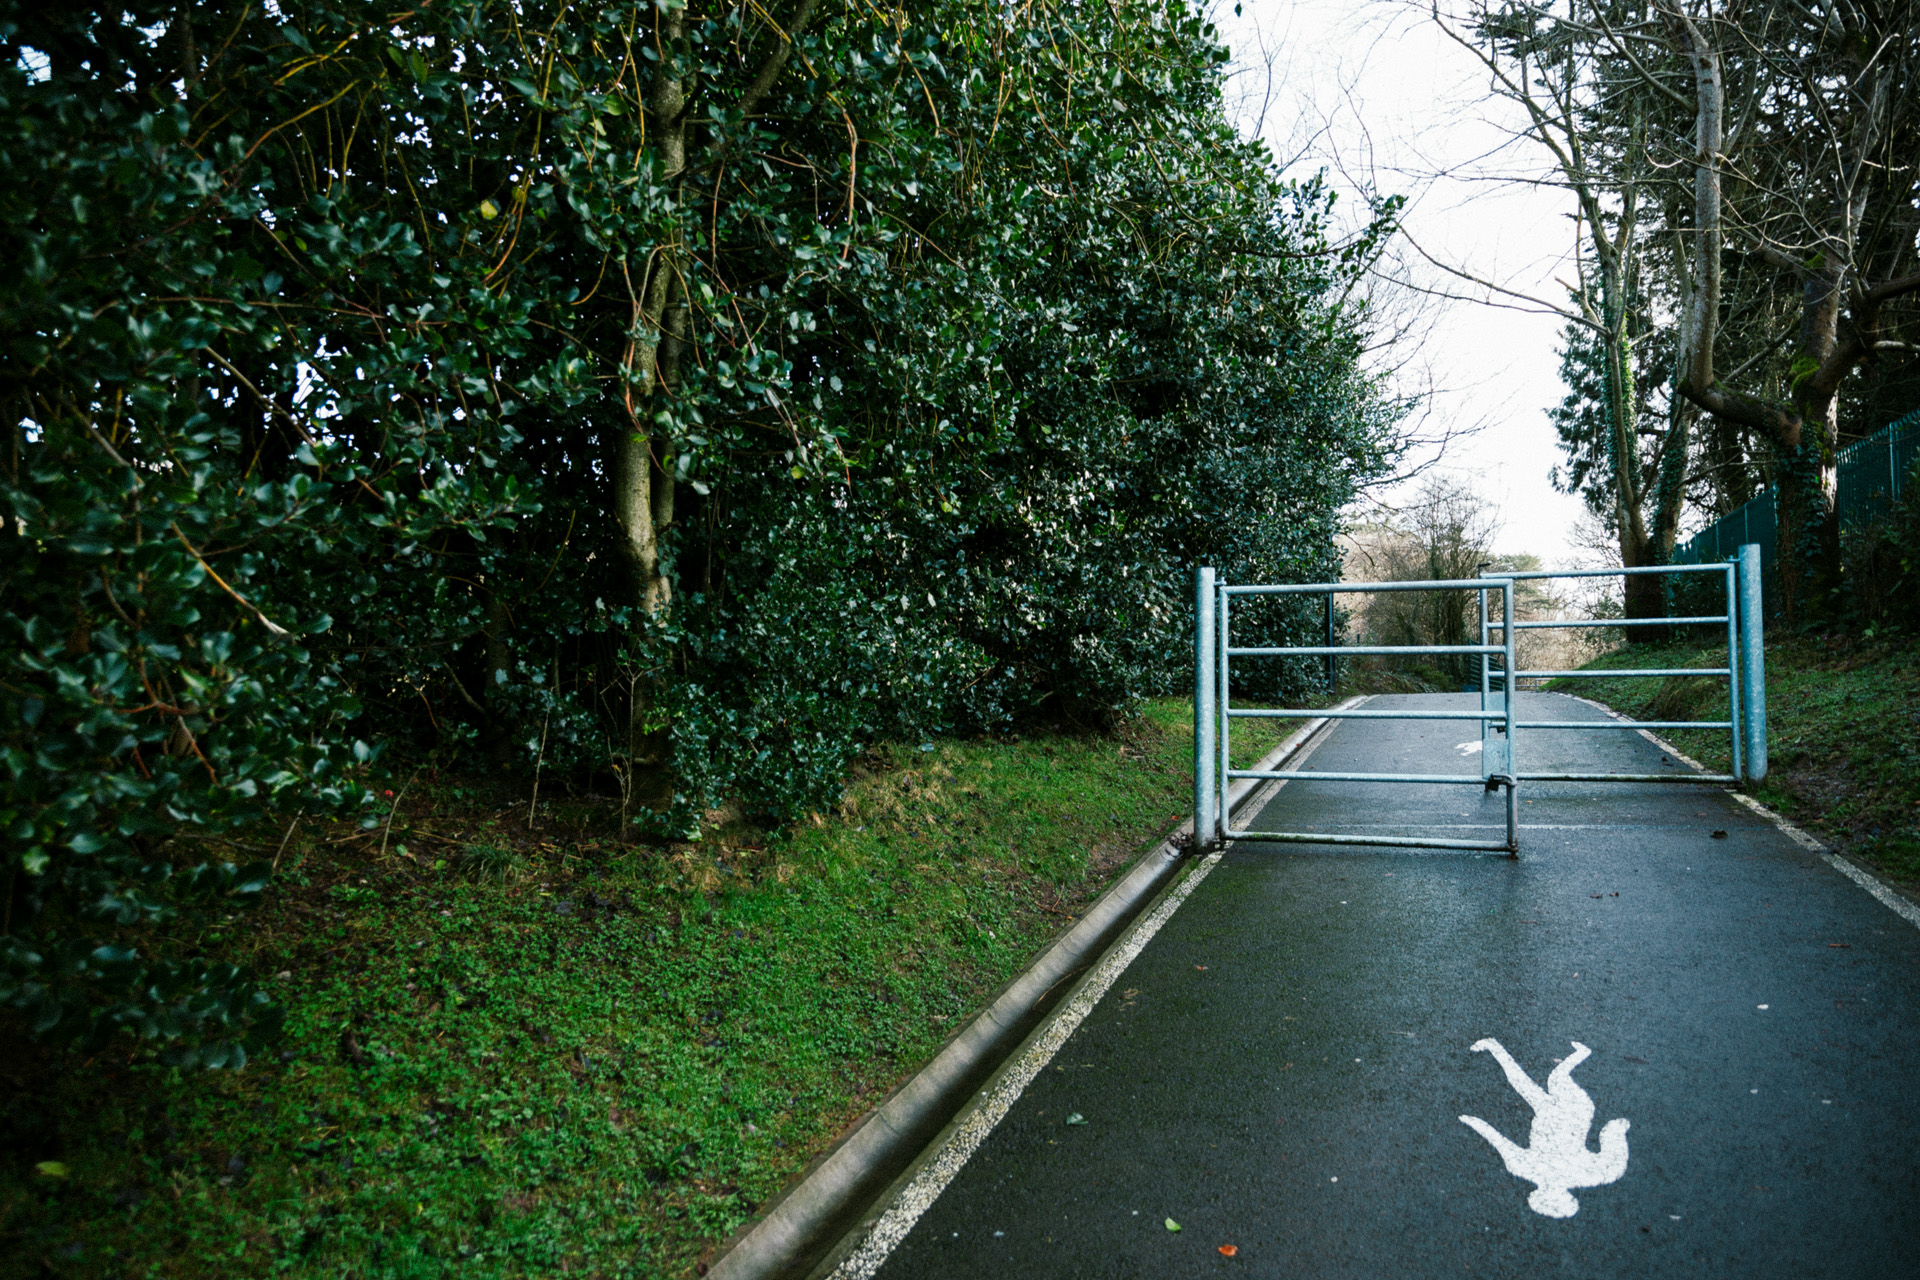
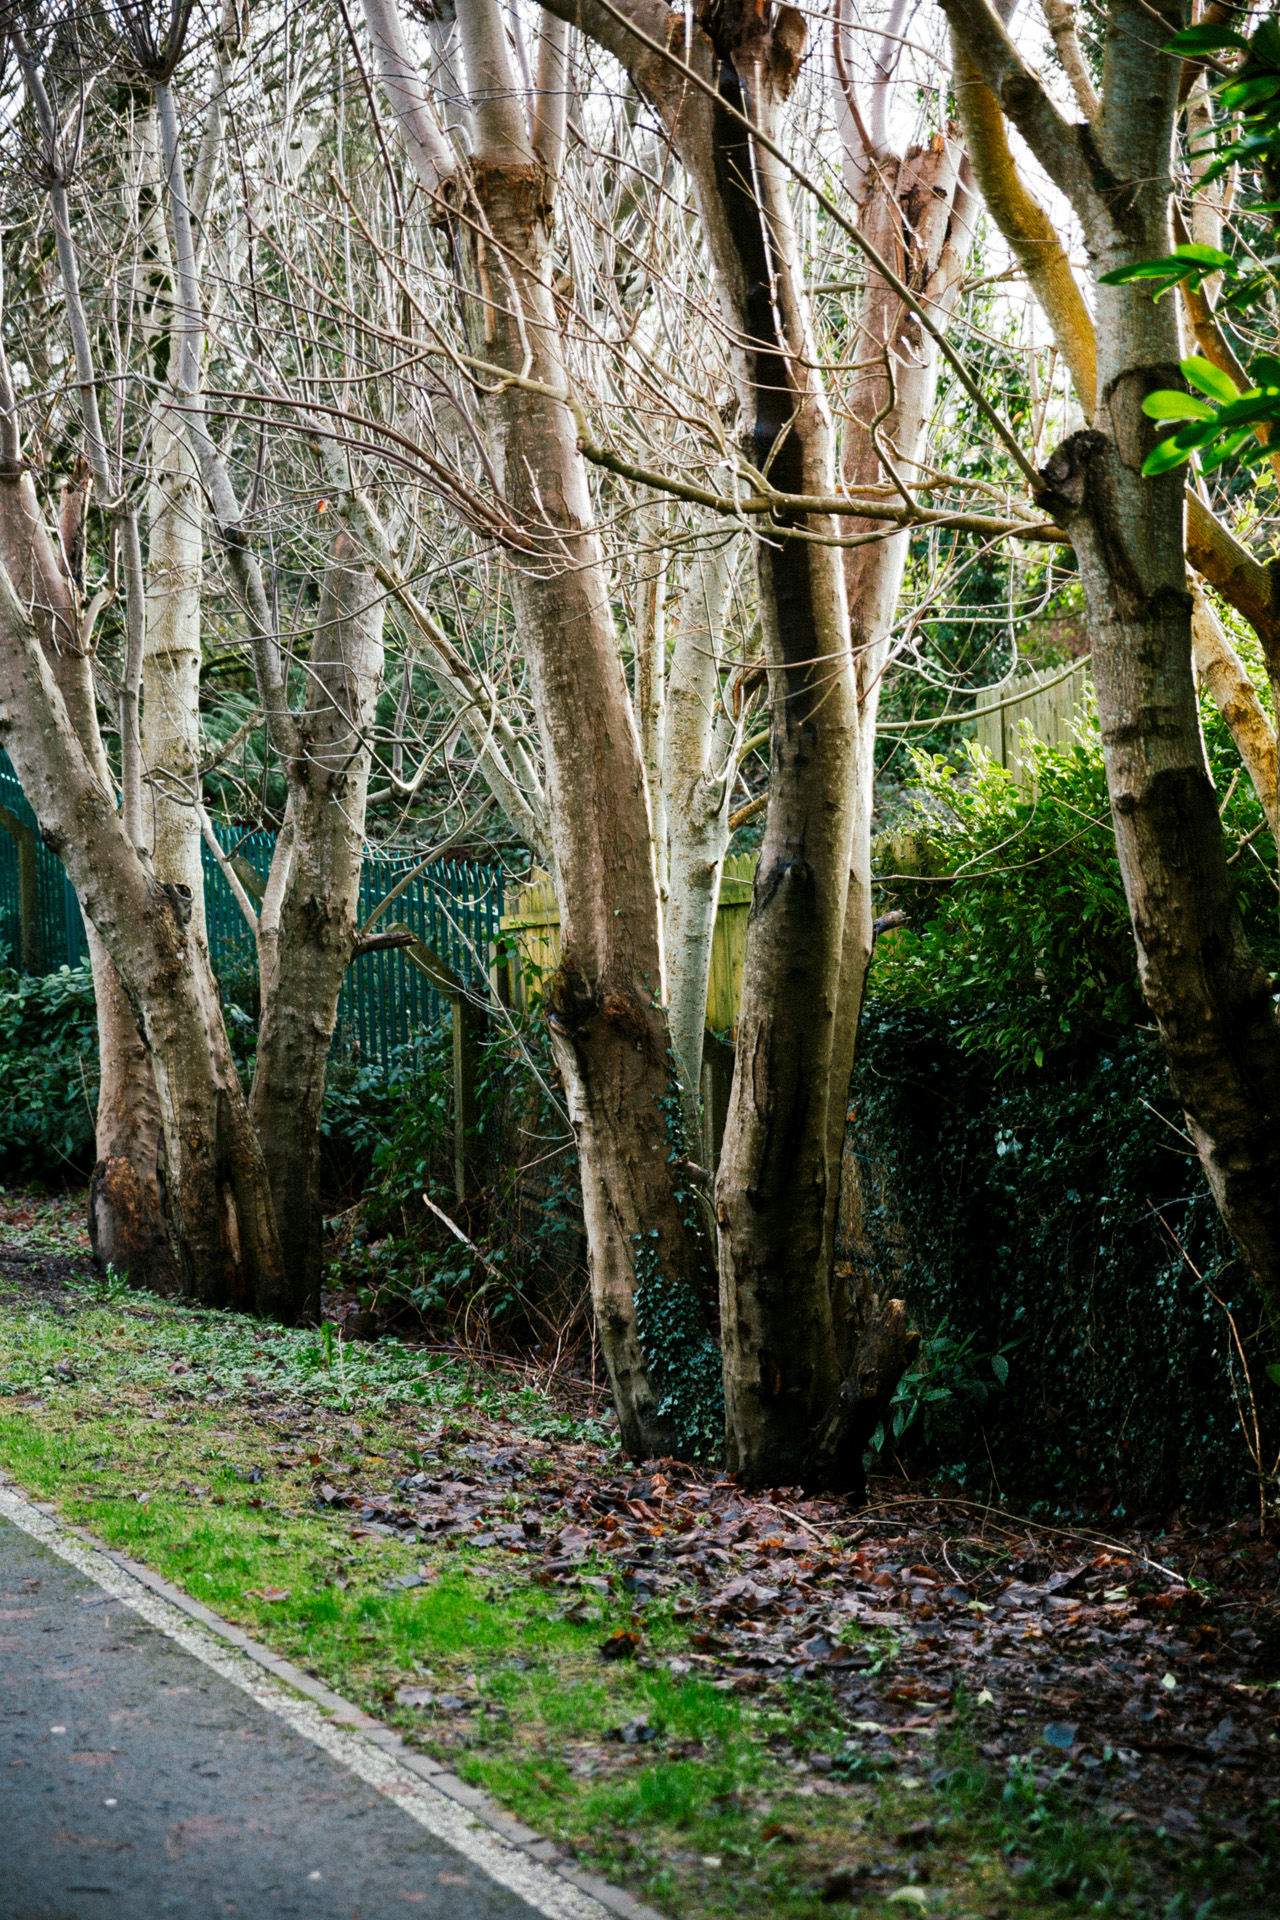
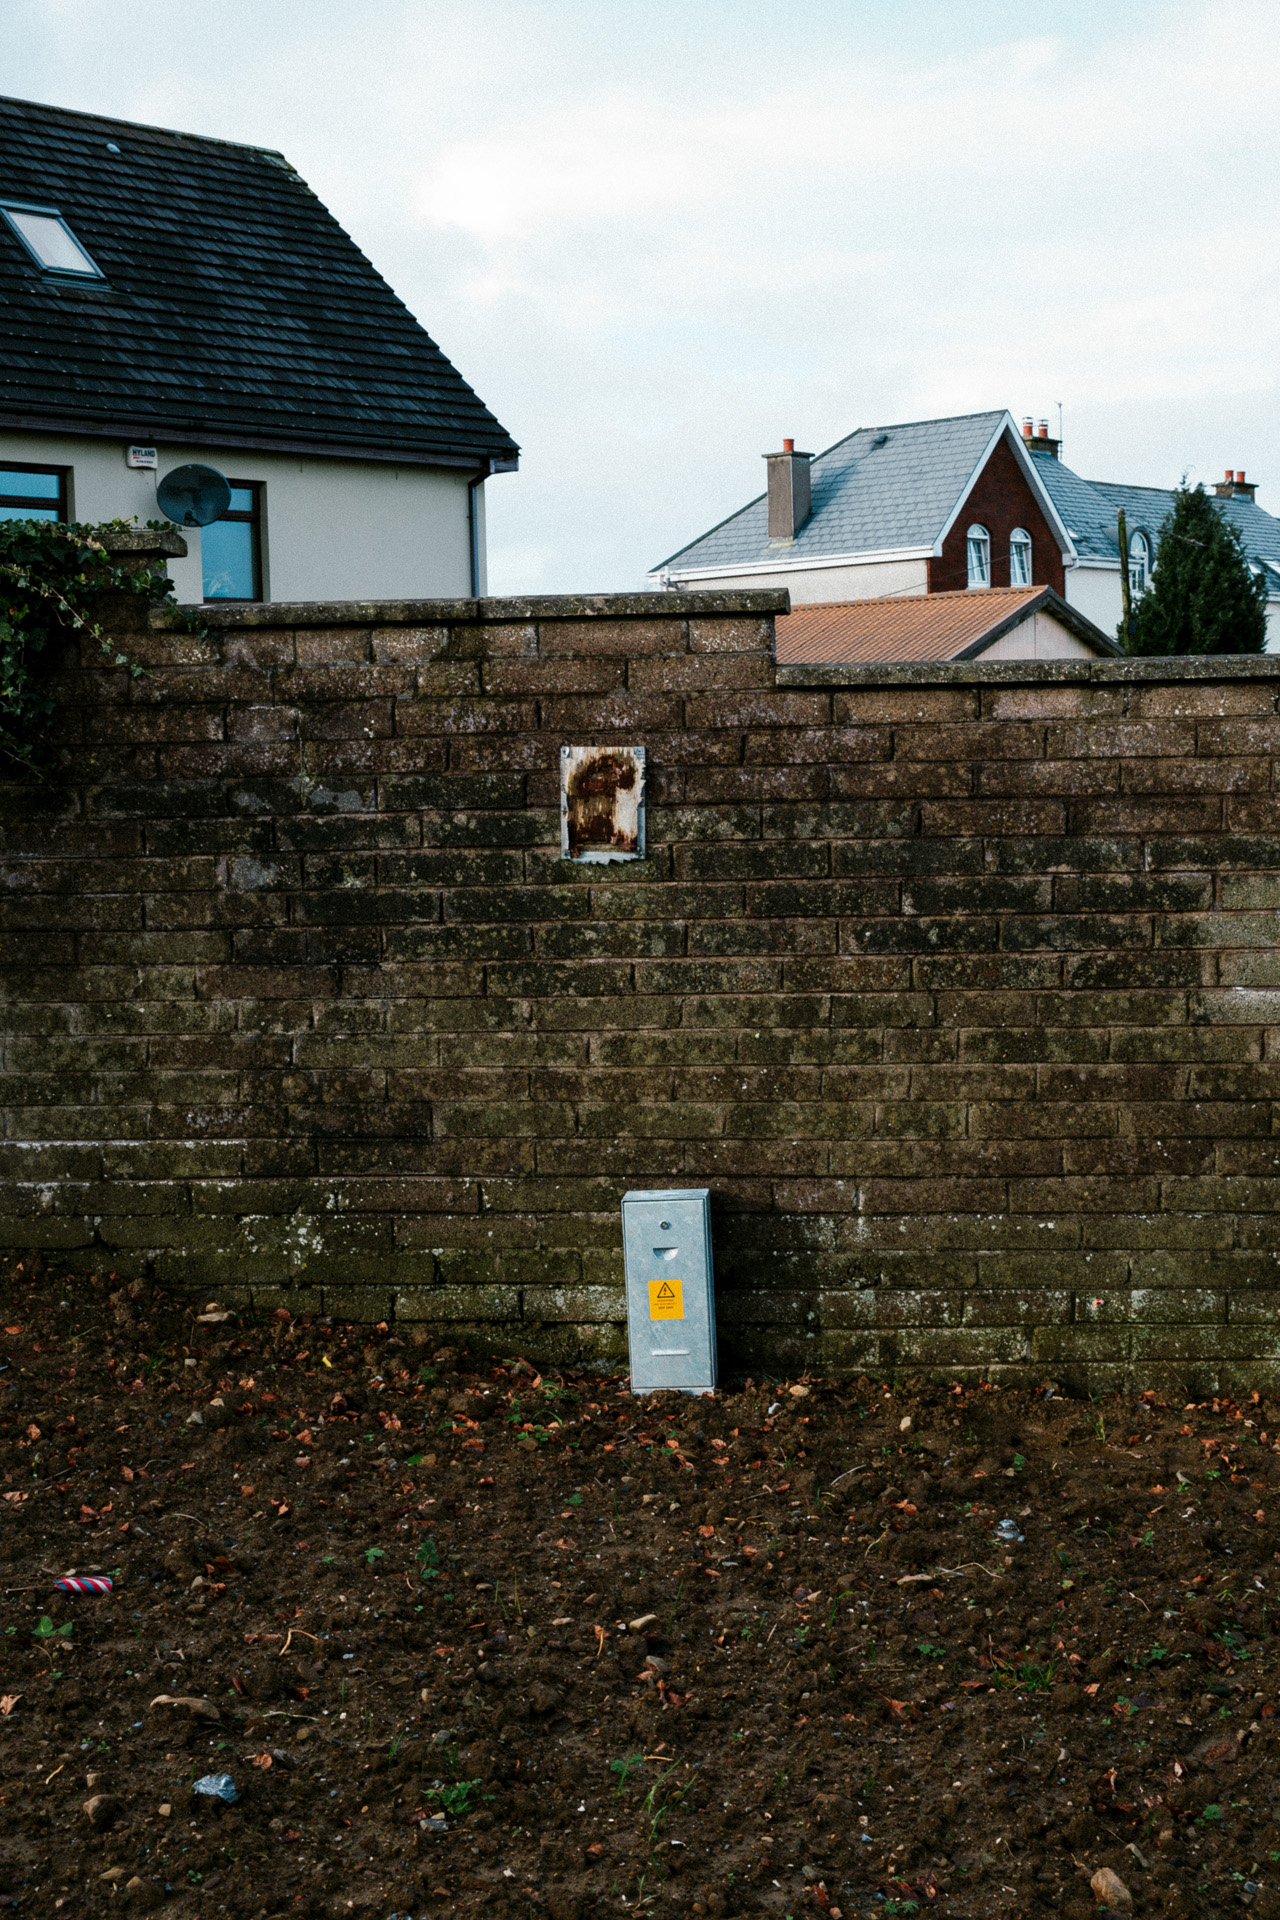
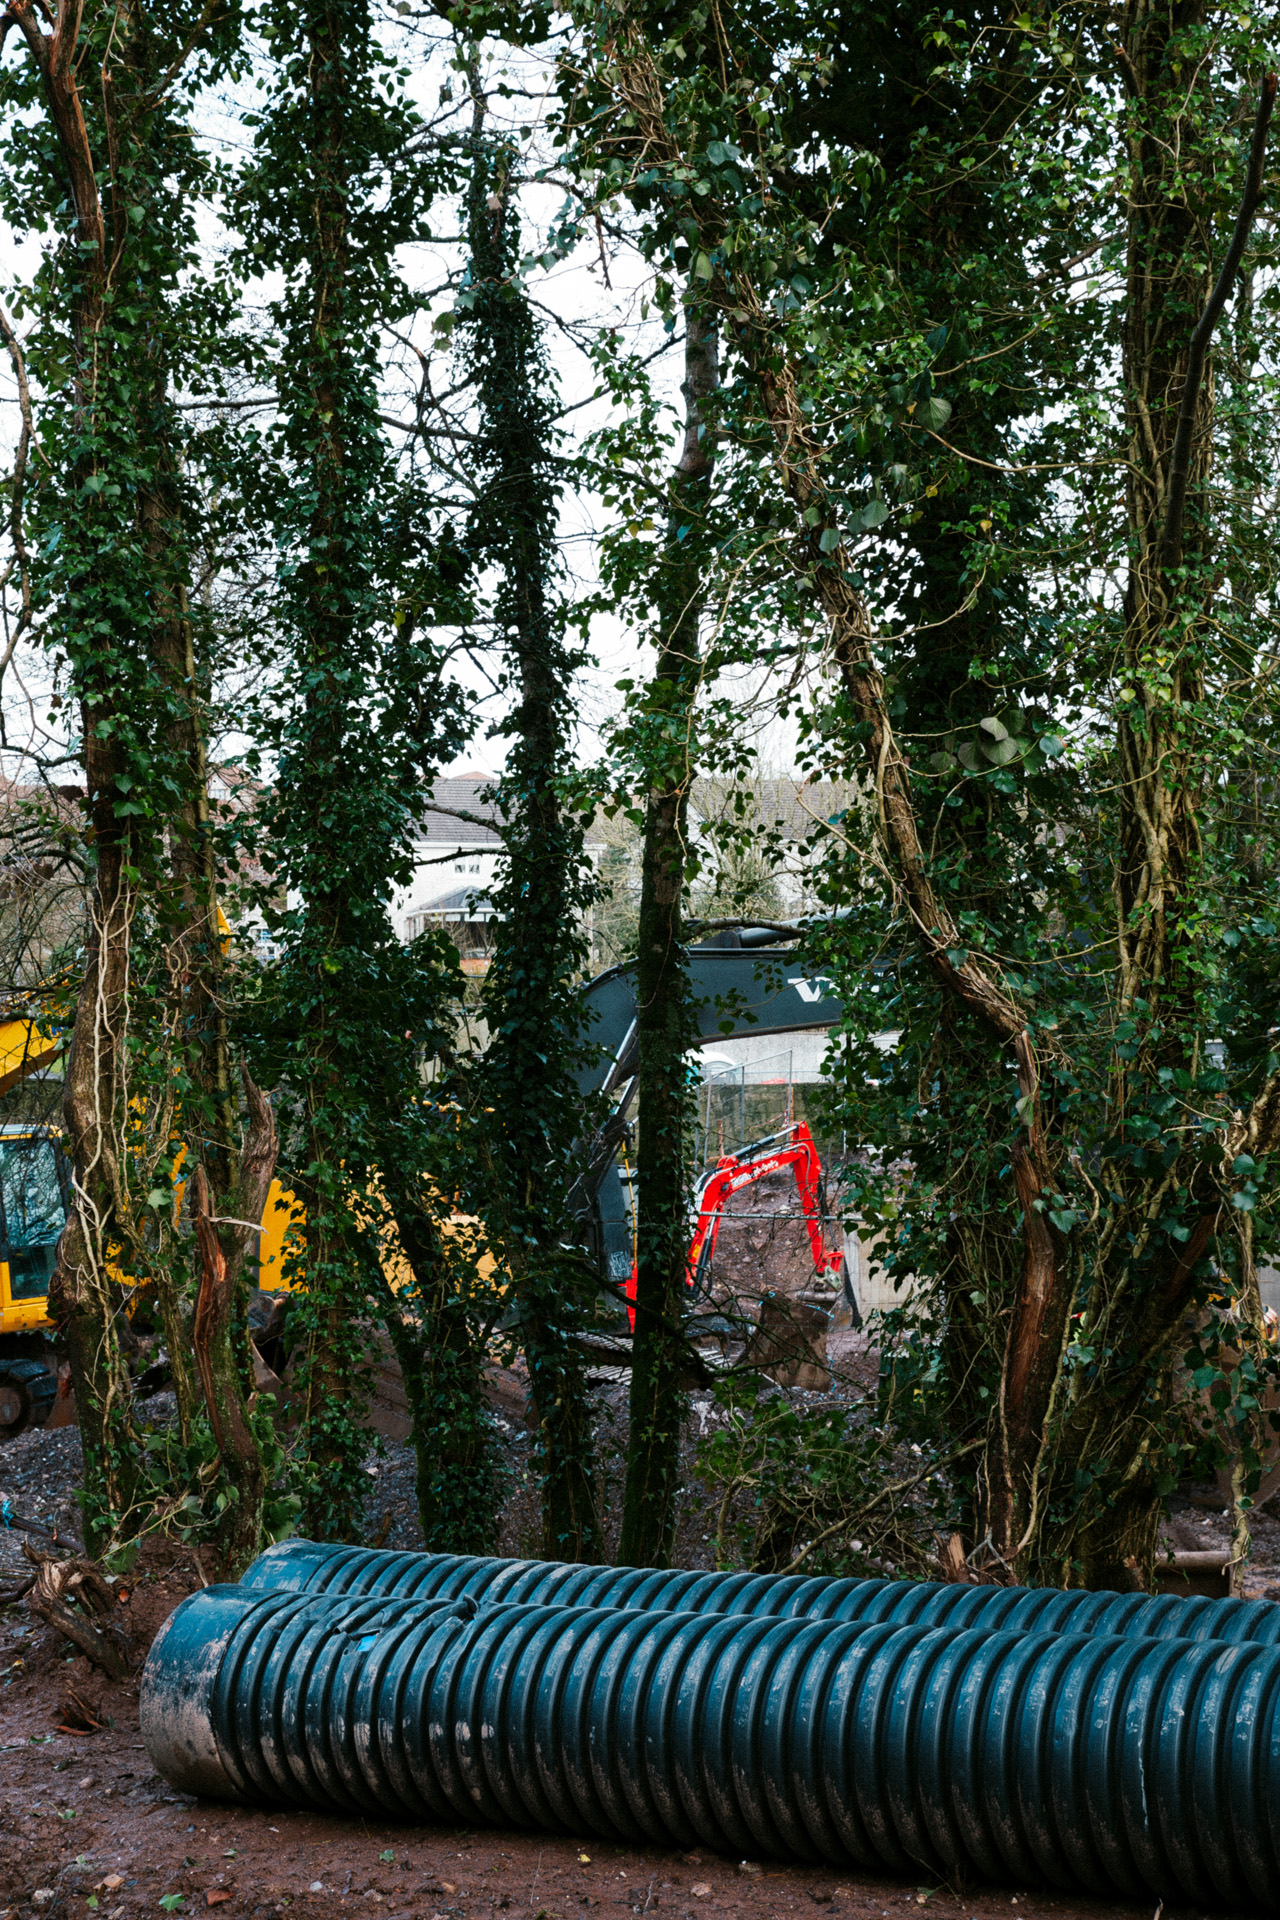
Today I grabbed my DSLR and went for a short walk around the neighbourhood to take some pics. I wanted to get some shots to test a film look DCP profile I've been working on. As part of my research for this I discovered that most contemporary DSLRs deliberately underexpose when using in-camera metering. This is because for most sensors there aren't actually that many stops between middle grey and totally blown out. For example, my 5D3 will clip at around 3.3 stops above middle grey. I know this because if I shoot a white sheet of paper at 1/3 stop increments and examine the linear RAW values, the exposure that gives me 18% of the maximum RAW value is around 3.3 stops below the one that clips... and that, by definition, is middle grey.
However, this leaves very little room in the highlights. The DR of the 5D3 is around 11.5 stops. So there's three and a bit above middle grey, and around eight below. If you were to meter correctly, you would be very much in danger of blowing out highlights. To help combat this, it appears that most camera manufacturers use 12% grey as the basis for metering. The effect of this is to provide an extra stop or so of highlight headroom. And in fact, this is borne out by checking values in ACR, where actual 18% grey sits at around 185 and 12% grey sits at around 119 (the given RGB number for middle grey in a 2.2 gamma).
Anyway, that's all very interesting or very dull, depending on your point of view. But for some reason it inspired me to shoot on auto exposure on my walk. Even though I normally think of manual exposure control as being the absolute best, I was now considering that Canon have probably tested this a lot and perhaps auto isn't so bad. So I put the camera on aperture priority with auto ISO and started snapping. At first I was kind of worried as I could immediately see two things happening that I would have rectified straight away if I had been shooting manual:
- Low contrast shots were looking a bit underexposed (I would normally ETTR in these situations to minimise noise)
- In high contrast scenes some sky was getting blown out (I would normally protect highlights as much as I can)
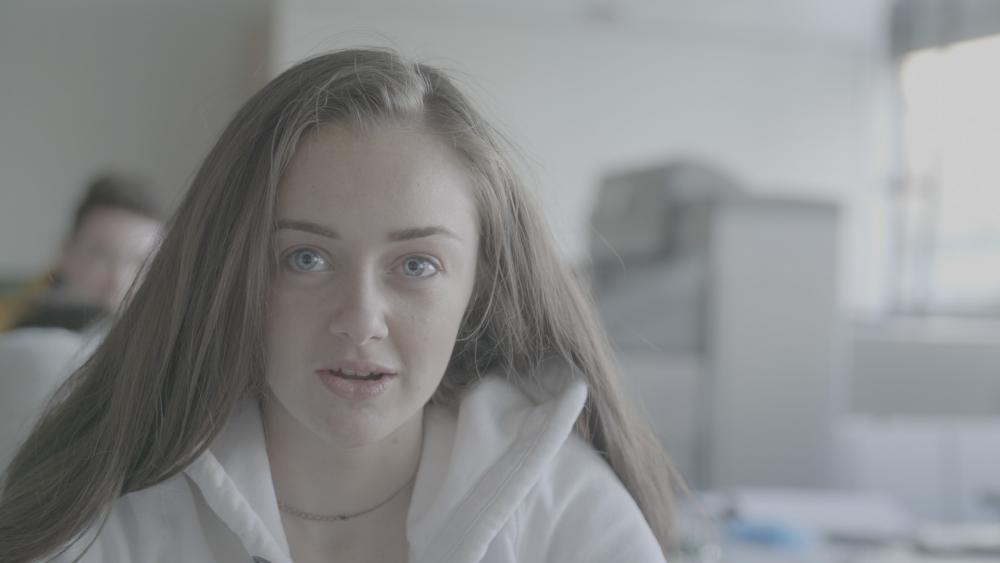
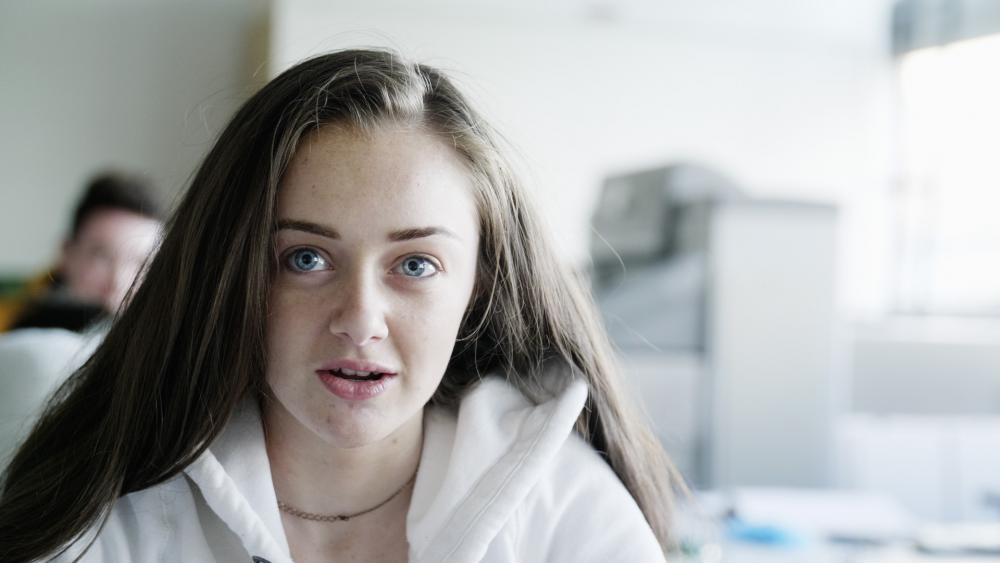
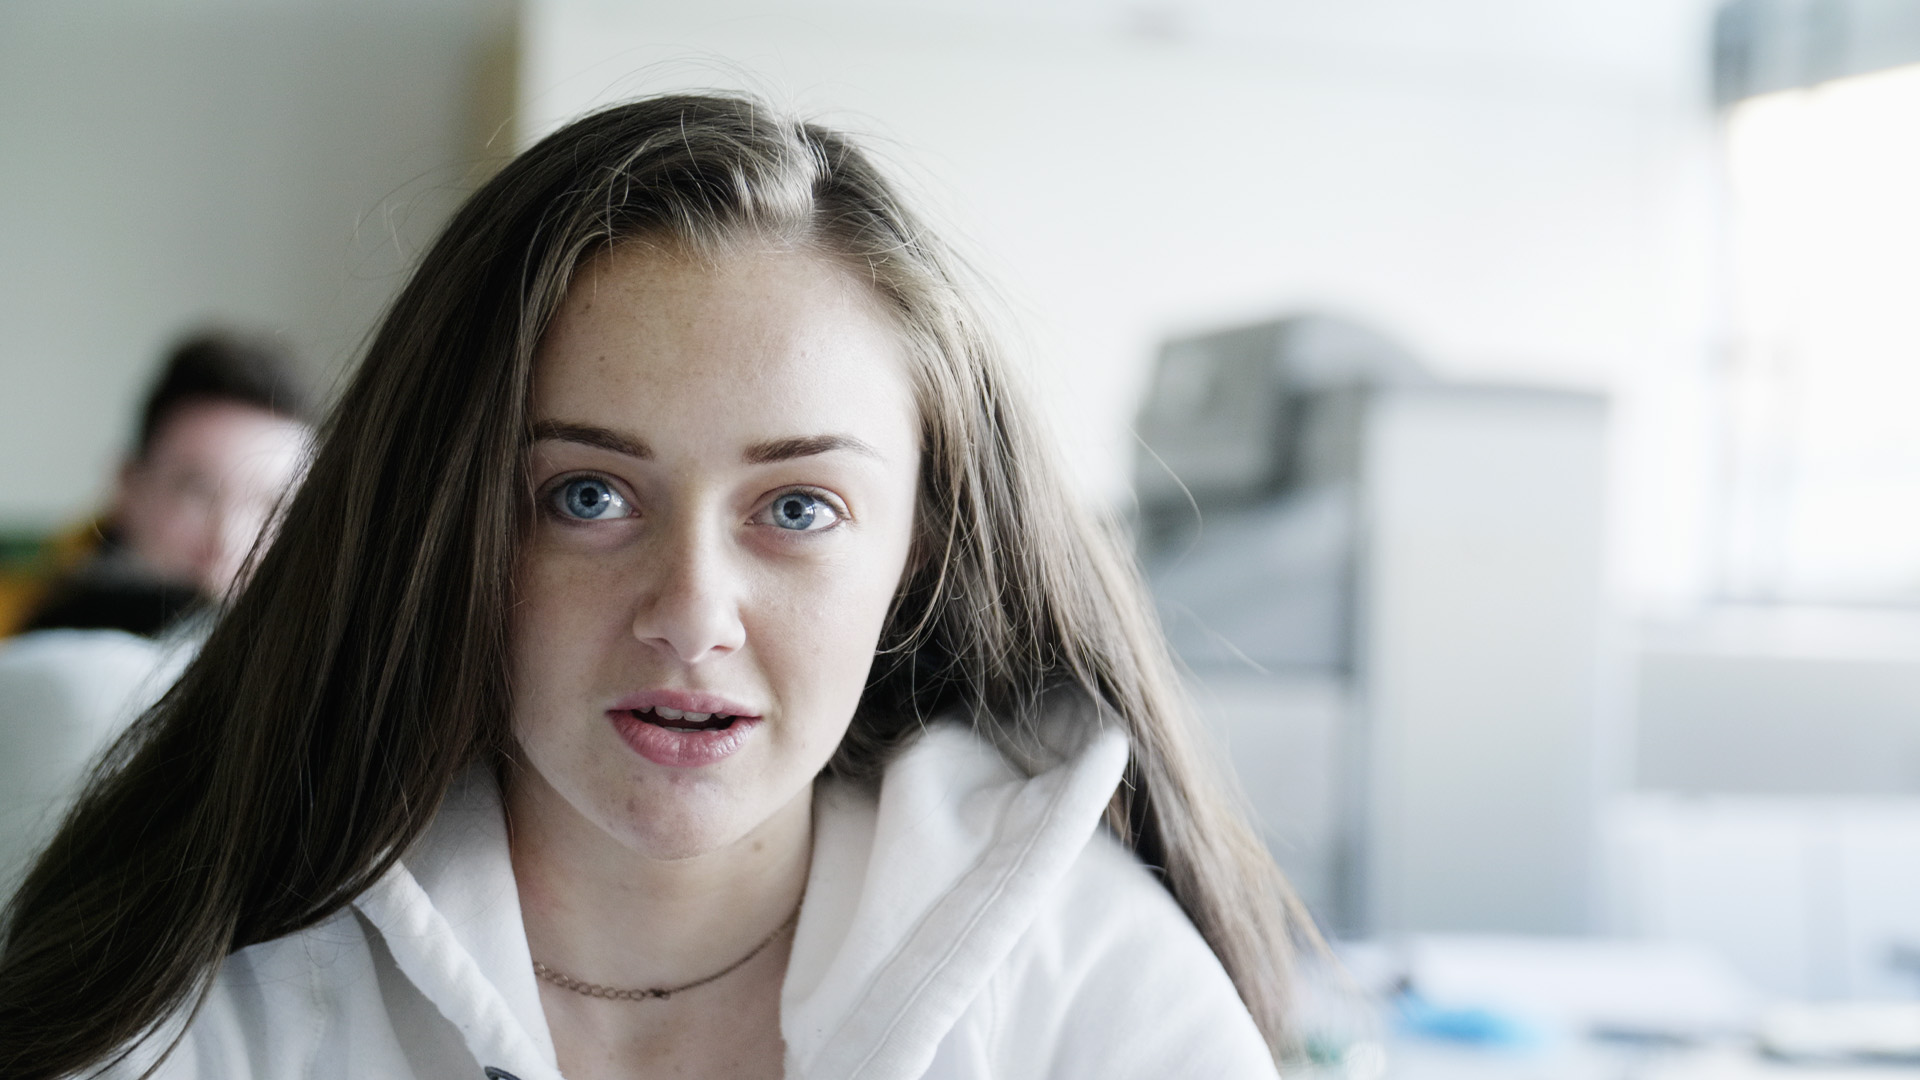
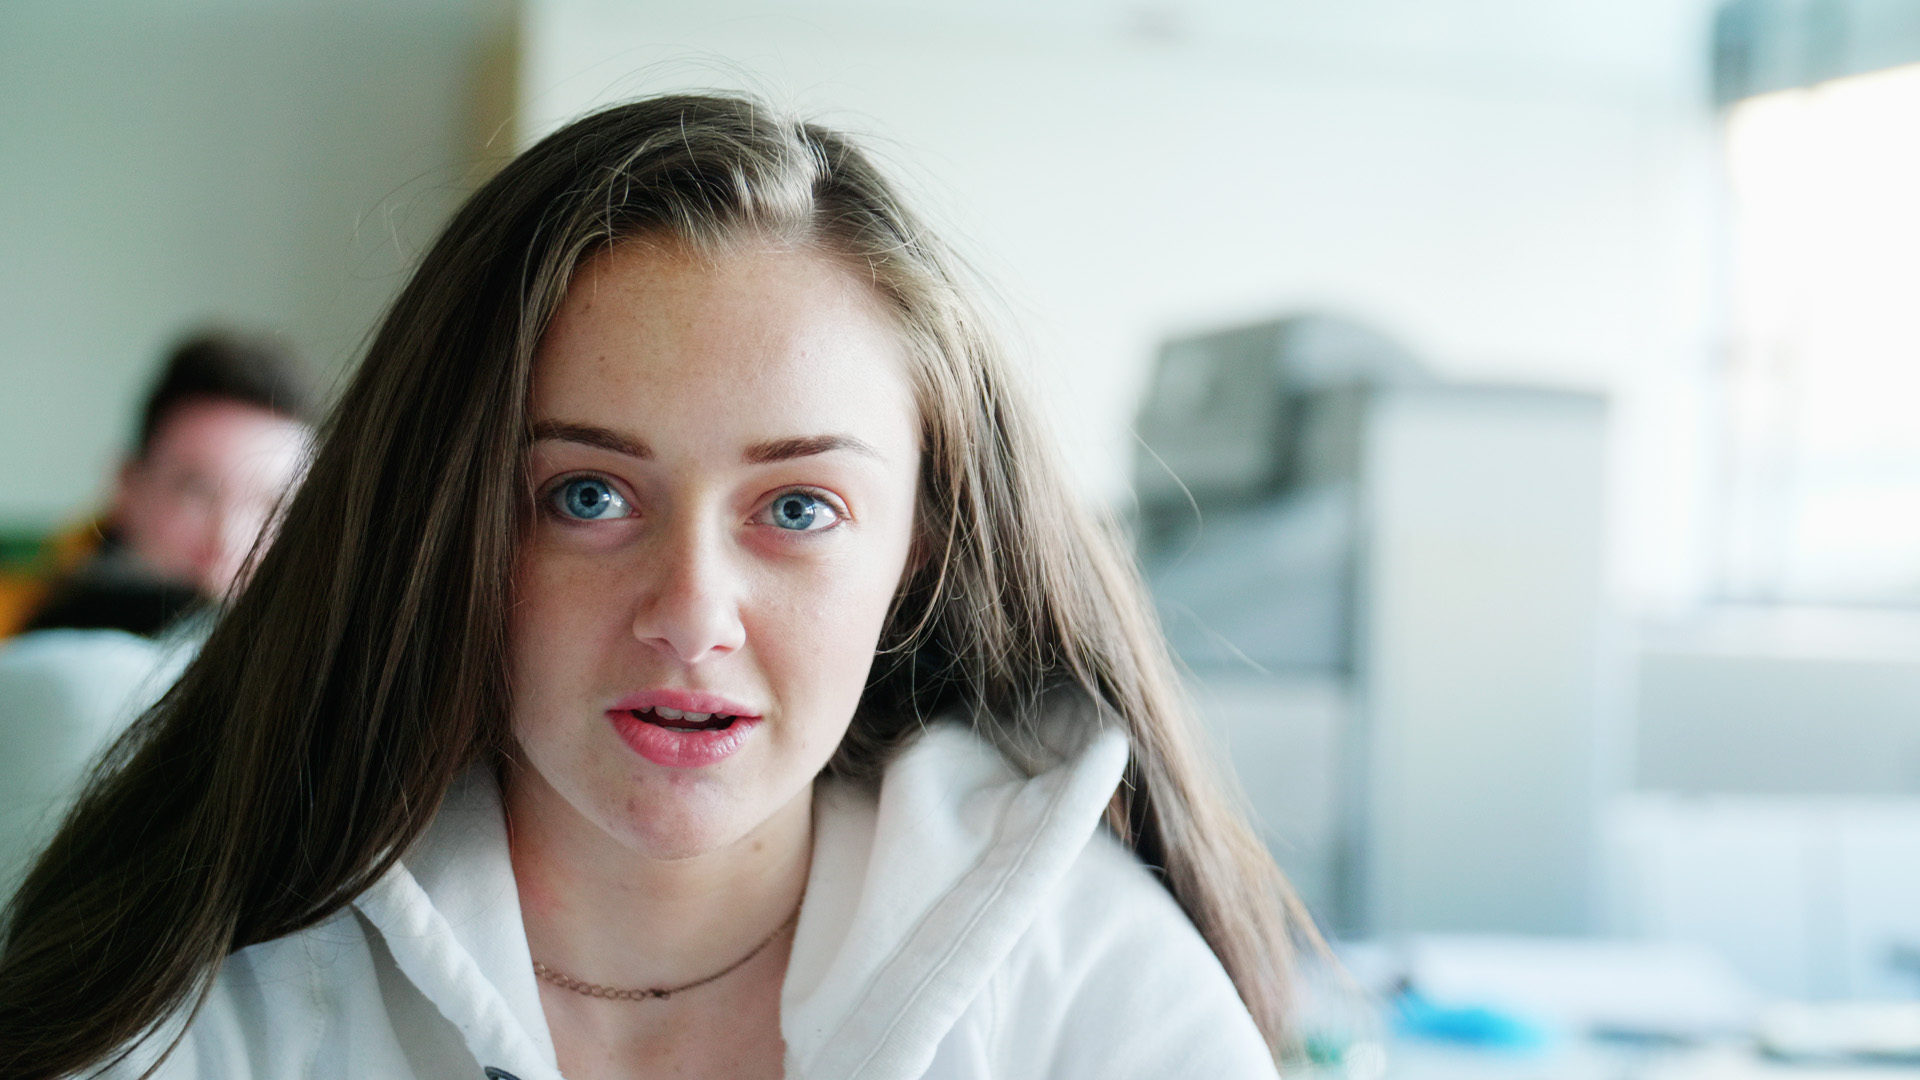
However, I just went with it. When I got back to my computer I also did something that I never usually do and that was to click the "Auto" button on the ACR exposure tab. I was really surprised with how well everything turned out. ACR's best guess did a great job at expanding or contracting shadows and highlights automatically. All I had to do was tweak overall exposure, and sometimes highlights or blacks as well. Here are some of the results:
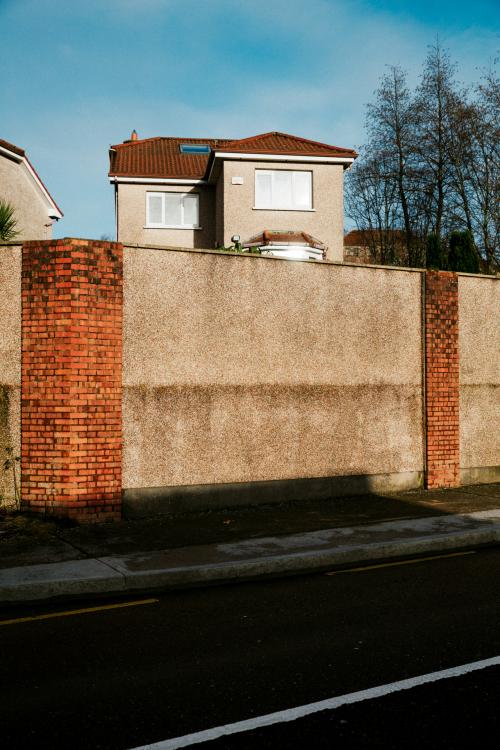
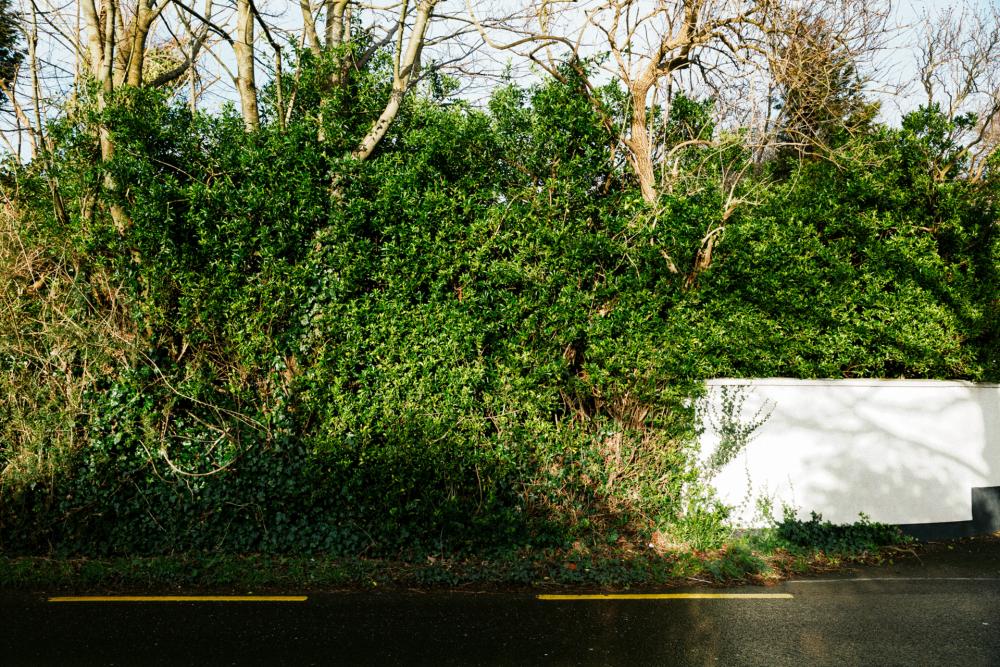

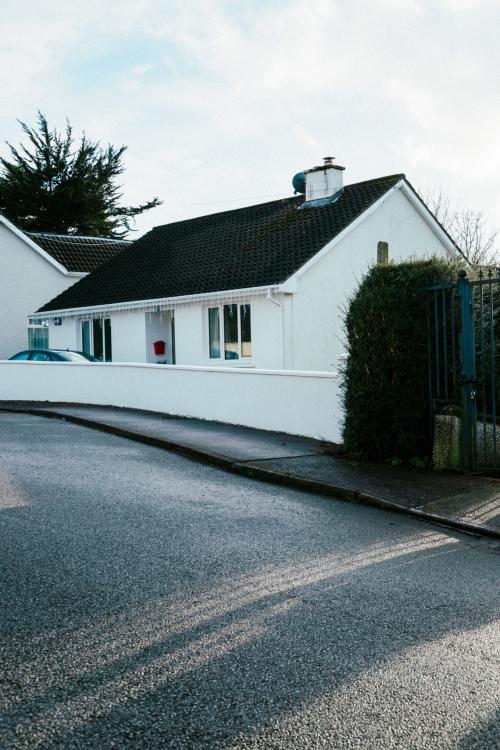
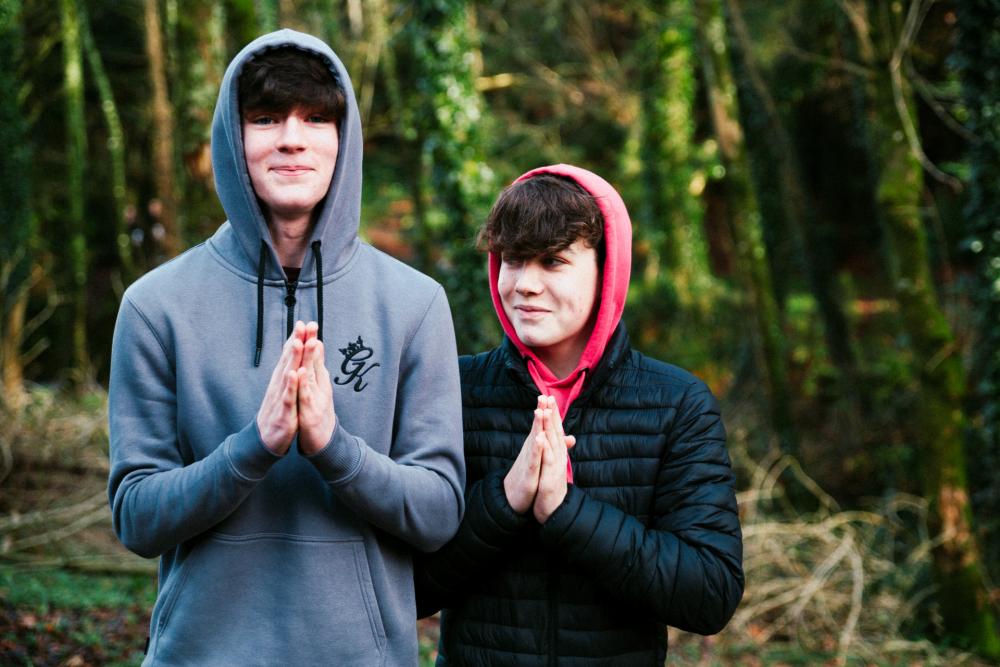
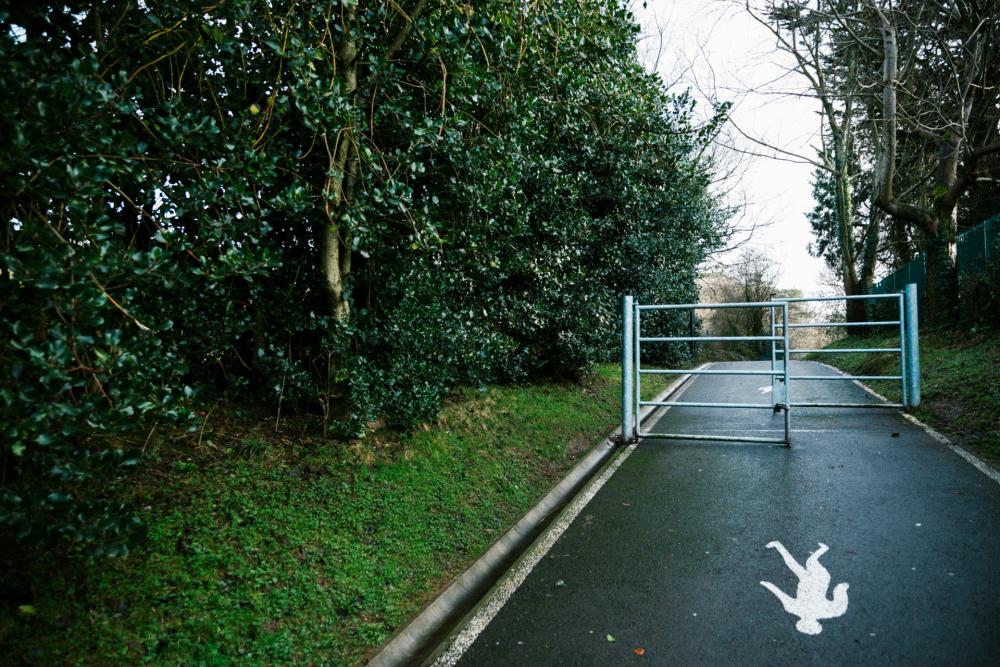

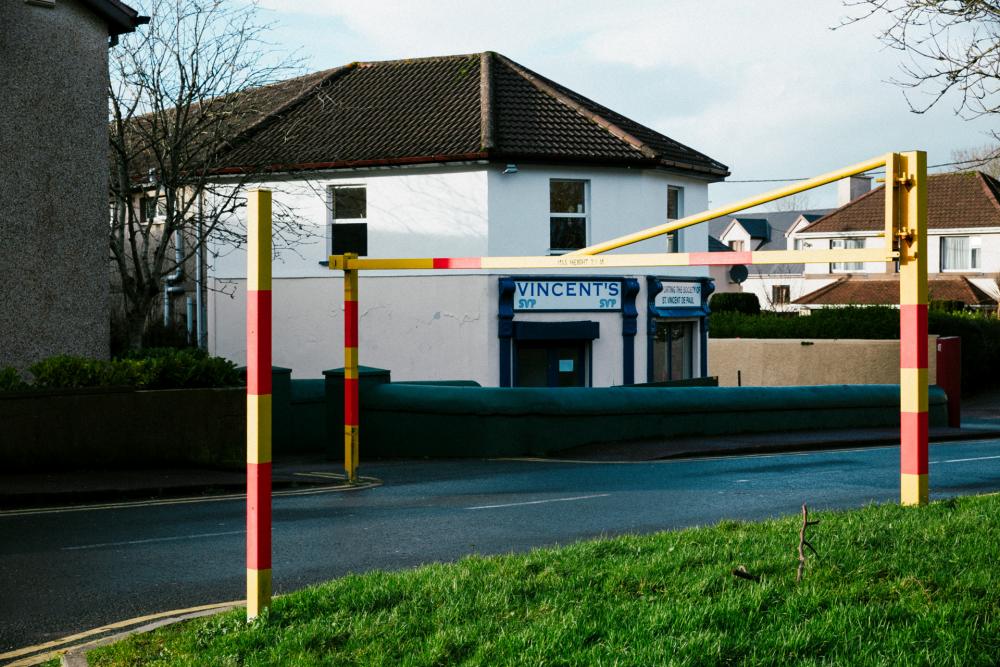
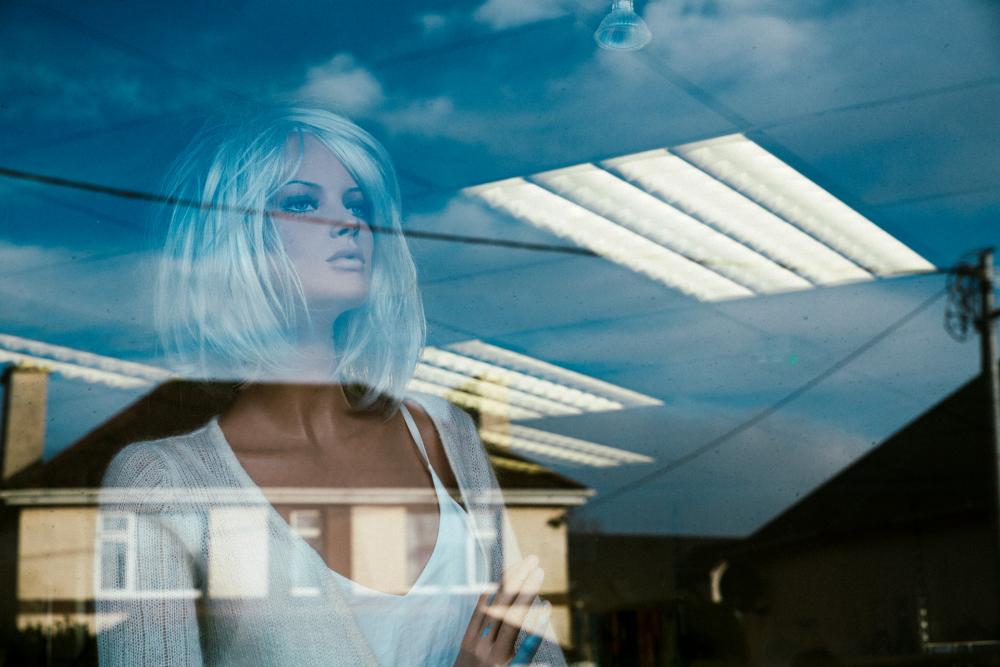
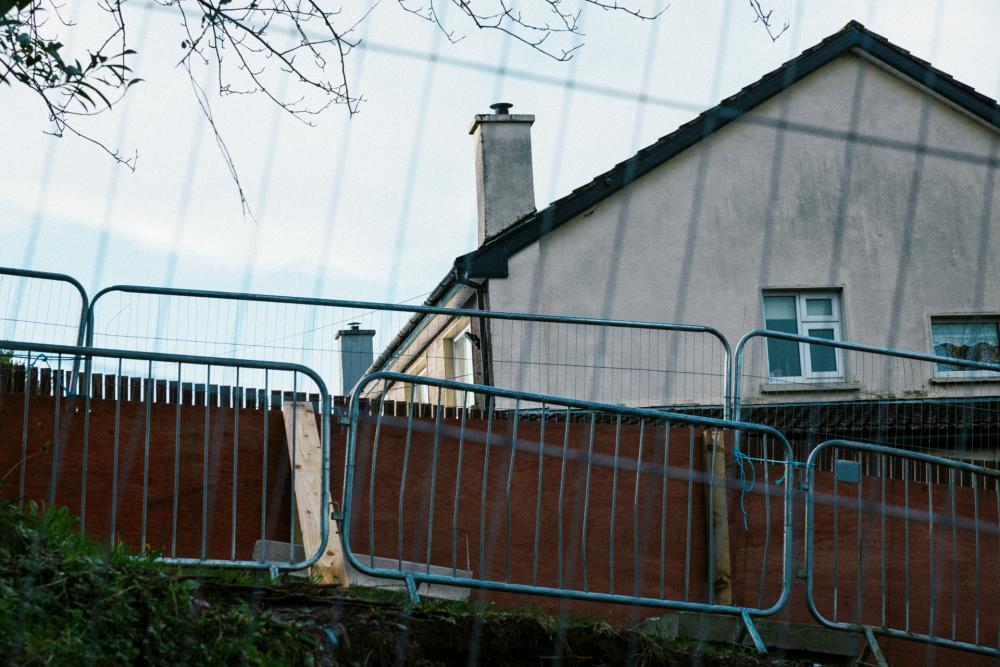


Are there clipped highlights and crushed blacks? Absolutely. But the pics still look good.
Now, I don't know if I would shoot this way for a client. However, I've got to say that it was such a blessed relief to not be constantly chimping the histogram and re-taking shots to get the ideal exposure. And it was also a very good feeling to get the processing done in two or three clicks. It made both shooting and processing a lot more fun.
Who knows, maybe I'm ready for auto white balance next!
- mercer, Mark Tincho, kaylee and 2 others
-
 5
5
-
-
-
22 minutes ago, JeremyDulac said:
Just curious on why the highlights dont fill to the top of my ire
When I'm using LUTs that don't use the full range on output I feed in a maxed out white or black image and then tweak after the lut so that whites are white and blacks are black and use this as a basis for grading.
-
18 hours ago, JordanWright said:
Was this shot in Vlog?
Yes Jordan - all shot in VLog.
-
I've been messing around with this for a few hours now. The main lut plays really nicely with Juan Melara's print film emulation luts:

- BopBill and Jonesy Jones
-
2
-
Here is a set of LUTs based on Ektar 100 for use on ML DNGs in Resolve
https://bitbucket.org/hyalinejim/ml-log/downloads/ML%20BMD%20to%20Ekt100.zip
Set up your project something like this:


What's the deal with these luts?
These luts fairly accurately emulate Ektar 100 film, as scanned by a specific lab and at various exposures. With negative film as exposure increases so does colour and contrast. And there are different colour casts in the shadows, midtones and highlights at different exposure levels. The five luts here emulate these changes in colour and contrast from two stops underexposed to two stops overexposed. I've labelled them A to E and added plus or minus marks to indicate the exposure level. I've also carefully adjusted the tonality and white balance of each lut so that middle grey falls at the same point for each one. Applying the minus two lut won't make your footage look underexposed, nor will the plus two make it look overexposed. However, you'll notice that the minus two has very milky blacks, a generally cool tone and muted colours. The plus two is much more contrasty with overall warmer tones and hyper saturation, especially in the reds. It may be too much for skintones, as is often the case with real Ektar 100 film. The middle exposure lut has the most neutral colour cast.
How to approach the luts in post
There are two things you're going to want to be able to do to work with these:
1. Manipulate white balance somehow (both on the orange-blue axis and red-magenta axis). Lumetri is good for this. You can also try a three way colour corrector in the midtones
2. Manipulate black, midtone and white levels. I like to use curves, but levels or lift-gamma-gain controls are also good
Both of these should be done before the lut. So don't feel that you're stuck with a particular colour cast or contrast level with a given lut. If you like the colour of "D +" (one stop over) but find it too contrasty, just lift the black point and lower the white point before the lut to lower overall contrast. Use the midtones control to adjust overall exposure.If you prefer using ACR, see this post:
https://www.magiclantern.fm/forum/index.php?topic=19338.msg192046#msg192046
-
My short documentary The Cloud of Unknowing, shot on 5D3 Magic Lantern, has been nominated for "Best British / Irish Short Film" by the London Film Critics' Circle. The awards ceremony is on January 28th... so fingers crossed for that!
Here is a short extract from the film with some info about it:
And here are some more details on the award nomination.
http://www.iftn.ie/news/?act1=record&only=1&aid=73&rid=4291381&tpl=archnews&force=1
Thanks Magic Lantern!")
- EthanAlexander, kaylee, mercer and 2 others
-
5
-
GH5 at a friend's wedding. A little bit of grain, vignetting, lens blur and digital diffusion... plus a colour treatment based on my experiments with matching colour and contrast with Ektar 100 film.
-
This is some really nice work @Sage . You've done a great job here. At first glance the LUTs seem to give very good colour and are well behaved.
VLOG:

Daylight Soft:

Add some contrast:

-
1 hour ago, Andrew Reid said:
4. This forum prefers people who post under their real name, rather than the name of their channel, online presence or a nickname.
If you've already created an account with a silly name, like I did, you can add your real name if you go to Profile > Edit Profile > Member Title
-
I'm not sure @sanveer. I'm not one of the core ML team - I'm just helping out a little with this profile and some other things like look luts. I imagine ML have plenty on their plate with the Canon cams.
In the meantime, let's try to keep this on topic

Have any EOSHD users tried this profile yet?
-
-
Danne (Magic Lantern superstar) and I have been working on a log DCP profile for Magic Lantern. At the moment, it's just for the 5D3. But if feedback is positive we will try to roll it out for all Magic Lantern cams.
This profile is for use with an Adobe Camera Raw to After Effects workflow (although it may have other applications). Although other workflows may be faster - Resolve, for example - many people feel that the debayering, colour reproduction and noise control offered by ACR is unparalleled.
The philosophy with this profile is to get the raw linear data into a log curve, so that blacks and whites aren't clipped and there is a relatively equal relationship between stops. Interestingly enough with this profile, and maybe it is unique in this regard, it has very accurate colour. Unlike Sony's S-Log or Panasonic's V-Log it's not necessary to correct for unusual colour reproduction. Just set a good white balance in ACR, apply a curve and colours are (almost!) bang on target.
If you've never used a DCP profile before read more about it here:
https://www.magiclantern.fm/forum/index.php?topic=20710.msg191757;topicseen#msg191757
Here is a ZIP file with the DCP and with two kinds of curves, one clean one with a "filmic" colour cast. You get both as a LUT and as a curve file for your convenience.
DOWNLOAD:
https://bitbucket.org/hyalinejim/ml-log/downloads/
ACR default:

ML-Log

ML-Log + curve

-
For me 3200 is OK if it's well exposed. After that I'd be looking at Neat Video.
VLog gives max dynamic range. Next best is Like709, according to Paul Leeming.
-
TBH I've always unsqueezed my Isco 36 to 1.33x. This is nice because 16:9 becomes 2.39:1.
It's a bit vertically stretched in the center, but the edges are right when you're as wide as you can go.
1.5x was wishful thinking / marketing on Isco's part at the time. Shoot a ball in different parts of the frame and check out what unsqueeze ratio makes it a circle again.
-
Agreed. Magic Lantern RAW on 5D3 is a great option as you'll need a full frame camera to take maximum advantage of your shift lenses.
I have the Canon 24 and a Zuiko 35. I've got to say that if you're fully vertically shifted at 24 and you pan the camera you will really notice wide angle distortion that you might get away with in a photo. A slide would be ok as the background doesn't move much.
Now, maximum resolution in 5D3 ML full frame is 1920 x 1080. So if you need high res, do think about a GH5 with a speedbooster XL, in which case your 17 will be more like a 21, etc.
But remember that video is nearly always landscape orientation. So you might still need that 17 to be on a full frame to get in the tops of buildings that are high/close.
Perhaps install Magic Lantern on your 5D2 and play with different crop factors, checking how they affect your lenses.
-
Stunning!


GH5 to Alexa Conversion
In: Cameras
Posted
@Sage Am I right in understanding that your lut converts GH5 VGamut to Alexa Wide gamut? If so, the "correct" way to use your luts would be to use GHa LogC with an Alexa Wide Gamut to Alexa X-2 conversion. When I do this, colours look more correct - not too saturated and skintones are not too magenta.
Here's a comparison with actual X-Rite colorchecker values from BabelColor in the centre as a reference. I've added a curve to each to match to the chart's gamma.
(VLog to GHa LogC) + (LogC Gamma & Alexa Wide Gamut to Alexa-X-2 Gamma & Alexa-X-2 Gamut) BEST MATCH
(VLog to GHa Main) - too saturated
(VLog to Varicam V709) - better, but not as good as the first one
So as far as I can see, the colours that GHa gives should (technically) be transformed by using them with a LUT that expects Alexa Wide Gamut. So I'm curious as to what you see is the role of GHa Main and Soft? I understand your reasoning for the curves you chose for each, but what about the colour?