-
Posts
8,027 -
Joined
-
Last visited
Content Type
Profiles
Forums
Articles
Everything posted by kye
-
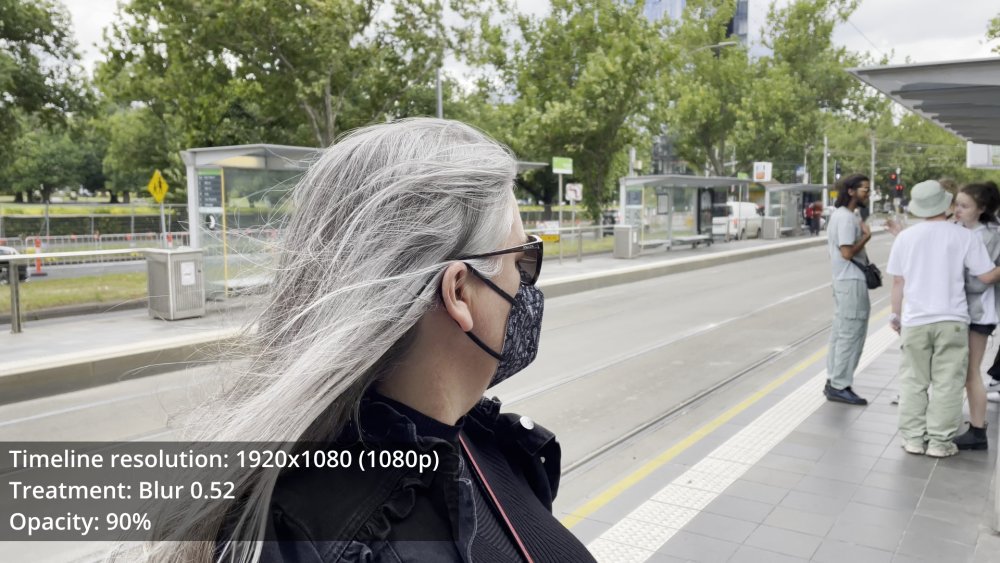
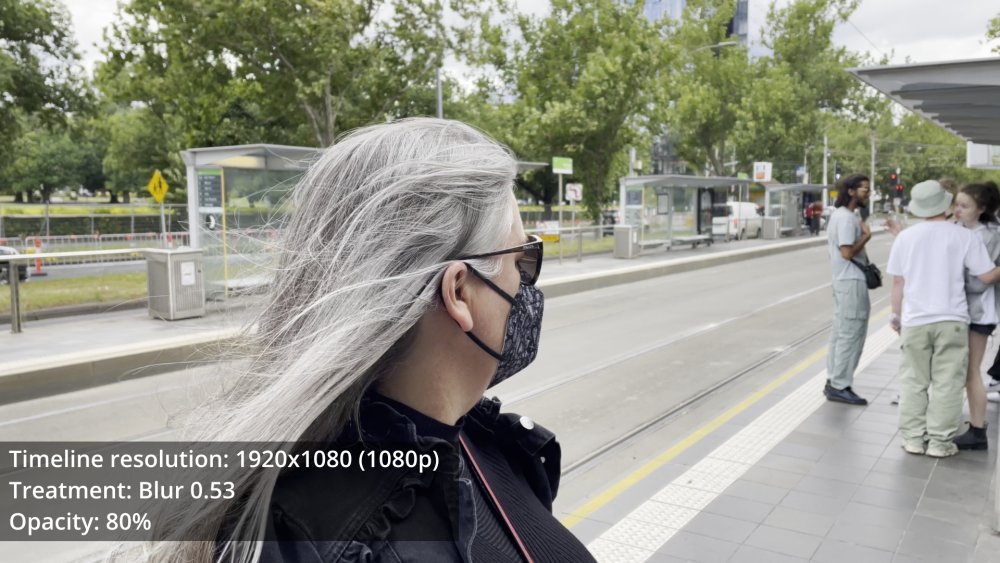
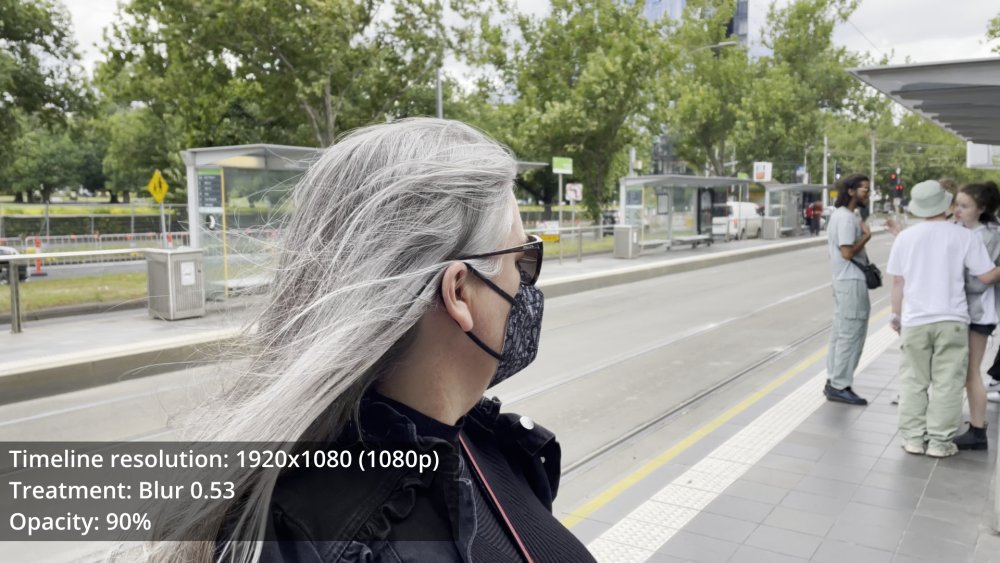
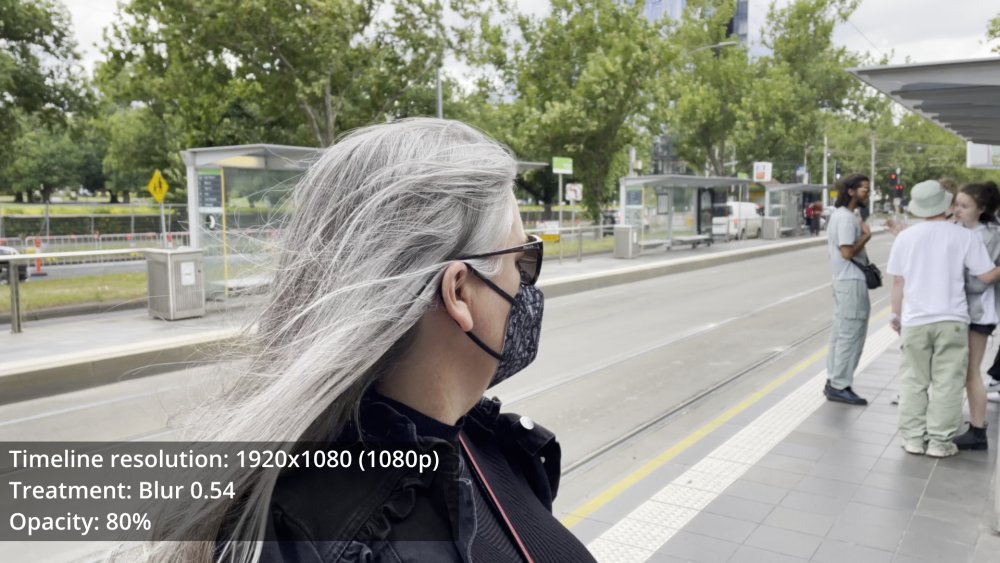
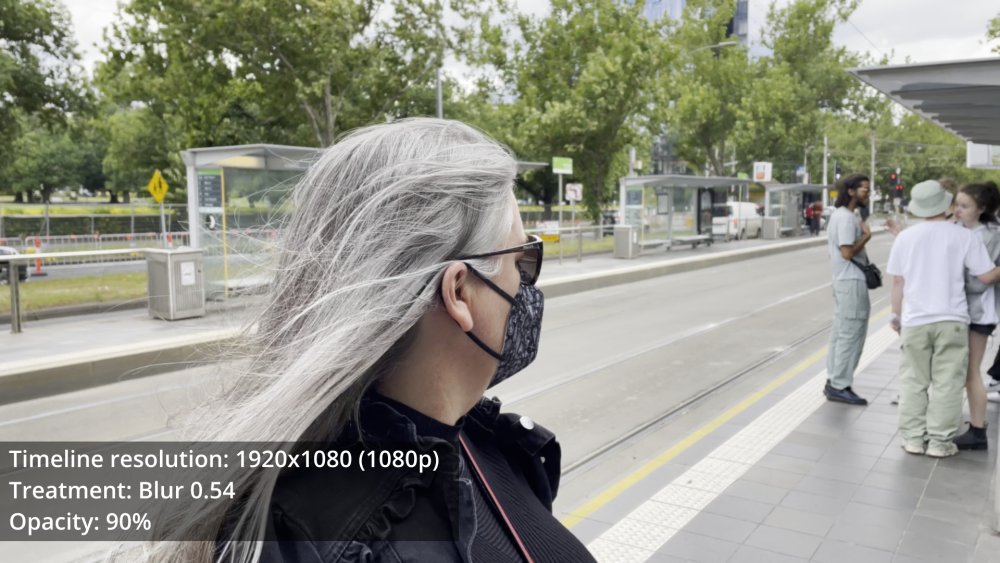
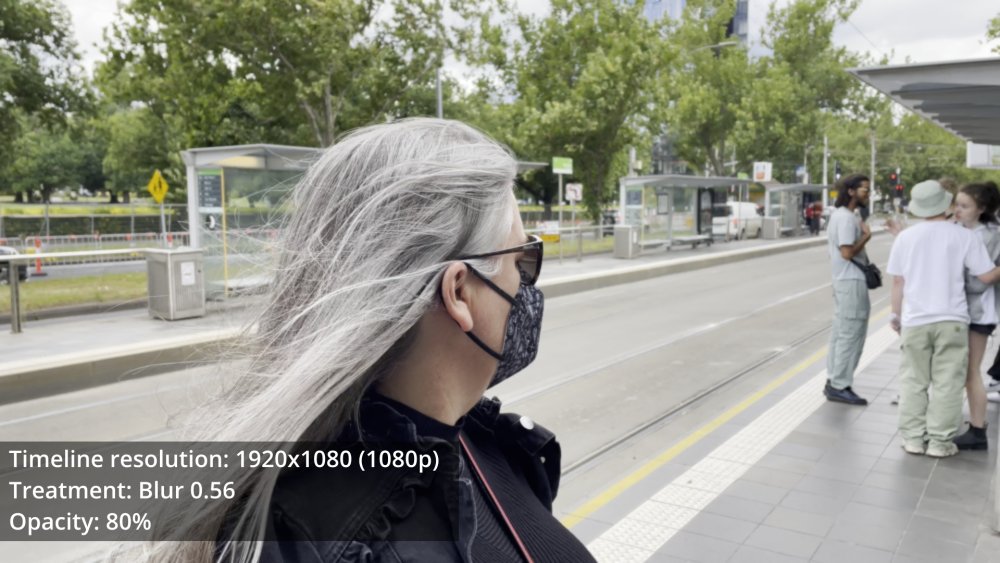
Next strategy is to blur the image and put the original over the top with a small opacity. The theory behind this is that if you blur the image slightly and put the original over the top then you're essentially "turning down" the differences, which will be the fine detail and sharpness of edges etc. I've been reviewing a lot of material shot on 35mm film and I suspect that this is what film does - beyond a certain point the finer the detail the more it is attenuated. This is different to the shots above with lowered resolution - in those the detail is eliminated completely, but in this method the detail is attenuated but still present. In theory we can have a larger radius blur using this method, because we're still adding in the original so the resolution isn't actually reduced at all but the sharpness definitely will be. I've used the built-in Blur tool in Resolve (which has very very course adjustment) because it is faster than the Gaussian Blur OFX and the results are indistinguishable at the right settings. I've lowered the opacity of the effect, so a 90% blur is 90% blurred image and 10% the original image. The Blur tool is neutral at 0.5, blurs with higher values and sharpens at lower values. Here are some sample shots. These are between the perceptual sharpness of the original image and the 960x540 image above, which I think is too soft for my tastes and only relevant when going for a strong retro/film look. Once again, you have to open the full res versions in a separate window in your browser to see any differences. I'm curious to hear any impressions people have. I'm also aware that streaming compression will have an effect, but I'm also aware that perceptual resolution seems to be increased when viewing moving images rather than stills, as if the eye is interpolating between frames. This is a whole other thing, but it's definitely an effect. When I start narrowing in I'll start exporting sample videos, and add grading too - the pale green of iPhone footage isn't so useful.
-
Have you reported it via the BM forums? https://forum.blackmagicdesign.com/viewforum.php?f=21 That's probably the best way to get their attention, and considering you have solid examples to post it would likely be taken seriously at their end.
-
Ah, interesting. With the right combination on metadata and gyro data it should be able to be corrected almost perfectly in post. It's encouraging to hear that this is done in Resolve. Resolve is often quite aloof in how it deals with things at the lower-end. It obviously supports all the high-end cameras and is used by very serious people for high profile work, but often it doesn't support things at the lower-end. I would have thought that gyro stabilisation might be too low to be fully implemented like this. LOL.. speaking about being aloof and out of touch... Sadly, the folks that operate with bigger budgets and with higher-end equipment are still human, and often arrogant and looking to get an ego boost by insulting others. I see this on a semi-regular basis unfortunately.
-
Respectfully, if you are a fan of the format, you wouldn't be shouting from the rooftops that it's dead. I understand that tough love is a pillar of journalism (and one that is sadly lacking at the moment) but there's a point where it becomes a self-fulfilling prophesy. Your blog likely has more influence than you think, and if so, you're adding nails to the coffin instead of making it stronger.
-
It makes sense to me that it would be from the same family. I can see them releasing the GH6, then keeping on going with the sensor to make it have PDAF and then releasing that in a subsequent camera that was better (PDAF!) but not the step change that they would want to make it the GH7. I agree, if the GH6 sensor has PDAF and they released it without that enabled, even badly, it would have been a completely moronic move. All the criticism was of the AF, and PDAF is such an upgrade that their half-optimised PDAF implementation would still have been better than having a CDAF implementation (and all the negative press that goes with that).
-
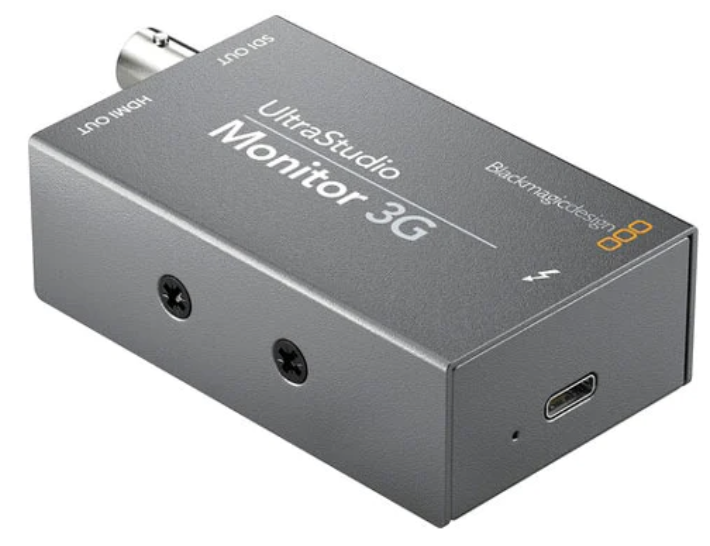
Good to hear it works - thanks for doing a real test, unlike almost all others who think that 10 minute clips in 25C/77F is a test of anything at all. It's a pretty poor showing that the camera still gets hot though. I have a BM UltraStudio 3G box that I use for a clean feed from Resolve to my reference monitor, which is a small metal box: I've recently switched to a configuration that makes it upscale video constantly, and it gets hot. Hot to the point it disconnects and it almost too hot to touch. I got a USB fan to blow on it on the lowest speed and the box stays almost completely at room temperature and cool to the touch, except for the spot where it is pressed against the chip inside via heat paste which gets a little warm. This is how a good heatsink should be - a tiny bit of airflow should make an incredible night-and-day difference. It sounds like trying to cool the Fuji with a fan is like trying to cool a nuclear reactor by blowing air on the side of the carpark building.
-
The phrase cripple hammer does seem appropriate! Yeah, it's designed for cloud proxy files and little else. You wouldn't want to deliver anything from those files - even to social media. What would you use for eliminating RS? I never realised that they capped Prores at 4K. It sort of makes sense to me from the perspective that you might shoot 4K prores for a 4K project (it's downsampled from the entire sensor right?) but if you wanted anything about that it's probably to get maximum quality for a feature or for VFX, in which case you might switch to RAW anyway. Another question, if it's RAW-only, does that mean that each lower resolution has a greater crop? So, if you want to shoot in DCI4K for example, you couldn't have that as the same crop factor as the 6K modes? Because that would really suck!
-
You might be right, and the economics are definitely a huge factor regardless of this example. The other thing that plays a massive role is the perception of a camera. We all like to think we're rational beings, but this is pretty far from the truth unfortunately. Take the G9ii thread for example, lots of people criticising the camera because it wasn't small and cheap - had Panasonic released an updated GX camera and a couple of new lenses a month prior the conversation about the G9 would have been very different and the camera might have been evaluated on its merits, not on the presence or lack of other products which might or might not be related. For BM, it might be hugely better to release the BMCC6K (Full frame! L-mount! wow!) and then a BMCC6KPro (still FF! still L-mount! a bit more for NDs and Prores, but um, ok... that's reasonable I guess), rather than the other way around, where the first one get criticised for costing a lot, then the non-pro model gets criticised for lacking features.
-
I wasn't sure if there was room for an ND mechanism in the L-mount, but a bit of googling revealed that lots of Sony E-mount cameras have it, and the E-mount has a smaller flange distance than the E-mount, so no excuses there. Maybe they will release a Pro model with upgraded features. I think the lack of Prores might be an ecosystem thing, to 'encourage' you to use Resolve. BM don't support Prores RAW in Resolve, so there's an ecosystem war going on.
-
Can't it be both?
-
Wow. I guess Resolve is doing something odd based on the metadata.
-
Interesting that you had to send it in. I'm assuming that doing firmware updates was a common practice at that time? If so, then it must have needed more than a firmware update. I wonder why.
-
So, the question no-one seems to be asking is that if the G9ii has the same sensor as the GH6, and the G9ii has PDAF, why doesn't the GH6 have PDAF? Either they're not the same sensor, or the GH6 shipped without the feature supported.
-
Is it still photography? I think it depends on how pedantic your definition of 'photography' is. However, considering that the original definition would have involved exposing a chemical film for later chemical processing, I'd say that almost any definition that includes capturing a still image on a modern digital camera would also include pulling stills from video. If you really wanted the definition to draw a line between stills and video then you're going to have to work out how to make it: include 24+ fps burst mode as photography and not videography include the photo mode of the iPhone as photography when the iPhone takes a burst of images and sound, does computational photography to create a still image from them, and saves a "Live" image which is essentially a short video with sound So yeah, good luck with that!
-
Interesting. I don't know much about Z-cam cameras. If I was in the market for a small box-style manual shooting camera then they'd be my first avenue to explore, but I'm just not that kind of shooter. I guess we'll see what it's like when the reviews/test start to come out?
-
What happens when you WB in post on the neutral surface? Do they all become identical?
-
Apparently it's a global shutter, so I'd imagine the rolling shutter performance to be significantly above average!
-
To make stills from video files?
-
Interesting. As you say, likely just a bug in Resolve for this metadata. Although, if you're shooting in RAW then one would hope that you're colour grading the footage with sufficient sophistication that you can adjust the WB appropriately. Also, it would only be a problem if you changed profiles during the shoot, otherwise shots should be consistent with each other and it would just be a look, rather than an issue to deal with in the grade.
-
It's also worth pointing out that I've played the game of Difference blending mode before, and tried to replicate images using that mode alone, by matching the response across smaller and larger blur sizes. Sadly, it didn't work.
-
I used the built-in soften/sharpen thingy in Resolve for that one, and I think this was 4 clicks of sharpening, and 3 and 5 were definitely not right! There have been some feature requests to give more granular control on that one!! This was the video with the shot in it... 35s mark: I mean, maybe the discussion went like this... "All I could get was an SD quality shot of this guy - can we get a better version?" ... "Nah, it's only for our demo reel, just upload it, image quality isn't that important". .... but I don't think so!
-
LOL, well put!
-
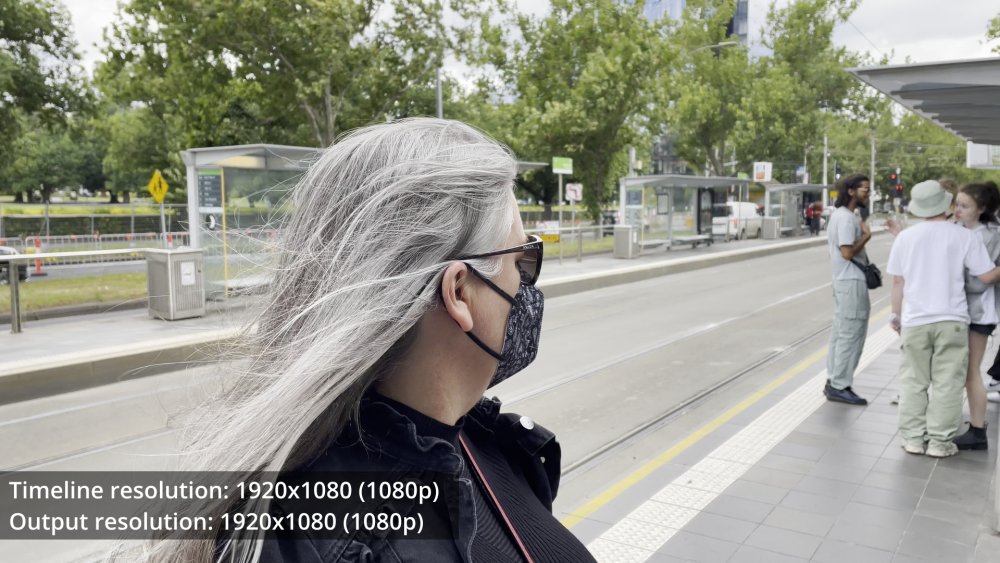
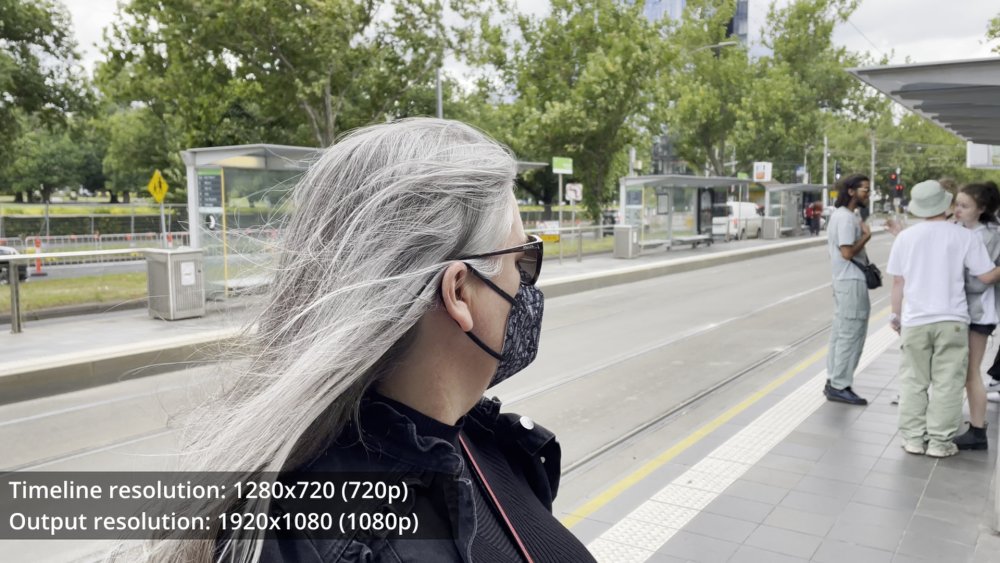
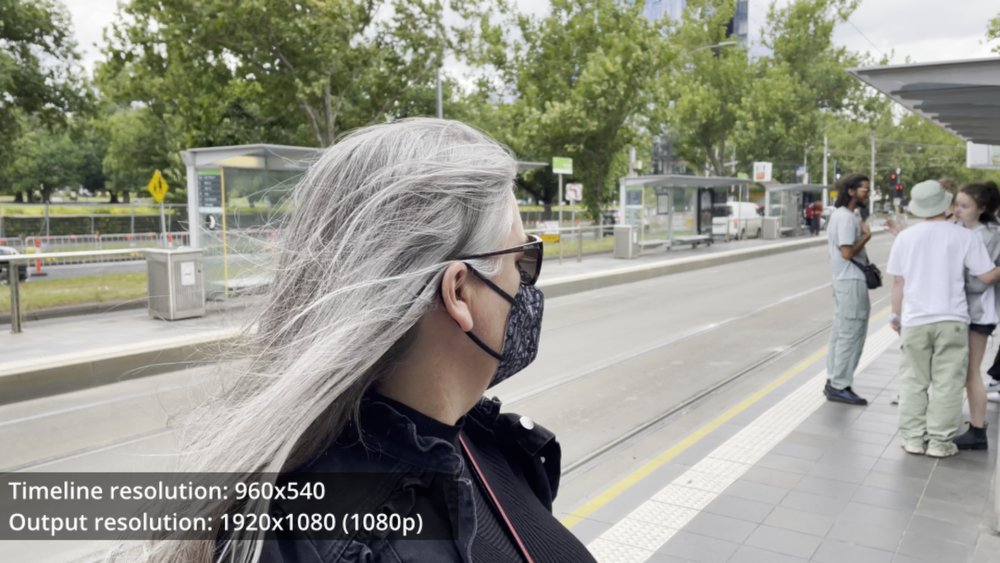
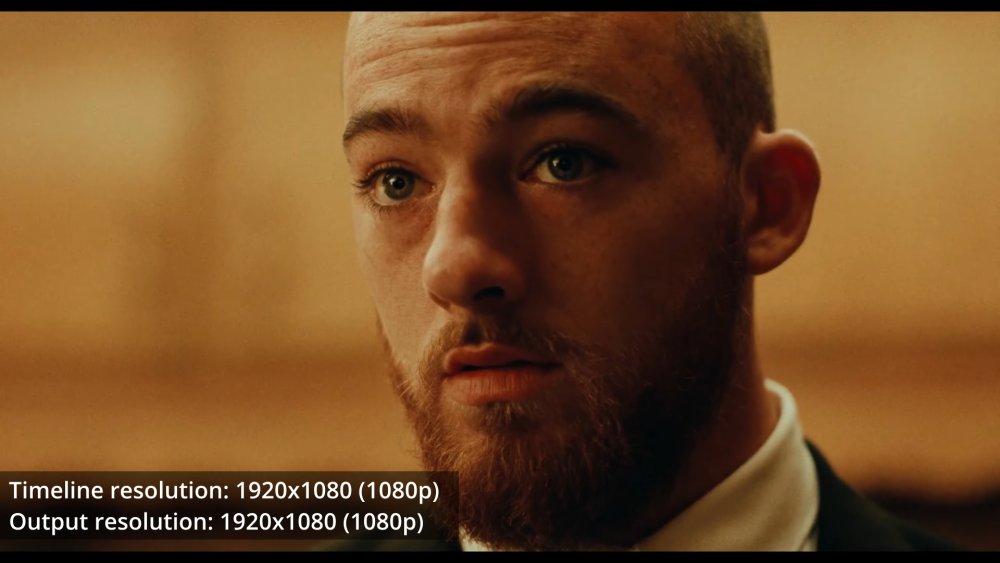
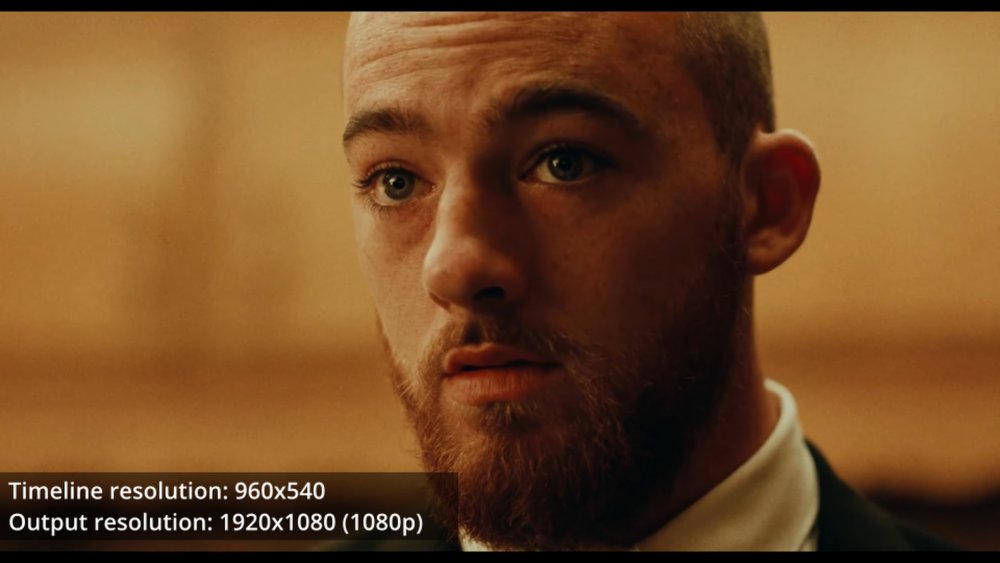
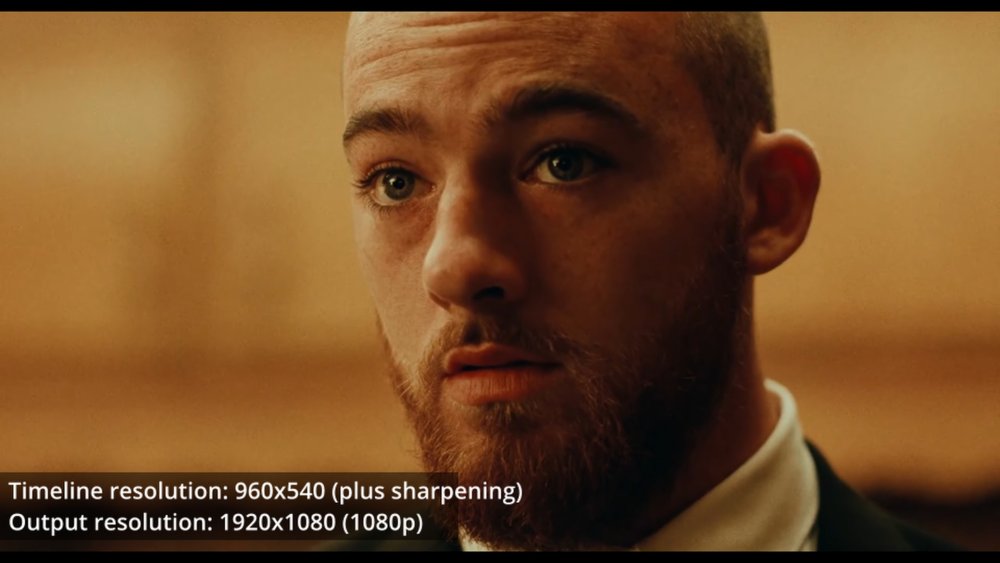
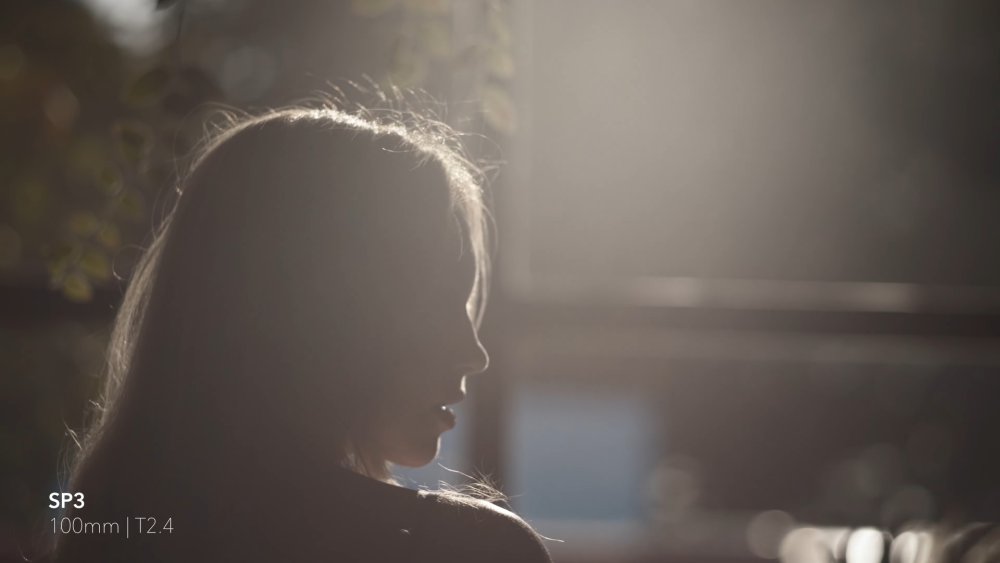
One thing I've been experimenting with is to simply lower the timeline resolution, and then upscale on export. Not only does this smooth over the fine detail, but it means there's less pixels being processed in the NLE, so double-bonus! Here's a comparison from that iPhone shot. This provides a hard-limit on the amount of fine detail in the shot, and is a pretty extreme thing to do, especially considering that 960x540 is one quarter the resolution of 1080p, one sixteenth the resolution of 4K, and less than 2% of the resolution of 8K! But it's not as awful as you might think, here's that shot from the Cooke SP3 promo video again: There is a difference, but it's incredibly minor, and more likely to just be smoothing rather than removing detail. What happens if we add sharpening? I can't tell any difference between that and the original, maybe you can, but it's not creatively relevant. So, does the above image, which is on the promo from one of the premier lens companies in the world, have a resolution approaching SD (480p)? Yes, yes it does. Is this a bad thing? No, it's a creative choice. Would I go this far in my own projects? I haven't answered this definitely yet, but I think it's probably a bit too far for my goals of creating a non-video look, but it's an interesting thing to observe. There are lots of other ways to control resolution and sharpness, and I'll be covering those too, but this one has the distinct advantage of making my computer more powerful, so it's a fun one!
-
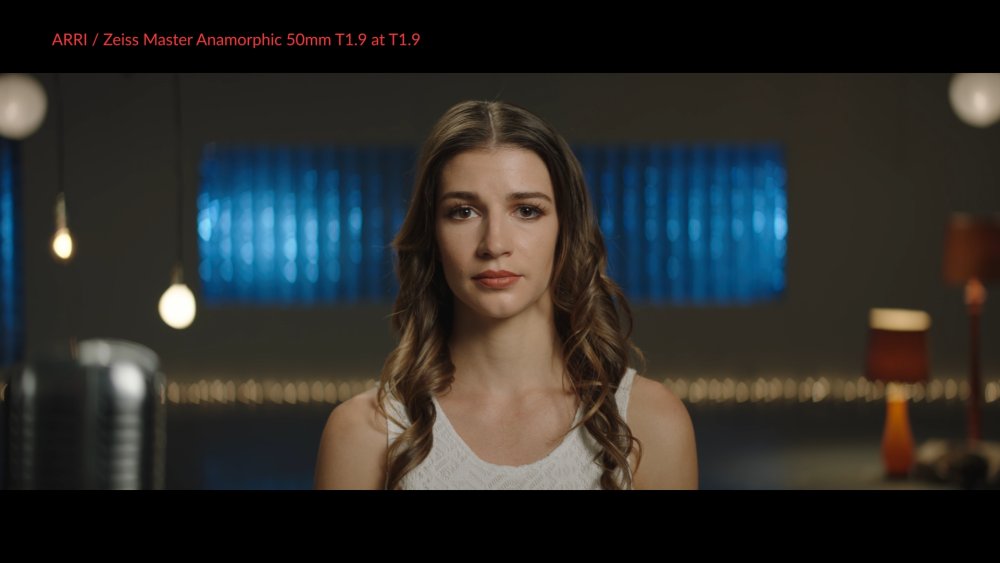
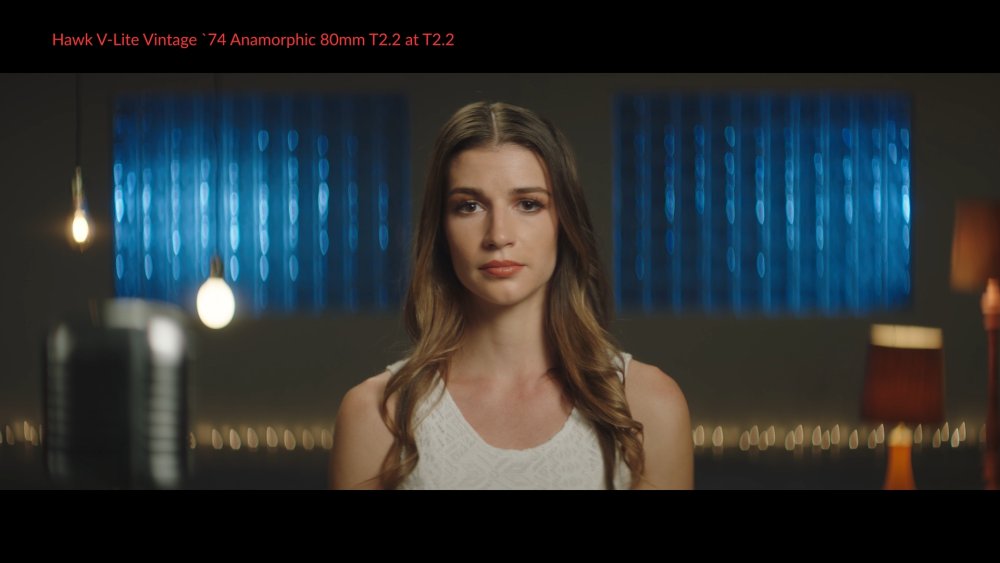
Going in a different direction slightly, let's eliminate some variables and look at some controlled tests. Luckily the absolutely spectacular YT channel ShareGrid has hundreds of lens tests on their controlled setup, so we can compare.. https://www.youtube.com/@ShareGrid Here's one of the highest quality lenses, the Zeiss Master Anamorphic: it looks detailed and clean, even wide open. Contrast that to the image of the Hawk V-Lite Anamorphics... No, this isn't motion blur - that's how the lens actually is. You might be thinking that this is just a relic of history, but you'd be wrong. These were used on: 13 Reasons Why (2017) Atomic Blonde (2017) John Wick (2014) Serious films with serious budgets that could have chosen other lenses, but used these. I think this shows we have some serious latitude in terms of resolution and sharpness.
-
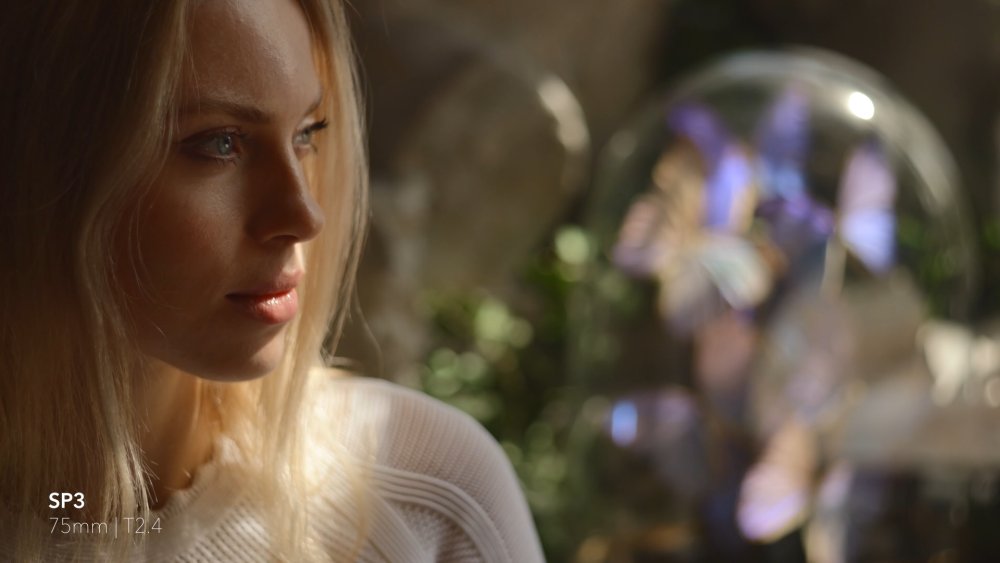
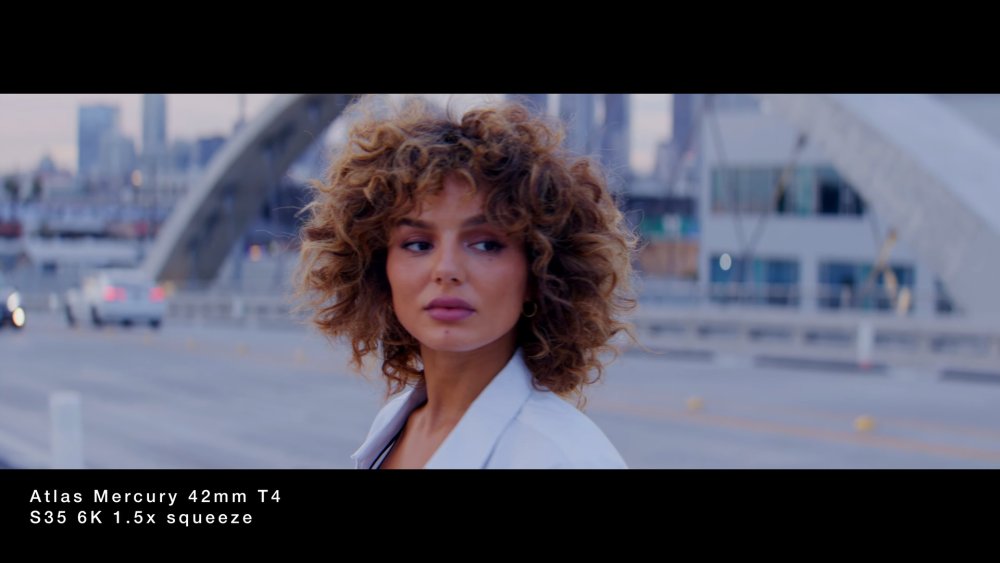
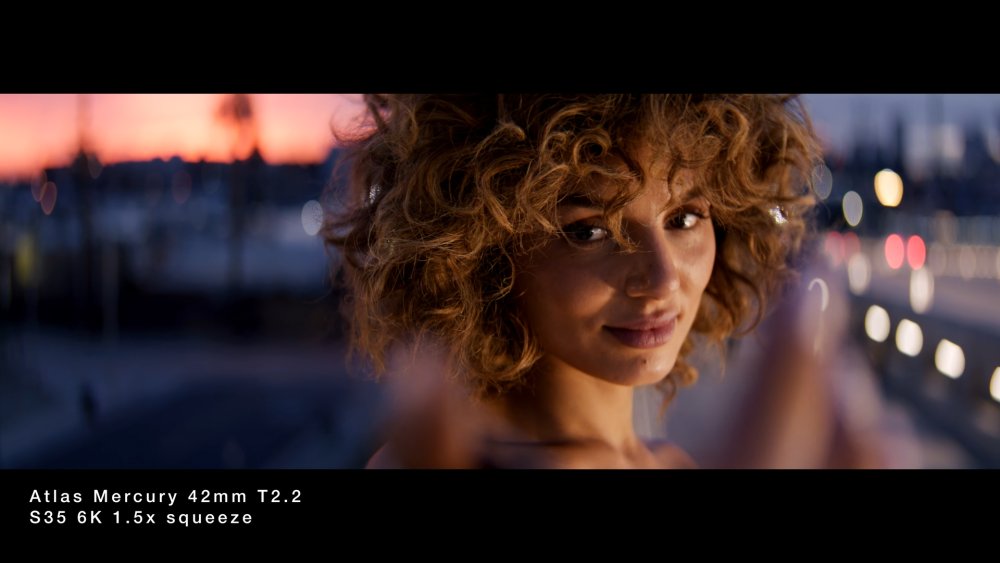
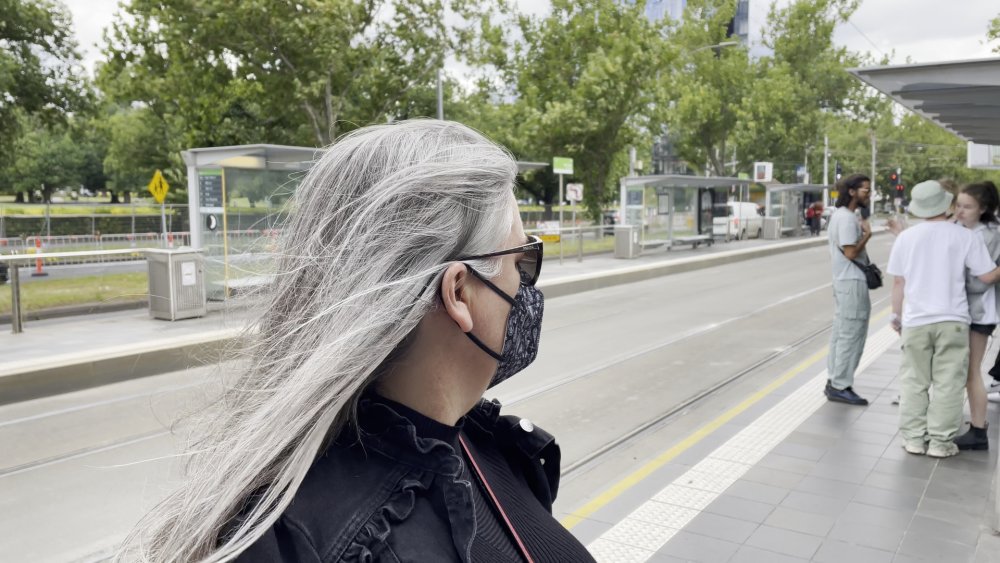
There is an optimum resolution and sharpness. More is not always better. This is why movies aren't all shot with the highest MTF lenses currently available - DoPs choose the optimal lenses and apertures for the scene / project. However, I shoot with cheap cameras (iPhone, GX85, GH5, etc) which are far too sharp, and look video-ish. Luckily, we can reduce this in post. This thread is me trying to work out: What the range of optimal resolution / sharpnesses are actually out there (from serious professionals, not moronic camera YouTubers or internet forum pedants) What might be a good point to aim for How I might treat iPhone / GX85 / other cheap shitty video-looking footage so it looks the least video it can be These techniques will likely apply to all semi-decent consumer cameras, and should be able to be adjusted to taste. I'm still at the beginning of this journey, and am still working out how to even tackle it, but I thought I'd start with some examples of what we're talking about. Reference stills from the Atlas Lens Co demos from their official YT channel, shot on Komodo and uploaded 6 months ago: (You have to click on these images to expand them, otherwise you're just looking at the forum compression...) Reference stills from the Cooke SP3 demos from the official Cooke YT channel, uploaded 11 days ago: I've deliberately chosen frames that have fine detail (especially fly-away hair lit with a significant contrast to what is behind it), in perfect focus, with zero motion blur. I think this is the most revealing as it tends to be the thing that is right at the limits of the optical system. So, what are we seeing here? We're seeing things in focus, with reasonable fine detail. It doesn't look SHARP, it doesn't look BLURRED, it doesn't look VINTAGE, it doesn't overly look MODERN (to me at least) and doesn't look UNNATURAL. It looks nice, and it definitely looks high quality and makes me want to own the camera/lens combo (!) but it basically looks neutral. But, that's not always the case. This is also from the same Cooke SP3 promo video: The fine detail is gone, despite there being lots of it in the scene. Is this the lens? Is this the post-pipeline? We don't know, but it's a desirable enough image for Cooke (one of the premier cinema lens manufacturers in the world) to put it in their 2.5 minute demo reel on their official main page. It also has a bit more feel than the previous images. Contrast that with these SOOC shots from my iPhone 12 Mini: I mean.... seriously! (If you're not basically dry-wrenching then you haven't opened the image up to view it full-screen.. the compressed in-line images are very tastefully smoothed over by the compression) More: and my X3000 action camera also has this problem: Those with long memories will recall I've been down this road before, but I feel like I have gained enough knowledge to be able to have a decent stab at it this time. We'll see anyway. Follow along if you're open to the idea that more isn't better...


