

kye
-
Posts
7,882 -
Joined
-
Last visited
Content Type
Profiles
Forums
Articles
Posts posted by kye
-
-
1 hour ago, IronFilm said:
This feels familiar.....
It's a common problem. I can't even walk down the street sometimes, with all the people stopping me to ask these same questions.
-
16 minutes ago, IronFilm said:
Get the new Panasonic Leica DG Vario-Summilux 10-25mm f/1.7 ? Covers the range you need!
But not the low-light ability of my 17.5/0.95 Voigtlander. I'd love to use a single lens but alas, I shoot in available light, and sometimes there's very little available!
-
7 hours ago, dbp said:
I'm way late to the party, but just ordered the GH5!
I have no illusions that it'll be some supremely groundbreaking image, but I do think it'll be the funnest and easiest camera I've ever used to just pick up and shoot stuff with.
Welcome. Heaps of knowledge here so post questions / comments.
What projects are you planning on using it for? What lenses / accessories will you use with it?
-
6 hours ago, webrunner5 said:
I have just the opposite problem lol. ?
You need to hang with the camera people that exclusively take only photos of brick walls to prove other people wrong on the internet.... there's absolutely no artistic elements creeping in and ruining their images!
-
12 hours ago, Newway12 said:
Has anyone shot an entire feature on this camera yet? How much storage was required with BRAW? Or did you use prores? I’ve only done small projects so far (couple minutes or less with prores) and i’m wondering how many hard drives i’m going to need for a 90 minute feature.
Probably the other real kicker is what your shooting ratio is, as that varies significantly between different film-makers.
Or you could just go to your hardware supplier and give them your credit card and tell them to ship hard drives until you tell them to stop
") 46 minutes ago, webrunner5 said:
46 minutes ago, webrunner5 said:Well since I am not too good at reading Flemish I will sort of just pass on any judgement. I don't see what makes a crap if they had 20 Million Euros, they decided what to use that particular camera. It was their call, not mine or yours. Seems like they made the right decision.
Don't question @Skip77 - he's here to set us straight about the right way to make a film! He's finished in the GH5 thread and now we all know to throw our GH5s away he's here to educate the P4K and BM camera users. Soon he'll clean up Hollywood and correct all the mistakes that the pros endlessly repeat. I personally can't wait for him to get stuck into the YouTubers - think of the quality improvements that will be made then!
We've all been making so many mistakes for so long, let's stop being part of the problem and start being part of the solution.
-
Fantastic show. I especially like the creativity that having people in 'altered states of consciousness' can inspire
-
Additionally:
There is something really great about a simple camera that makes it a really 'shot getter'. Once you hit record, the GoPro gives you nothing else to think about other than content and composition, and I find that very freeing, and somehow that, combined with it's tiny size, makes it incredibly easy to just get this shot and get that shot. Once you're holding it the time between seeing a camera angle and shooting it is almost zero, and the lack of control kind of inspires experimentation and creativity.
I have a half-developed thought that the action-camera is the machine for travel legs, establishing shots, selfies when at locations, and a variety of creative shots at a location. The GH5 might be in a bag somewhere during a travel leg, and getting establishing shots is also a challenge because you typically are stressed finding a location, finding parking or where to go, then when you actually arrive somewhere you have to get the kids organised and out of the car, then have to work out where to go to buy tickets and how to get in and during all that pressure and confusion really isn't the best time to setup a camera rig. After getting into a venue is actually a good time as everyone is visiting bathrooms etc and working out where to go and what time the talks/tours/feeding times/ etc are.
Having a clear distinction in your film-making between different styles of shots and the associated equipment can make for a very effective and efficient process. I particularly like Kraig Adams' idea about how he shoots his travel vlogs. He alternates between 'vlog' which is camera in 24p on gorillapod with location sound and edited in 16:9, and 'cinematic' which is camera in either 24p or 60p on gimbal without location sound and edited in 2.35. I feel that this juxtaposition in his final films is a great contrast and makes each style seem more-so than it would be if it was in isolation.
In this sense having discrete jobs for each setup and having those jobs align with the technical aspects of the equipment is where you want to be, and that's what I'm aiming for.
-
Thanks all, some interesting ideas here.
17 hours ago, pryde said:The Holdfast Moneymaker is the easier solution for juggling 2 handheld cameras, but you definitely draw attention wearing it. Maybe a Peak Design Capture? Clip whatever camera you're not using to your belt. It's pretty quick and even the gh5 is lightweight enough that it's not too bothersome to have hanging from your belt or a backpack strap.
lol about the Moneymaker and I already have a camera strap that I've experimented with. Ultimately it was just too cumbersome when getting in and out of cars combined with backpacks etc, which is why I prefer hand-held with a wrist strap, although the problem with that is that you can't be walking around and then stop to tie your shoe or eat a snack or whatever because there's no-where to put the camera.
Of course that's where the Peak Design Capture comes in and it might be the best idea I've seen so far, so thanks for mentioning it. I have seen them before, but had no idea they were so cheap / accessible. I'd have to think about where I'd put it, but even if I just hung the X3000 from it and operated it one-handedly while still also holding the GH5.
I'm not too sure about the GH5 though, considering I have the Rode Video Mic Pro+ on top of it, but anyway.
15 hours ago, Mmmbeats said:The point at which you're operating two cameras yourself is the point at which you're bound to end up with a certain amount of crappy footage.
Wouldn't it be better to just pan to yourself occasionally, or have another family member wear a small body am or something?
Shooting two cameras at once isn't likely to have a high yield I'll definitely conclude that, although if one of them is fixed focus and super-wide-angle then your chances improve somewhat. The problem with just panning to myself is that 'just panning' is actually 'just turning off the camera, opening bag, getting wide angle, changing lenses, turn on camera, flip screen to face forwards, pre-focus, hit record, ......' then the opposite to go back. Having a separate camera makes this a lot simpler and means I can leave the GH5 on and ready to shoot at a moments notice should something happen suddenly, which it frequently does with my kids.
11 hours ago, BTM_Pix said:For what you are trying to do, I don't think you can go far wrong with a folding L bracket like this one to mount the X3000 on.
The first advantage to this is that the camera can be forward facing but with a quick turn of the screw you can spin it to be rear facing so you can carry on shooting forward with the GH5 but still get your own reaction in simultaneously.
The second advantage is if you remove it (and I'd recommend a quick release plate to make it even more effective), you fold the bracket up and have a nice pistol grip for the X3000.
With this set up you can go from the X3000 being used as a second angle, a selfie angle and fully autonomous camera within a couple of seconds.
This is the other avenue, to have one rig with two cameras. I've played around a lot with this in the past using flash-brackets or cold-shoe mounts, such as these setups:
Ultimately though I discovered that these setups are very conspicuous and are also really heavy when filming yourself. The position to get a reasonable selfie-frame is a relaxed bent-arms length away and almost straight-on, otherwise the effect of the wide-angle lens makes the person next to you seem like they're starring in Honey I Shrank The Person Next To Me, and I also find that when you hold it out there it's psychologically distracting for quite a bit, maybe 5-10-20 or 30s before you just kind of ignore it, so unless you're ok with the 'oh shit I'm on camera does my hair look alright I hope I don't have food on my face is this lighting flattering' inspired internal motivation then you have to hold the camera for a long time. The technique for the kids is more to surprise them as they mostly act stupid when they realise they're on camera so a huge rig doesn't help that either.
9 hours ago, Trek of Joy said:As a one-man-band I use a GoPro a lot. Sometimes its on a gorillapod that I always carry. Sometimes I use a cheap, generic flash bracket similar to the one BTM_PIX posted with a GoPro mounted to my a73. Sometimes I use a small hotshoe ball head that I mount on top of the camera. Sometimes its on a floaty handle, and I just keep it in my pocket. I also use the chest and head mounts for POV, and a generic extender pole for crazy angles. I about to sell my Sony X3000 after getting a Hero7 to tinker with, mostly because of the mount ecosystem, the touchscreen, and the size/weight. The Hero7 does a nice job with its stabilization and its fast to fire up and start shooting. If you need audio, it looks like you've already found some samples of others using a similar setup.
Thanks Chris, interesting you're moving from the X3000 to the gopro - how have you found it in post? To me digital stabilisation has real limitations, especially in low-light when shutter times allow movement during the exposure, although the X3000 is several generations of tech behind. I really would have liked to hold off until they updated it, but my next trip is before their previous release cycle occurs, so oh well.
The tests I've done with my existing GoPro were with a floaty handle (the bright yellow one) which is comfortable to hold and easy to put in a pocket even if the camera is sticking out, but of course isn't the most stealthy option. If I go with a handle I'm contemplating designing one that perhaps folds up and doesn't add any real bulk to the setup, or alternatively if it's on a clip then maybe it doesn't fold but it might be super-light-weight.
9 hours ago, Kisaha said:Hire someone to do your videos and enjoy your holidays and festivities.
There is a whole photo/video market here with filming summer holidays.
Adding a 360 camera instread a GoPro is a very convinient idea. Insta X is amazing, the new Ricoh has 1" sensors.
If I was rich, maybe, but if you look at professional vloggers who have a camera-person with them they basically become a member of the family, and that's not quite the dynamic I'm looking for. Plus, making films is what I enjoy, especially filming, and anyone that films me will mostly just be filming me filming other people, so not really a recipe for success
7 hours ago, webrunner5 said:You are not going to be able to have a camera on a bracket with the main camera. Hell there is no camera that can consistently focus that close even if you hold your arms out straight. Why do you think everyone has a GorrilaPod or a selfiestick, unless you want pictures of your Nose Hairs. Other than using Just a 360 camera it Ain't going to work.
My GoPro is fixed focus 30cm (12in) to infinity, and best composition is actually with arm bent and relaxed. The X3000 might benefit from a handle though, as minimum focus distance is 50cm (20in). I'll have to work that out, although having a small handle isn't a big deal, and I have longish arms so that helps.
6 hours ago, BTM_Pix said:The second camera is the Sony X3000 though.
In its (I'm guessing) primary role as a second angle its not issue but even in 'selfie' mode its plenty wide enough and small enough sensor to get in focus shots without needing too much reach. Well for a normal human that doesn't have T-Rex arms like me it is anyway
For what its worth, though, if @kye was open to suggestions about alternative cameras (which I appreciate that he isn't), I agree with your earlier one that the camera I would be using for something like this would be the Osmo, not least because it has a screen but also because it can be driven remotely by a travel companion from a smartphone, something which opens up a ton of additional possibilities to squeeze additional coverage from a fixed position as do the automated tracking options. I'd mount it on a flat bar in the hotshoe but mount the bar facing forward so it overhangs the top of the GH5 lens to give distance back to yourself when its in selfie mode.
Mounted in one of these brackets (which has a 1/4 20 mount in the base) its really fast to take it out to use it standalone as well.
The Osmo Pocket is an interesting device, but not wide enough for my needs. The "wide 80degree" lens is likely 22mm which isn't nearly wide enough for a proper selfie unless you like the 'I'm filming myself' look, and the waterproof case appears to still be unavailable? Maybe v2
I have noticed that I was good at filming other people and at filming interesting things like buildings, but rubbish at everything else. For my first videos I had to scrape together establishing shots because I never knew to concentrate on them, but I'm pretty good at that now. The standard format of a trip is travel -> location -> travel -> location with an action/wet location occasionally, so I now know to film some travel montage, an establishing shot or three, and people doing things / interesting inanimate objects. What I'm missing is shots of myself, and a variety of shots, as I still kind of shoot how I see. The shot-list I then thought of adding to my normal style is selfie shots, time lapses of things like eating meals, sunrises / sunsets, and a much greater variety of shots in general. I bought a Manfrotto tiny tabletop tripod for the GH5 in anticipation of doing more time lapses and it's great but I haven't yet trained myself to use it for that yet.
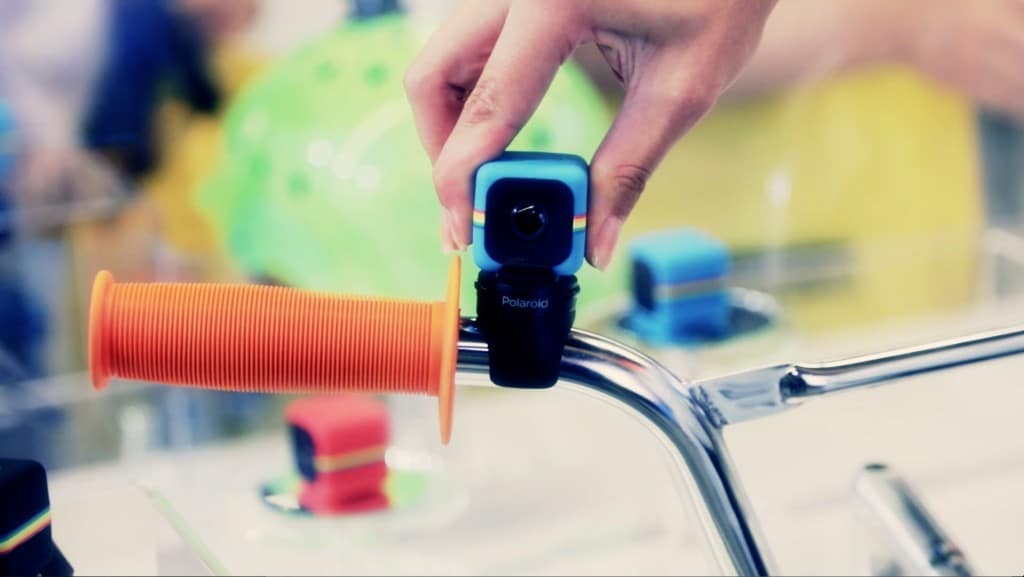
In a sense the action camera would be the best fit for this as it would attract basically no attention if I brought it to dinner (a GoPro Session would be an ideal size for this!) but a GH5 is very disruptive, both to the fact it's extremely obvious to my family, and also finding room on a tiny table where there's barely room for the salt and pepper when everyones plates are there makes a DSLR form-factor almost impossible. The GoPro Session is enticing simply because it is so small and pocketable, but its discontinued and would have been a PITA to change between video and time-lapse with no buttons or screen.
Compromises everywhere!
-
10 hours ago, kaylee said:
imagine the cost of this short if i did everything the hollywood way. whats the cost of renting a bus and closing a street? $30k + for that shot
Yep!
That's the core reason why indy film-making is possible. Not too many other businesses can create a broadly similar product for 1% or 0.1% or 0.01% of the typical budget!
-
1 hour ago, webrunner5 said:
Sounds like a Osmo Pocket.
I don't need help choosing a camera, I'm looking for feedback on having two rigs.
Some googling resulted in some interesting ideas.
Mount it to something:
Darius gets a lot of use from his wrist rig because it's always with him:
Lots of people have the GoPro + handle + mic setup:
This guy ditched the handle and made it pocketable:
I'll end up with an X3000 setup, so here's some interesting ideas:
This guy uses X3000 + handle + lav mic which is interesting:
and prompts the idea that you could have a wrist strap and then run the lav mic up the sleeve of your shirt and just be permanently setup like that.
X3000 + friction arm + mic on the bottom:
But I'm actually wondering if the in-built audio will be sufficient, in which case, maybe I just have the camera in a pocket, without anything?
-
32 minutes ago, webrunner5 said:
Why don't you just use your 360 rig? Maybe a Better 360 rig? Probably not water proof but do you Really need it to be. Other than 2 GoPros or such what else is waterproof?
I don't have a 360 rig, and I was talking about it with my wife and I worked out that even a 6K setup is only a 1.5K shot if you crop to a 90degree horizontal angle, so the quality is terrible. I think that an action camera will miss less shots because it's pointing the wrong way than a 360 camera will miss because cropping in is too low-quality.
Besides, that still doesn't answer the question about what is the best way to have a second hand-held camera..
I'm thinking I need to google micro-vlogging setups or similar. Something that can be used completely one-handed would be ideal, as it would allow removal from pocket, unfold / setup, turning on, hit record, shoot, hit stop, turn off, fold, put back in pocket, all while still holding the GH5 in the other hand.
-
I just noticed that now DR16 has the Cut page, there are no more gaps in the shortcut keys.
- Shift-1 is Projects
- Shift-2 is Media
- Shift-3 is Cut
- Shift-4 is Edit
- Shift-5 is Fusion
- Shift-6 is Colour
- Shift-7 is Fairlight
- Shift-8 is Deliver
I'd always noticed that there used to be gaps in those keys, for example Shift-4 was always Edit but Shift-3 didn't have anything, and now those gaps are gone so they've obviously had this architecture in mind for a few versions.
- heart0less and webrunner5
-
 2
2
-
I shoot home videos of family outings and holidays and am looking for advice on how to get the most compact two-camera setups.
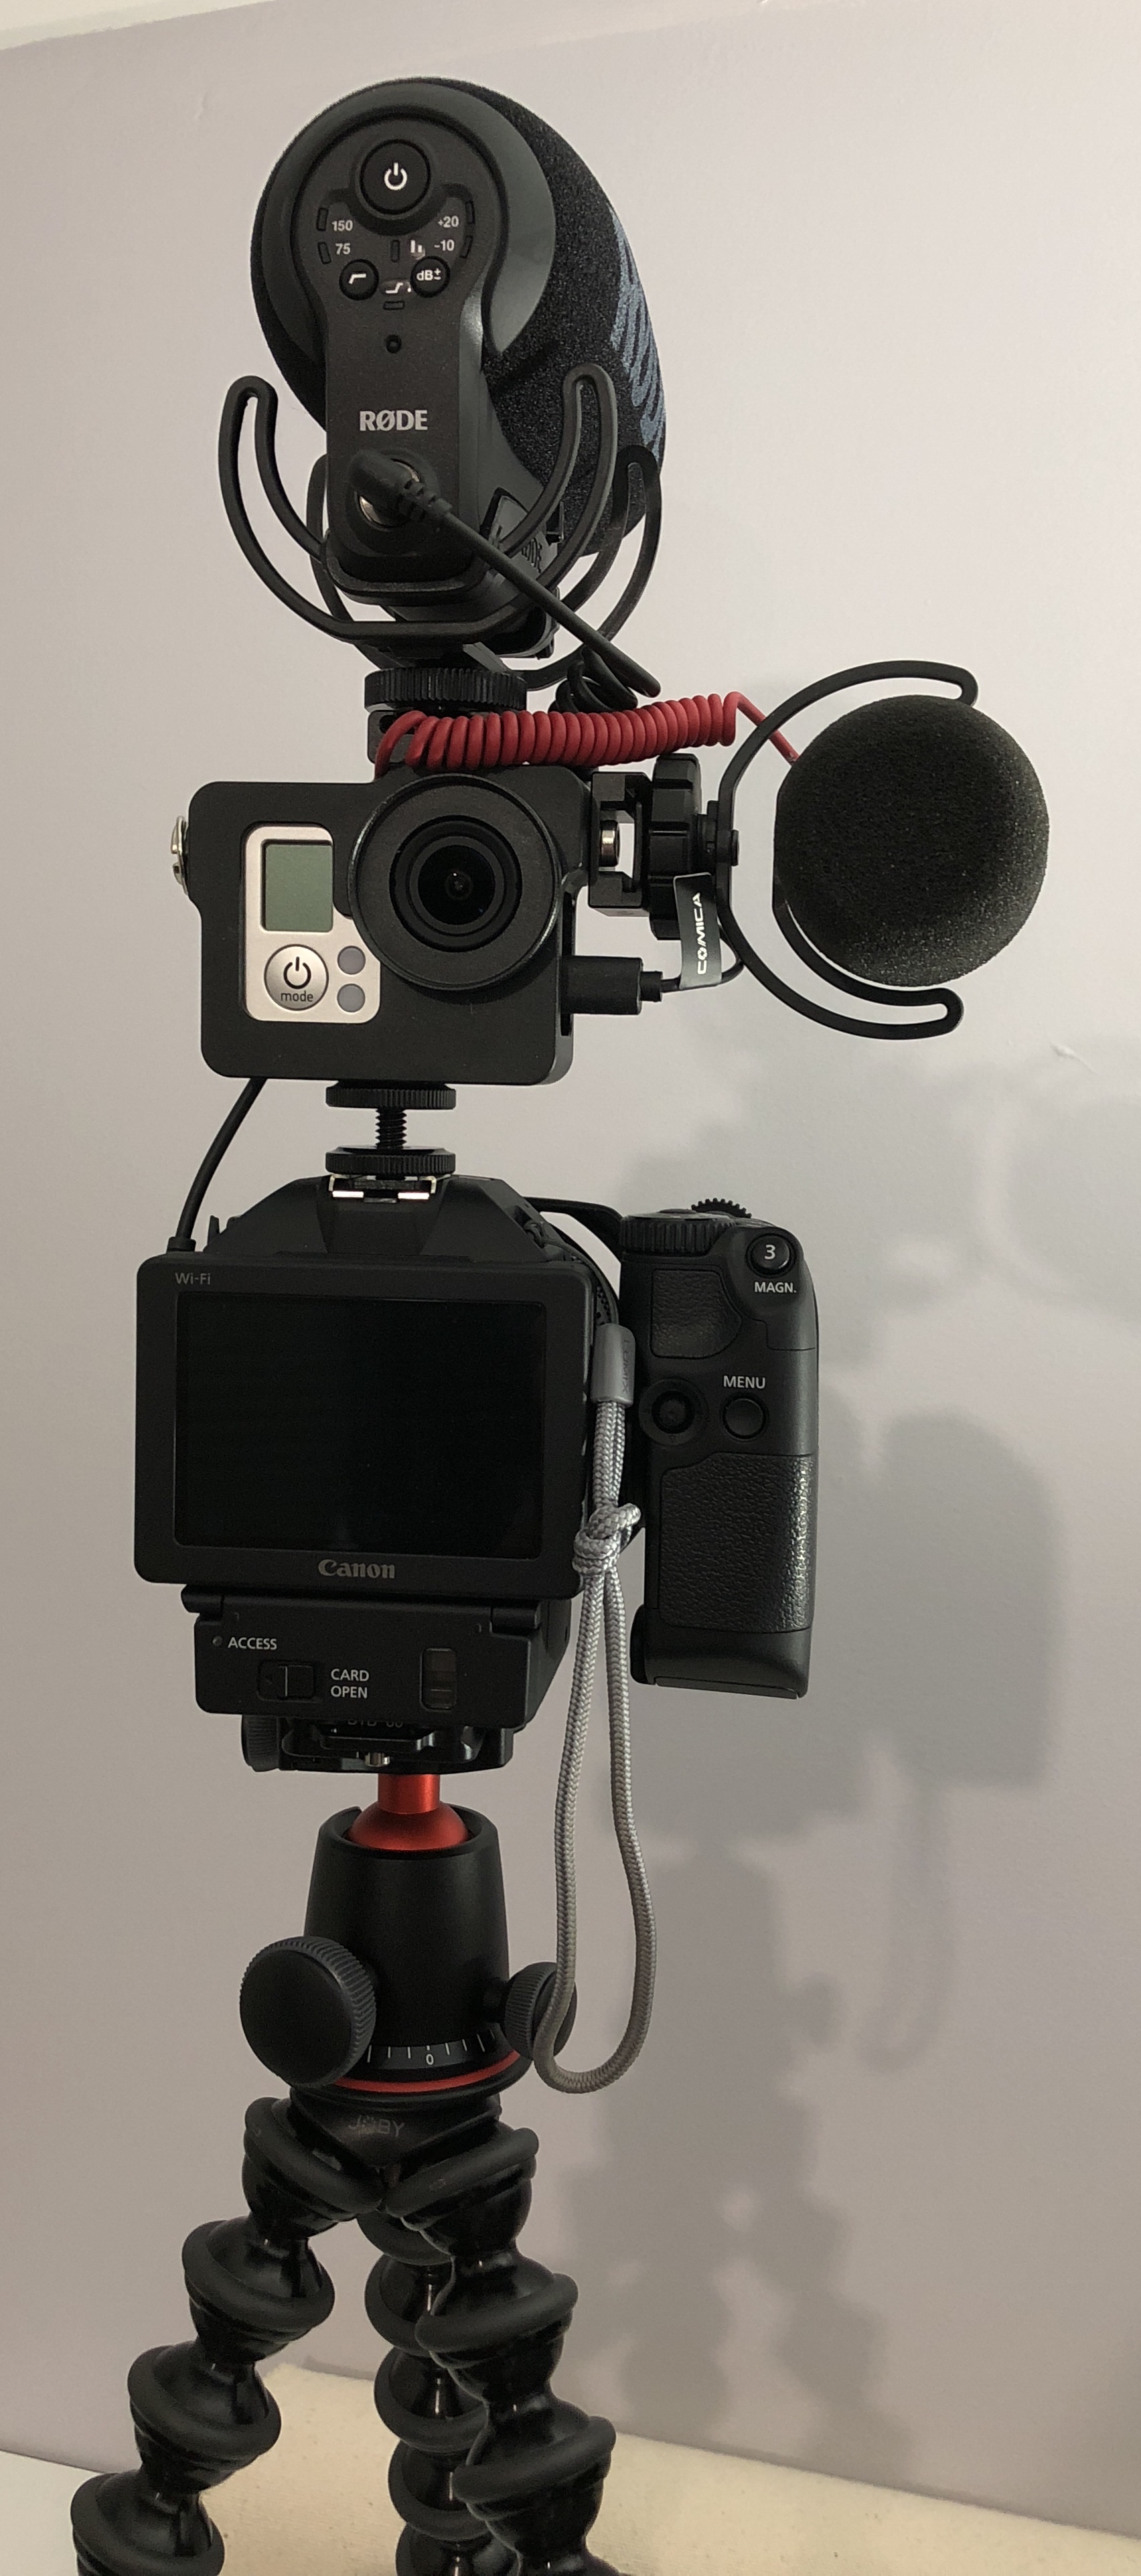
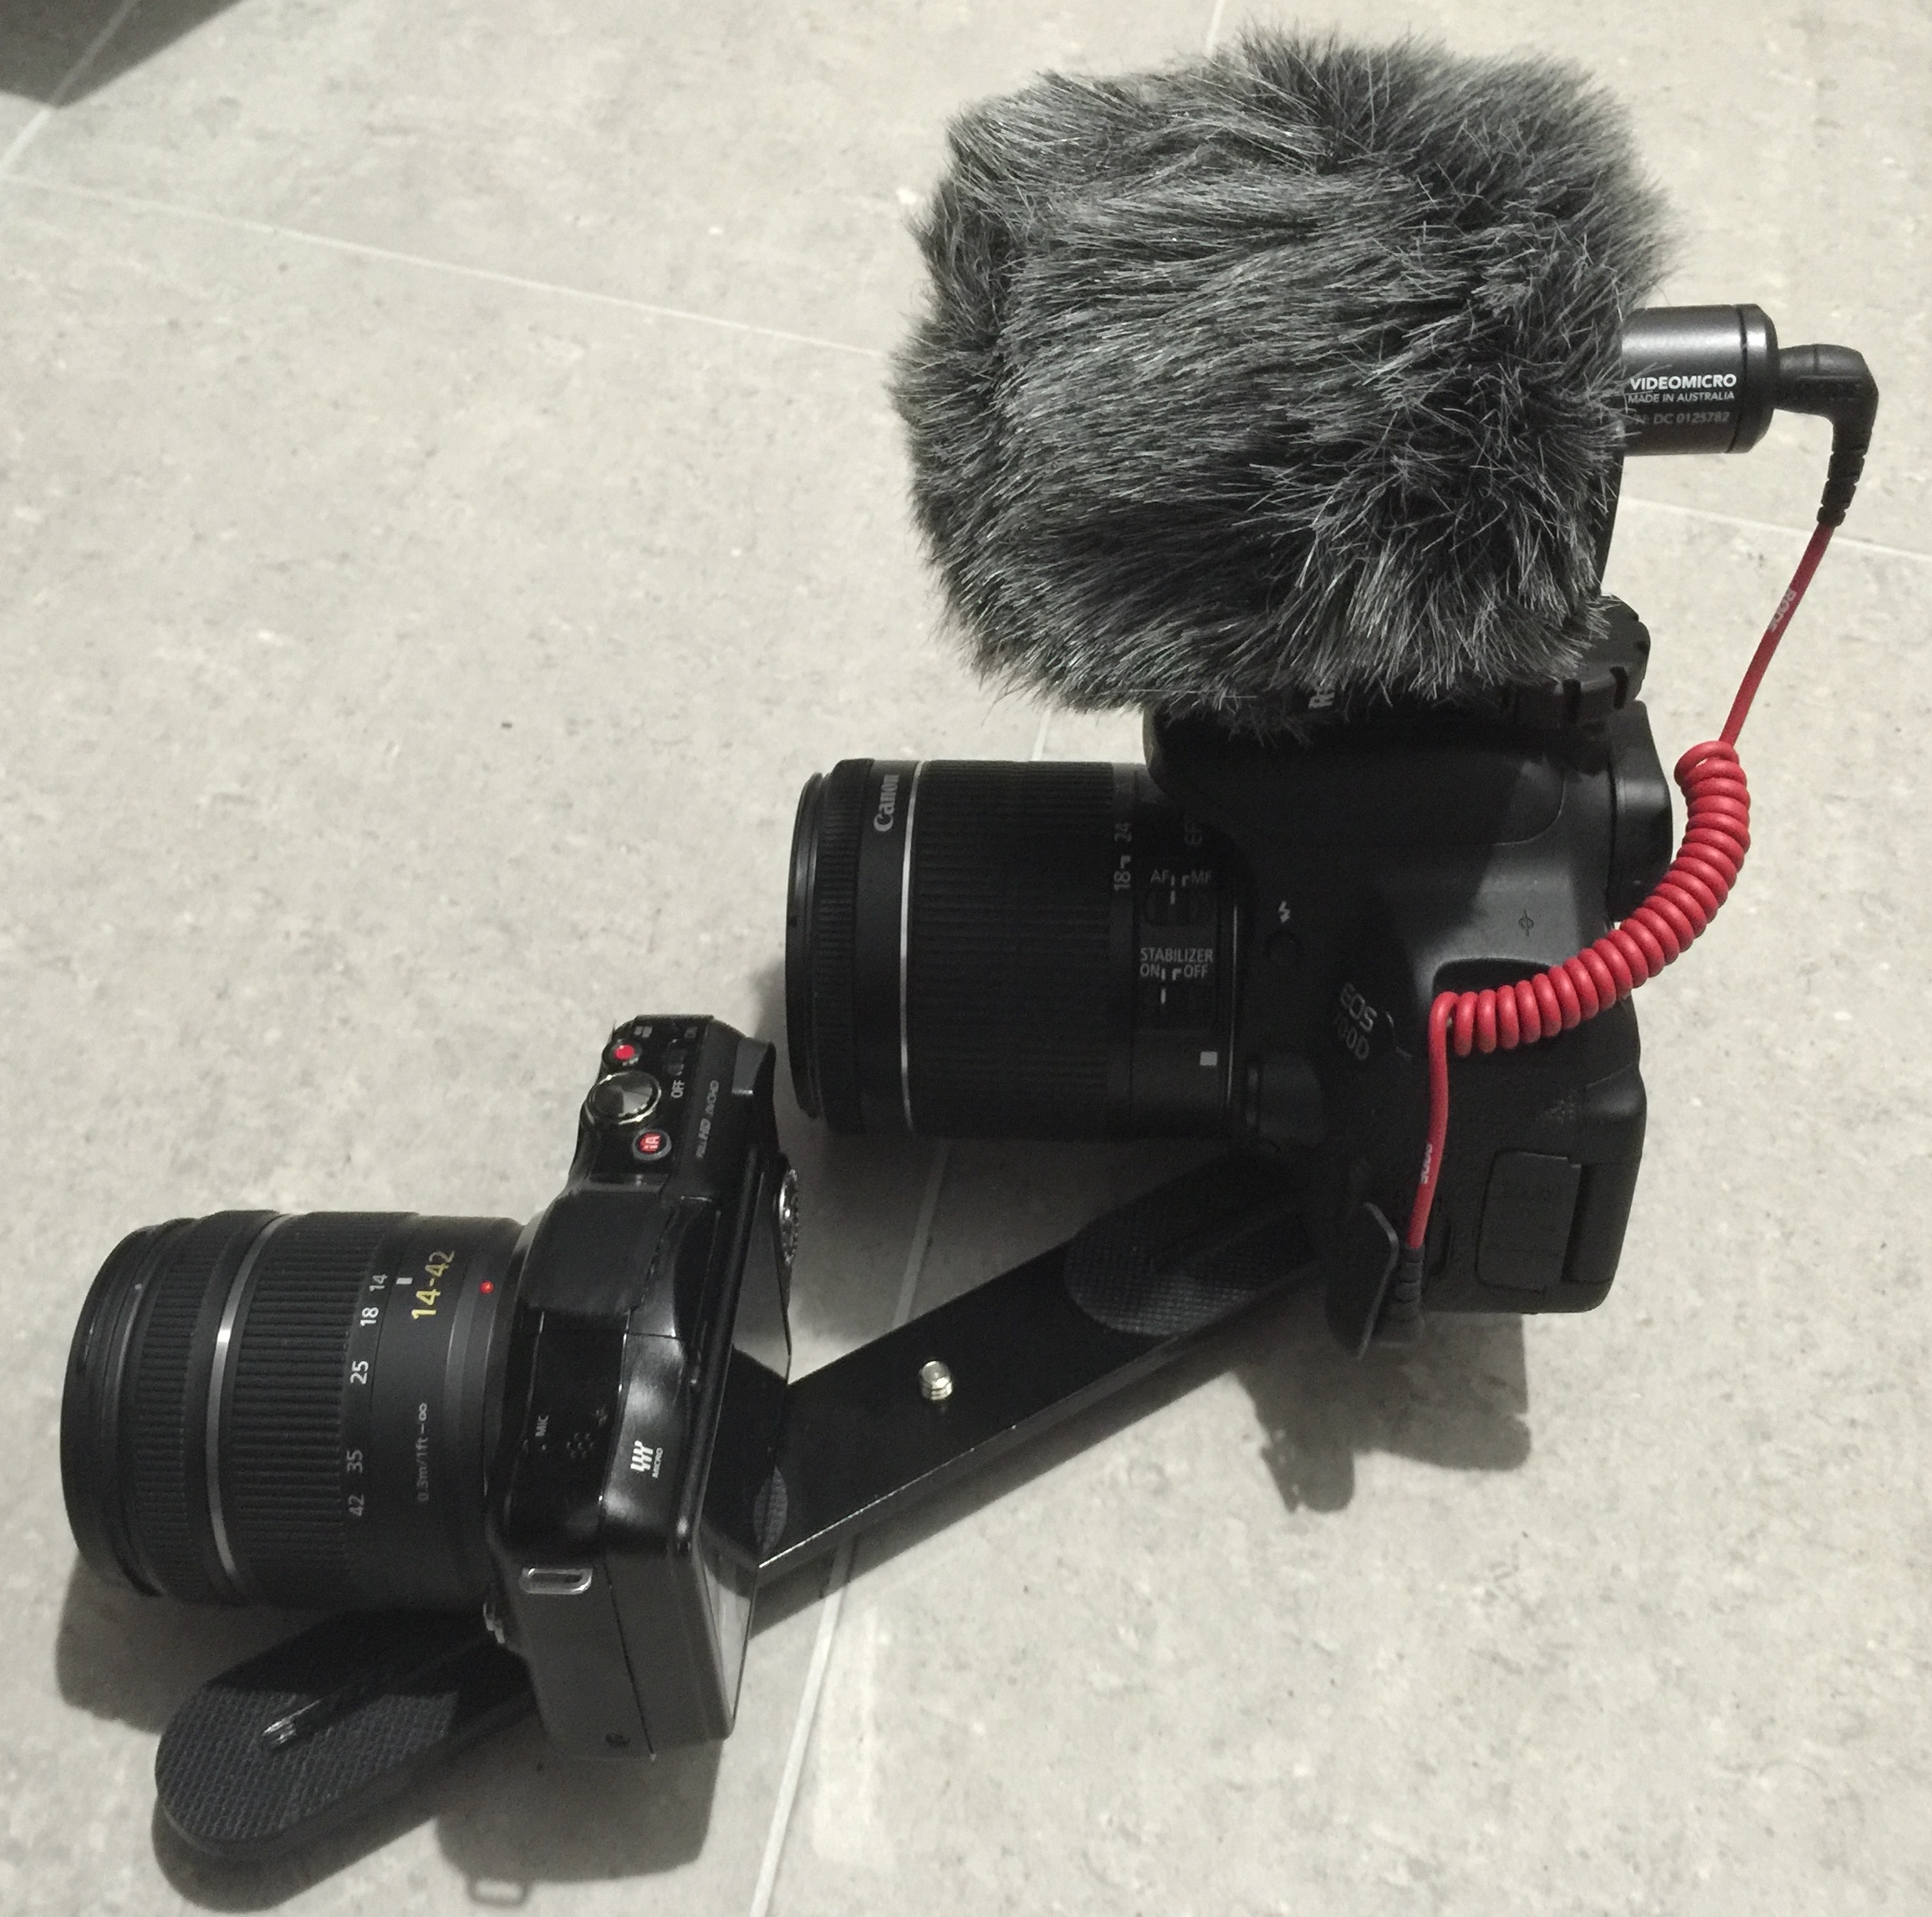
My main setup is a GH5, a 17.5mm (35mm equivalent) lens and Rode VMP+ hand-held rig. I also have other lenses, but >80% of the time the 17.5mm is on the camera. This is great for shooting locations and other people, but not for shooting myself, and I'd like to include myself in the finished videos too. I have a 8mm lens (16mm equivalent) but attempts to film-myself weren't that successful and it was cumbersome to change lenses and stuff around.
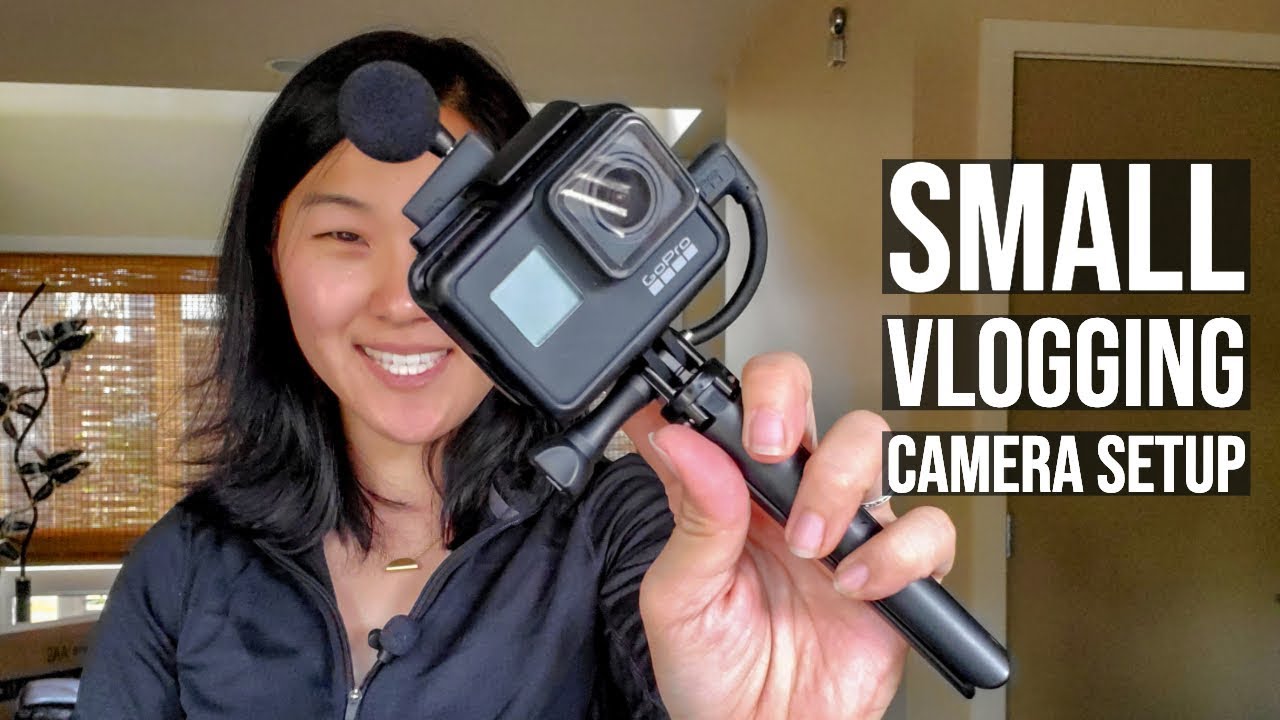
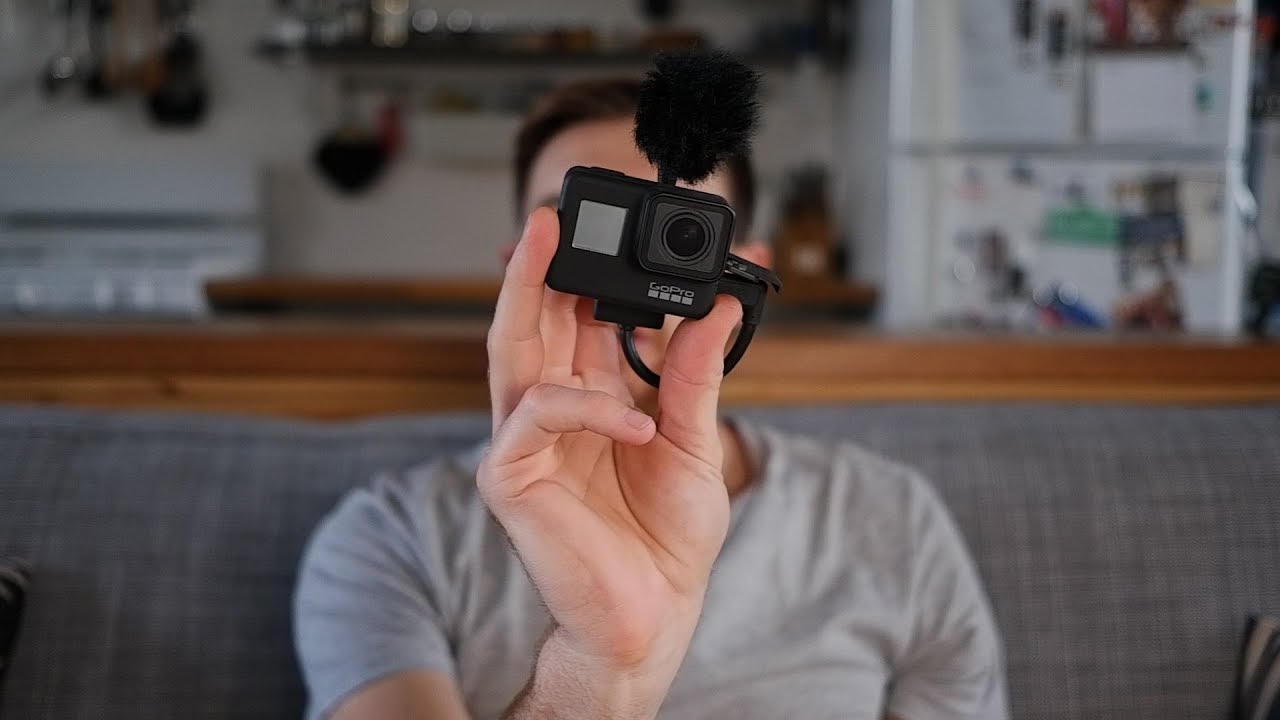
My solution will be to have a second setup with a fixed focus action camera. I did a proof of concept with my old GoPro, a handle, and Rode Video Micro and that worked really well. I take an action camera travelling anyway due to dust and water sealing, so it doesn't add to my luggage or anything.
My issue is that I'm used to having one rig and just holding it all day, but now I'm talking about juggling two rigs and I'm not sure how to best do that. I want it to be easy, and I'm looking for tips from people that use two cameras hand-held. I want to grab shots with basically no switching time, and potentially filming with both cameras at the same time.
Thanks.
-
lol, Walmart....
15 minutes ago, kaylee said:oh @kye i thought of one thing i did brilliantly: the shot of the girl working at "walmart". i designed a badge, printed it, bought a clip-on badge holder, bought the blue vest online, had her walk in walmart with me, shot some footage for a few minutes, and walked out. how do ya like that for stealing shots ?
Nice!
People who are a bit organised and have confidence and conviction can really bend the rules and get away with things. I'm not a rule-breaker in general, but in todays world so many rules are BS and if you're not hurting anyone then it's all good.
-
13 hours ago, kaylee said:
but of course! what can i say tho...? i dunno where to start? ask me anything...!
A few questions:
- What was most surprising during the whole process?
- What did you learn?
- What did you do that worked brilliantly that might be useful for others to know?
???
-
A couple of monopod videos talking about how they suit shooting weddings:
-
6 hours ago, billdoubleu said:
@kye, I appreciate the response! I know a lot of this probably seems obvious to the experienced folks, but I've been trying to learn cameras, shooting, editing, etc. as a hobby for two years now and I still feel like I have no clue what's going on.
No worries!
This field is absolutely huge and is a never-ending challenge for everyone. It's got all the great ingredients: it's hugely technical with a fast pace of change so you're always learning to keep up, it's almost always a team activity and involves working with people both behind and in-front of the camera, and is an art-form not a science so there is no final answer and there is always something more to learn.
Here's my advice - learn as much as you can, but learn by doing. Make films, learn from them, and then make more. Lots of people are all talk or all tech and don't actually create anything, don't fall into that trap.
-
33 minutes ago, anonim said:
One of the most beautiful and skillful cinematography I saw in last 10 years belongs to "Lore" by Cate Shortland director and Adam Arkapaw as dop... they used exclusively s16 in it. I'd dare to recommend that movie to everybody who yet doesn't see it - at least just to take one breath relaxation/inspiration from hard battle of sensor's size/capability fascination.
There are many things that really define what a camera setup is capable of.. DR, 8/10/12bit, lenses, filters, etc, but sensor size isn't one of them.
-
1 hour ago, Emeric Caron said:
After adjusting the back focus on my lens adapter my Sigma 18-35 is parfocal. The Sigma 50-100 almost.
Which adapter do you use?
If that lens can be made parfocal then that would be great news for a lot of folks I think
-
6 hours ago, fuzzynormal said:
Ha! I have a skit from 25 years ago that ends abruptly because the Horton security guys chased us off the premises. Some things never change I suppose.
Sounds like someone needs to make a 3 Hour 1 Minute film about getting kicked out by security... who wants to stuff around with artists who might not show up, the security guys sound pretty reliable
-
I'd suggest that you put it on the camera and:
- check the connection to the camera is mechanically sound
- turn on the camera and if the lens is electronic then check that the connection is working
- hit record
- focus to infinity and check that you can get the horizon in focus (it might not be exactly at the infinity mark on the lens)
- change the focus all the way to its nearest position and point the camera at something that distance away
- do a similar test with testing the full range of the aperture from wide-open to fully closed
- if it's a zoom lens, do a similar test with the full range of the zoom
- then point it at something plain (a blue sky is useful) and close the aperture completely and do a full pass on the focus from near to far
- if it has OIS or other buttons on it then test those functions
- also test whatever automatic focus modes it has
That should test the lens mechanically and electronically, and to check it optically you need to then review the footage on a decent sized display. Pay particular attention to spots (that's what the sky test is for) which might indicate dust or fungus inside the lens (or on the sensor) and then look for vignetting, colour shifts, or anything else that stands out to you.
Then just use it a bunch to get to know it, and how it handles flares, skin tones, how soft it is wide open and how much you have to stop it down before it sharpens up, etc.
- kaylee, webrunner5 and billdoubleu
-
3
-
2 hours ago, tekeela said:
Can I get some feedback on my planned P4K purchase list? This is my first camera, first lens, etc. I've tried to do as much research as I can, now I just need some learned eyes to double check I haven't made any real dumb decisions. Planned use will be no-budget narrative fiction and a bit of casual street filming.
Lenses: Meike 25mm T2.2 + Meike 16mm T2.2
Filters: Tiffen 77mm Indie Pro Infrared/ND Filter Kit
Monopod: Sirui P-326S with VH-10X head
Storage: Samsung T5 2TB
I would be planning to buy more of the Meikes as they came out, and I don't have to worry about sound for now. The other alternative would be to go for the Metabones + Sigma route. I already have the camera, a smallrig cage and a couple of batteries. Not sure if I'll need a bigger battery or not.Looks fine but I'll just say that the two focal lengths you're looking to buy are very similar to each other and I wonder if having a bit more variation might be more useful initially?
I do understand that the 16 and 25 are probably the most common focal lengths that get used, so depending on how you shoot it might be fine. I'd suggest thinking about what camera angles / framing you're going to have (two-person, one-person-wide, one-person mid, tight, over the shoulder, and b-roll closeups, establishing shots, etc) and how close your camera will be from them (are you shooting on sets, temporary locations in larger rooms, in people's houses in open-plan areas, houses in smaller rooms, open plan offices, individual offices, meeting rooms, locker rooms, etc ) as this combination of shot+distance will dictate the focal length you will need.
For close-ups consider the minimum focus distances of your lenses too.
Also consider that if you're shooting 4K you only have to crop into the 16 about 150% to get 25 (which will be a 2.5K image) and if this is acceptable for you to do so, if you're delivering in 1080 for example, then maybe you get a 35 or 40 instead of the 25. Or, you get a 12 and the 25, and you can crop in to emulate a 16, and also emulate a 35 or 40 with your 25.
As I said, this is personal, so the only person who can answer it is you, but make sure you've considered that before spending your budget
-
Watchtower of Turkey is a classic, and IIRC was one of the? or the? video that started the fast-cut-fancy-transition genre of travel film.
I don't have favourites really, but this is a great one, and somewhat contrasts Watchtower...
I should add that it's not all 'cinematic' but alternates between vlog and cinematic, which to my eye makes the cinematic stuff even more so because of the contrast. We could argue that the vlog parts are cinematic too because of the storytelling, humour, and content rather than the aesthetic, but regardless.
-

")
")


Cheapest parfocal lenses
In: Cameras
Posted
I read somewhere that some types of haze can be cleared by putting the lens in a vacuum chamber for a minute or so. It makes sense if the haze is some condensation of materials (perhaps oils from ageing lubricants or other components) then putting it under vacuum will cause it to evaporate again, and will be pulled out by the vacuum pump.
Of course, many other things can cause haze too, so it's not a guarantee, but considering you only invested $14, you don't have a lot to lose.