hyalinejim
-
Posts
970 -
Joined
-
Last visited
Content Type
Profiles
Forums
Articles
Everything posted by hyalinejim
-

How to make RAW-like corrections to 10bit log in silly old Premiere
hyalinejim replied to hyalinejim's topic in Cameras
Actually, I think I made a mistake regarding the colour space. In the Resolve colour space transform effects, all colour space drop down boxes should be at Rec709, otherwise the colours go wonky. -
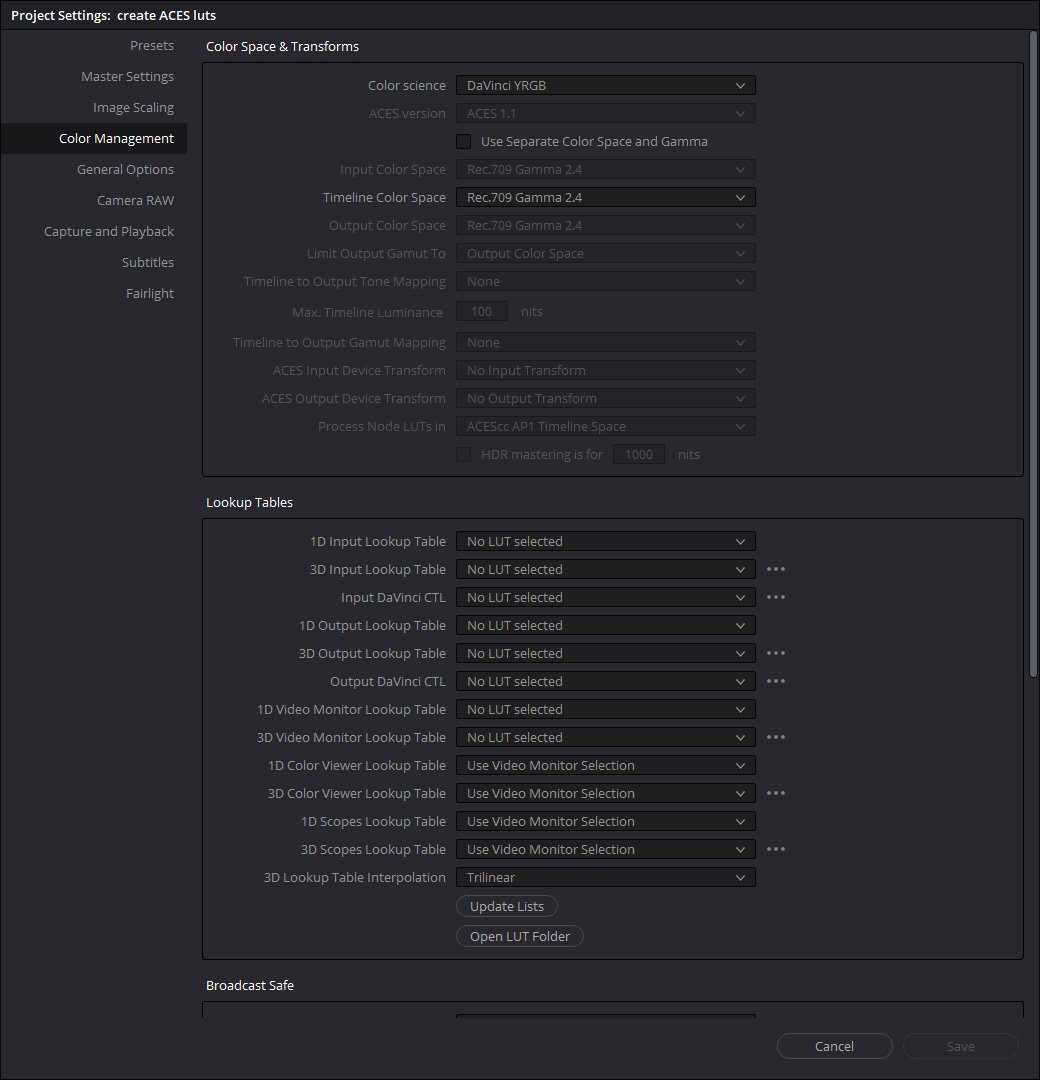
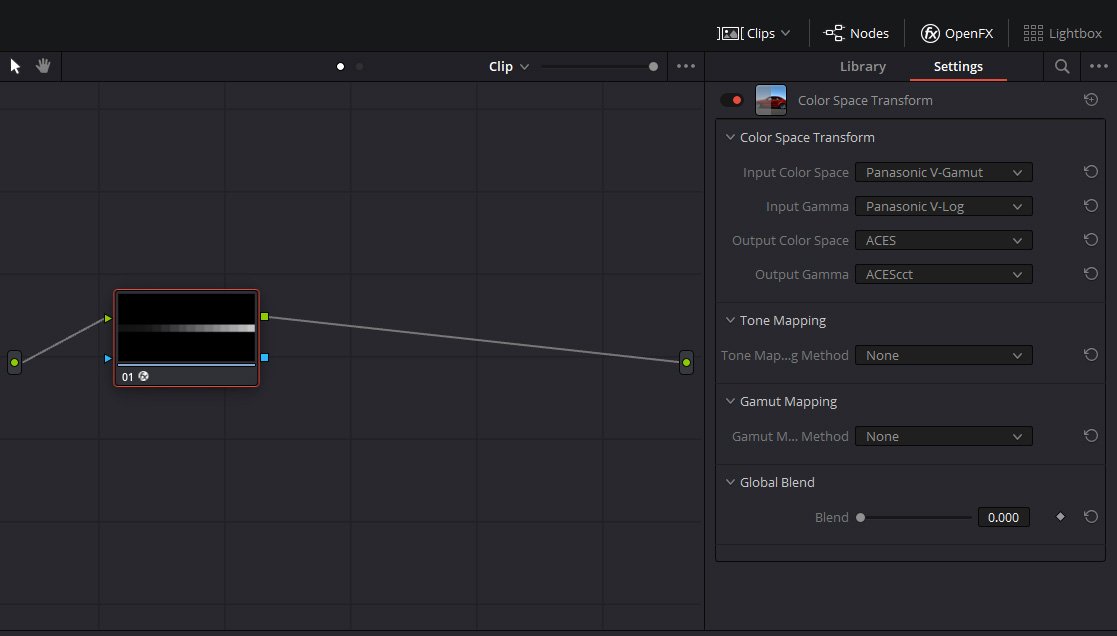
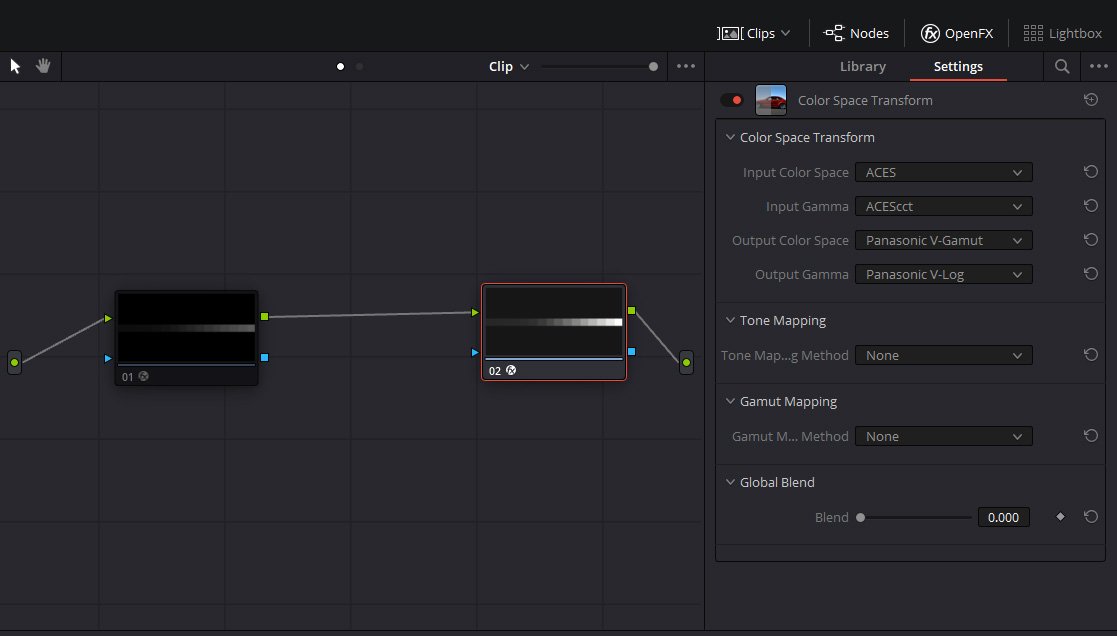
I've long been a fan of 10bit log because of how far it can be pushed without falling apart. However, I still use Premiere for all of my jobs. This is because I'm used to it, have old projects that I often need to incorporate in new ones and sometimes I need to be able to talk nicely to After Effects and Photoshop. I don't mind editing in it. But colour correction sucks for log footage. The Lumetri controls are designed to work on God knows what gamma. It's OK-ish for making luminance adjustments to log gammas (still not by any means perfect) but trying to white balance accurately is basically impossible. The highlights will be over corrected and the shadows undercorrected. For a while, for critical colour work I had been pasting Premiere timelines into After Effects in order to use an ACES worfklow there using the OpenColorIO plugin. The advantage of working in ACES space is that you can adjust exposure, contrast and colour globally across the luminance range. If you're used to using the White Balance, Exposure and Contrast sliders in Lightroom for photo editing then basically you can do the same thing very easily in ACES colour space. Finally, and thanks in part to a post on the Sigma FP thread I've found a way to do something similar in Premiere. Here's how to do it. You'll need a free copy of Resolve for this. Create a Resolve project with these settings and add a clip: Add Color Space Transform effect to a node and set the input to the gamut and gamma of your log footage. Then right click the CLIP thumbnail and generate a 3D lut (65 point). This lut will transform your log footage into an ACES-like condition: Now add a second node and add a Color Space Transform effect. This time the color spaces and gammas are reversed. This gets your footage back to log. Our corrections will go between these two transformations. Disable the first node (or delete it) and generate a second lut: Now in Premiere add the following effects: The first lut, Log to ACES, goes in the first instance of Lumetri (you'll have to find it in the Effects Panel and drag it to the clip. Don't go into the Color workspace as we'll need two instance of Lumetri) The second lut is ACES to Log and that goes in the second instance of Lumetri (if you put this in the Basic lut slot you can put a log to Rec709 in the Creative lut slot) Between the two add brightness and contrast. +15 brightness units is one stop. Also add the obsolete Fast Color Corrector. This simple colour wheel will do all your white balancing for you. There's even a white balance dropper if you need it. The wheel is very sensitive, though, so I lower the Balance Gain to 2 to make it less sensitive. If you have a nice lut that you like for your log footage then this is all you need to colour correct very, very quickly in Premiere. White balance, exposure, contrast. Done! Next! I'll post some examples of saving poorly exposed and white balanced shots when I have time. Premiere stupidly doesn't allow you to save the four effects as a single preset, but you can save the first lumetri as a preset, the two middle effects as a preset, and the last lumetri as a preset. I would love to not use Lumetri at all for this, but can't find a simple "Apply Color LUT" effect like there is in After Effects. Does anyone know of one?

-
You can do it in Adobe Bridge very easily. Sort by date created, select all, then batch rename.
-
As mentioned, my opinion is that the Panasonic lut is slightly too dark. Aside from this the issue of "perfect" exposure is complex. None of it matters if you can get the results that you're looking for. It's normal to brighten or darken clips in post. I'd imagine that the only people who are trying to get extremely accurate exposures in-camera are those shooting slide film.
-
Exposure and metering is a complex subject. My original point is that the idea that you "must" overexpose V-Log has little basis in good practice. I was also surprised by this. However, Panasonic's other grading luts are a joke. And their standard picture profiles are pretty poor, in my view. I strongly disliked the look from the GH4, which I shot with temporarily, and only became interested in Panasonic when 10bit log became available with the GH5. They don't have a good track record of delivering nice images, in my view. With that said, I suppose their V-Log to Rec709 lut is supposed to be a starting point for a grade. It's quite low contrast so I guess they are expecting the user to work on the image a bit. If you're happy with the results you get from the Panasonic lut, then stick with it. I don't have a recommendation, sorry.
-
Hey, I totally fell for it the first time I saw one! They look legit at first glance.
-
I doubt any of the videos on that channel are real. Most probably the same camera in every comparison and every single video, if the shots haven't been nicked from elsewhere. It's a clickbait account, similar to quite a few others with similar names and the same modus operandi. If you do a search for any new camera and sort by upload date you'll see a ton of this bullshit masquerading as genuine comparisons.
-
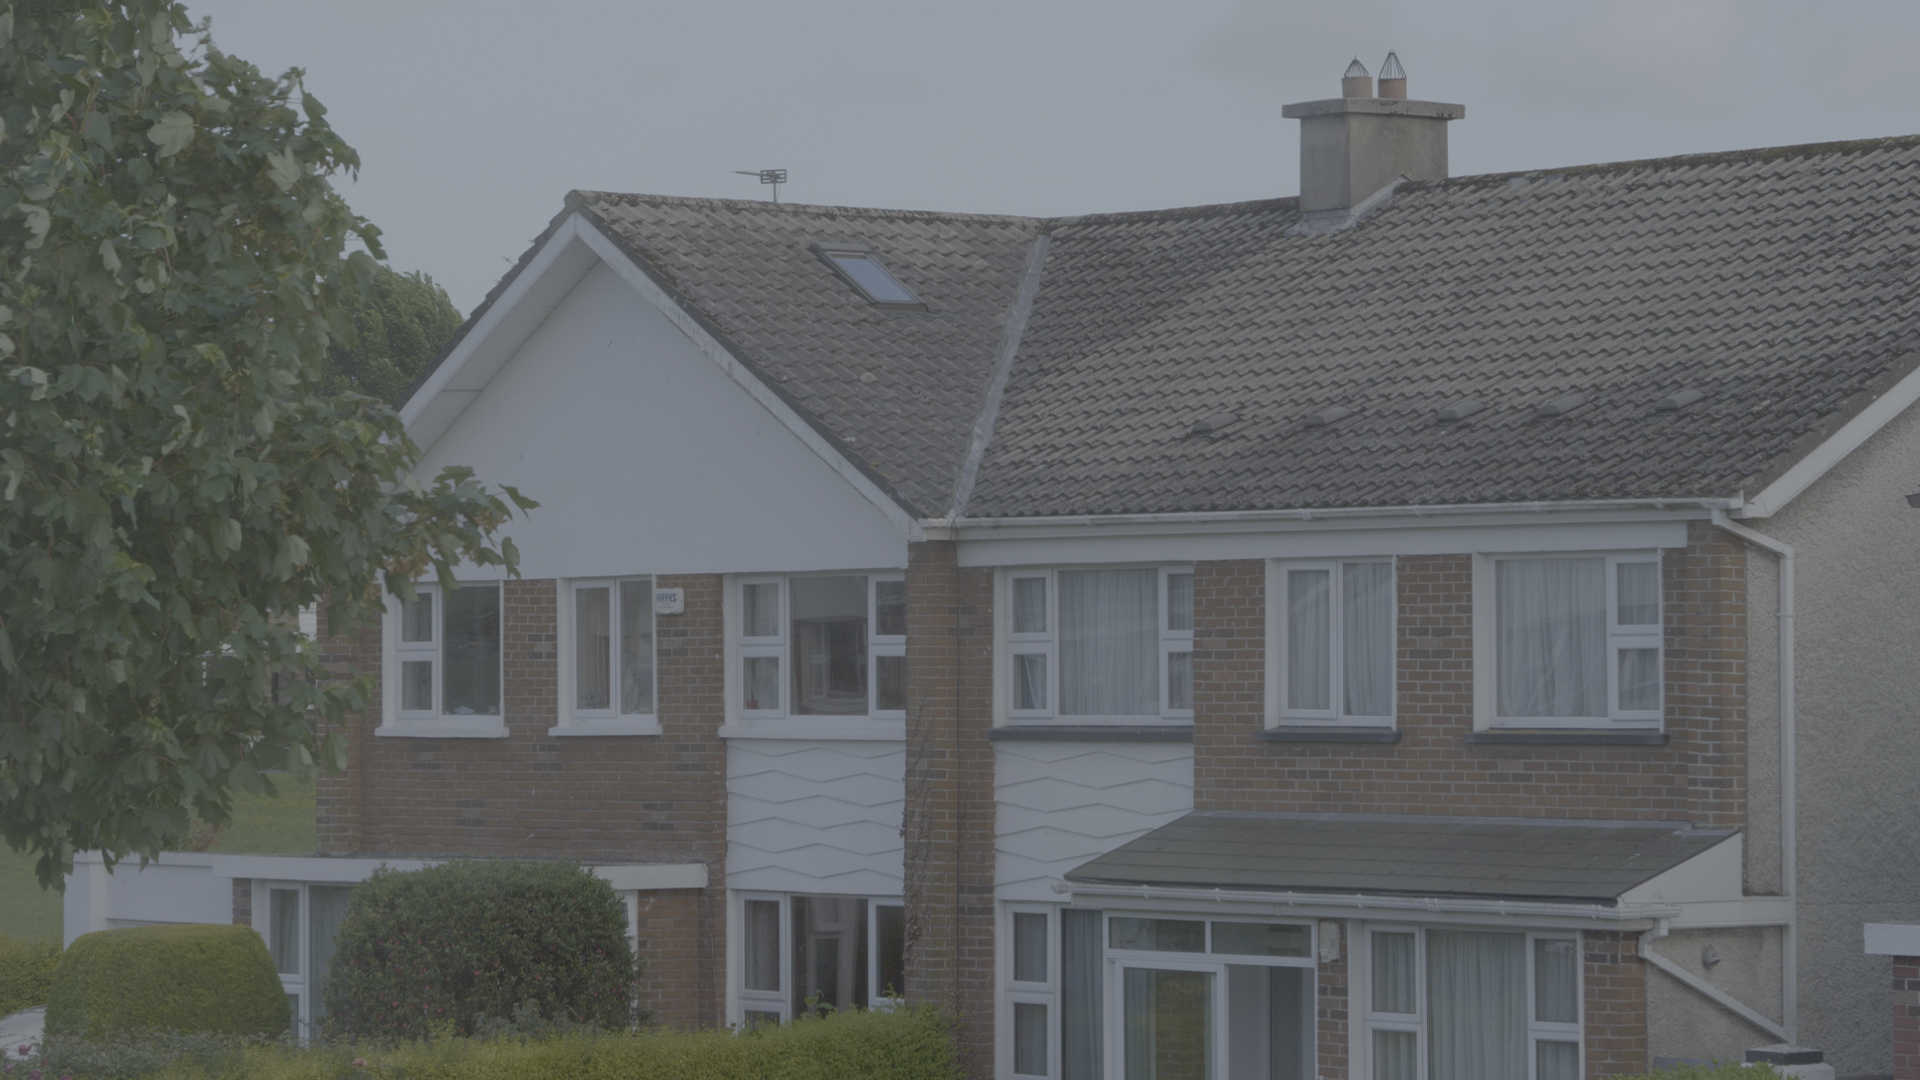
The GH5 has a bug in V-Log where the meter doesn't work properly. The base ISO of the GH5 is 200 and in V-Log it's 400. Most camera sensors clip at about four stops above middle grey. Log profiles work by deliberately underexposing the image to give more stops in the highlights, and then brightening the image so that it looks correctly exposed. So when you shoot in V-Log at ISO 400 the camera is actually shooting at the ISO 200 level. However, the meter (incorrectly) continues to show the exposure value for 200 ISO. You can verify this by switching from V-Log to a standard profile. The meter reading will change by one stop. So one stop over on the GH5's meter in V-Log is actually the correct exposure. The GH6 has fixed this problem. The clip you uploaded is perfectly usable. I would say that it's about one stop overexposed, but because no highlights are clipping then no information is lost. It's a good example of ETTR technique. As shot -1 stop in post -1 stop in post with Panasonic lut applied. In my view the Panasonic lut is too dark. Middle grey (code value 422) stays at 422, whereas it really should be at around 494 which is middle grey in Rec709. -1 stop in post with my Kodak Portra lut applied. My lut preserves the correct value for middle grey.
-
That's another one of those endless fake comparison videos clogging up YT.
-
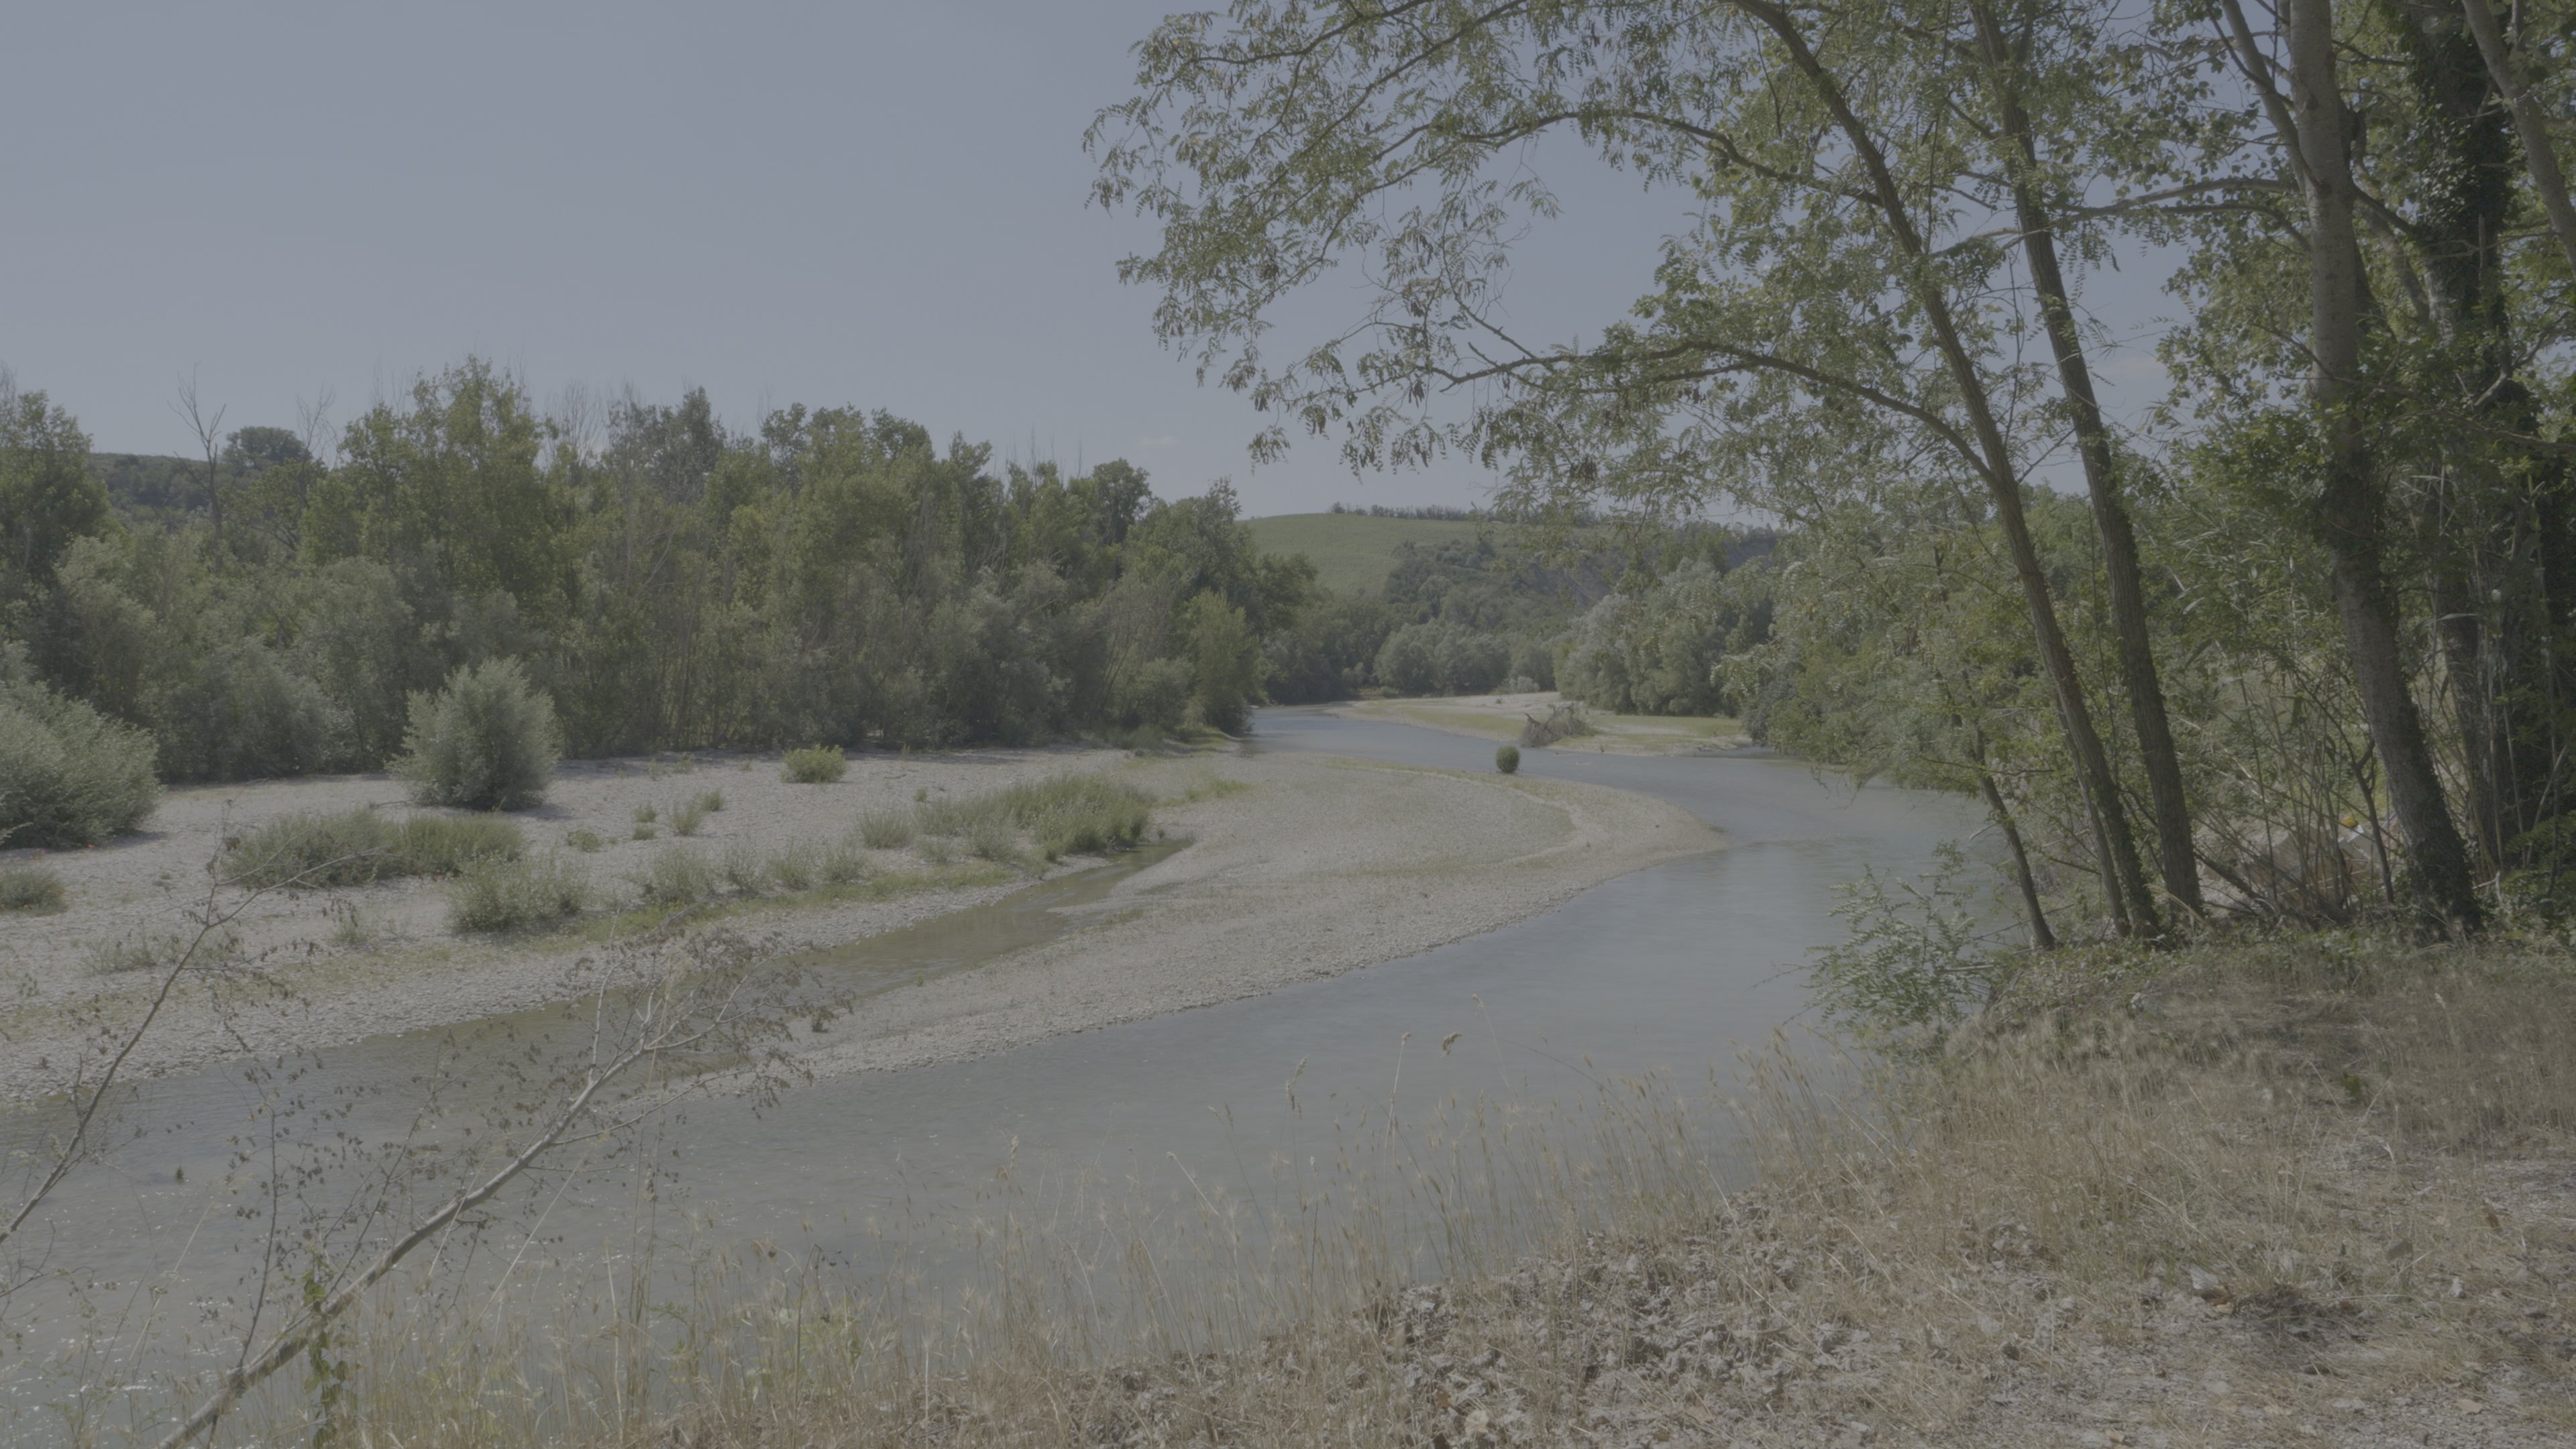
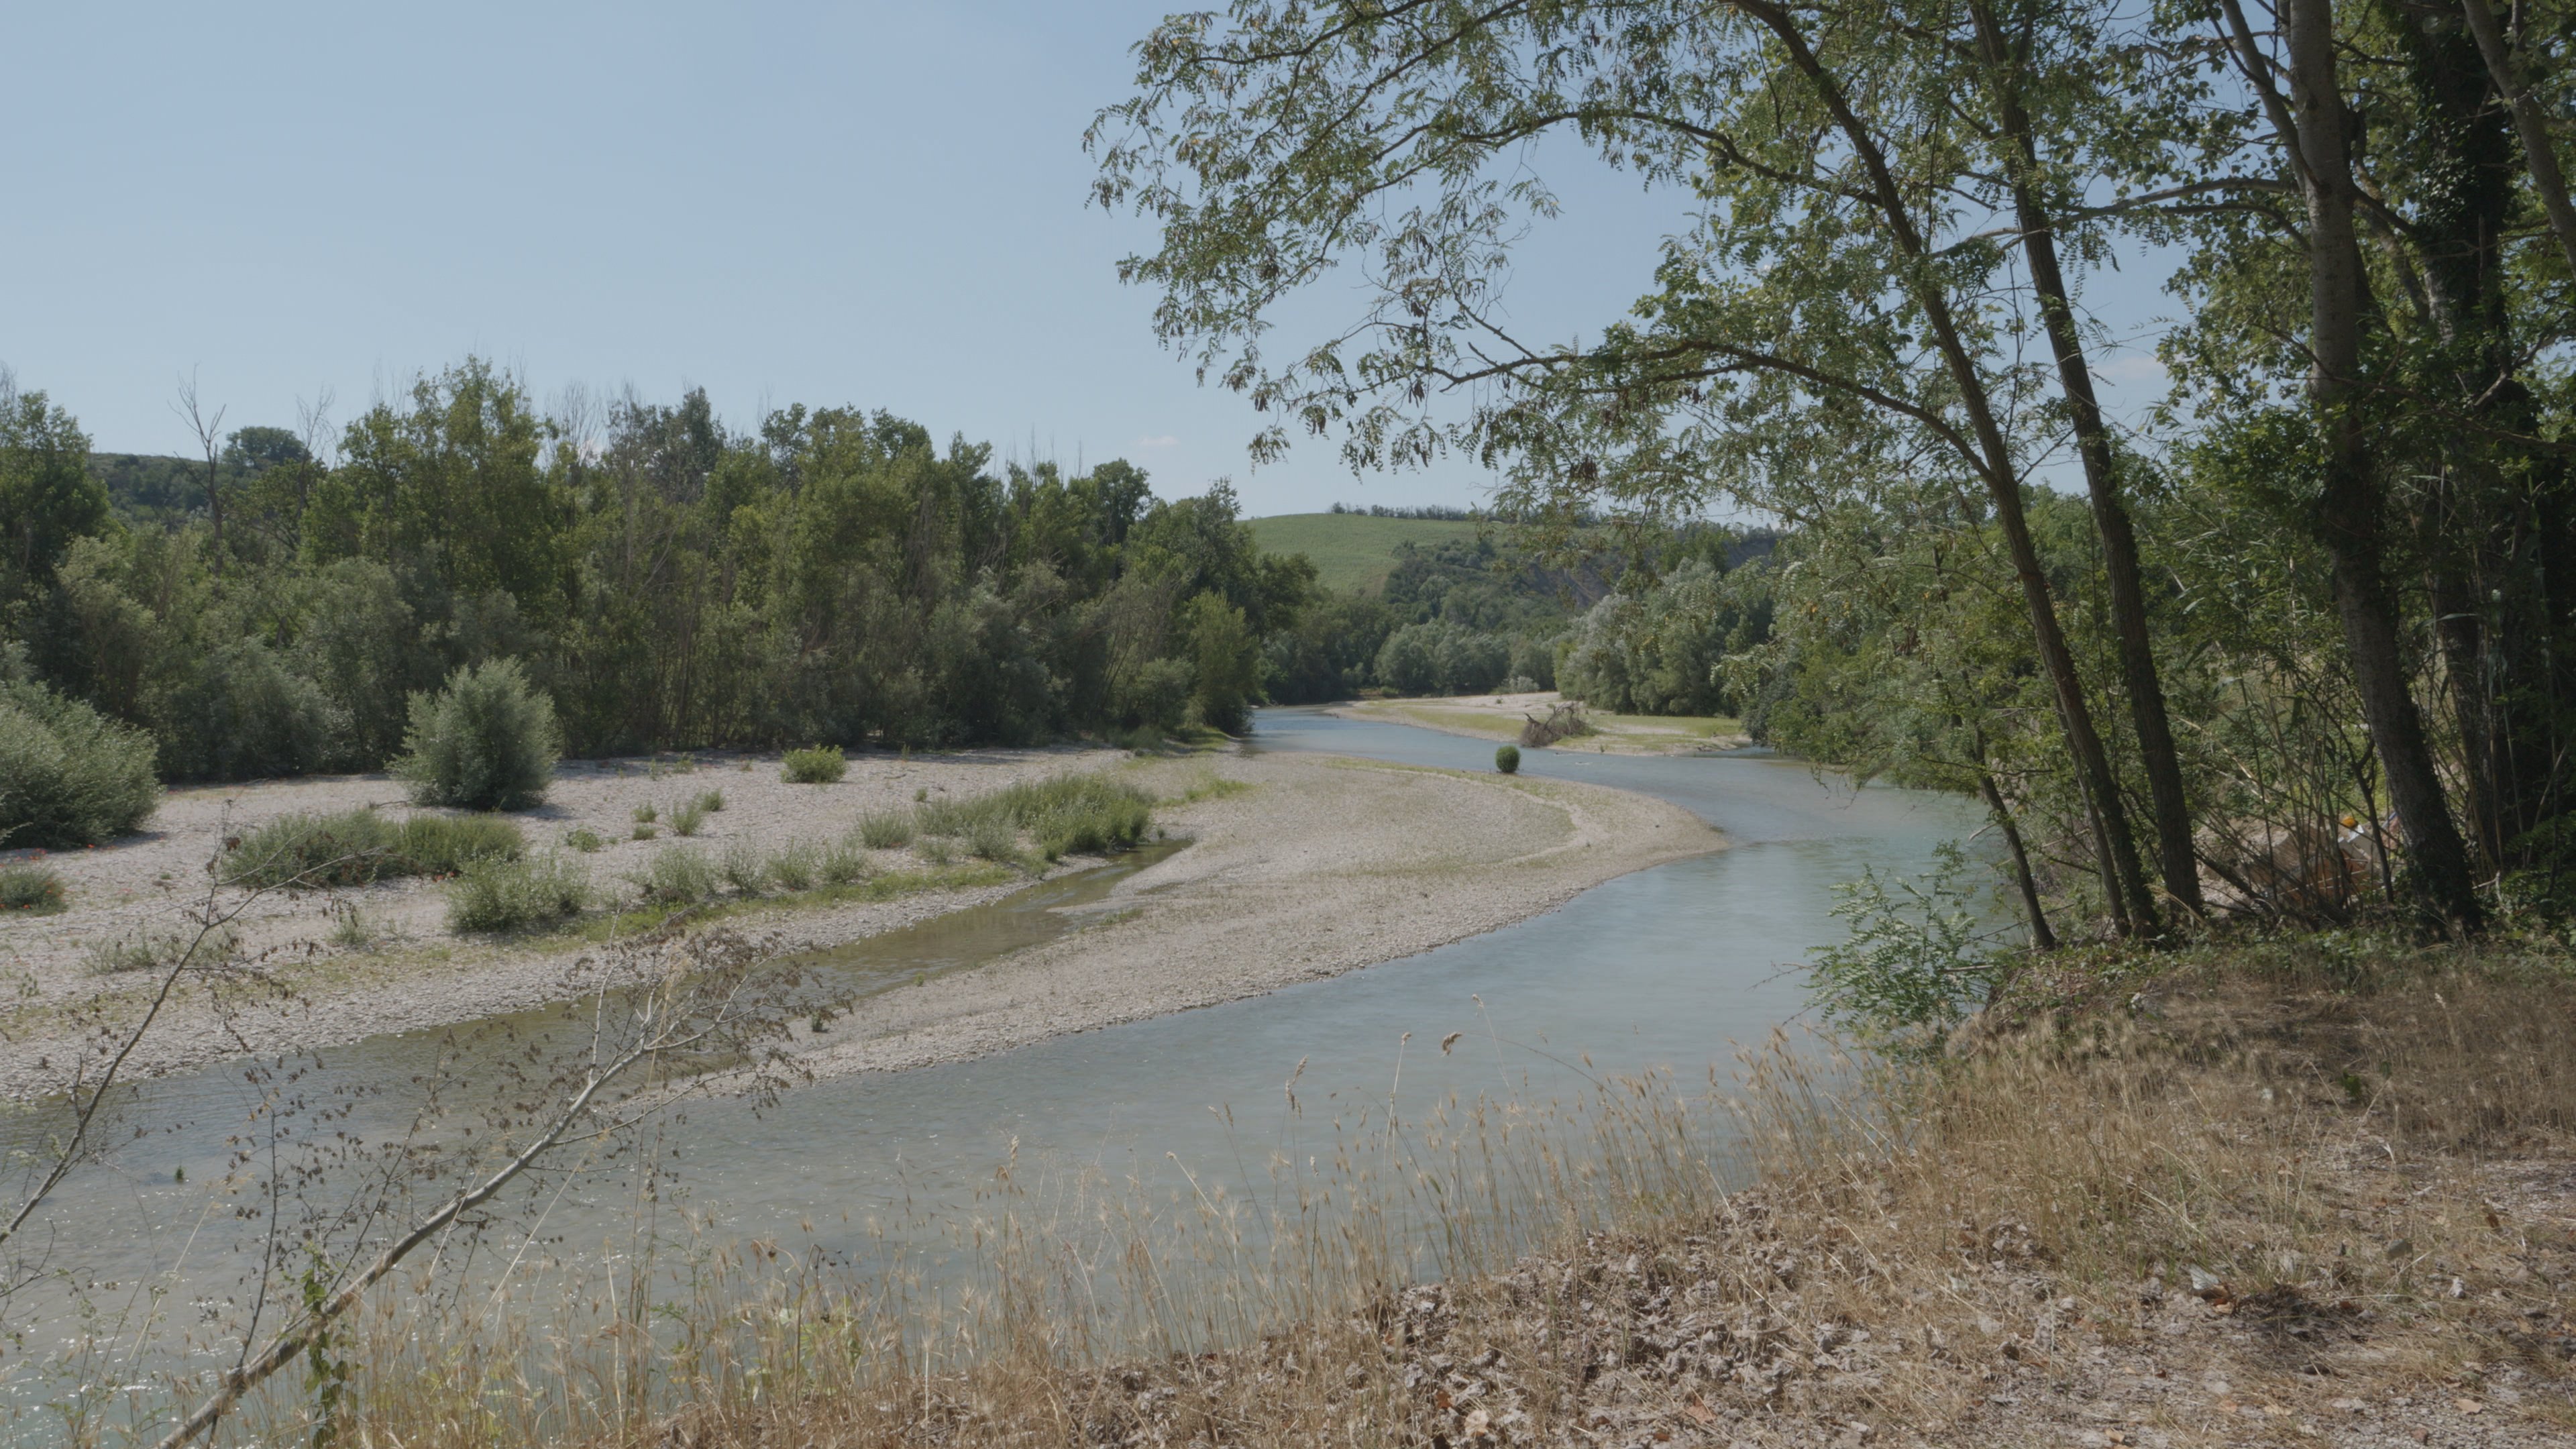
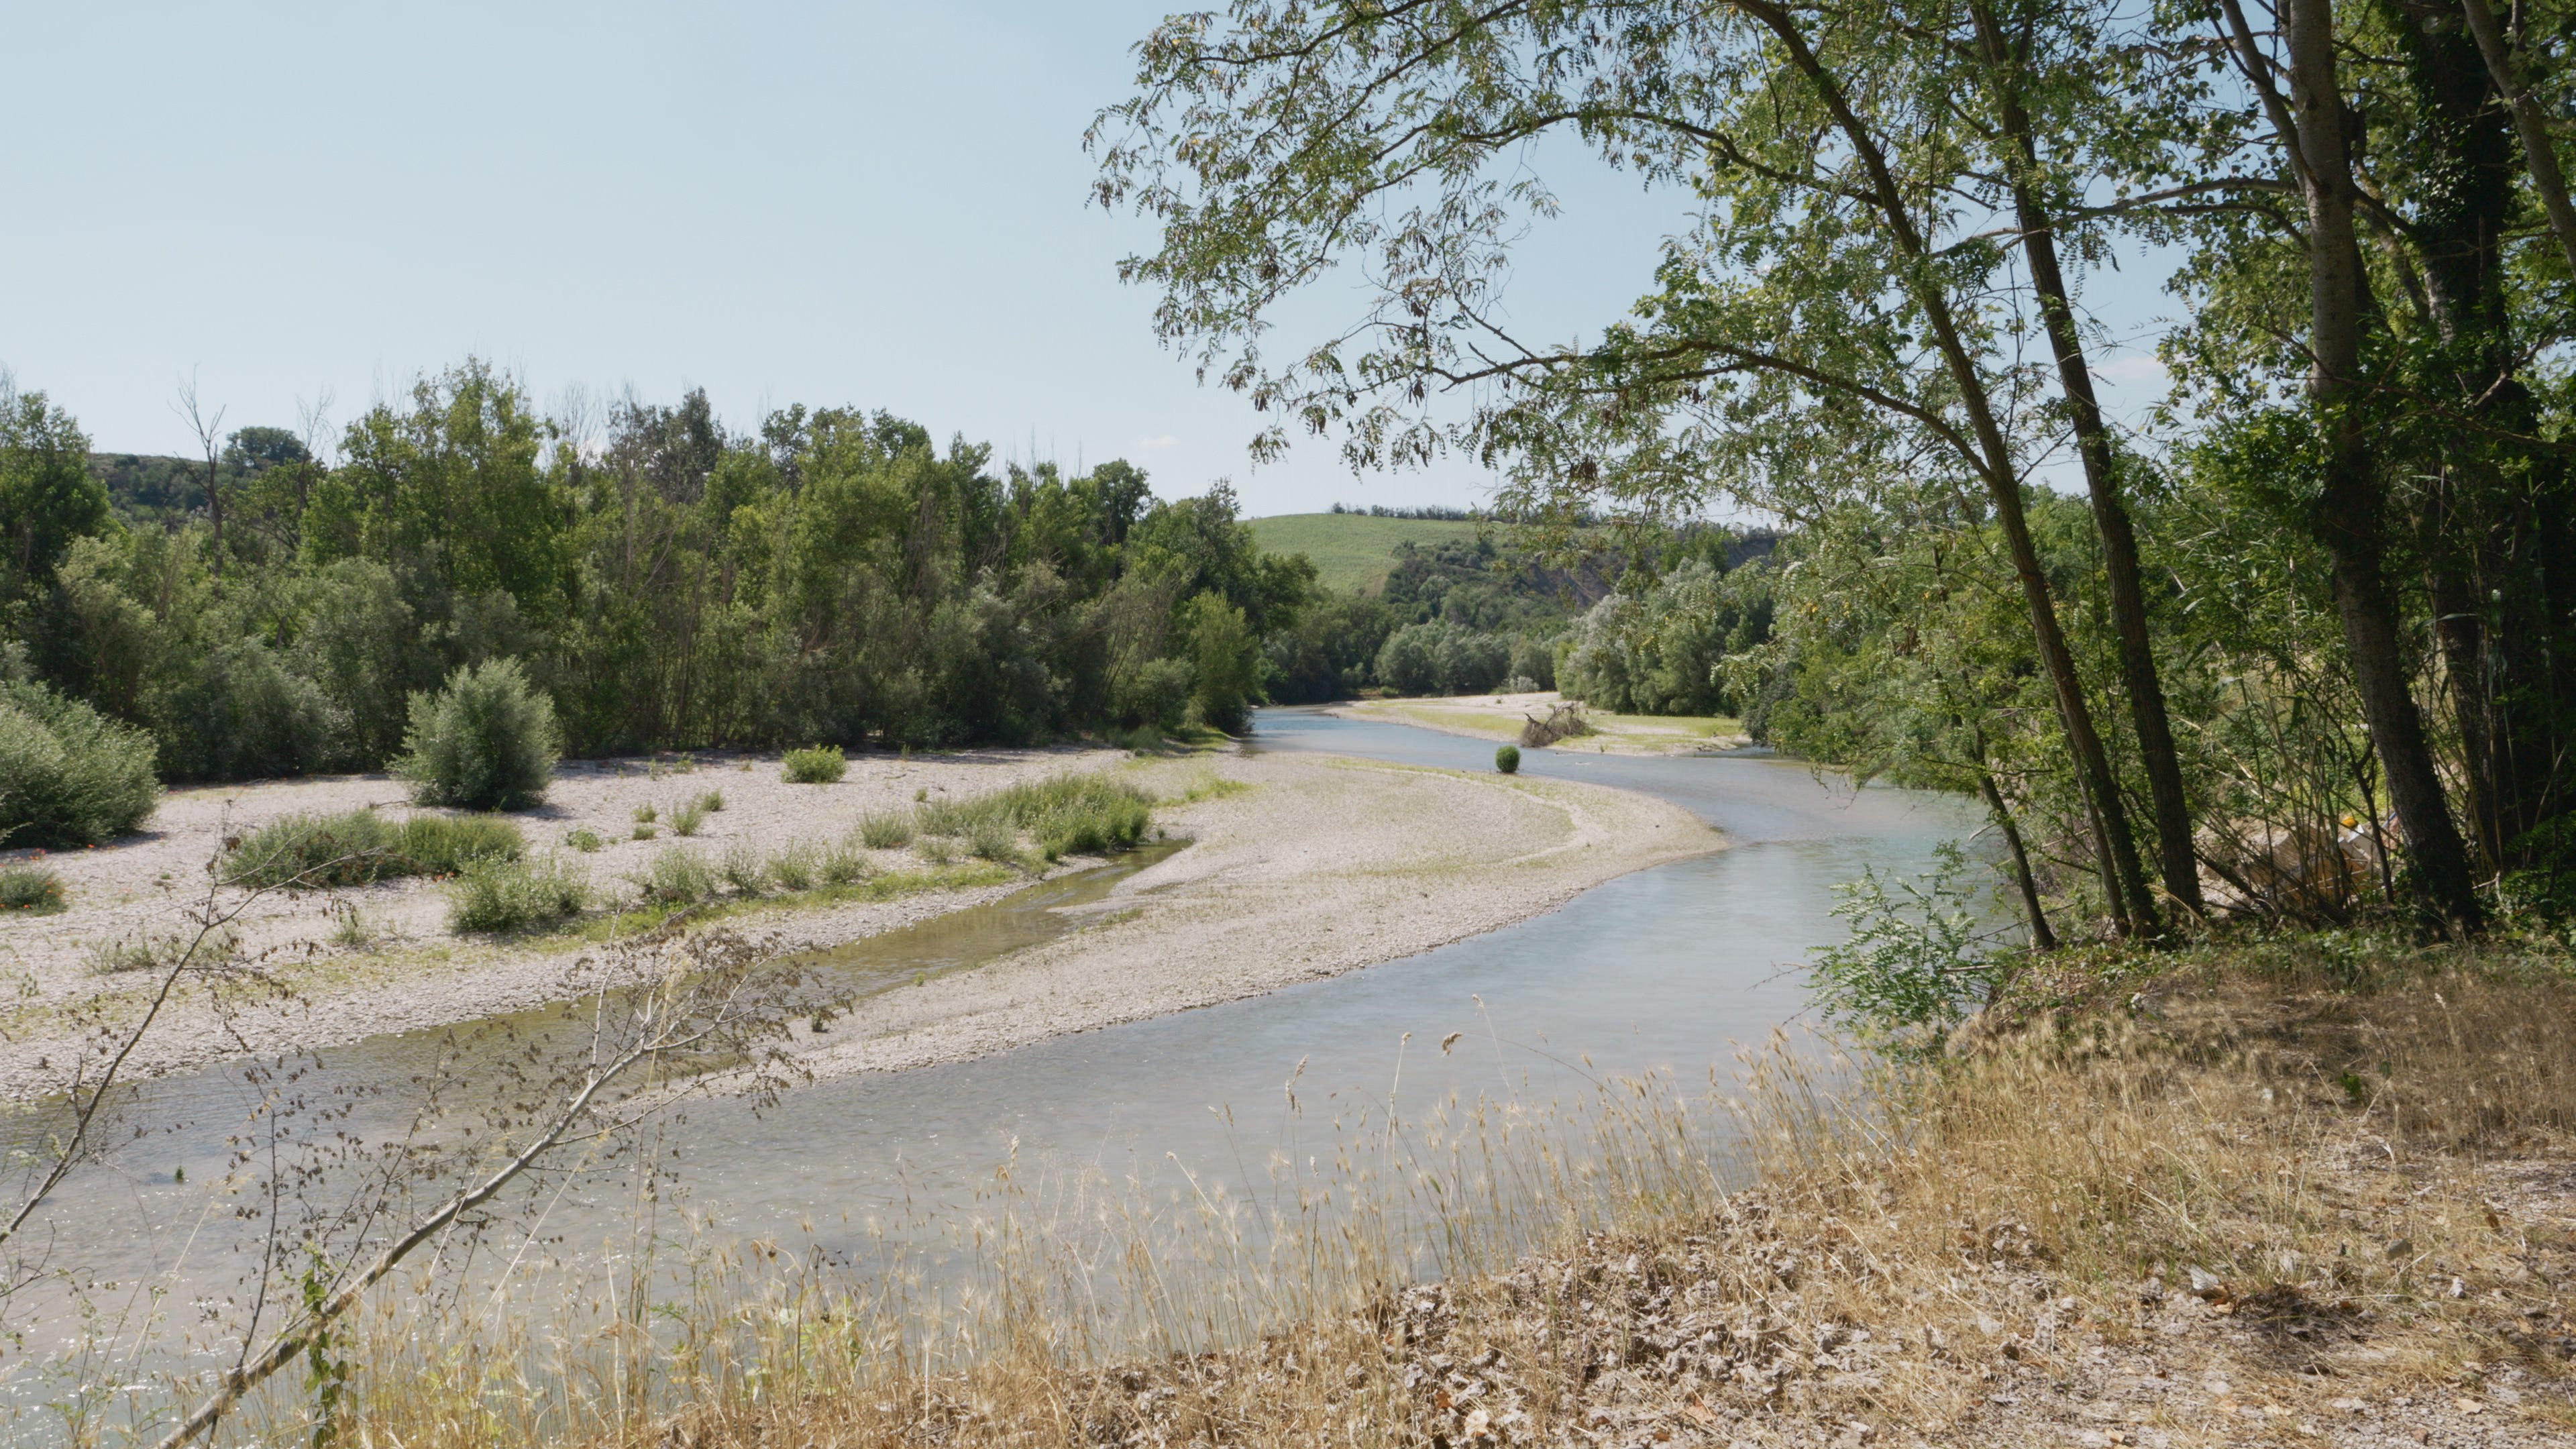
Yes, those settings sound like around 2 stops overexposed for full sun. Sorry, I thought you were shooting with DR boost on. If you like the look of 2 stops overexposed, and are happy with the dynamic range of ISO 250 as well as the DOF of F11 to F22 then you won't need an ND filter. If you added a 3 stop fixed ND filter you could use the same settings with DR boost, giving you the same look but with more dynamic range. Can you post an ungraded still of the river scene? It would be interesting to see.
-
Sounds like you're shooting with a fast shutter speed there. Most video shooters prefer to shoot at 1 / (2 x frame rate) which for 24 or 25p is 1/50. By the Sunny 16 rule that means an aperture of f22 at ISO 100. Let's assume that you're happy to live with the massive depth of field and diffraction that entails. Well, at ISO 2000, f22 at 1/50s is more than four stops overexposed, which for GH6 VLog with DR boost enabled means you would get about one stop of highlight detail above middle grey. NDs allow videographers to maintain their chosen shutter speed in bright light. Photographers have the luxury of shooting at very fast shutter speeds if they wish.
-
You don't have to overexpose V-Log by 2 stops. You can, if you want, but you run the risk of losing highlight information. If nothing is clipping, then it's fine as long as you have a way of accurately lowering the exposure in post. Incidentally, the GH6 fixed the problem whereby the meter reading was a stop out in V-Log. The GH5 will indicate that the correct exposure is one stop overexposed. The same settings on the GH6 will give a centred reading. Maybe this is partly why the advice to overexpose V-Log exists (not that I remember hearing that too much). On the subject of NDs, there are three areas where a variable ND can mess with an image: 1. Softness - most contemporary models seem to have this one sorted, ie: very little or no softness 2. Colour cast - as you dial in more ND the colour cast can change and/or the filter can have a cast at its lowest setting. The workaround here is to WB while shooting or in post. 3. Polarisation - this is the biggest and most unavoidable problem. All variable NDs, as far as I know, are two circular polarisers stacked. As you rotate your view in relation to the sun the amount of polarised light hitting the camera changes , and as you rotate the ND filter the amount of that light that gets blocked changes. Blocking polarised light means that reflections on foliage, skin, water, glass will be reduced. Sometimes the look is desirable and sometimes it's unnatural. My long in the tooth SLR Magic Vari-ND II has a workaround for this whereby you can loosen and tighten a locking ring that allows you to rotate the whole filter and thus adjust the amount of polarisation (it works, but takes a bit of time). Furthermore, with wide angle lenses and with some vari NDs stopped down a lot you will get the dreaded X pattern. It's point number 3 that is the biggest downfall of vari-NDs and a fixed ND avoids this. However, I'm willing to put up with the shortcomings for the amazing convenience of being able to smoothly increase or decrease exposure by turning a ring. I was doing an outdoor interview shoot the other day and the sun was going in and out on a regular basis. I kept the overall exposure balanced using the ND in a way that would have been impossible by using the exposure controls. However, shooting something more slow paced I would prefer to be using fixed NDs. You could look into Freewell's magnetic fixed ND system. They are stackable and you can choose the strengths you require. For example, if you bought a 1, 2 and 4 you could stack them to achieve discrete 1, 2, 3, 4, 5, 6, 7 stops. That won't be enough to shoot wide open in bright daylight at ISO 2000, but it gives you an idea. Then, of course, the problem becomes how many filters can you stack without softening the image or introducing unwanted reflections.
-
Well, the Q button is by your thumb. Then you just need the shutter wheel, which is easy to find, followed by the shutter button. So it's all quite intuitive and relies on muscle memory. VLog-L maxes out at 80IRE. Full VLog goes further. In that regard, GH6 without DR boost is the same as VLog-L. Once you turn DR boost on you get a bit more info in the highlights above 80 IRE. The perceived incompatibility of GH5 VLog-L with the Varicam luts has more to do with the colour, I think. The GH5 V-gamut colour is a bit off, most noticeably in skintones. The GH6 is supposed to be closer to the other cameras (S series, EVA1 and presumably Varicam) in that regard. I would say that when applying the Varicam luts, the GH6 colours look all right.
-
This is the colour difference between GH5 VLog and GH6 VLog: GH5 GH6 In general most of the colour palette is warmer and skintones, as everyone already knows, are no longer to magenta. Blues are also more accurate, being slightly darker and more purple than they are on the GH5. Greens are more yellow.
-
It's actually not that cumbersome at all once it's set up and if you either don't need the frame marker or are happy to leave that on all the time. Press Q, turn the wheel, set. So three clicks. It takes at least that many to switch GH5 in and out of 2x using a function button, and more if you have to cycle past 4x.
-
Incidentally, am I right in saying that the 4K pixel-pixel mode at a 1.5x crop of a M43 sensor is very close to Super 16 size?
-
Unfortunately not! Panasonic please add it in 1080p for the practical and savvy HD shooters! The 1080 pixel-pixel mode is a 3x zoom and it's too unforgiving of the central portion of the lens and also soft and noisy because it's not downsampled. The best workaround I've found is the following: - Create a custom image quality list with HD and 4k. Now I can switch between them quickly from the Q menu. - Create a custom frame marker that is 50% of the image area and assign it to a function button to turn it on or off. So now you can get accurately framed 2x 1080.... but it's the center crop of a 4k file. Dropping the files on a 1080 timeline in Premier will automatically do the cropping for you. It's not ideal, of course, as now you have 4k files to deal with, but it will give the same results as a dedicated 2x mode. I had hoped to assign the 4k and frame markers to the custom mode dial but I can't see a way to do that without switching the current exposure settings, which is a nuisance. You can "load" a custom setting from deep in the menu and keep your current exposure but that takes too long for me in a run and gun scenario.
-
Aside from that, I would say that the GH5 2x mode in 1080p is more useful than the GH6 pixel-pixel because it is oversampled. And that the undersampled GH5 2x mode in 4k is less useful than the oversampled GH6 pixel-pixel.
-
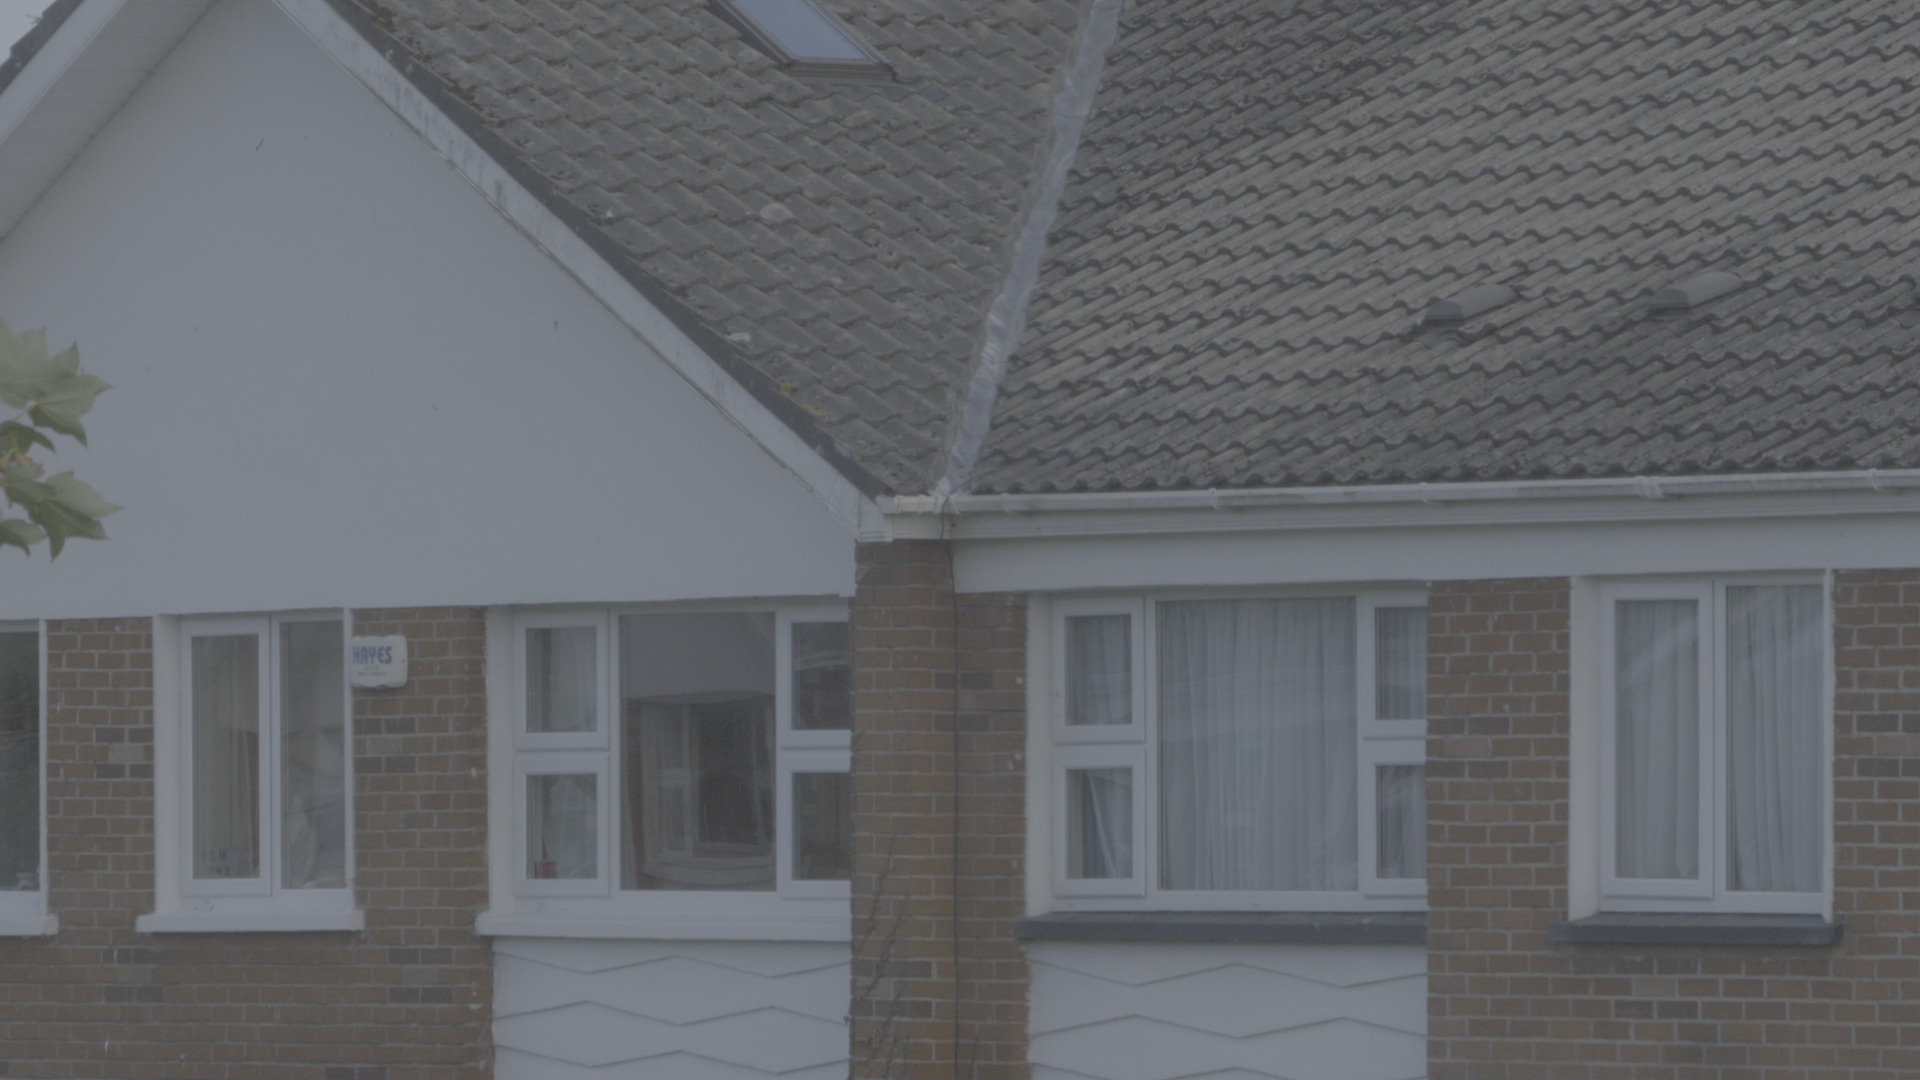
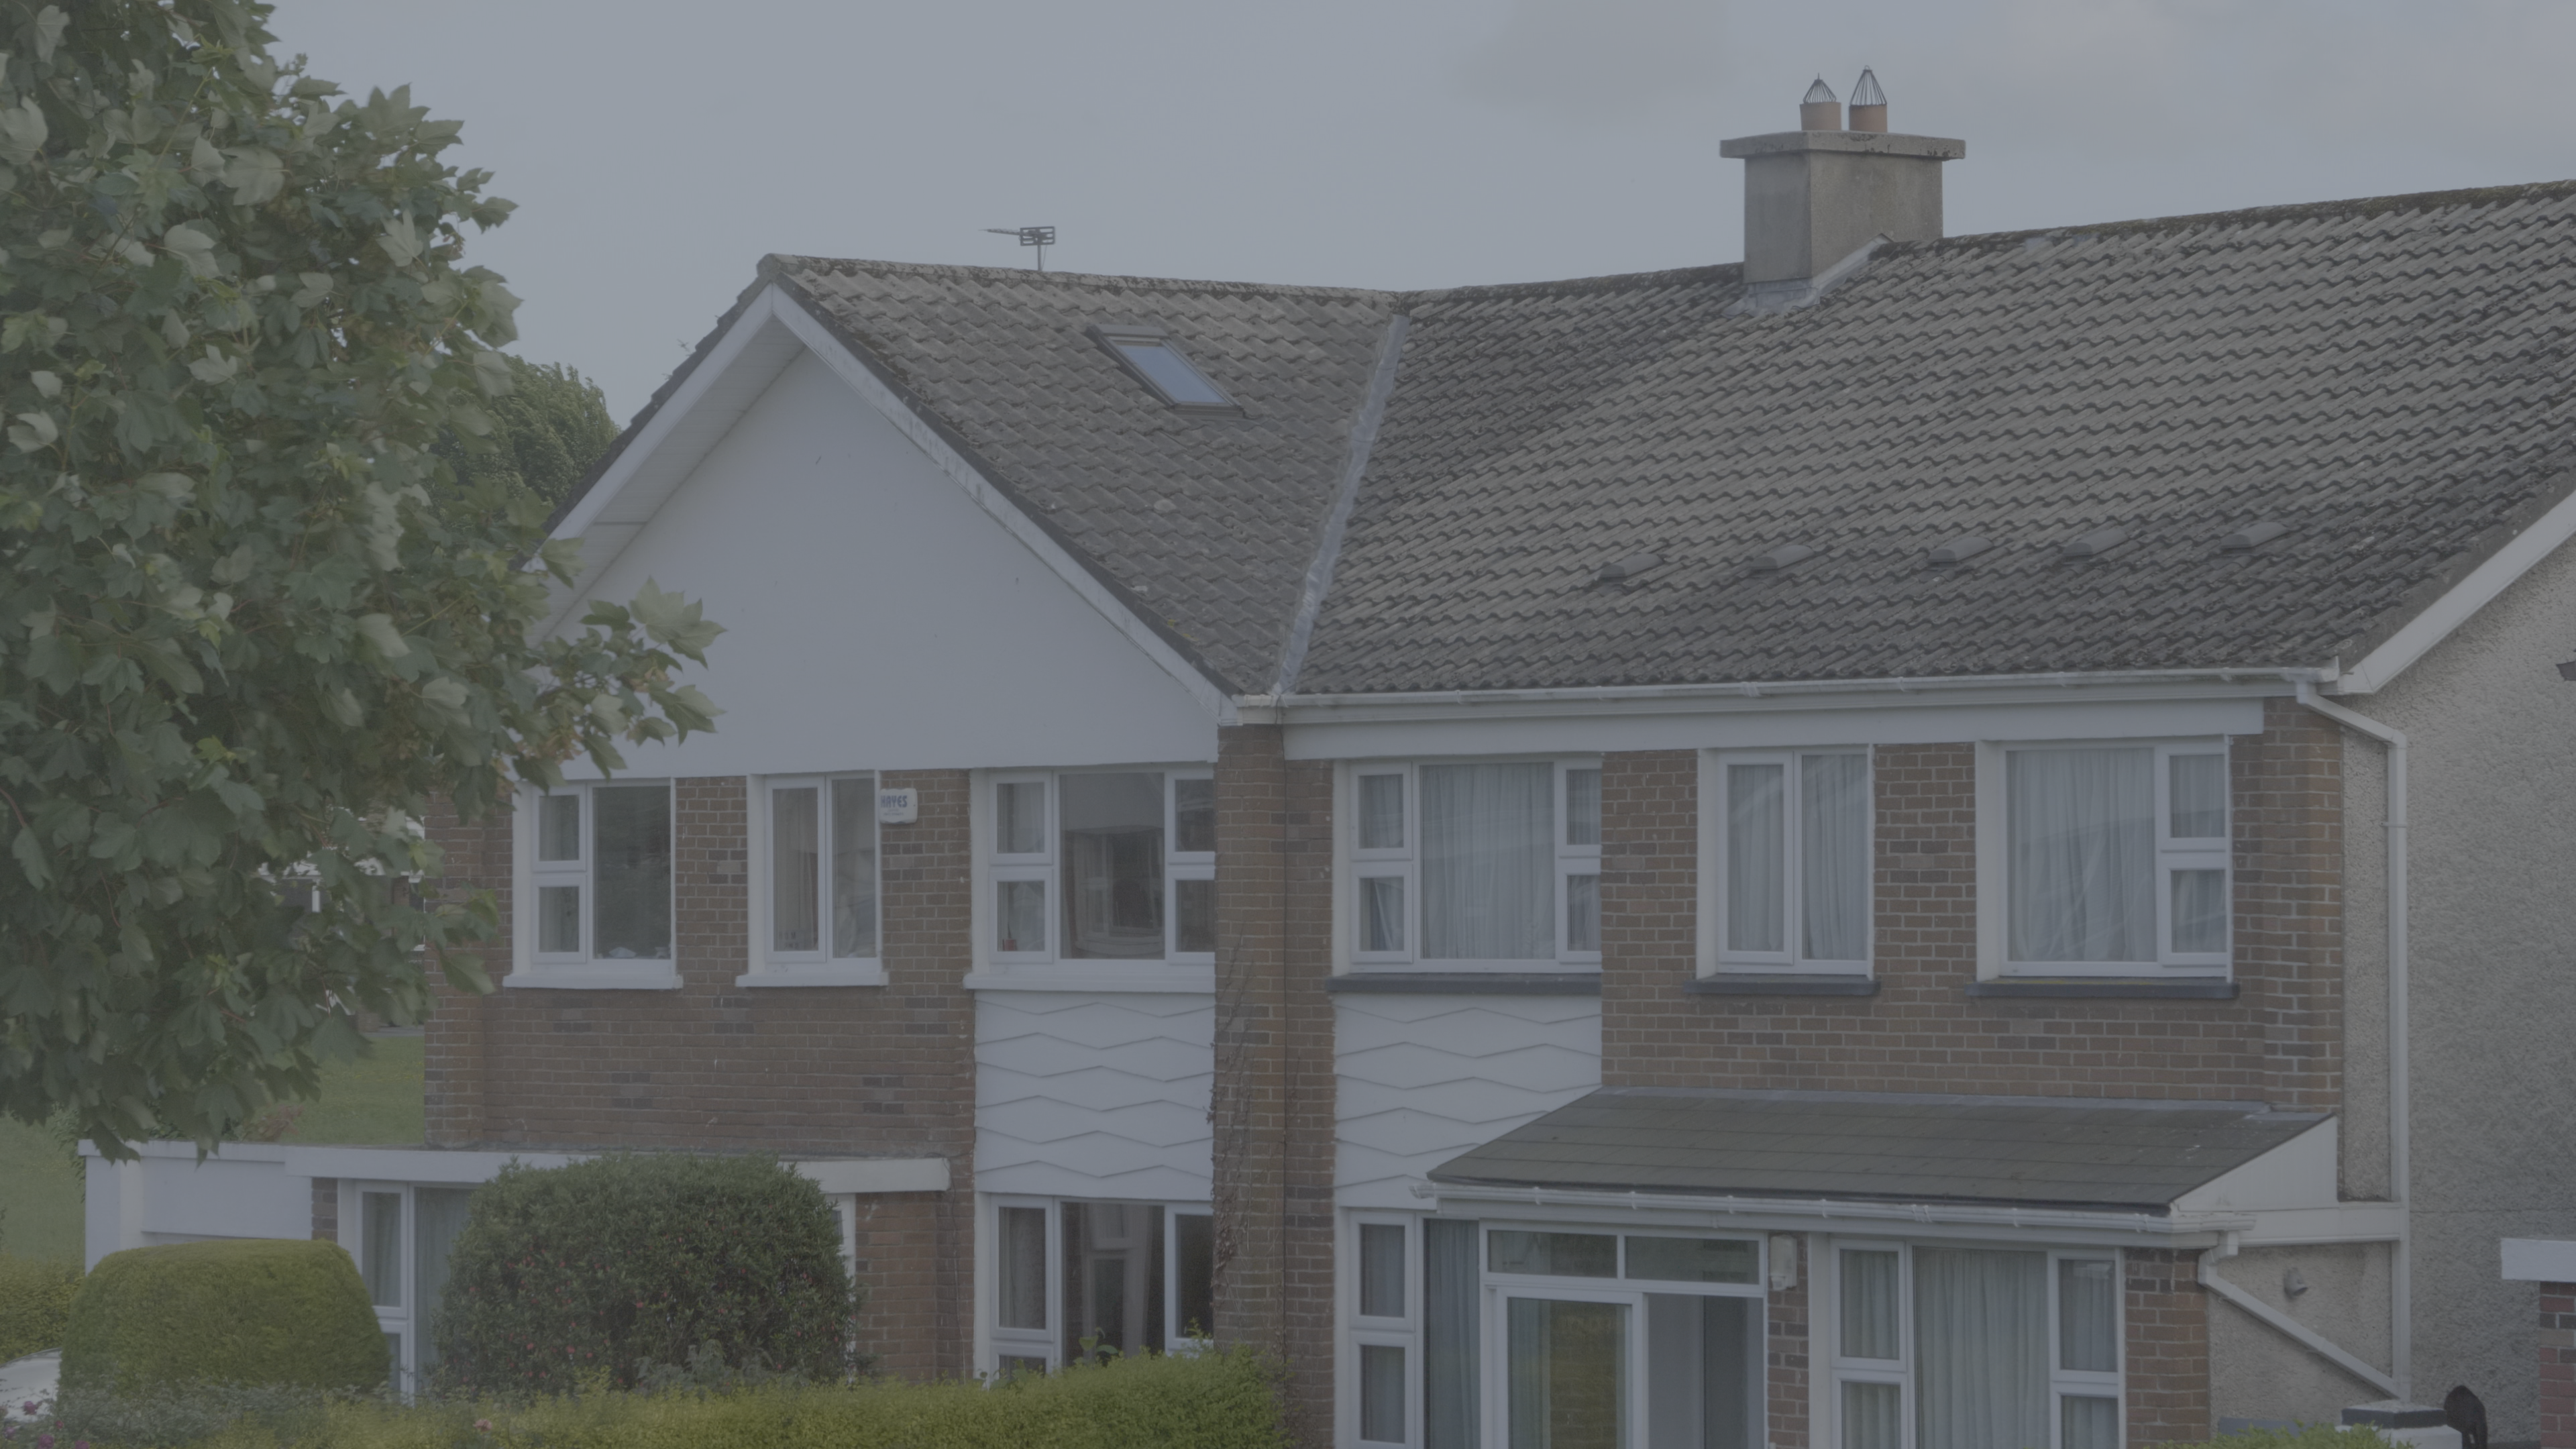
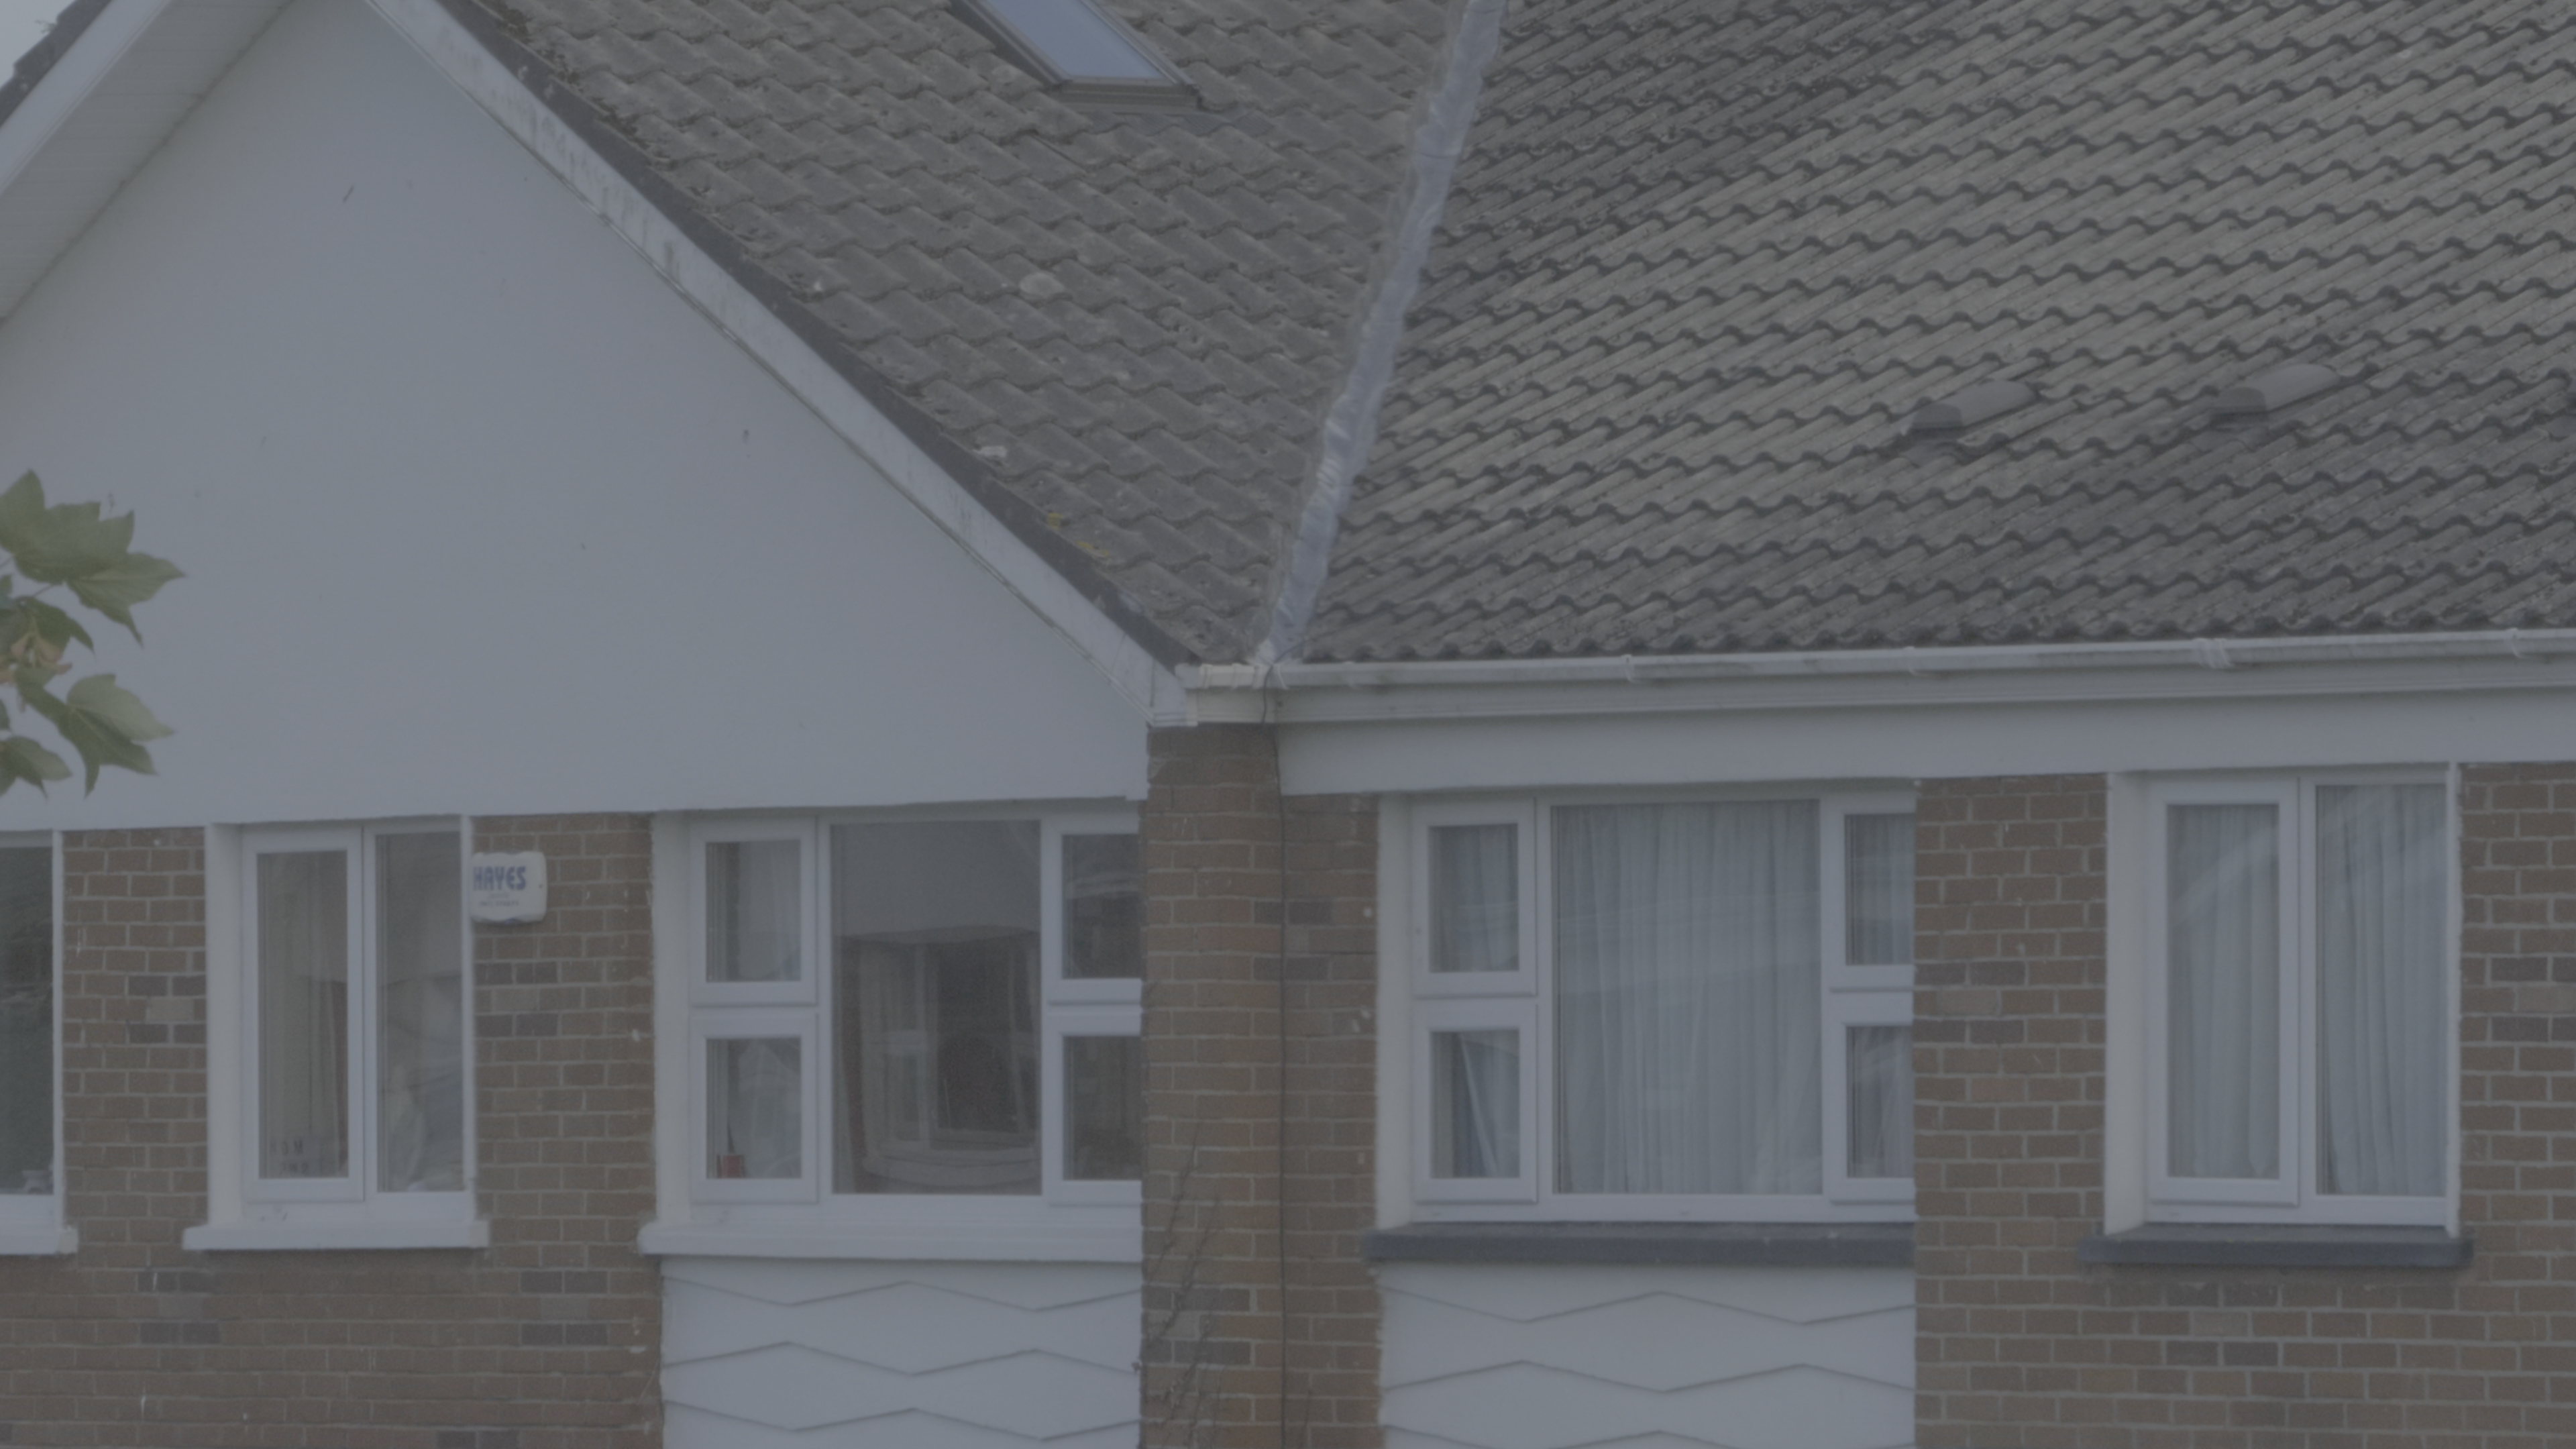
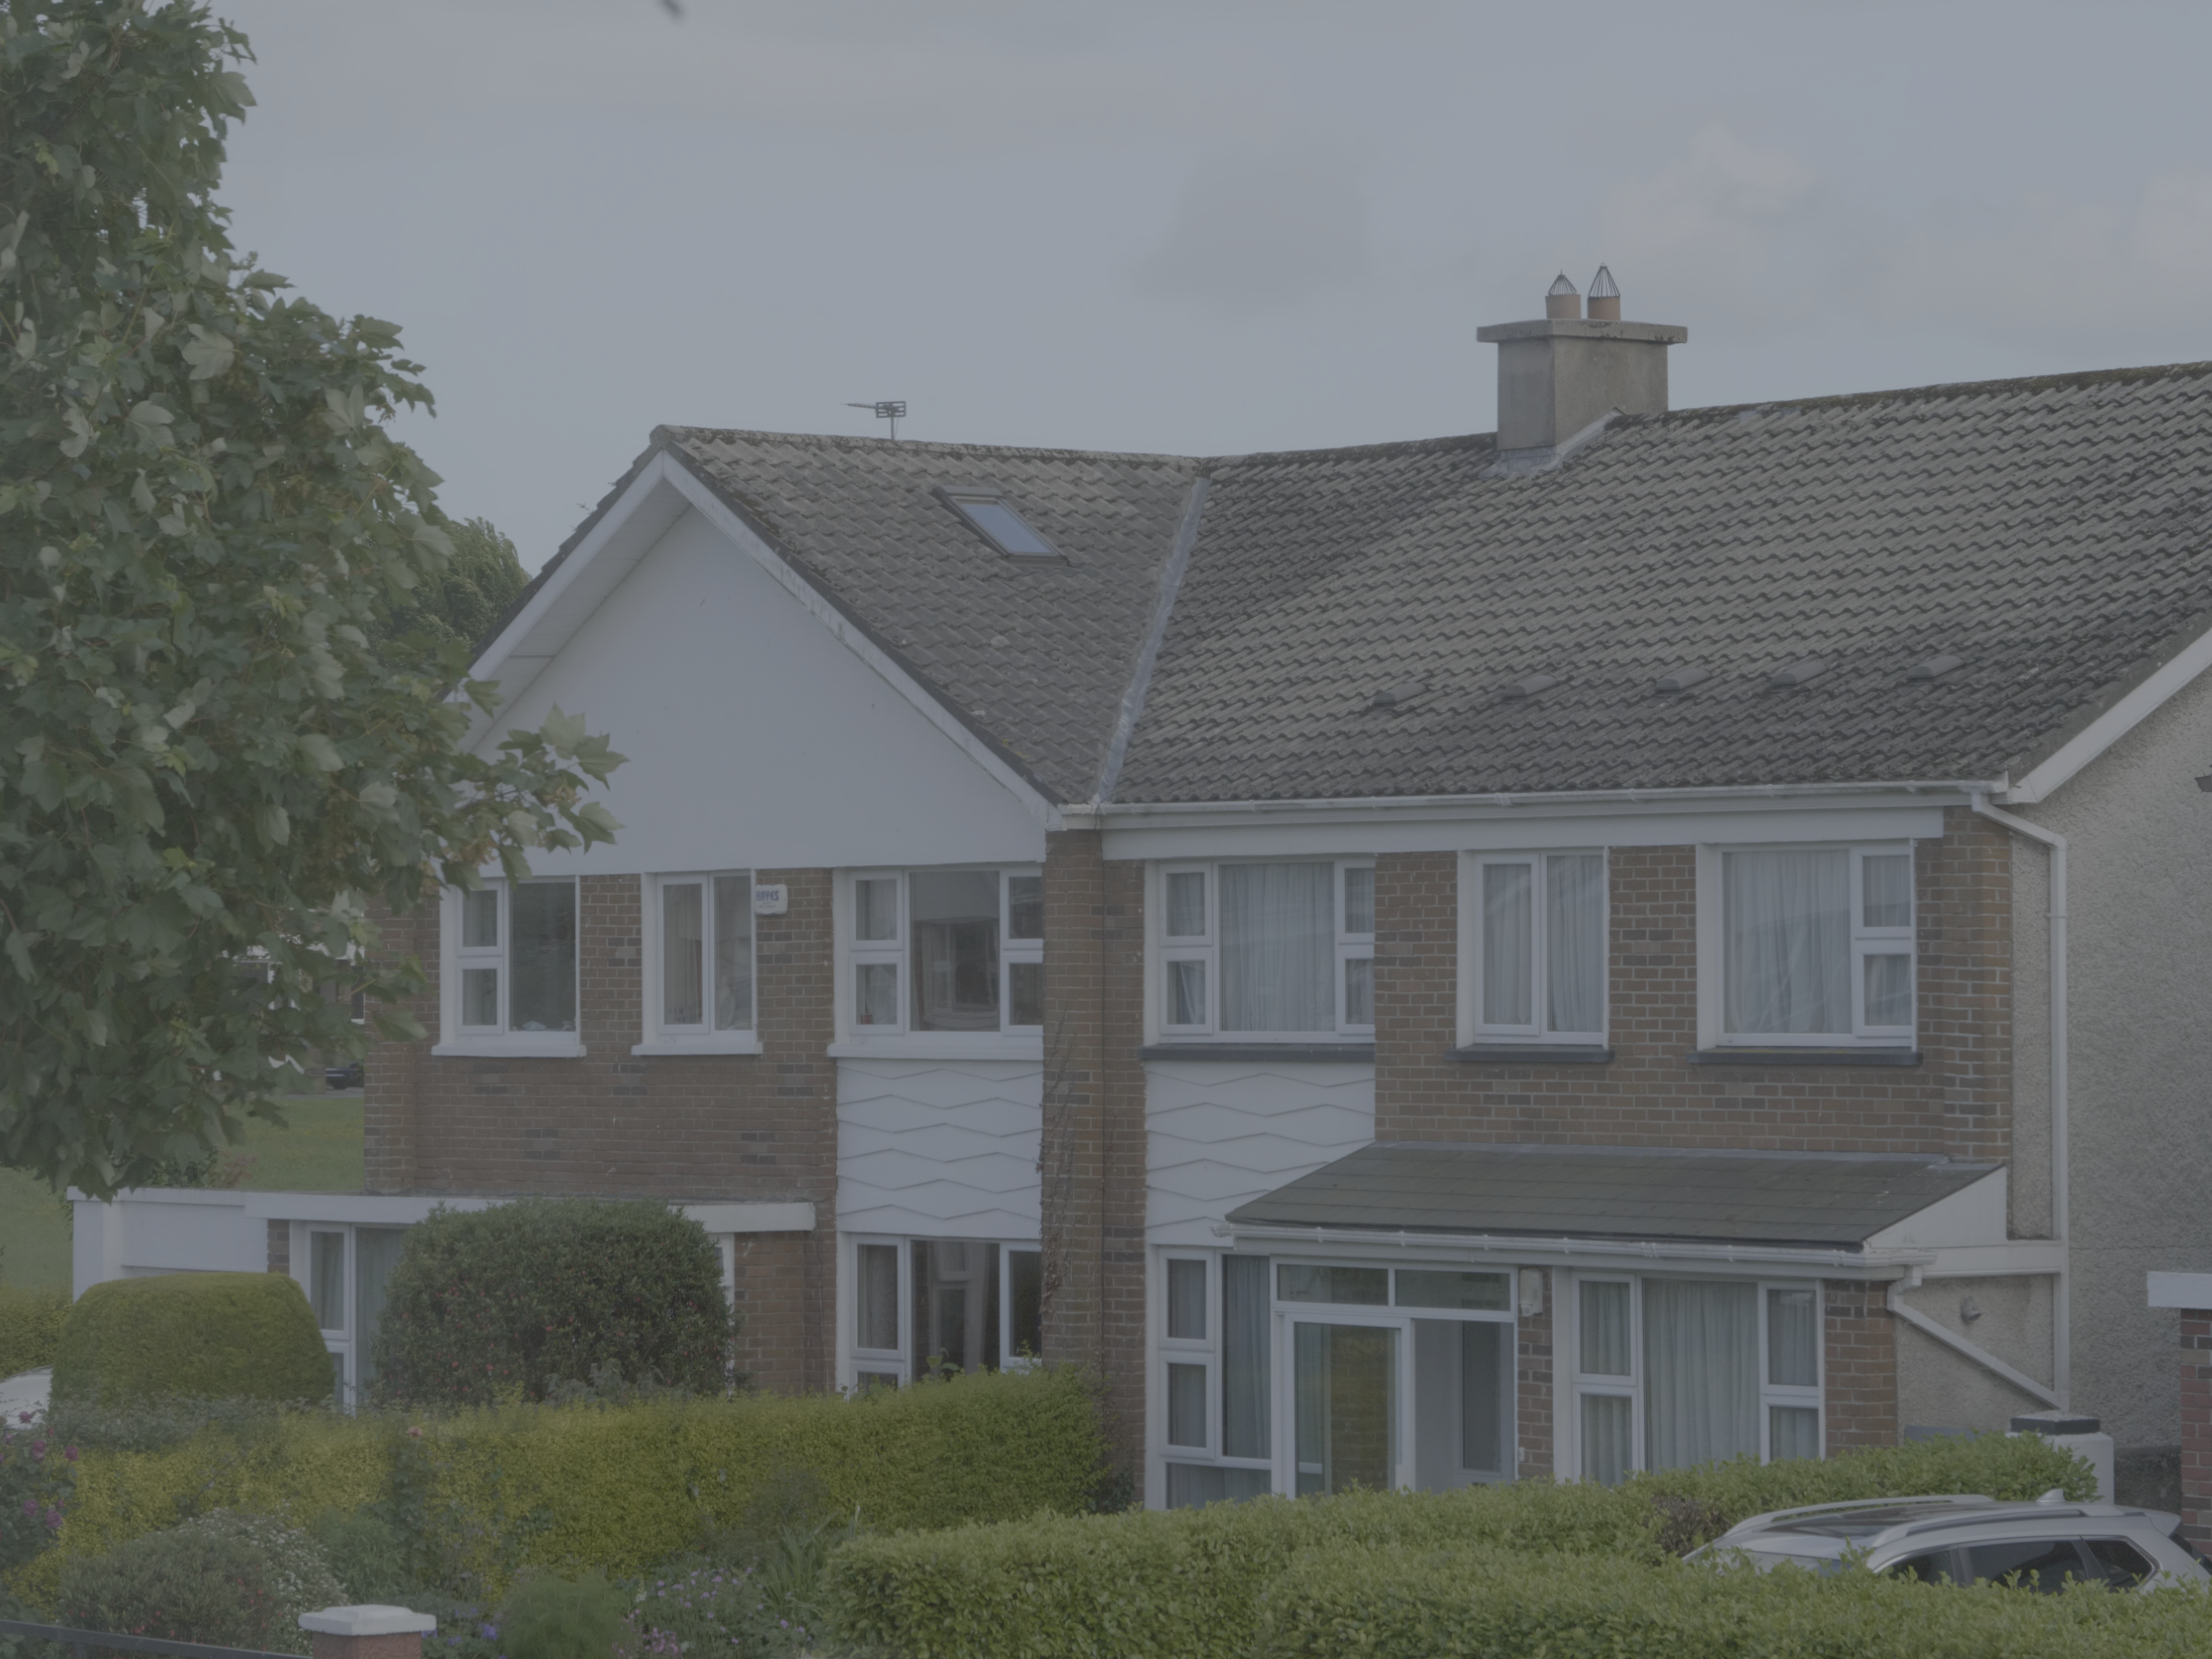
The biggest difference I see is that the WB is different between the 2 cameras. Now the light may have changed but I ran this test a few times and my GH5 was consistently cooler on the daylight preset. I also noticed that the GH6 is has a slightly wider FOV. I'll check again with a prime to make sure. In terms of detail, in normal HD and 4K I don't notice that one is sharper, softer, more aliased or artificial looking than the other.
-
All shots are : VLog ISO 400 DR boost off daylight white balance Leica 12-60 at 60mm f8 10bit 422 Long GOP H264 except for the open gate which is 420 Long GOP H265 GH5 1080 GH6 1080 GH5 1080 2x GH6 1080 pixel-pixel GH5 4K GH6 4K GH5 4K 2x GH6 4K pixel-pixel GH5 open gate GH6 open gate
-
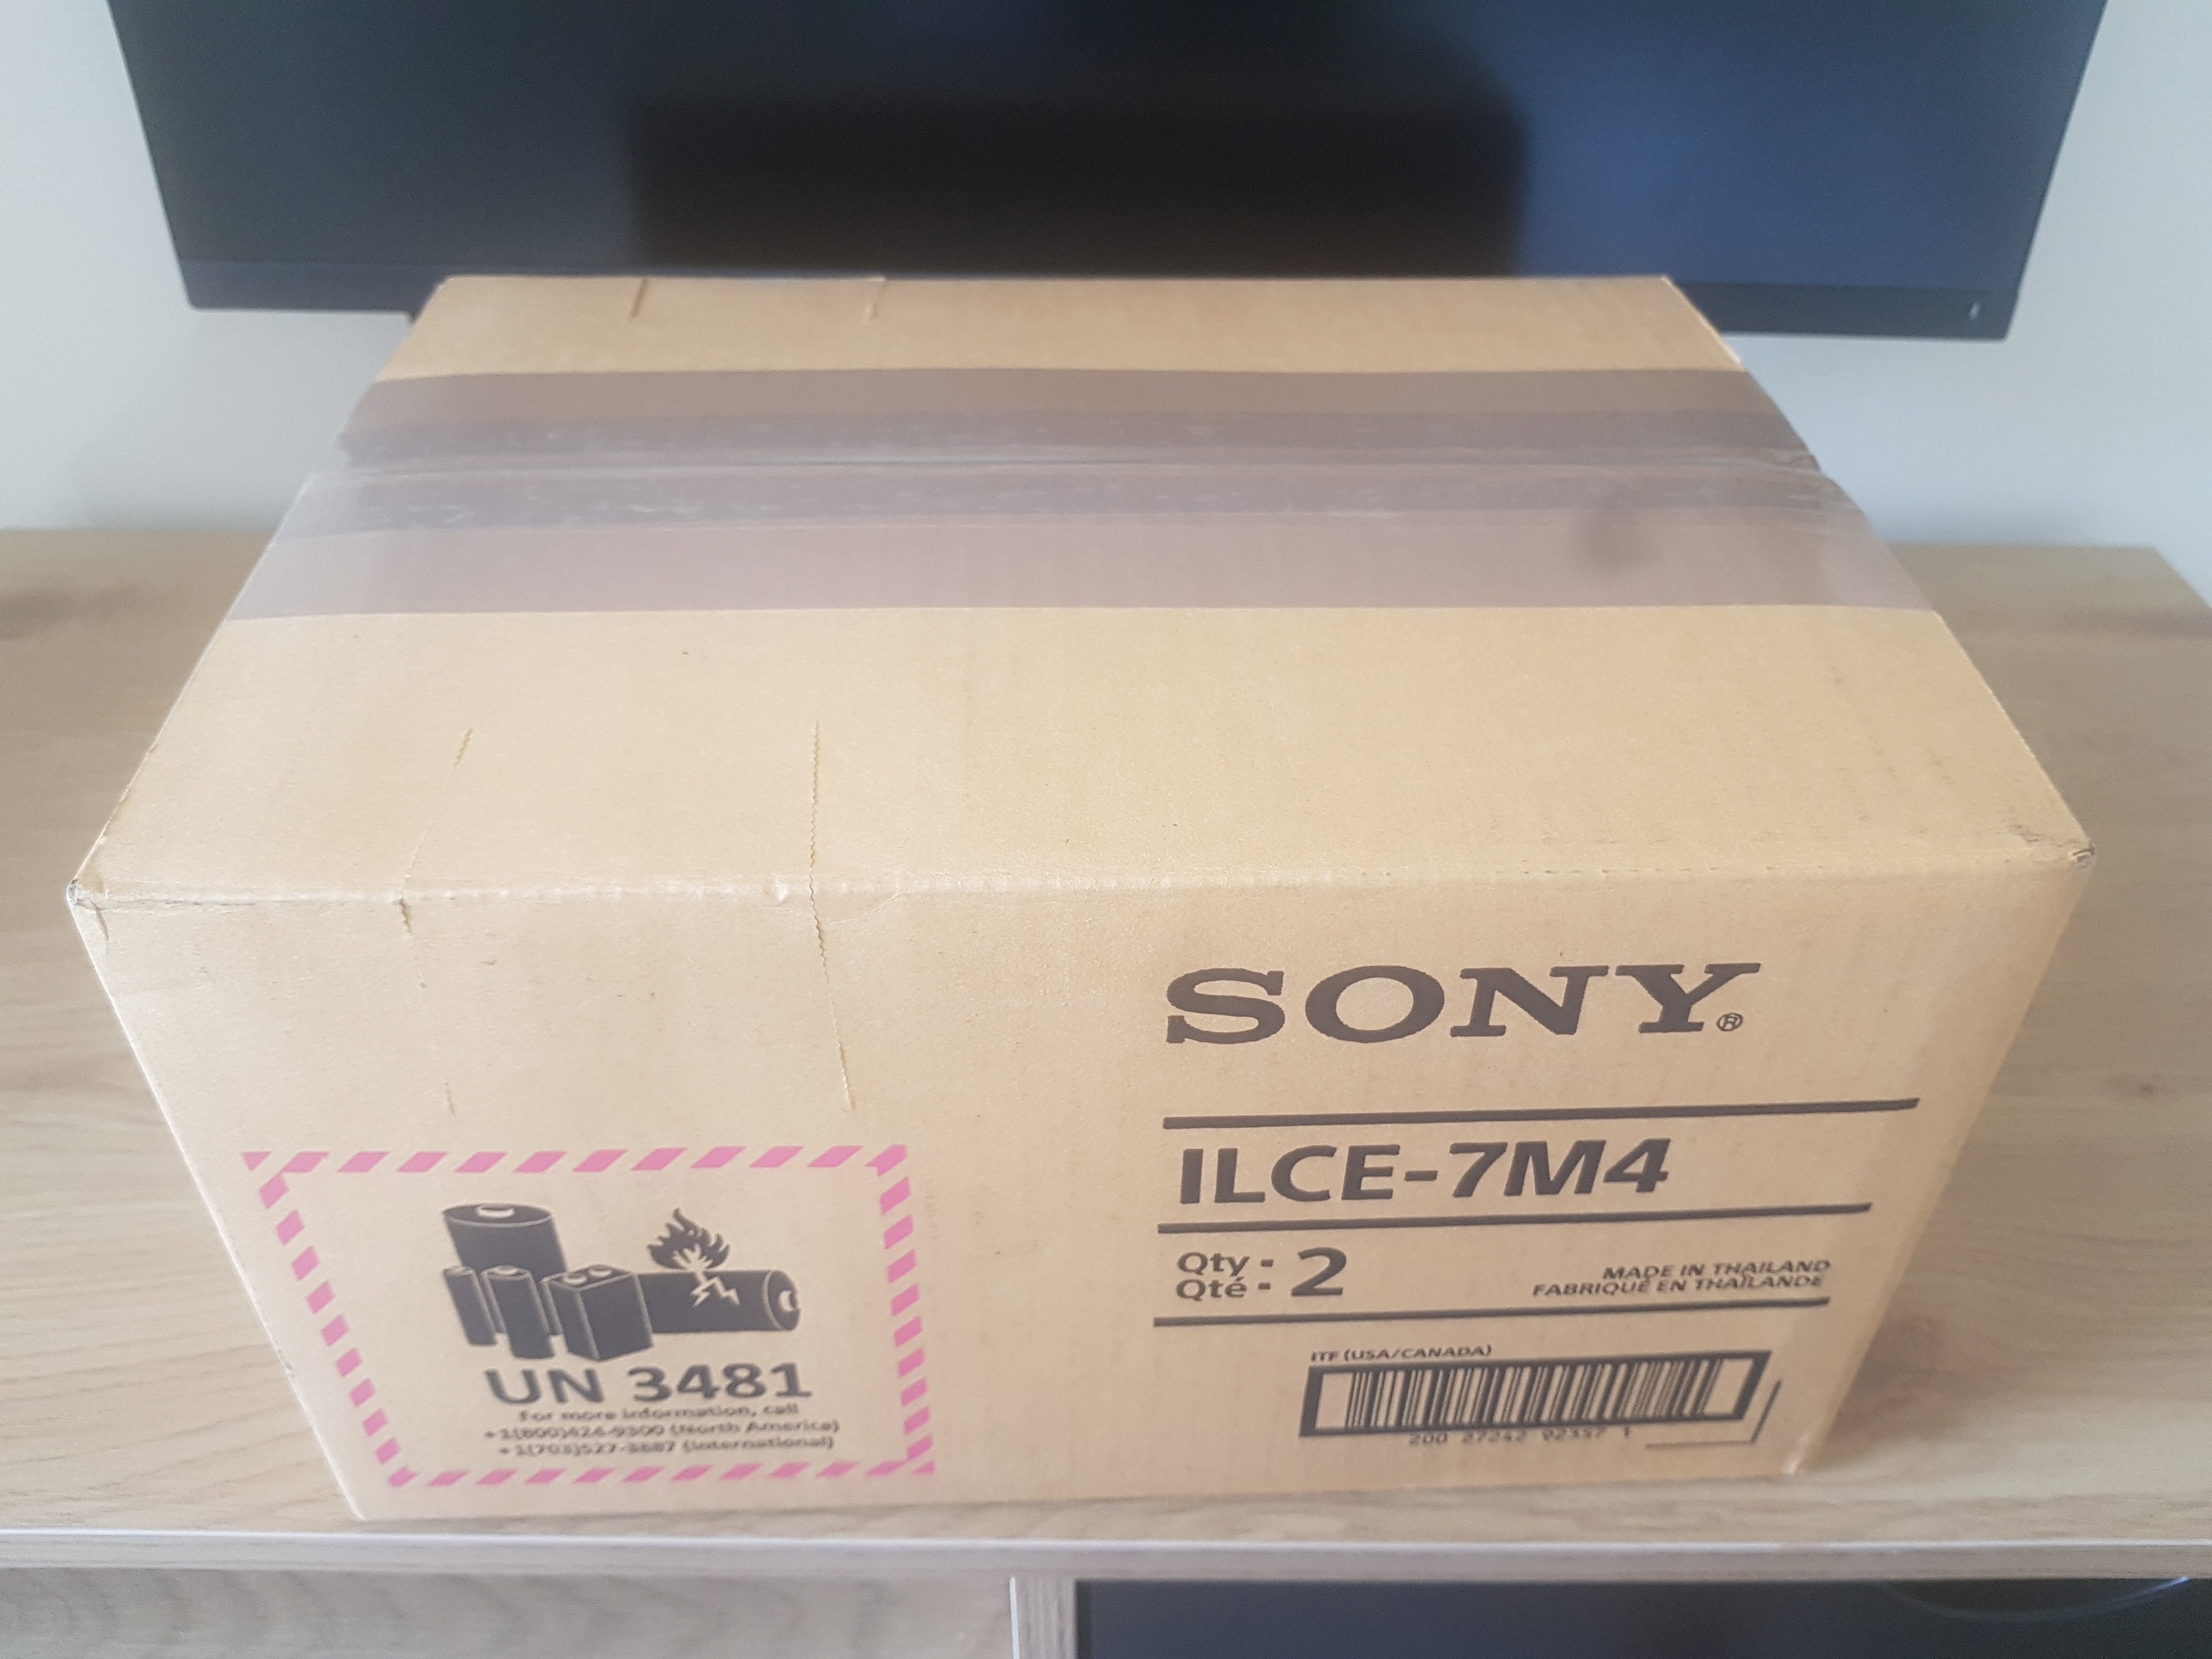
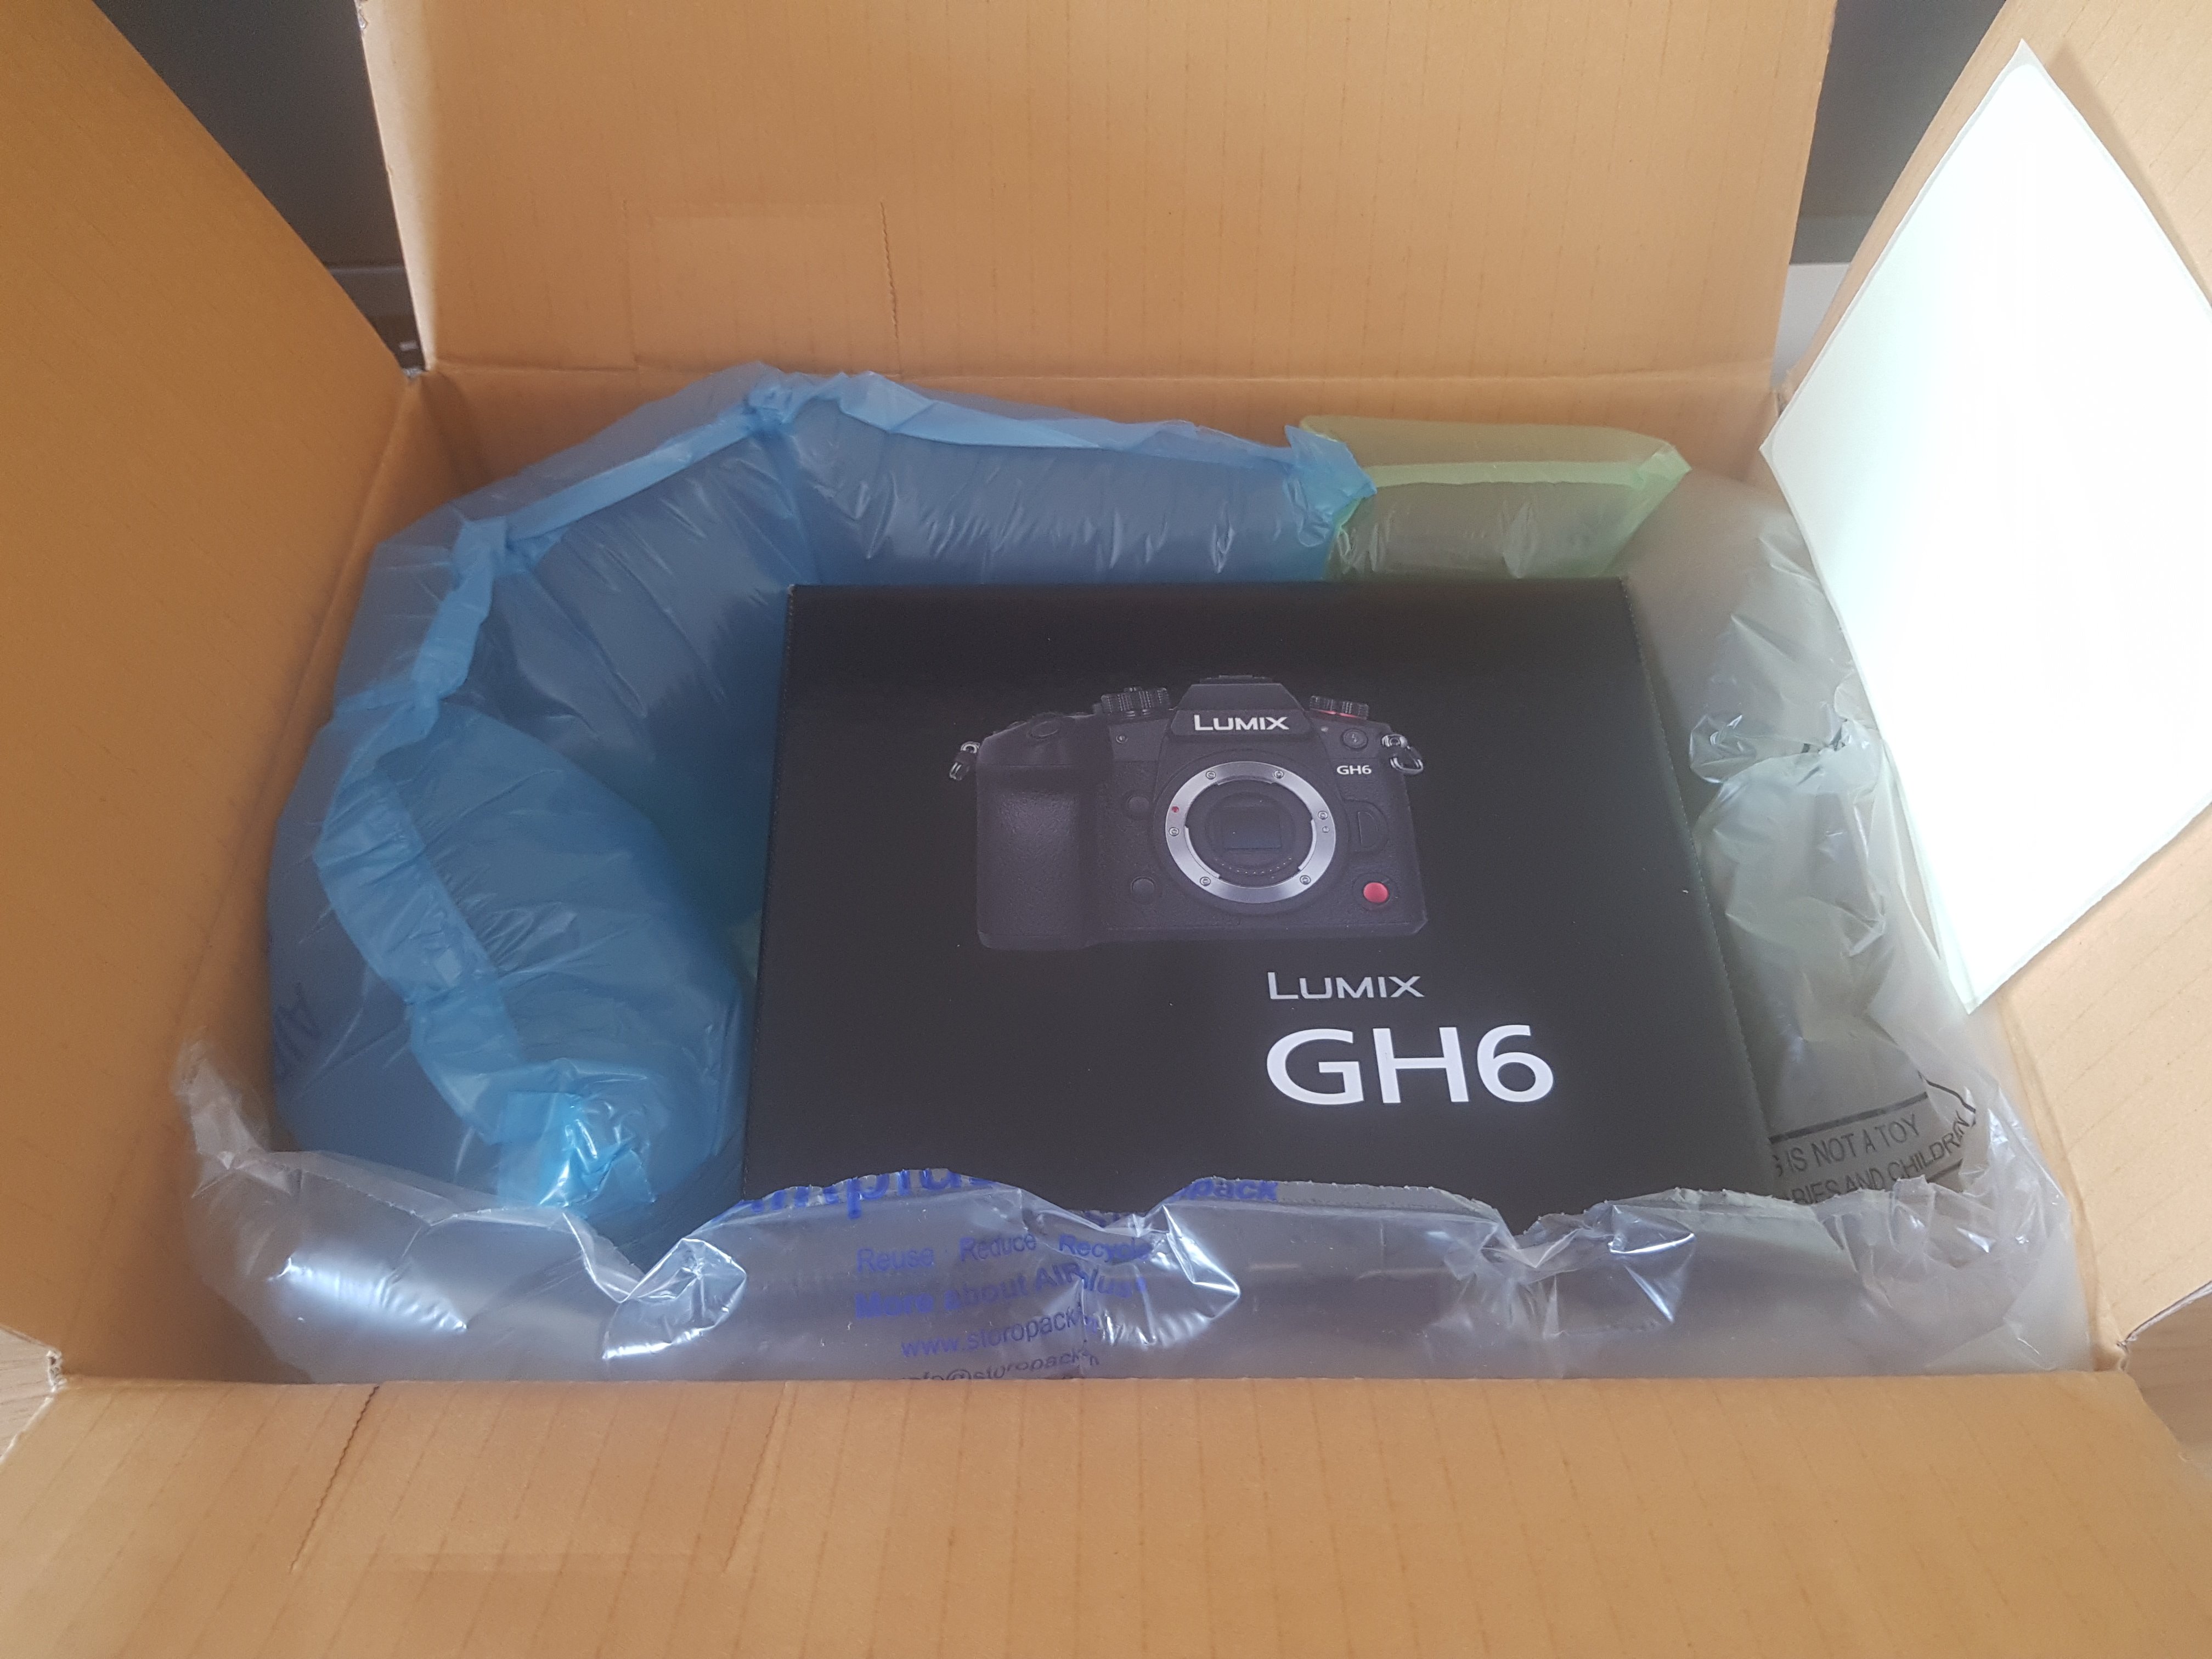
I nearly had a heart attack when I saw the box 😬 Ah, that's more like it! 😄
-
Here's a nice practical review of the GH6. Mine arrives today! https://www.provideocoalition.com/review-panasonic-lumix-gh6/
-
According to that vid I posted a few days ago HD quality is maintained up to 120 and after that it gets soft with aliasing
-
I agree with this. I learned how to make photos and videos from online sources around 10 to 15 years ago. It was easy to find authoritative information from tutorials on websites from industry professionals or at least people who knew what they were talking about. Even on forums (C5D anyone? I was a mod there for a while!) there was a system of checks and balances where the "right" solution could be arrived at through discourse and debate. I would not like to be learning in the climate of today's internet where views for the sake of views is valued more than accuracy or utility. If I do a YT search for something specific to do with cameras, let's say, I'll get a certain amount of results that are supposed to be relevant to my search terms as well as a certain amount of suggested content which is not. If I do a google search on something like how to sew on a button chances are the first page of results will be full of any old SEO garbled nonsense and I might find what I'm looking for on page two, if I'm lucky. Now, I've just realised that "the state of the internet" is the new grumpy old man fodder.🤣
-
12MP, if not cropping, Enough for Most Average Photography Needs?
hyalinejim replied to SRV1981's topic in Cameras
Search for "video stils comparison tool" and you'll get a different widget with frame grabs from the video output