OleB
-
Posts
132 -
Joined
-
Last visited
Content Type
Profiles
Forums
Articles
Everything posted by OleB
-
Leica L-Log is already available within Resolve. Input color space is rec2020.
-
Mavo LF / LF2, BMD Cinema Camera 6K and SIGMA fp are using the same sensor... 😉
-
Pleasure! There is! 🙂 And it has got a faster readout speed compared to FF as well. I use it from time to time, if I am lazy to changes lenses.
-
Thank you very much! 🙂 Glad to hear you find it valuable.
-
Yes, agree. That is why the tone mapping curve of my fp LUTs leaves this area untouched. However, this baked in contrast thing into most other Rec709 LUTs is in my eyes somewhat idiotic, as it is limiting the shown dynamic range of the camera already in the first step. Starting with the full dynamic in a more accessible way is my preferred starting point.
-
The masterclass about the fp is now fully available on YouTube, if you wish to see all episodes in a row. 🤓 More interesting for most of you could be the following clip. These are my collected sample clips cut together as a proper video to showcase a little what the fp can do. 🙂
-
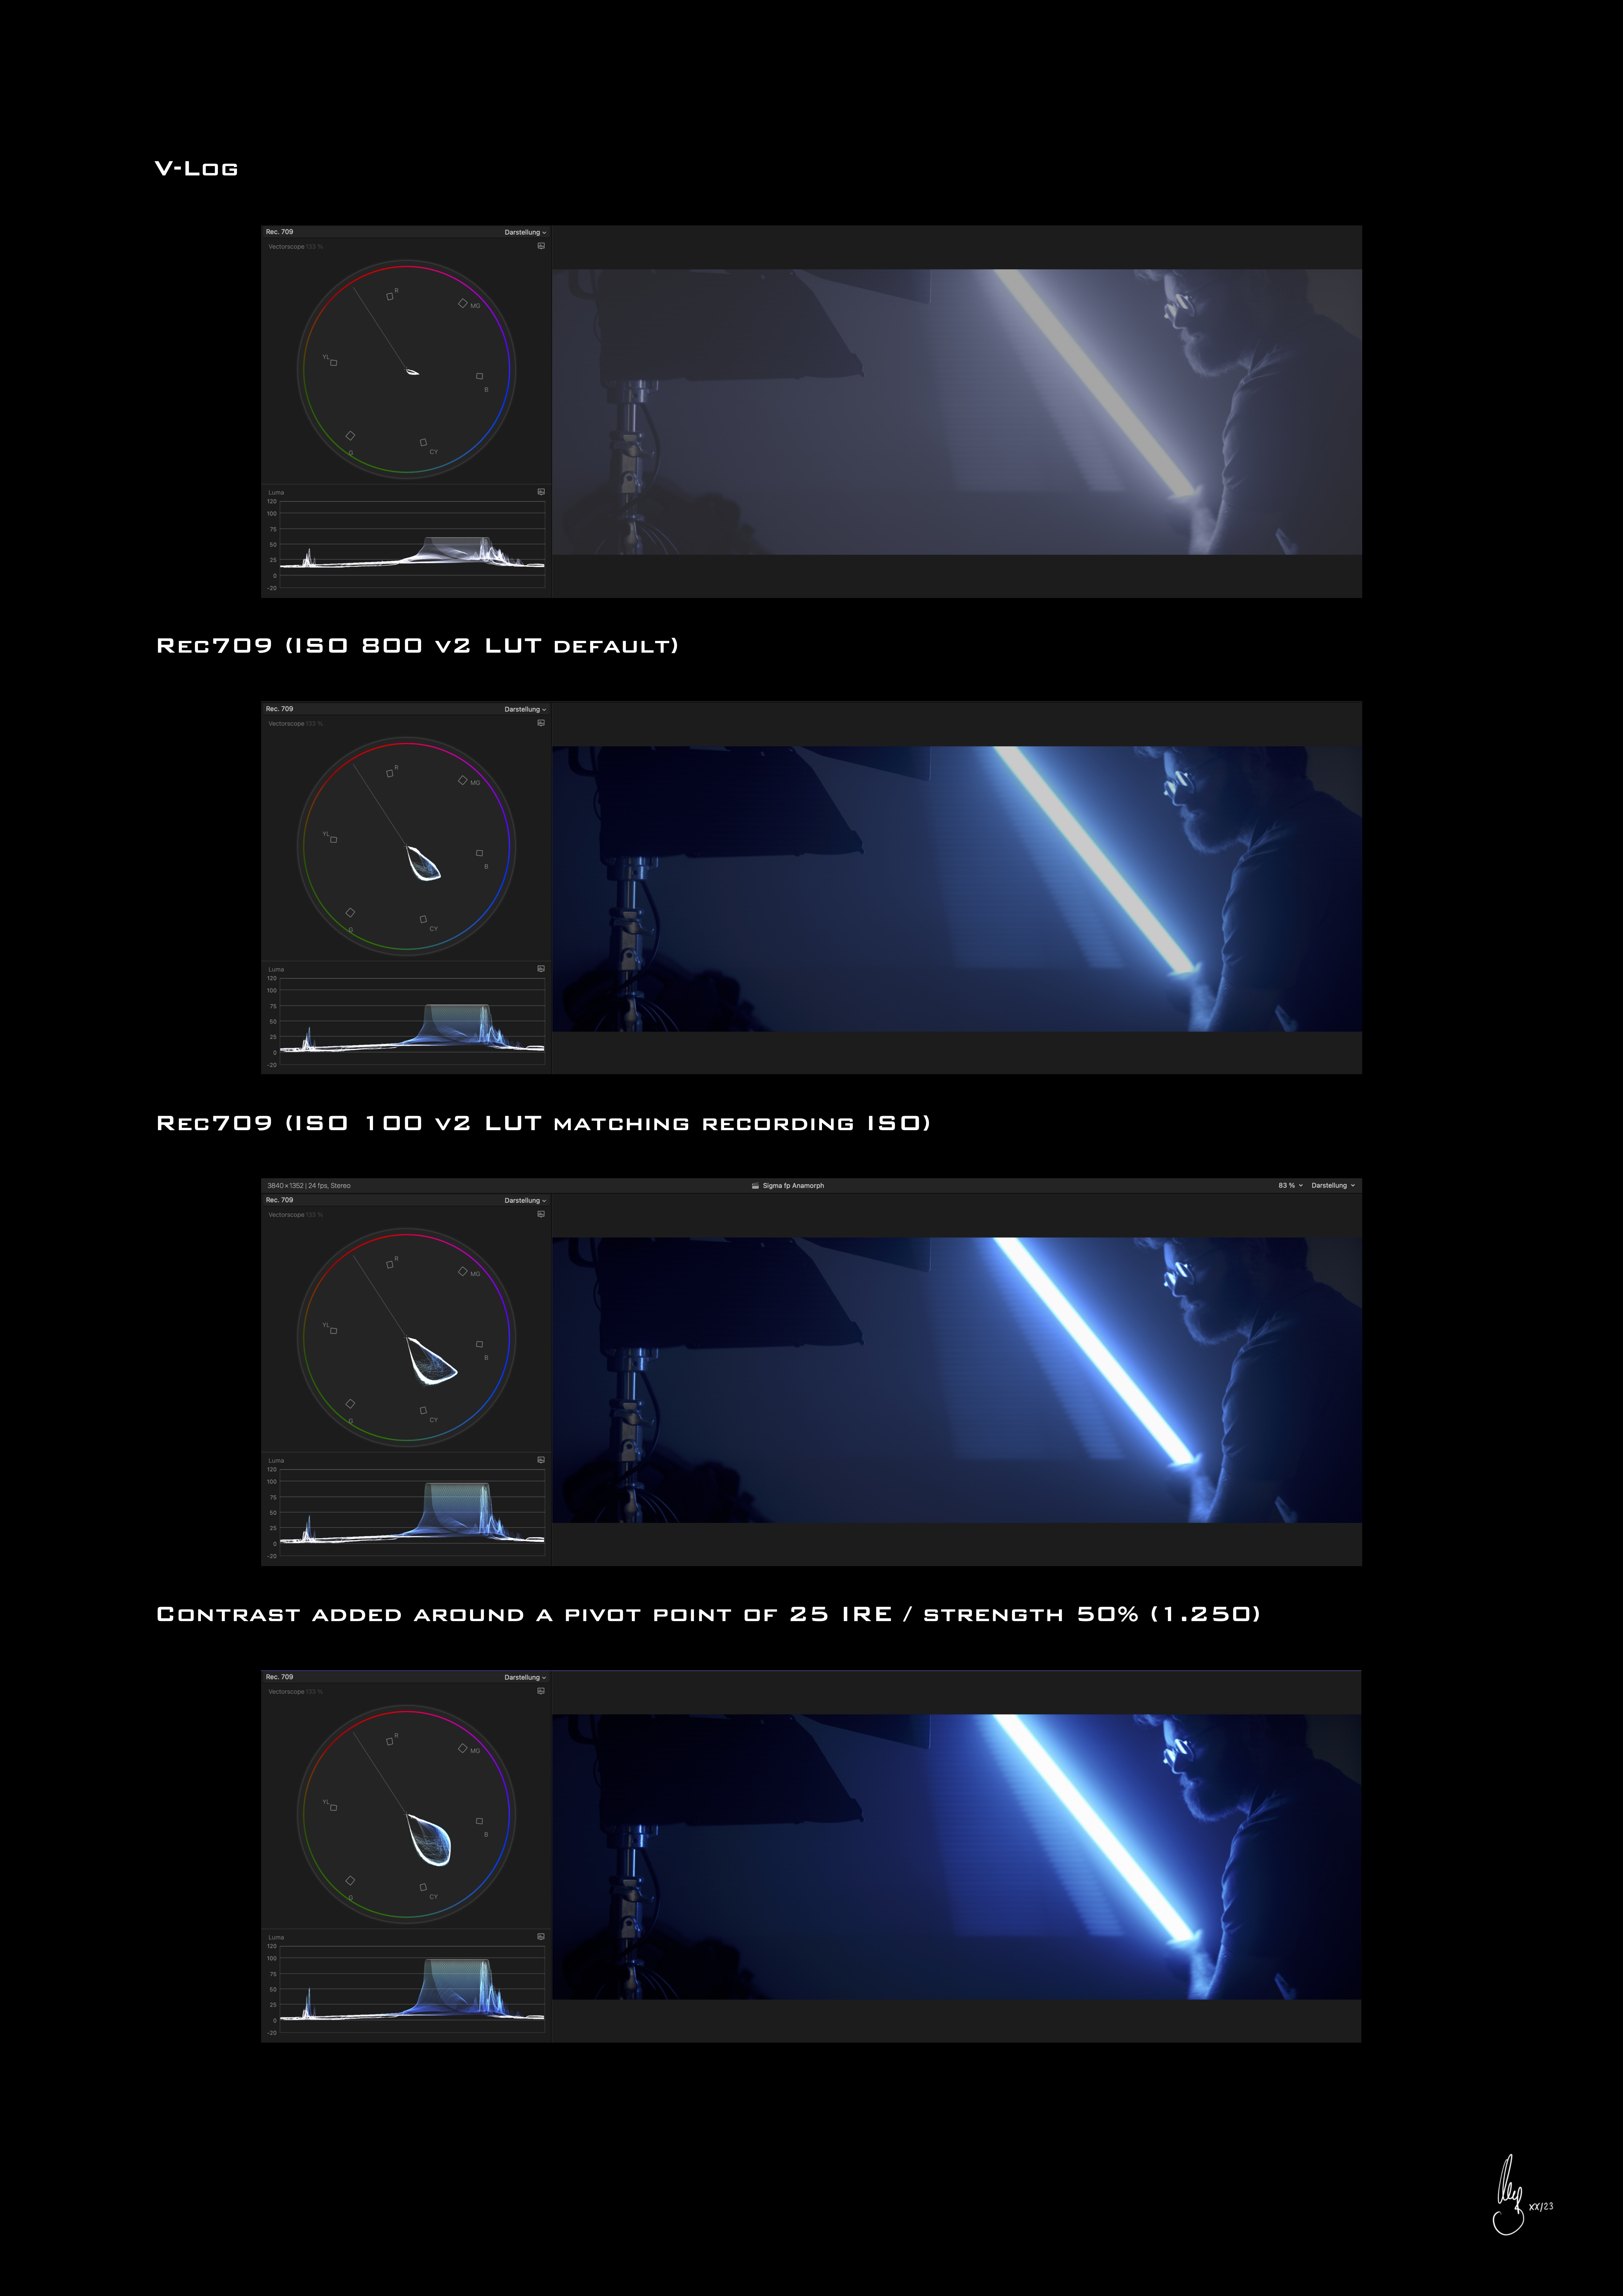
Before I started to develop the Rec709 conversion for the SIGMA fp I did quite a bit of research on how different manufacturers are creating theirs as a starting point. One of the main ingredients seems to be that after the tone mapping of the cameras dynamic range into Rec709 nearly all manufacturers LUTs have a baked in default contrast around a pivot point of middle grey. This looks great in a controlled studio scene, because it will be quite punchy out of the box. Additionally, it is hiding shadow noise because it will push these down as well. However, in reality this means you are always pushing highlight information much higher by default than you would need to. Same goes for the shadow details. So usually the first post step would be to counter this effect. My conclusion out of this was to create Rec709 LUTs, which are only tone mapping correctly and possibly create a smooth rolloff. Contrast has/can be added in post around a custom pivot point, or by adjusting the curves. Let me demonstrate that effect on some sample stills, guess that is easier to understand. SIGMA fp Rec709 LUT (only colour and tone mapping into Rec709): SIGMA fp Rec709 LUT + default contrast at a pivot of 45 IRE (intentionally a little bit too much to show the effect): SIGMA fp Rec709 LUT + custom contrast at a pivot of 75 IRE Guess this is one of the main reasons so many professional colourists are using CST/ACES workflows, to have a better starting point compared to manufacturer Rec709s. Maybe this information can provide useful for some of you. 🙂

-
Thanks for checking directly with SIGMA. Agree the best choice is "off" which is for my use case, using ProRes RAW, anyway hardcoded. 🙂
-
So true! The better, yet even more perfect, the cameras are becoming, the less emotions can be felt in their footage. At least in my eyes. Personally, cinema is about diving into another world, which not necessarily resembles reality as close as possible. Most of you already know this, I love the imperfections the SIGMA fp is having. Not overly sharp but pleasing colours. Combined with a good but not ground breaking dynamic range is enough. And from my feelings close to an Alexa. I see the reason for a Burano if you are shooting documentaries i.e. and there I could foresee the features are interesting yet might even be the unique selling point. For a feature film I would opt for something more imperfect, even if money would not be a question at all, which it unfortunately is.
-
When you are externally recording RAW (BRAW or PRR) "OFF" is hardcoded. Menus are greyed out, so cannot be changed. So avoid using anything else in cDNG recordings would be a good idea I guess. 😉
-
Think it is using the IMX410, readout mode specs fit, so does the ISO rating and DR distribution. Guess we can assume that you will get the con of a rather slow rolling shutter. Meaning it is still rather similar to the SIGMA fp in terms of image quality. Of course with a much better recording and post production workflow.
-
Hi all, since I have had a lot of requests to do so, I have created a YouTube series about the LUTs and my SIGMA fp workflow. Maybe that is a little more accessible than just a white paper (although there is now a v3 with updated LUTs included as welll) Here is the link to episode 1. Latest episode is 5. Everything for free of course. 🙂 Maybe you enjoy watching this series. 🙂 If you have questions, let me know. Ole
-
Yes, actually own the SL2-S as well. Quite nice features and internal codecs. What I don't like though is the highlight / shadow stops distribution. Roughly 3.5 stops over middle grey we see clipping already plus Leica is doing analogue gain, so you cannot redistribute those stops.
-
I had to get the camera technique out of the way first. Wanted to have a workflow on which I can rely on. Now I have it and am starting to produce footage. Have a lot of ideas. Once the next stuff is ready to show, I will do so here gladly.
-
Thank you! I was using a 1/8 ProMist filter as well. Did turn out quite pleasing. Actually I have all my findings consolidated in my white paper which I wrote to accompany the LUT. Will film something better lit soon, probably a small series about how to expose and use the fp, to go online at YouTube. My expectation is now met, powerful camera with a solid workflow. If the image looks badly, I can now tell with certainty that it is my fault... 😄
-
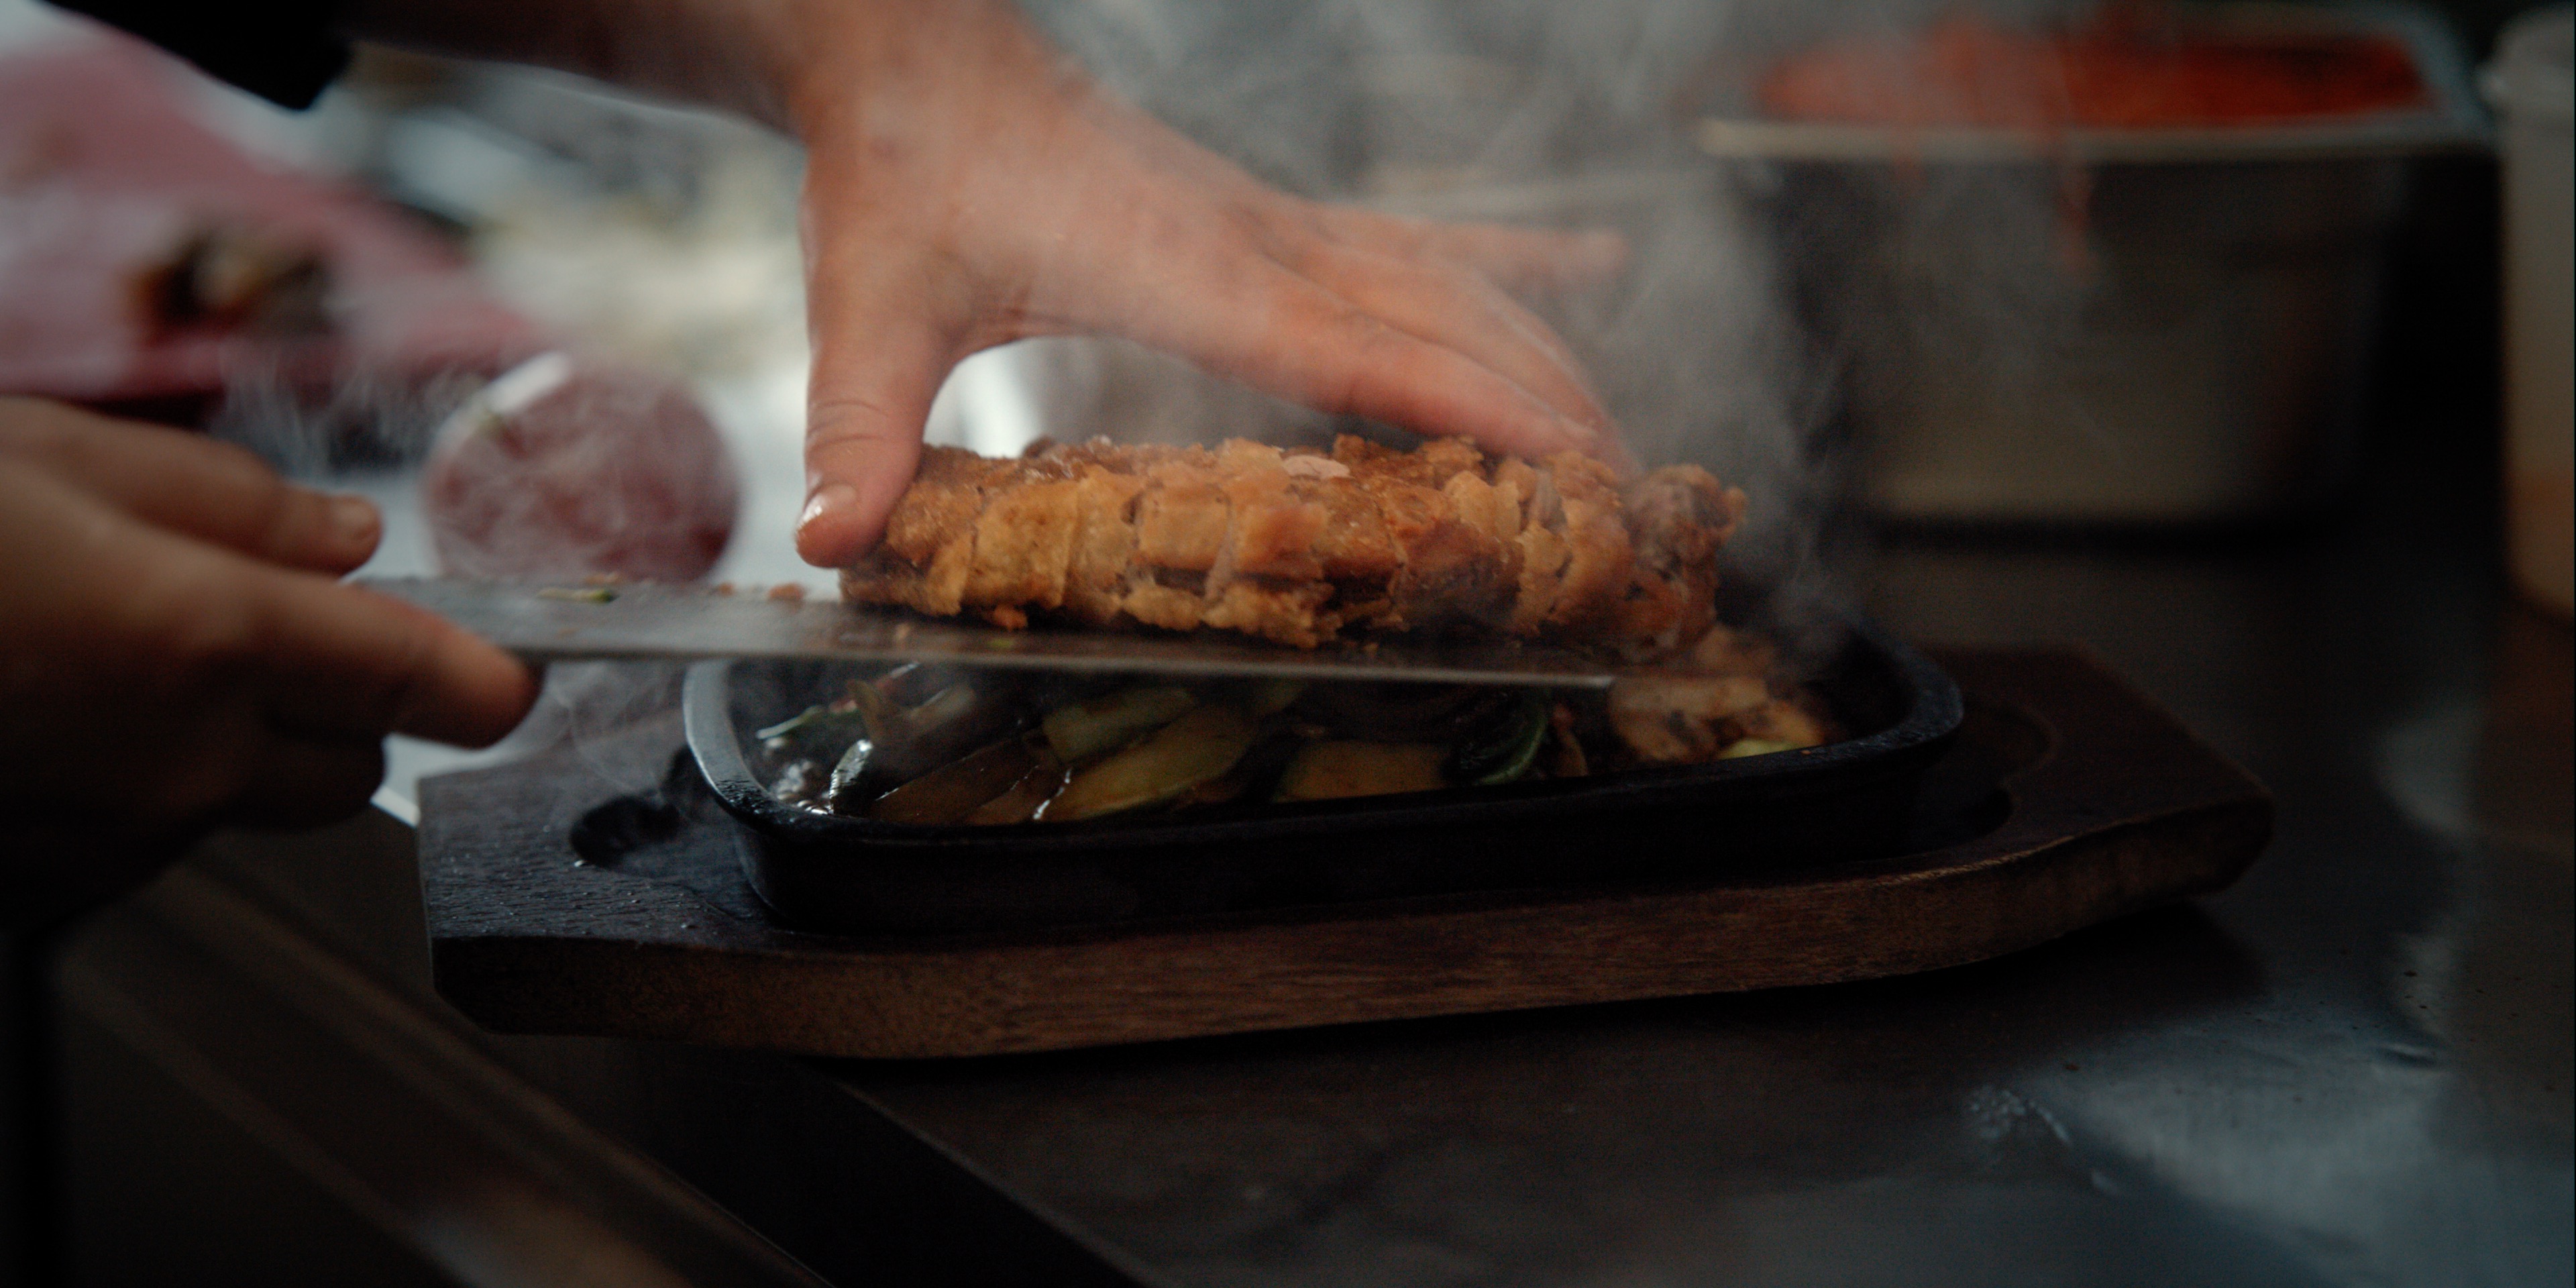
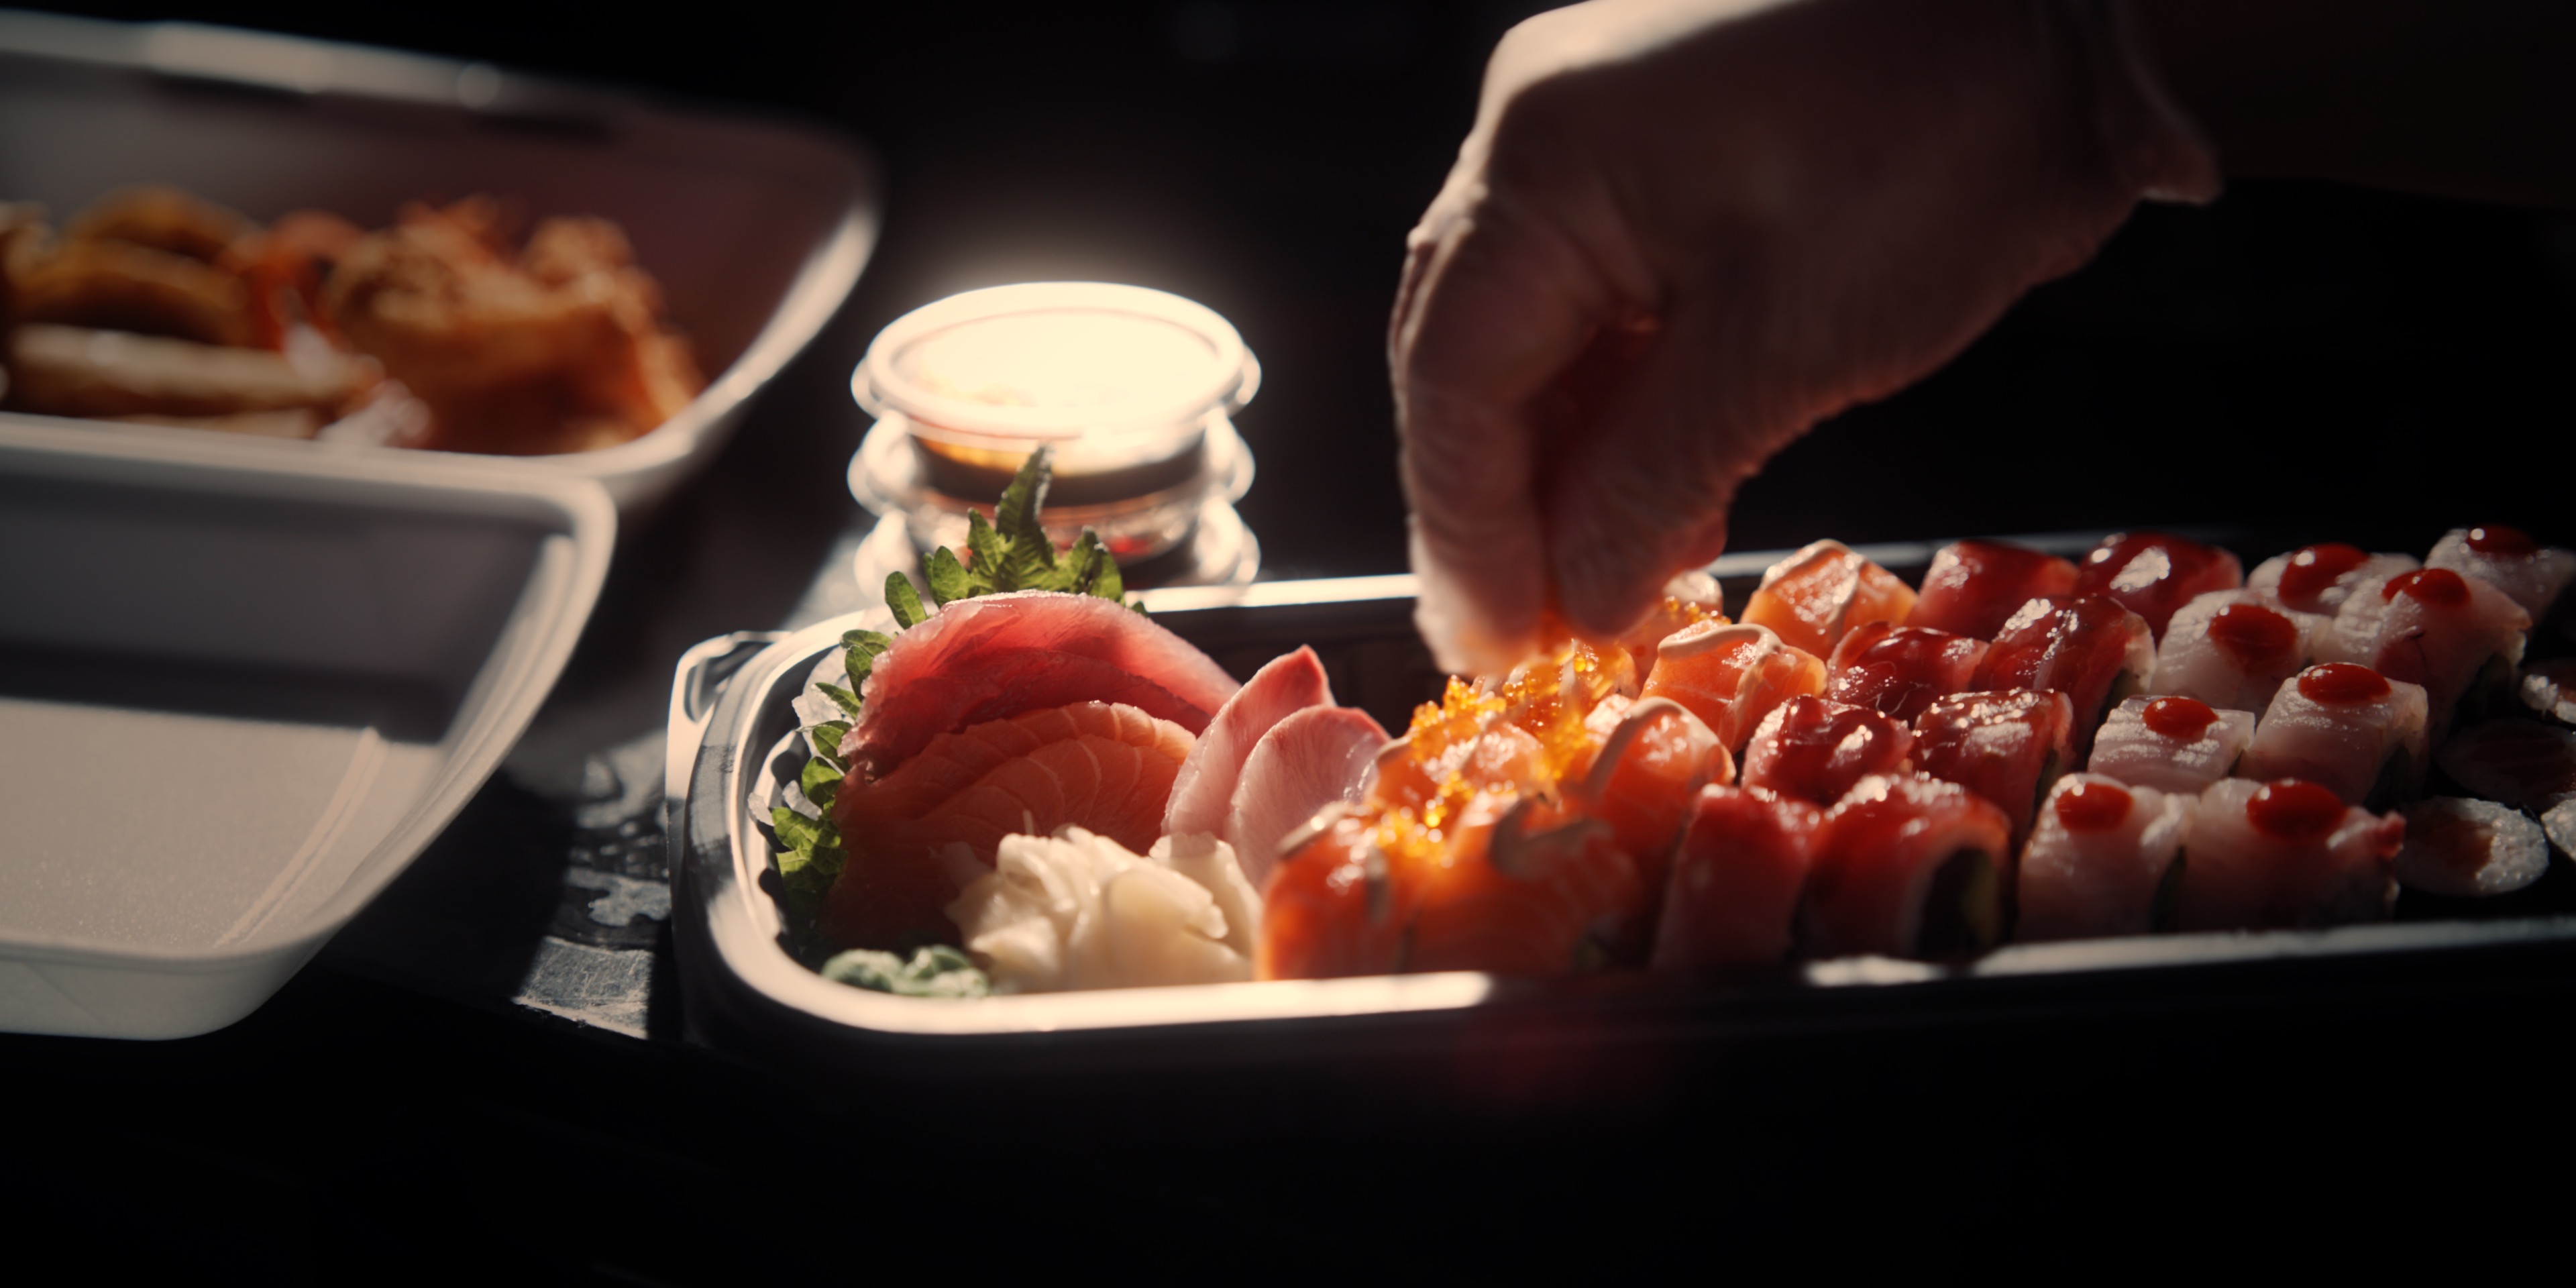
Thank you! 🙂 Indeed SIGMA fp. 12bit ProRes RAW with my own LUT (shared in the other thread). In this case I have used the iSeries 65mm f2 DG DN. Moving images will follow tomorrow. Have the official release to the restaurant owners scheduled for tomorrow lunch time.
-
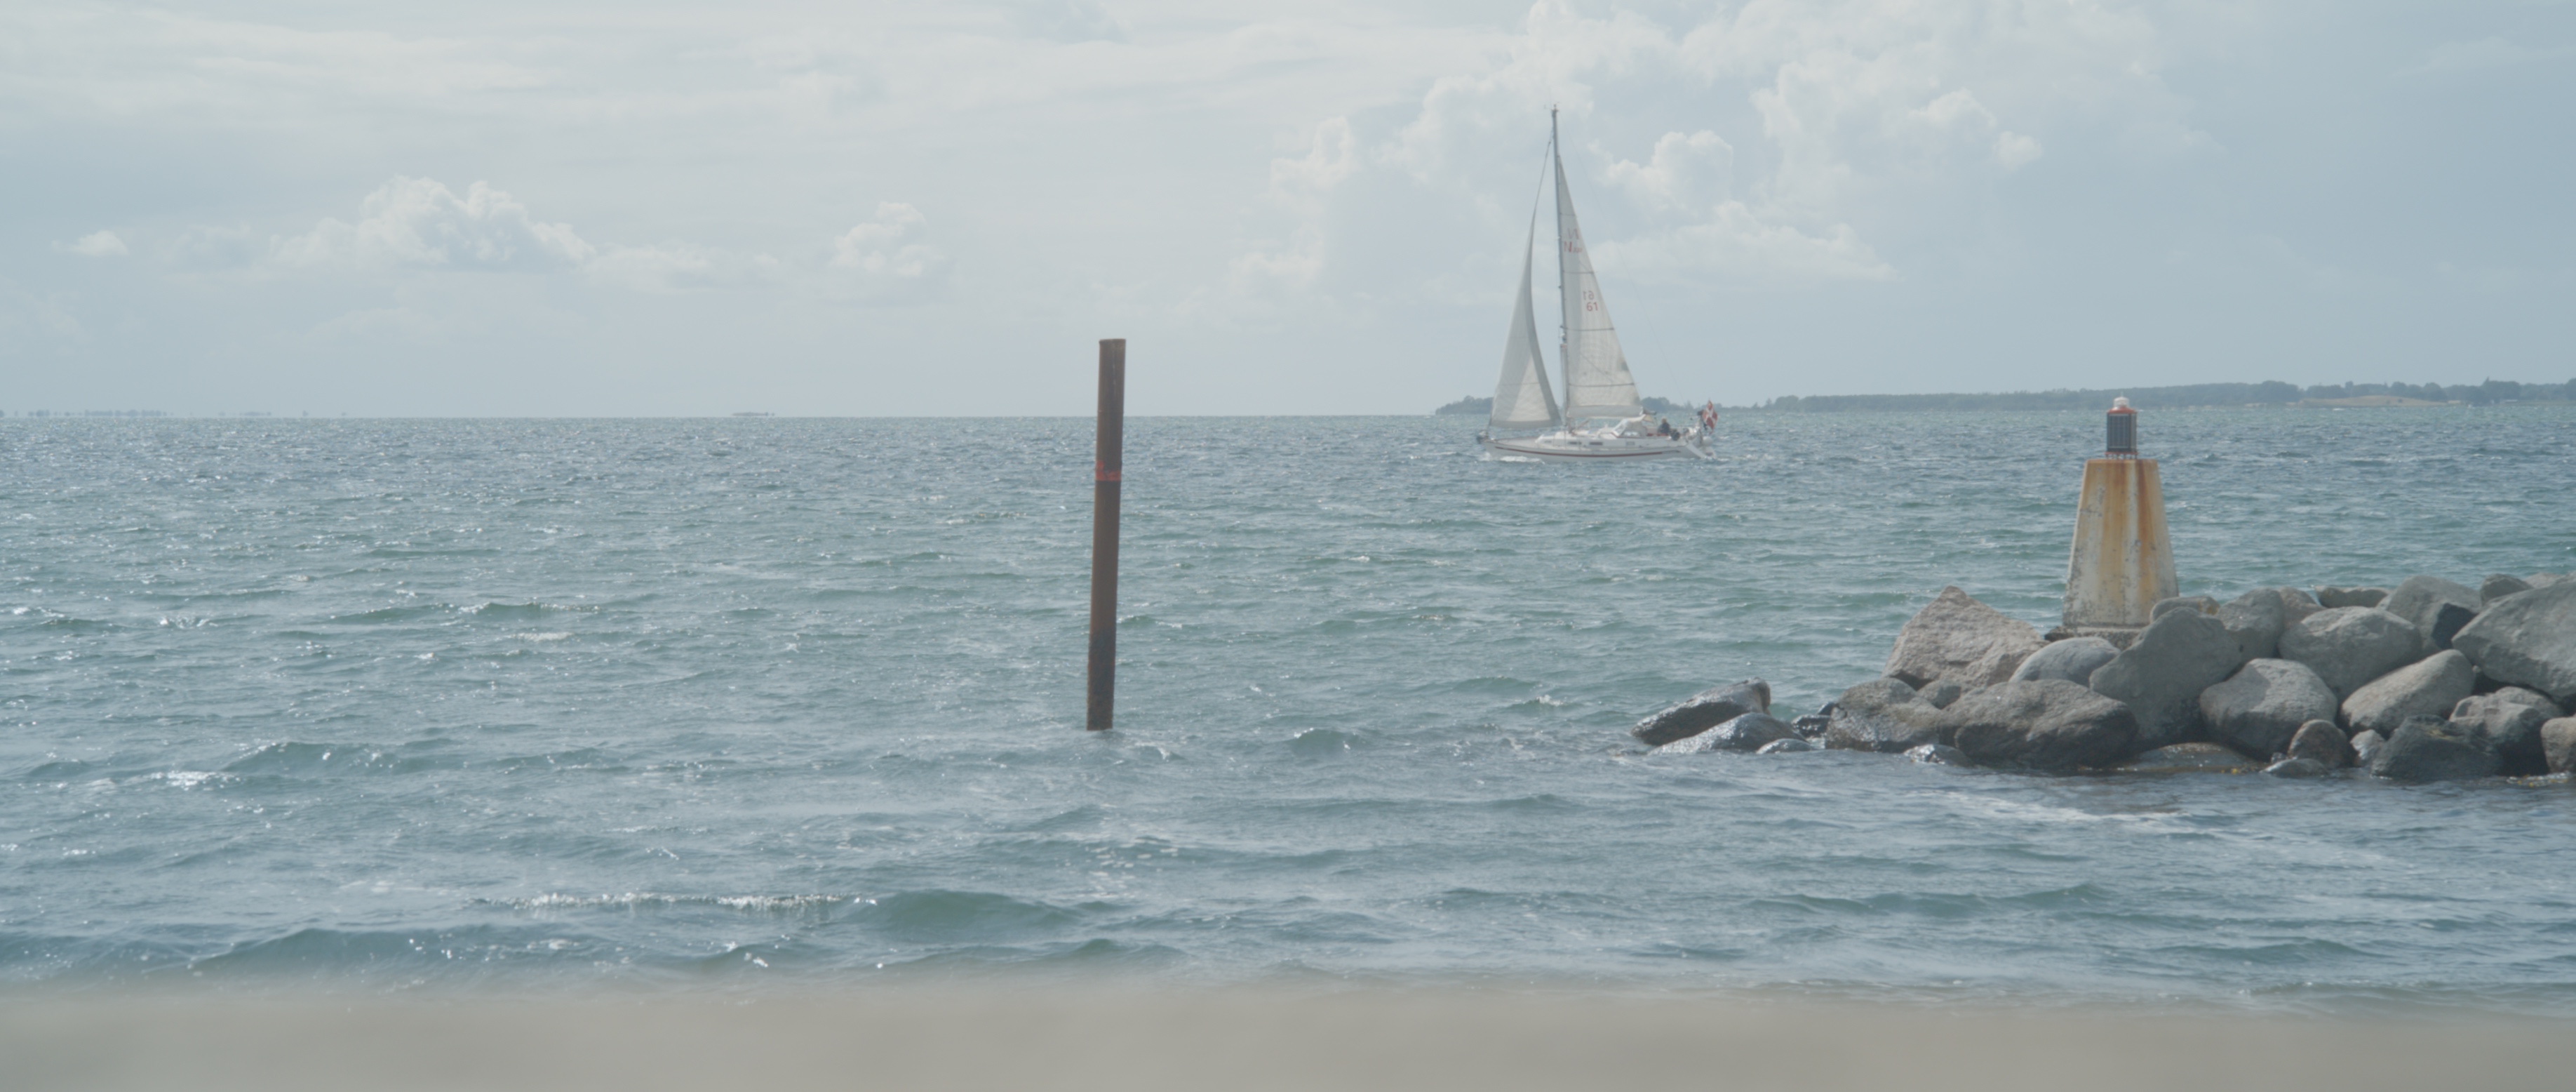
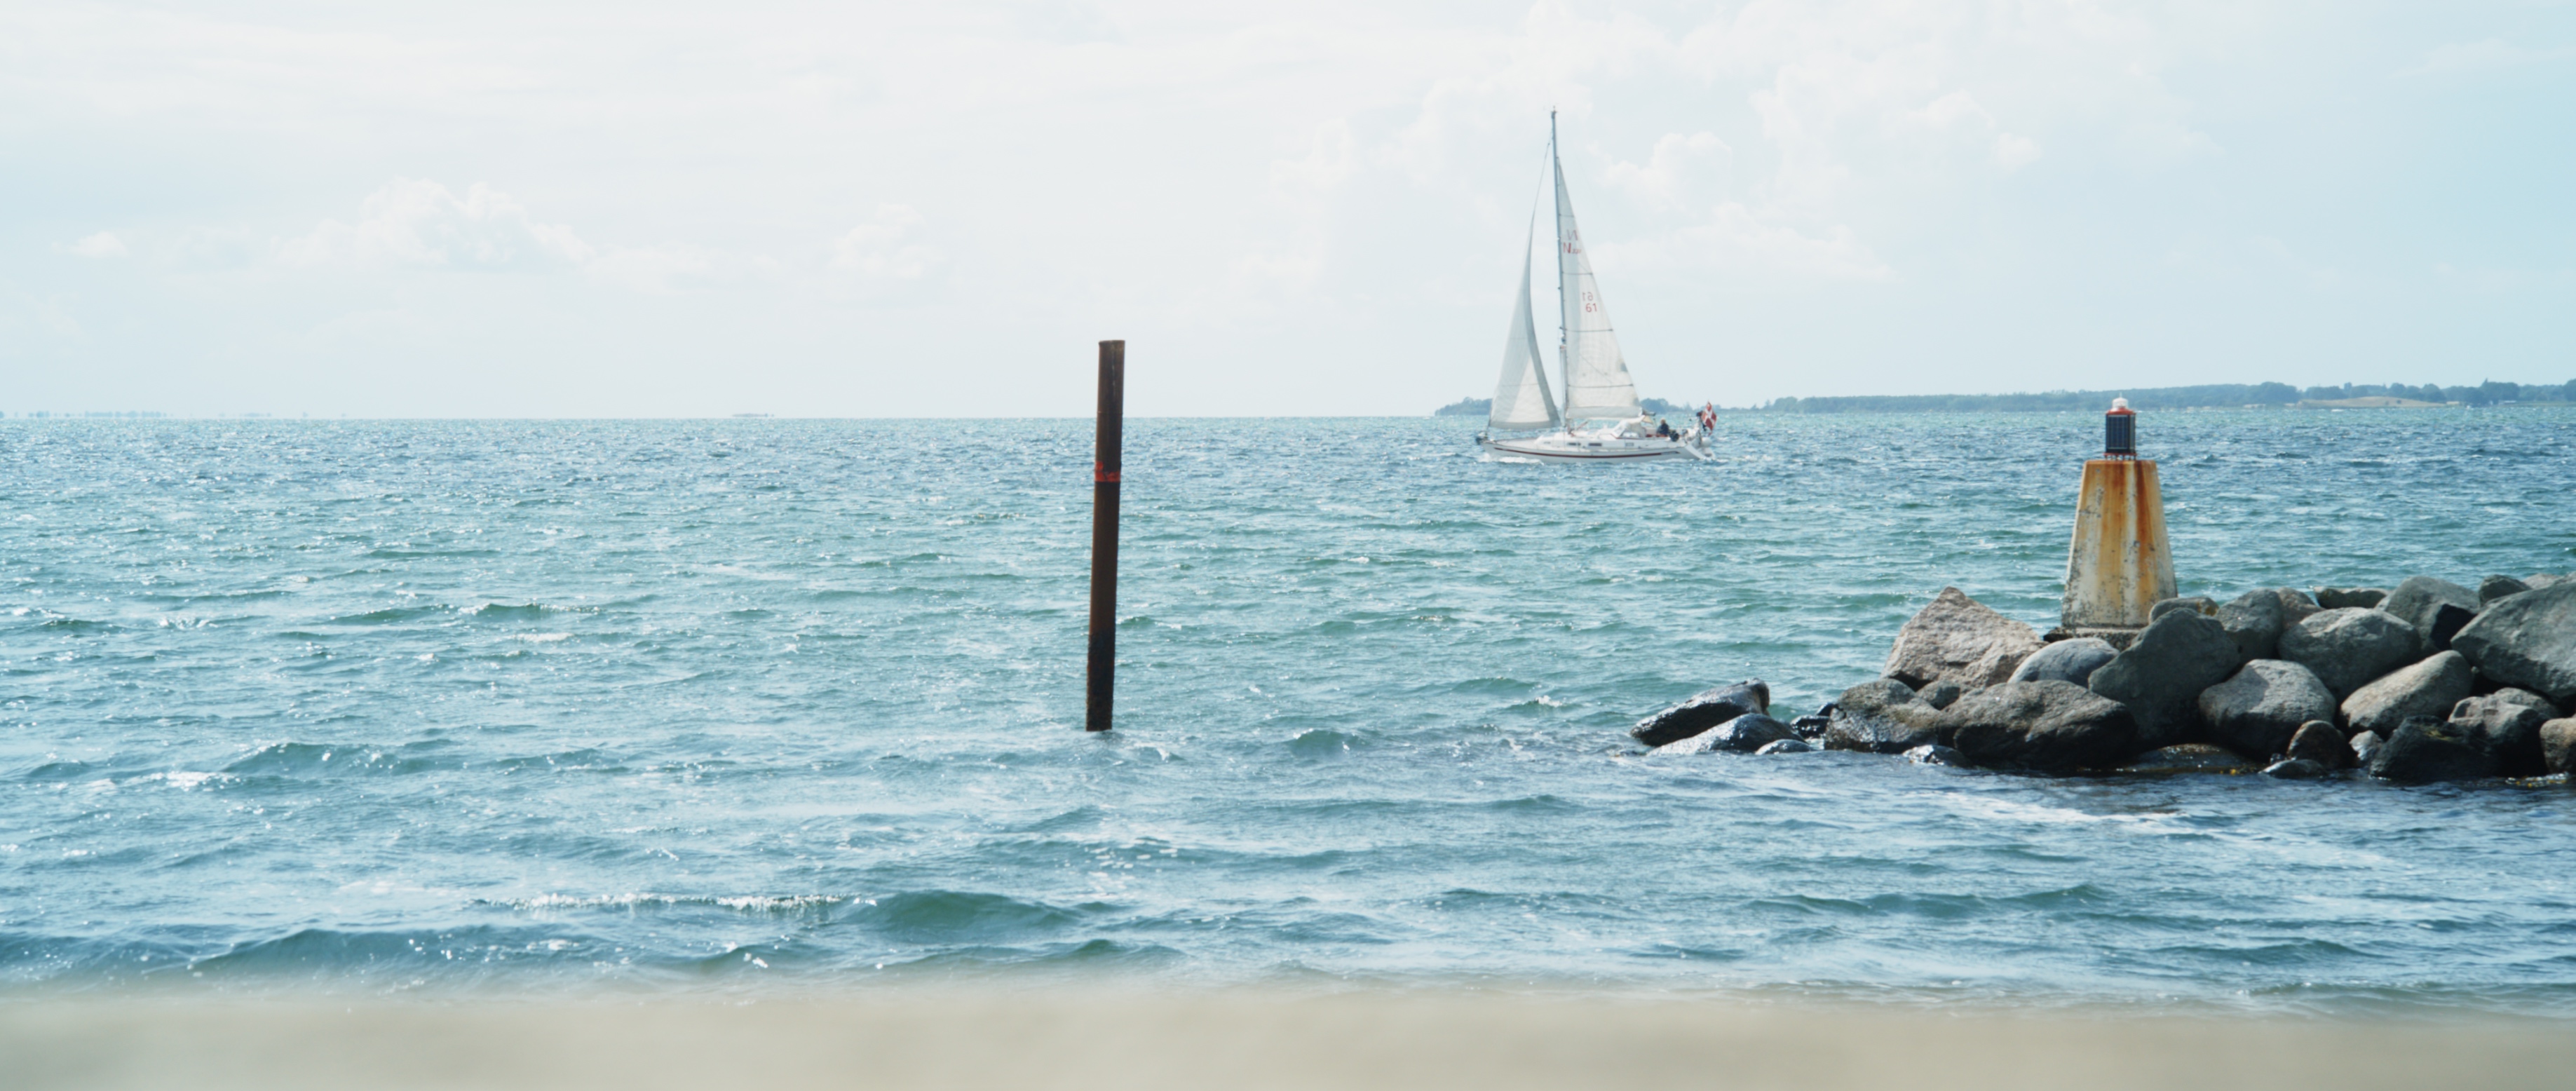
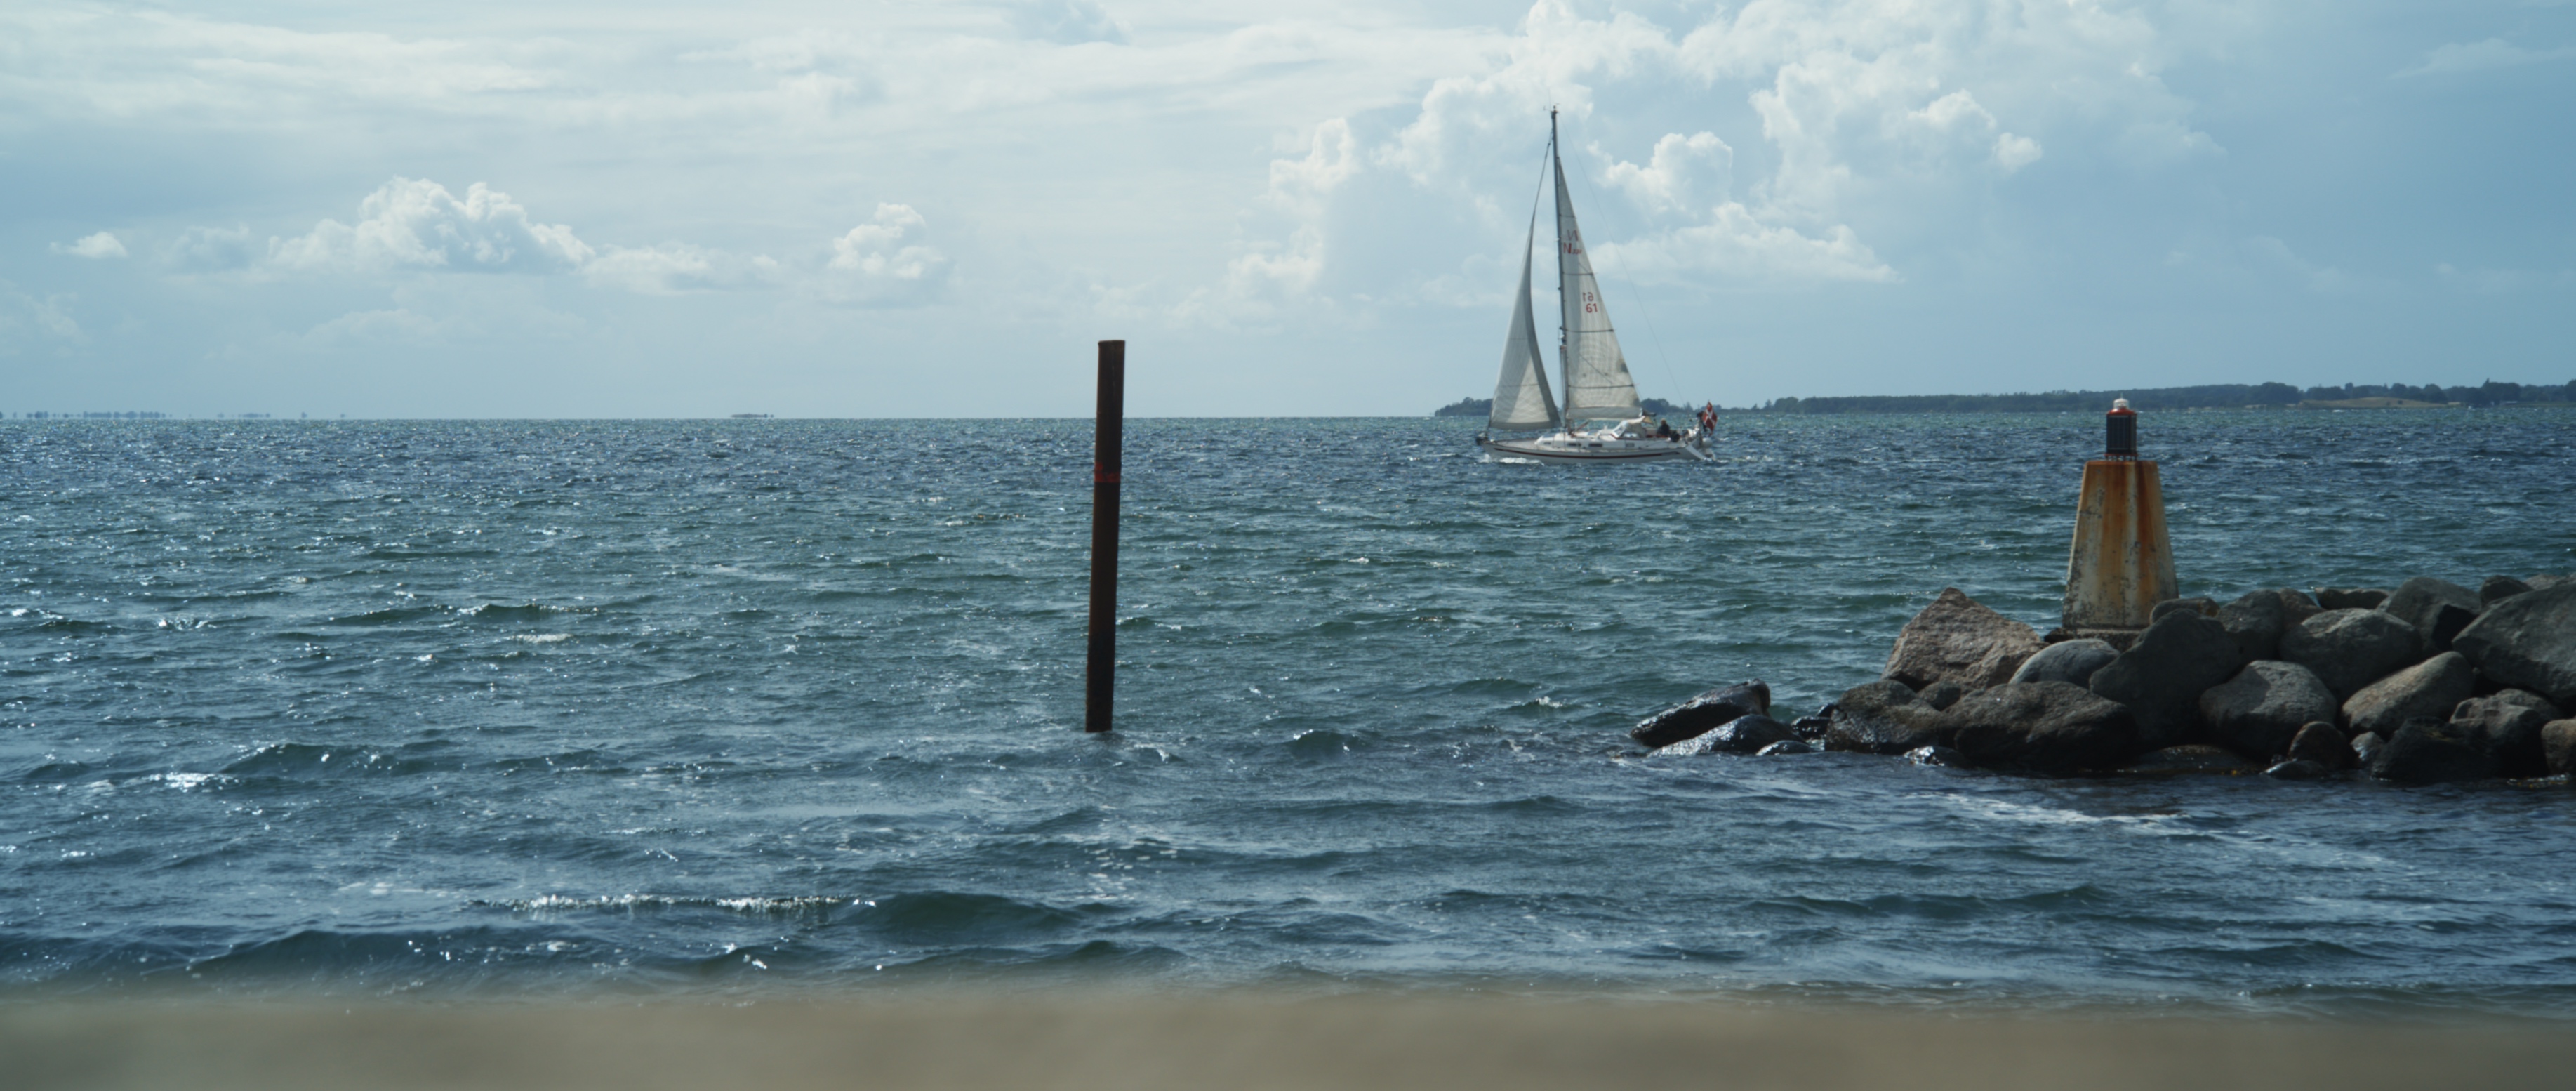
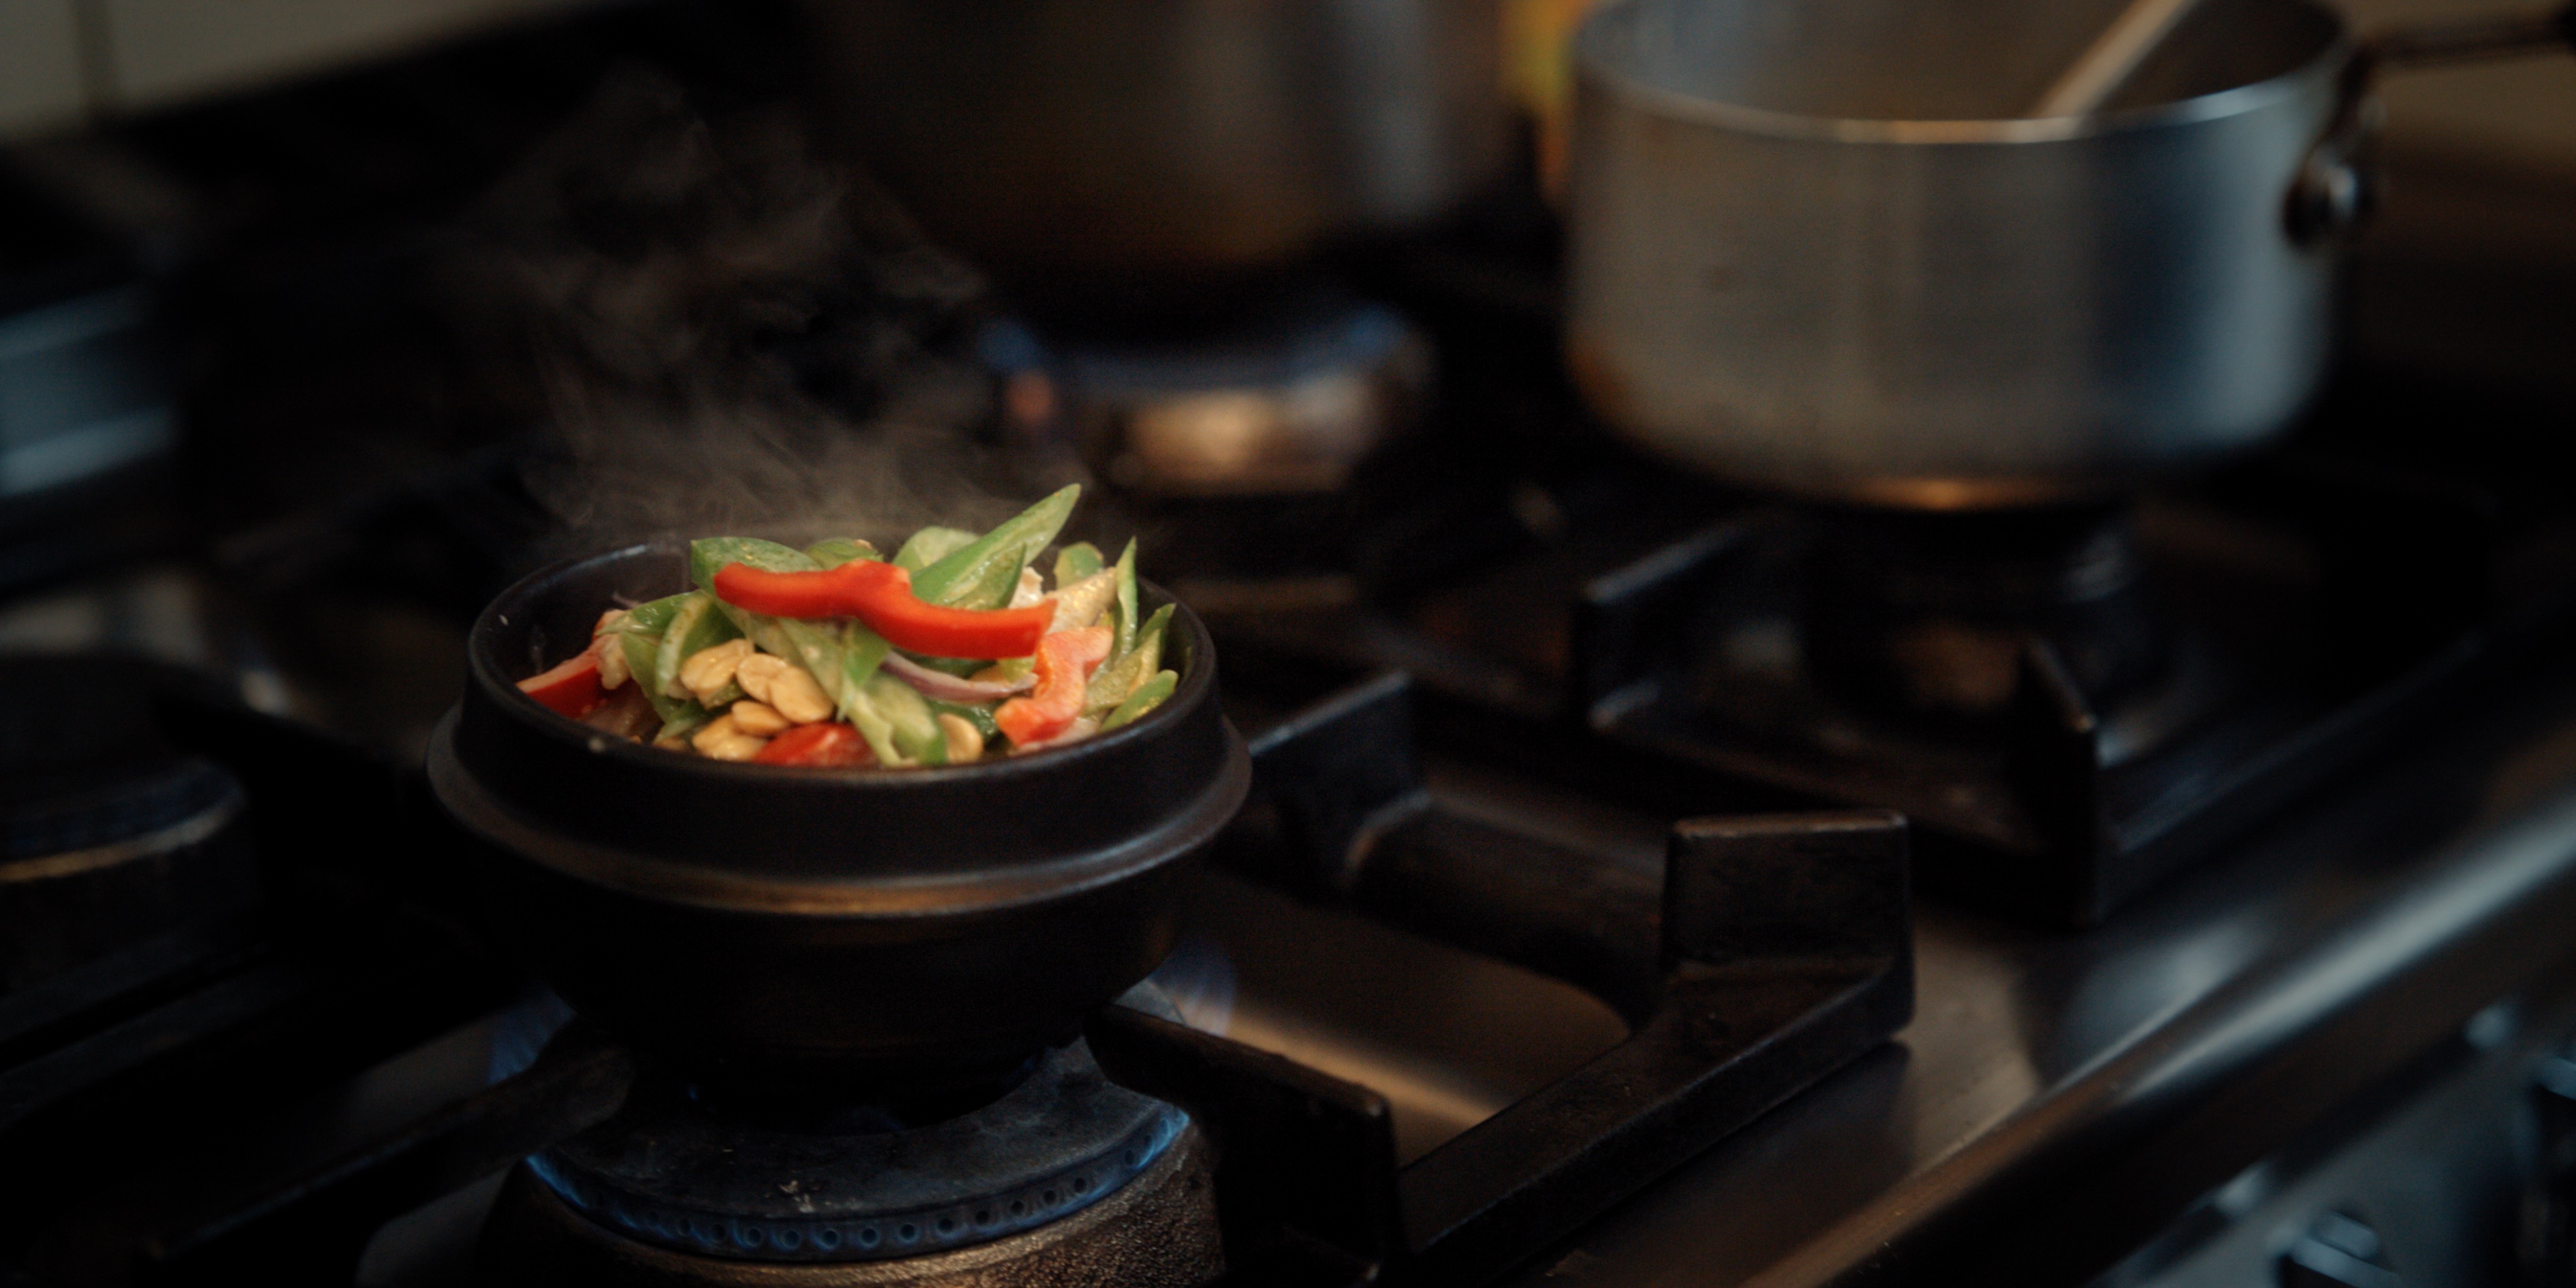
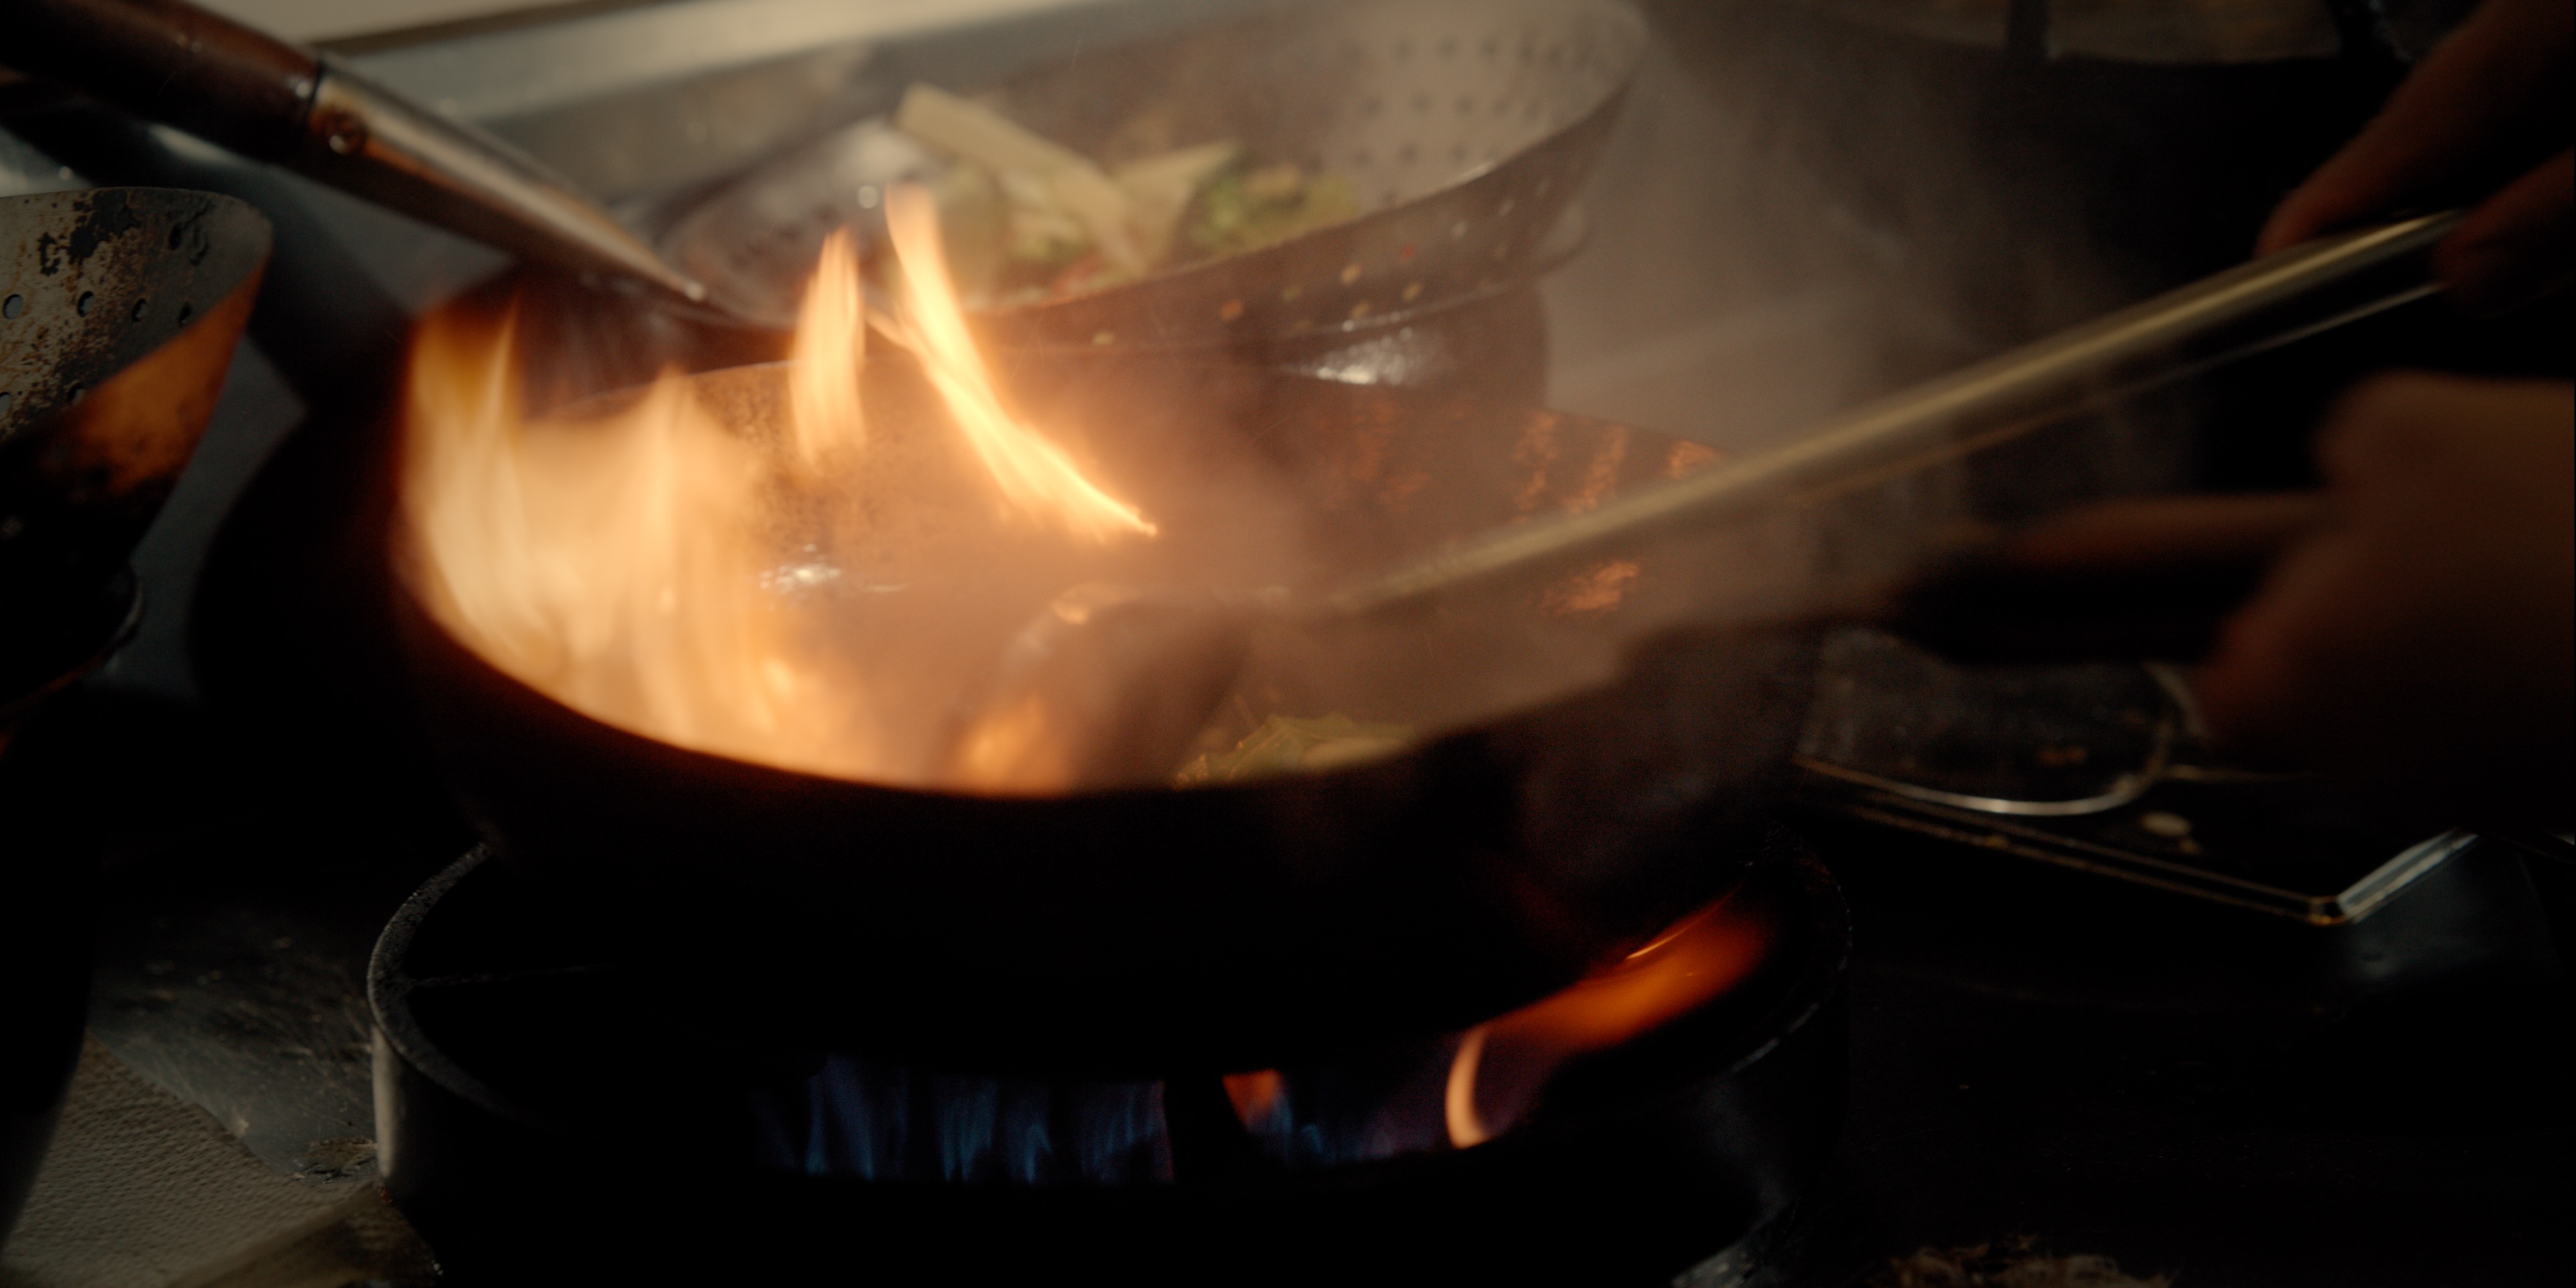
My first production for a restaurant. Was very exciting. Had to go minimal, maximum one light, as the kitchen was quite busy. 🍚
-
Adding an example which shows the benefit of using the ISO related LUTs and adding a customised contrast 🙂
-
Very welcome! 🙂 I do not have a Video Assist available, so I cannot tell with certainty. But from my understanding only the Ninja V converts to V-Log on the fly, so the monitoring LUTs are tailored for that. To understand how Braw works, I need to know to which format the VideoAssist is debayering the footage to for preview. Possibly, once we know that, I can compile that workflow to a monitoring LUT for that device afterwards. First question, can the VideoAssist show the full highlight range at ISO 800? Cheers
-
Hi all and Happy Easter to you 🐰 most you know that I have invested quite some time to get the SIGMA fp "right", came a long journey over trying to understand ProRes RAW, cDNG and applying the ARRI colour scene to footage of it... Ultimately I have worked in the last couple of weeks on own LUTs, which are keeping the colour science of the camera and additionally are mapping the full dynamic range potential of the camera into Rec709. Took a little bit different approach than common, because the LUTs are basically only tone mapping the dynamic range and do not add any further contrast, which in the end leaves a lot more material for grading. They are working with both Final Cut Pro and DaVinci Resolve, so both PRR and cDNG workflows are covered. Below you will find the free download link as Easter gift 🥚 There is an operations guide included as well, which states what the LUTs are doing, plus tips and tricks, some graphics and last but not least, my recommendation in regard to adding contrast. Hope the ones of you who still have this camera will find that useful, it is unlocking quite a bit of potential. Looking forward to hearing your comments, see your footage processed with it. 🙂 Link: https://www.dropbox.com/s/ab2oef3bn3mz1dx/SIGMA fp Rec709 LUT v2.zip?dl=0&fbclid=IwAR1tqT_N3uLbzJeM4s66G1841SFhwLsOxuFjnYtEdBxudYDrRgHMH0g7ig4
-
Full 6k 3:2 is not possible with cDNG because of the enormous data rates which need to be transferred to the USB-C drive - drives are too slow over USB-C for that. The sensor is natively able to produce something like 3k in 3:2 though, hoping for SIGMA to implement that mode. For the SIRUI 1.6x that would be a perfect match. 😉
-
For the fp I can answer this. The Sony IMX410 sensor is not capable of outputting 14bit in a high enough frame rate. 19 fps is roughly the maximum. Additionally that sensor only has a 14 bit readout mode for the full sensor. No pipeline for less pixels and faster 14bit …
-
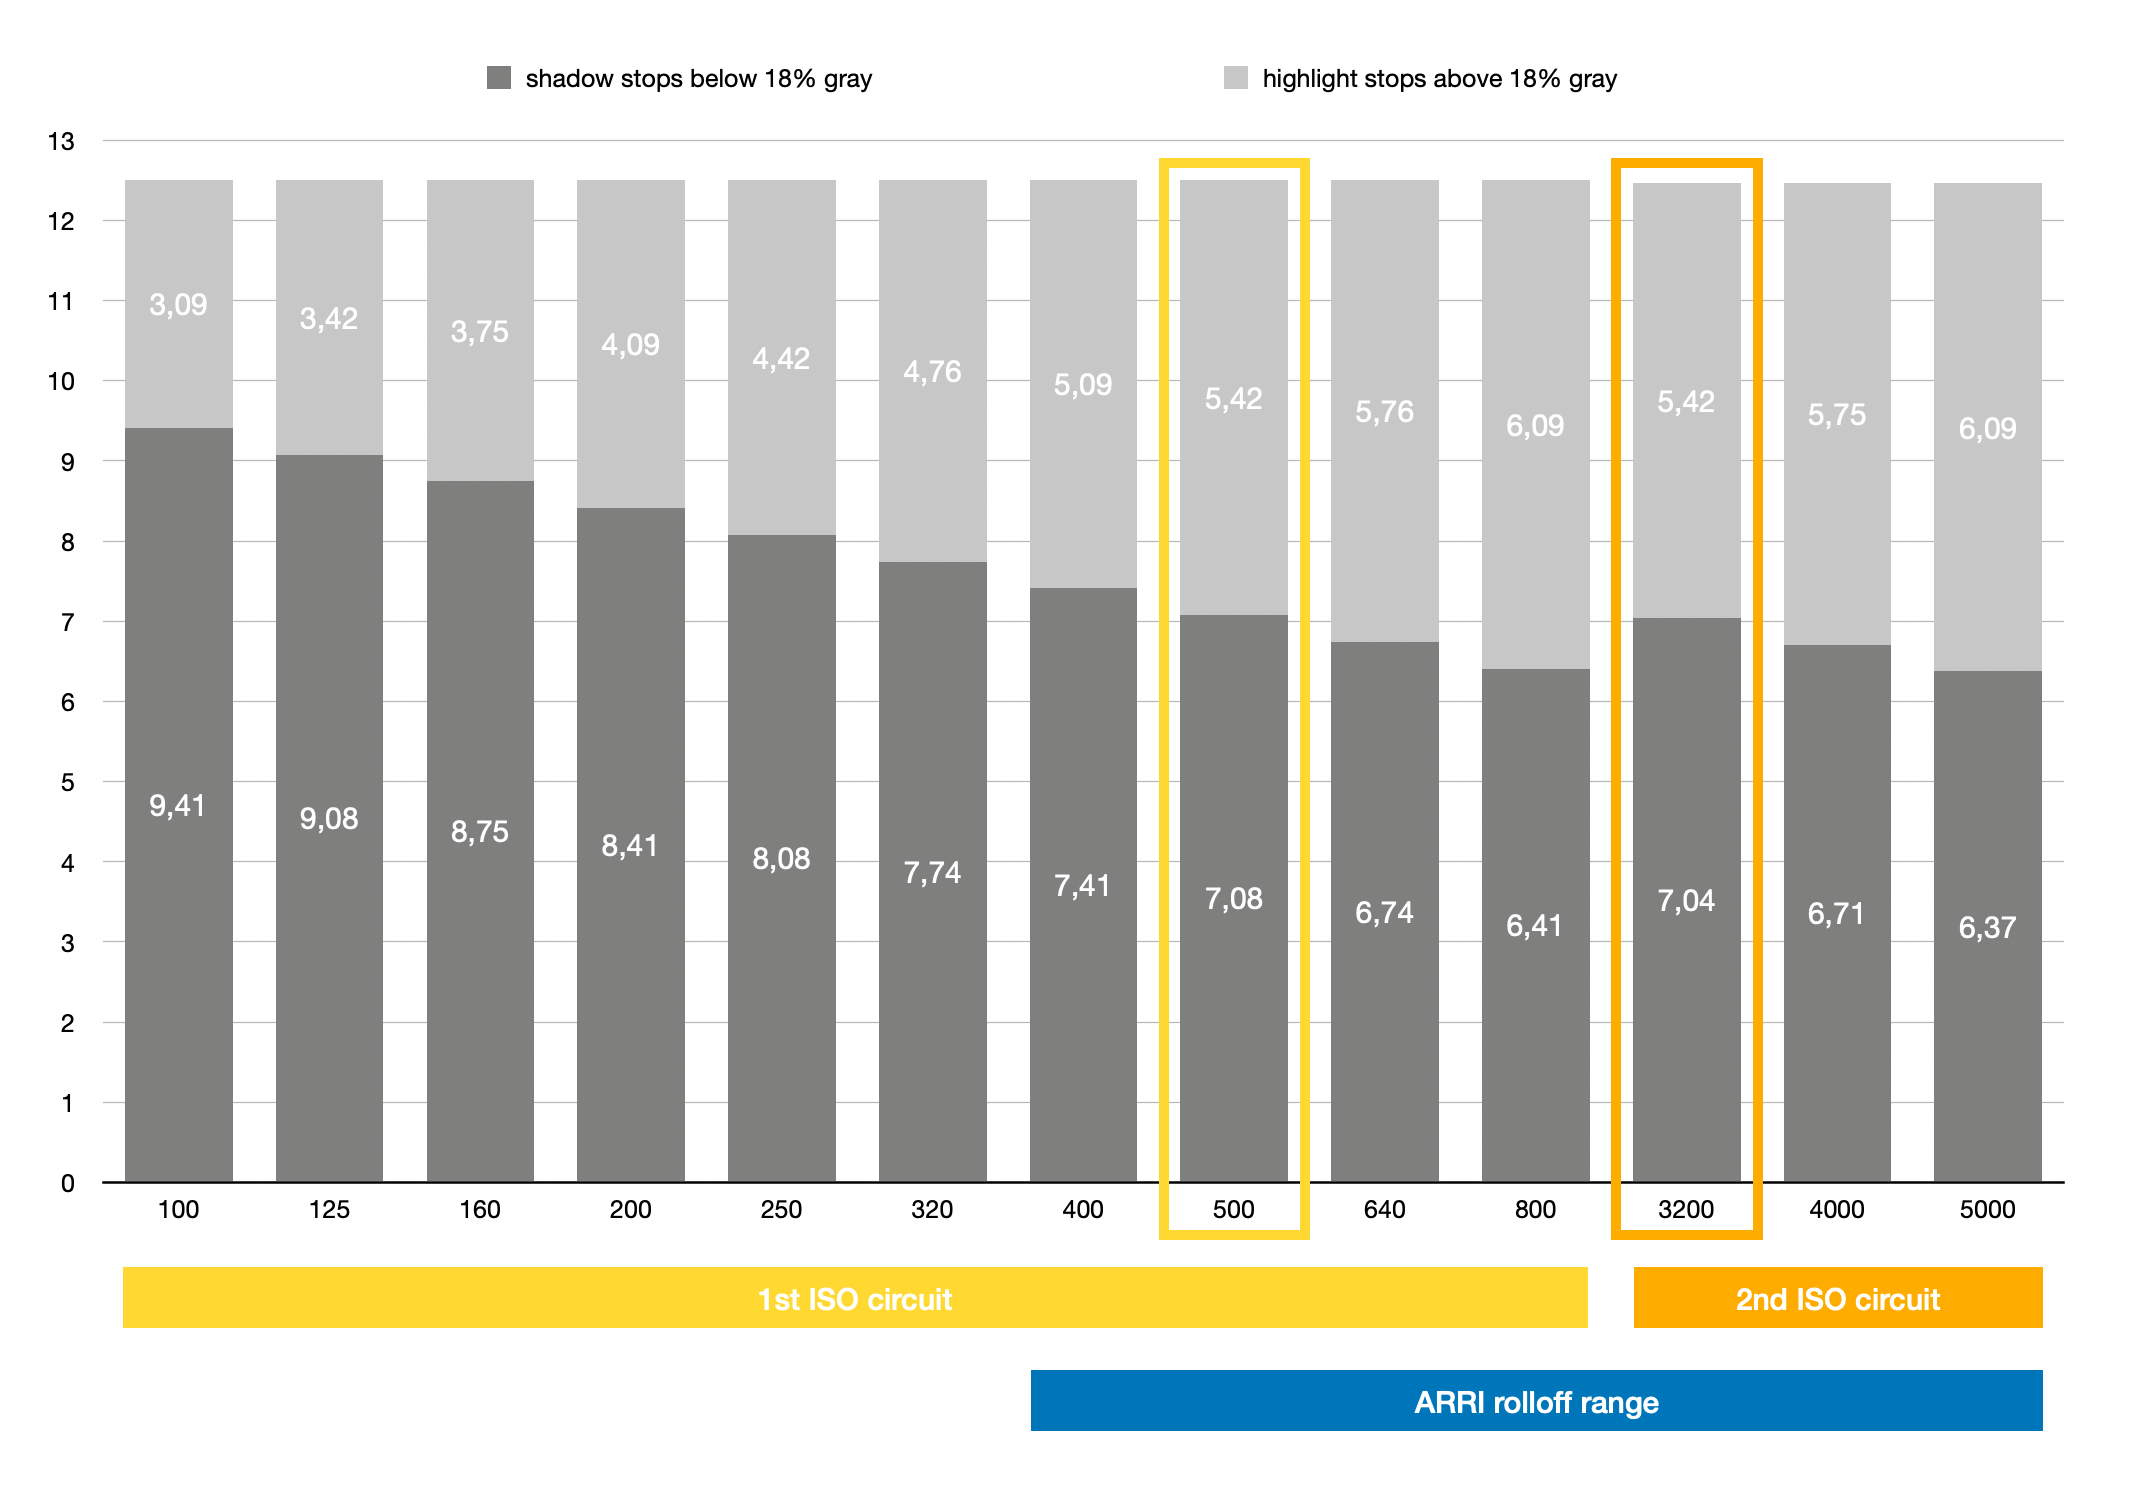
Hi all, have attached a chart that sums up my essay about the fps ISO behaviour. Concentrated only on the native ISO circuits instead of the ones with further analogue gain, which I would not recommend using. Rating of the native ISO value for the 1st circuit are per my definition in accordance to the 2nd circuit stops distribution. The chart is valid for RAW (CINE) recordings of the Sigma fp. If you decide to go through the ARRI Rec709 LUT, than you should consider using the fp in the bluely highlighted ISO range to get the rolloff.
-
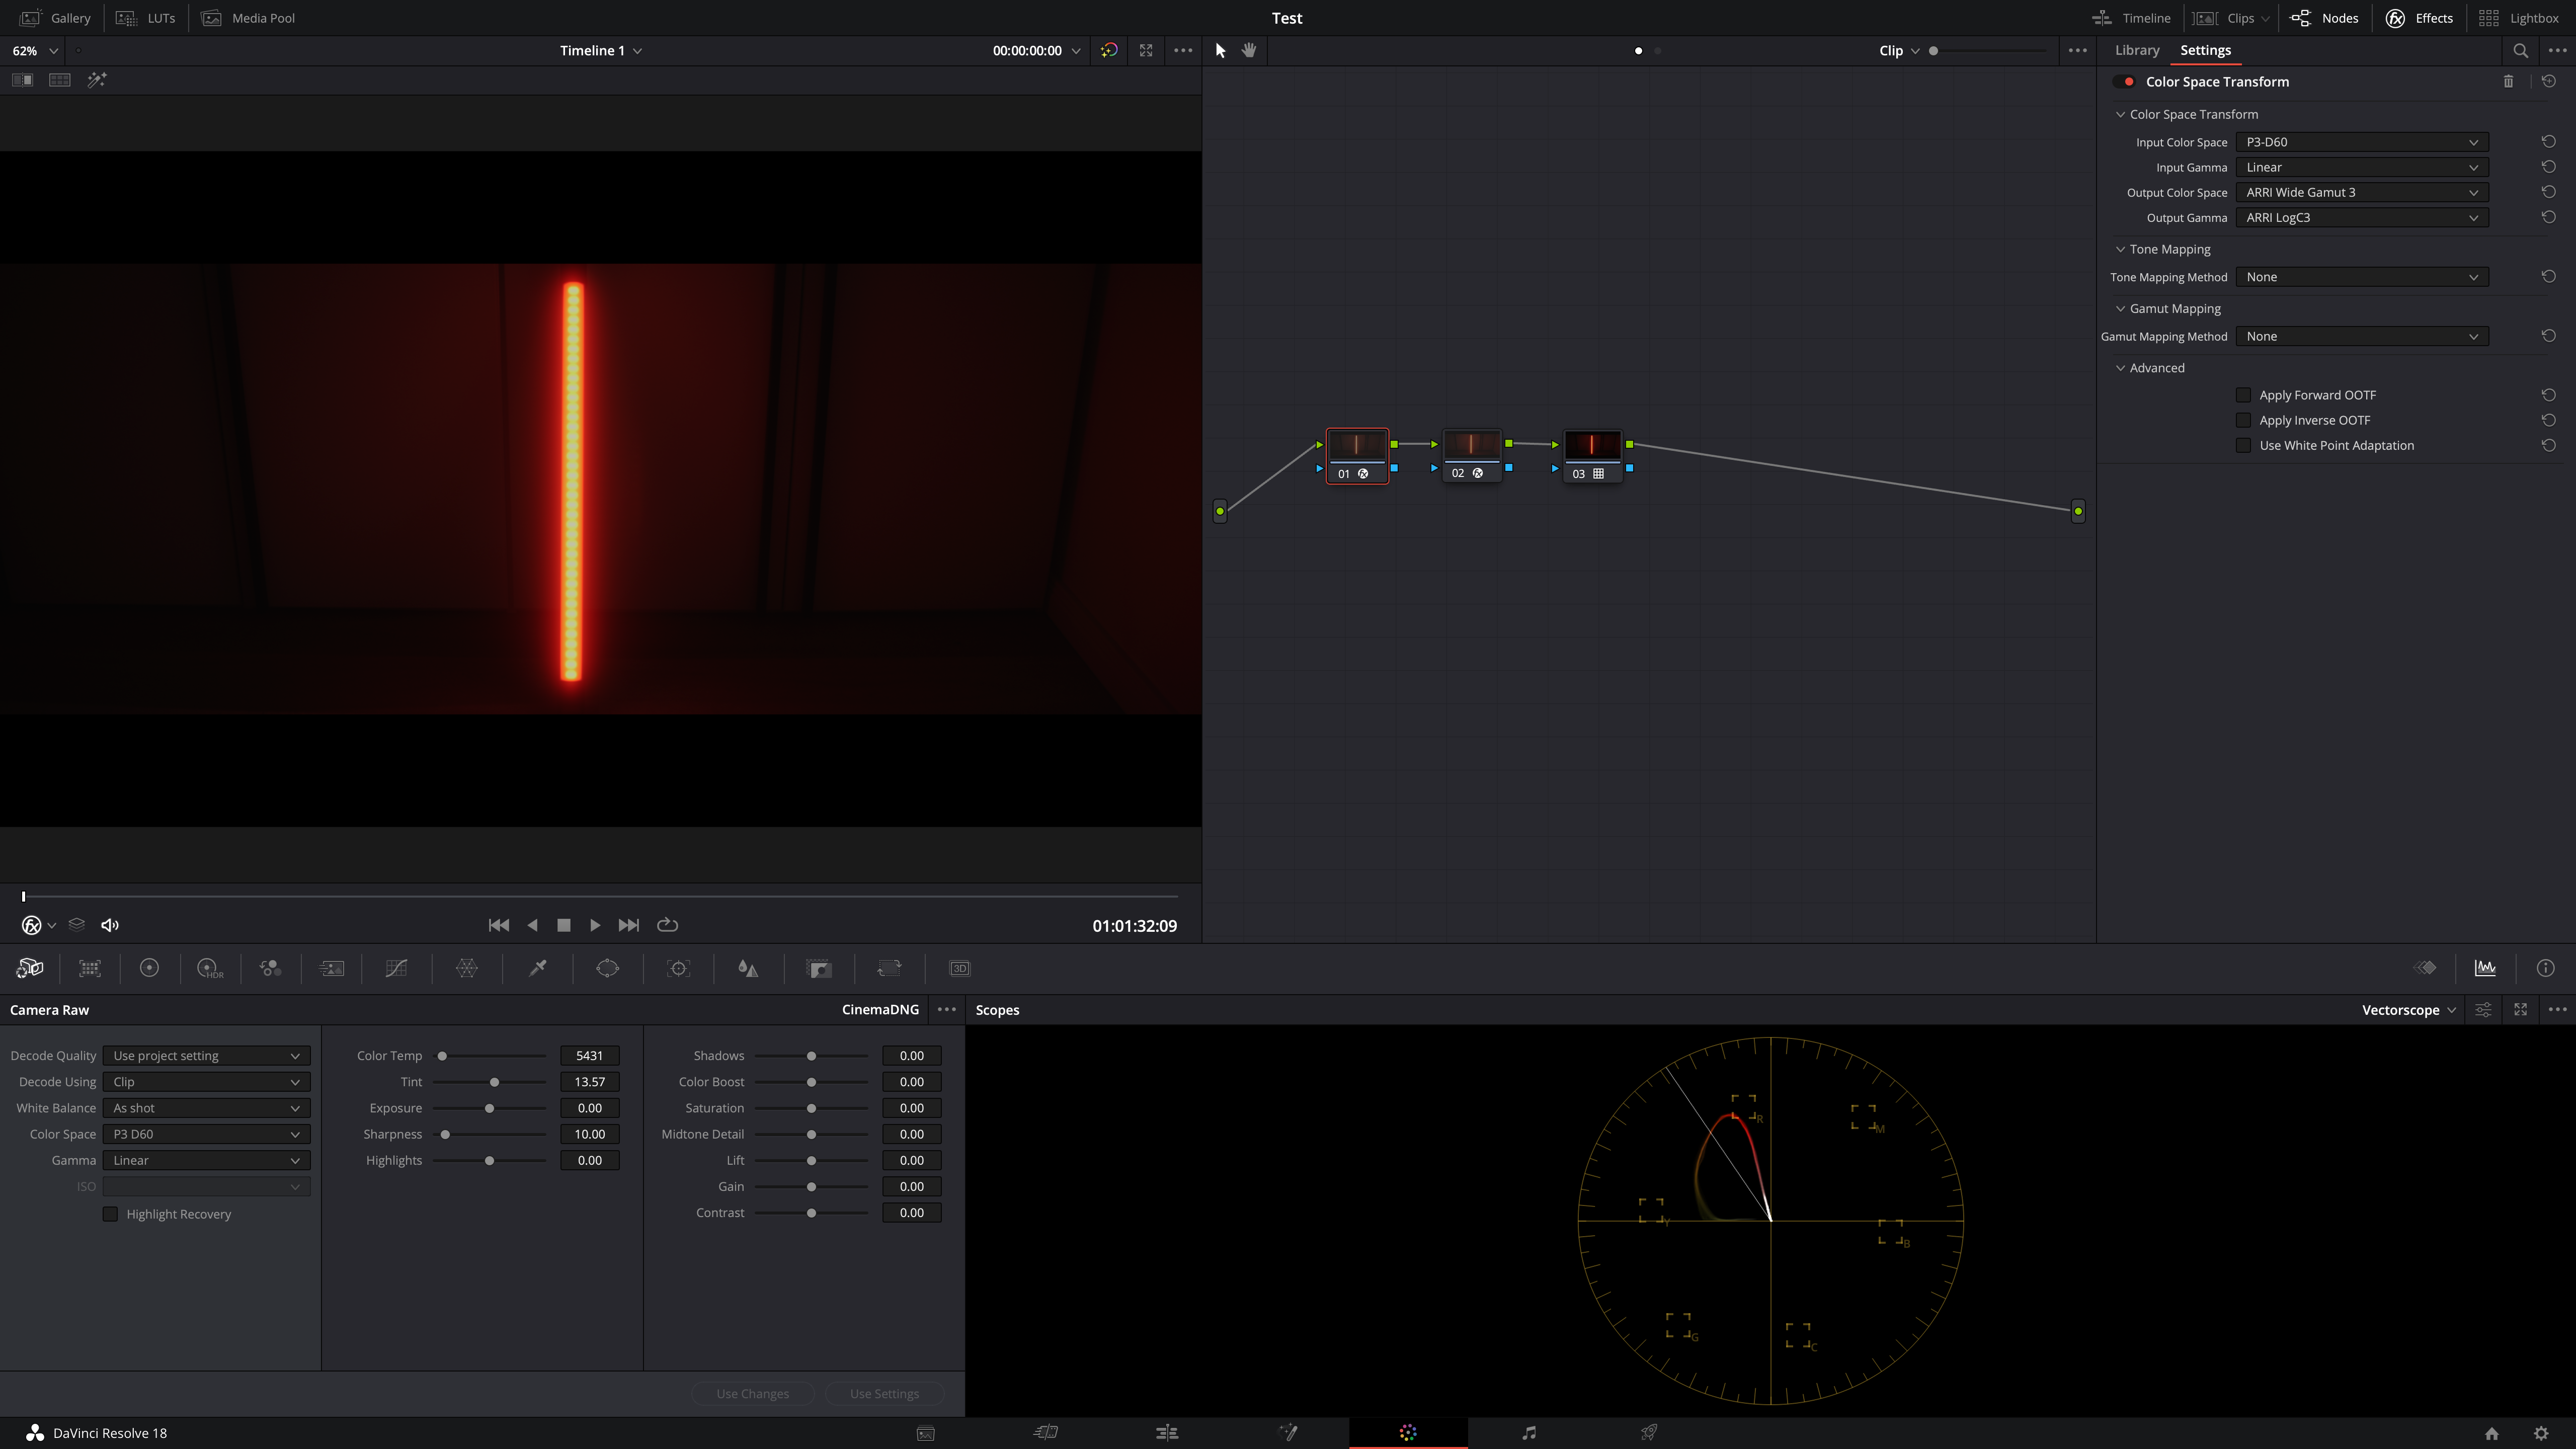
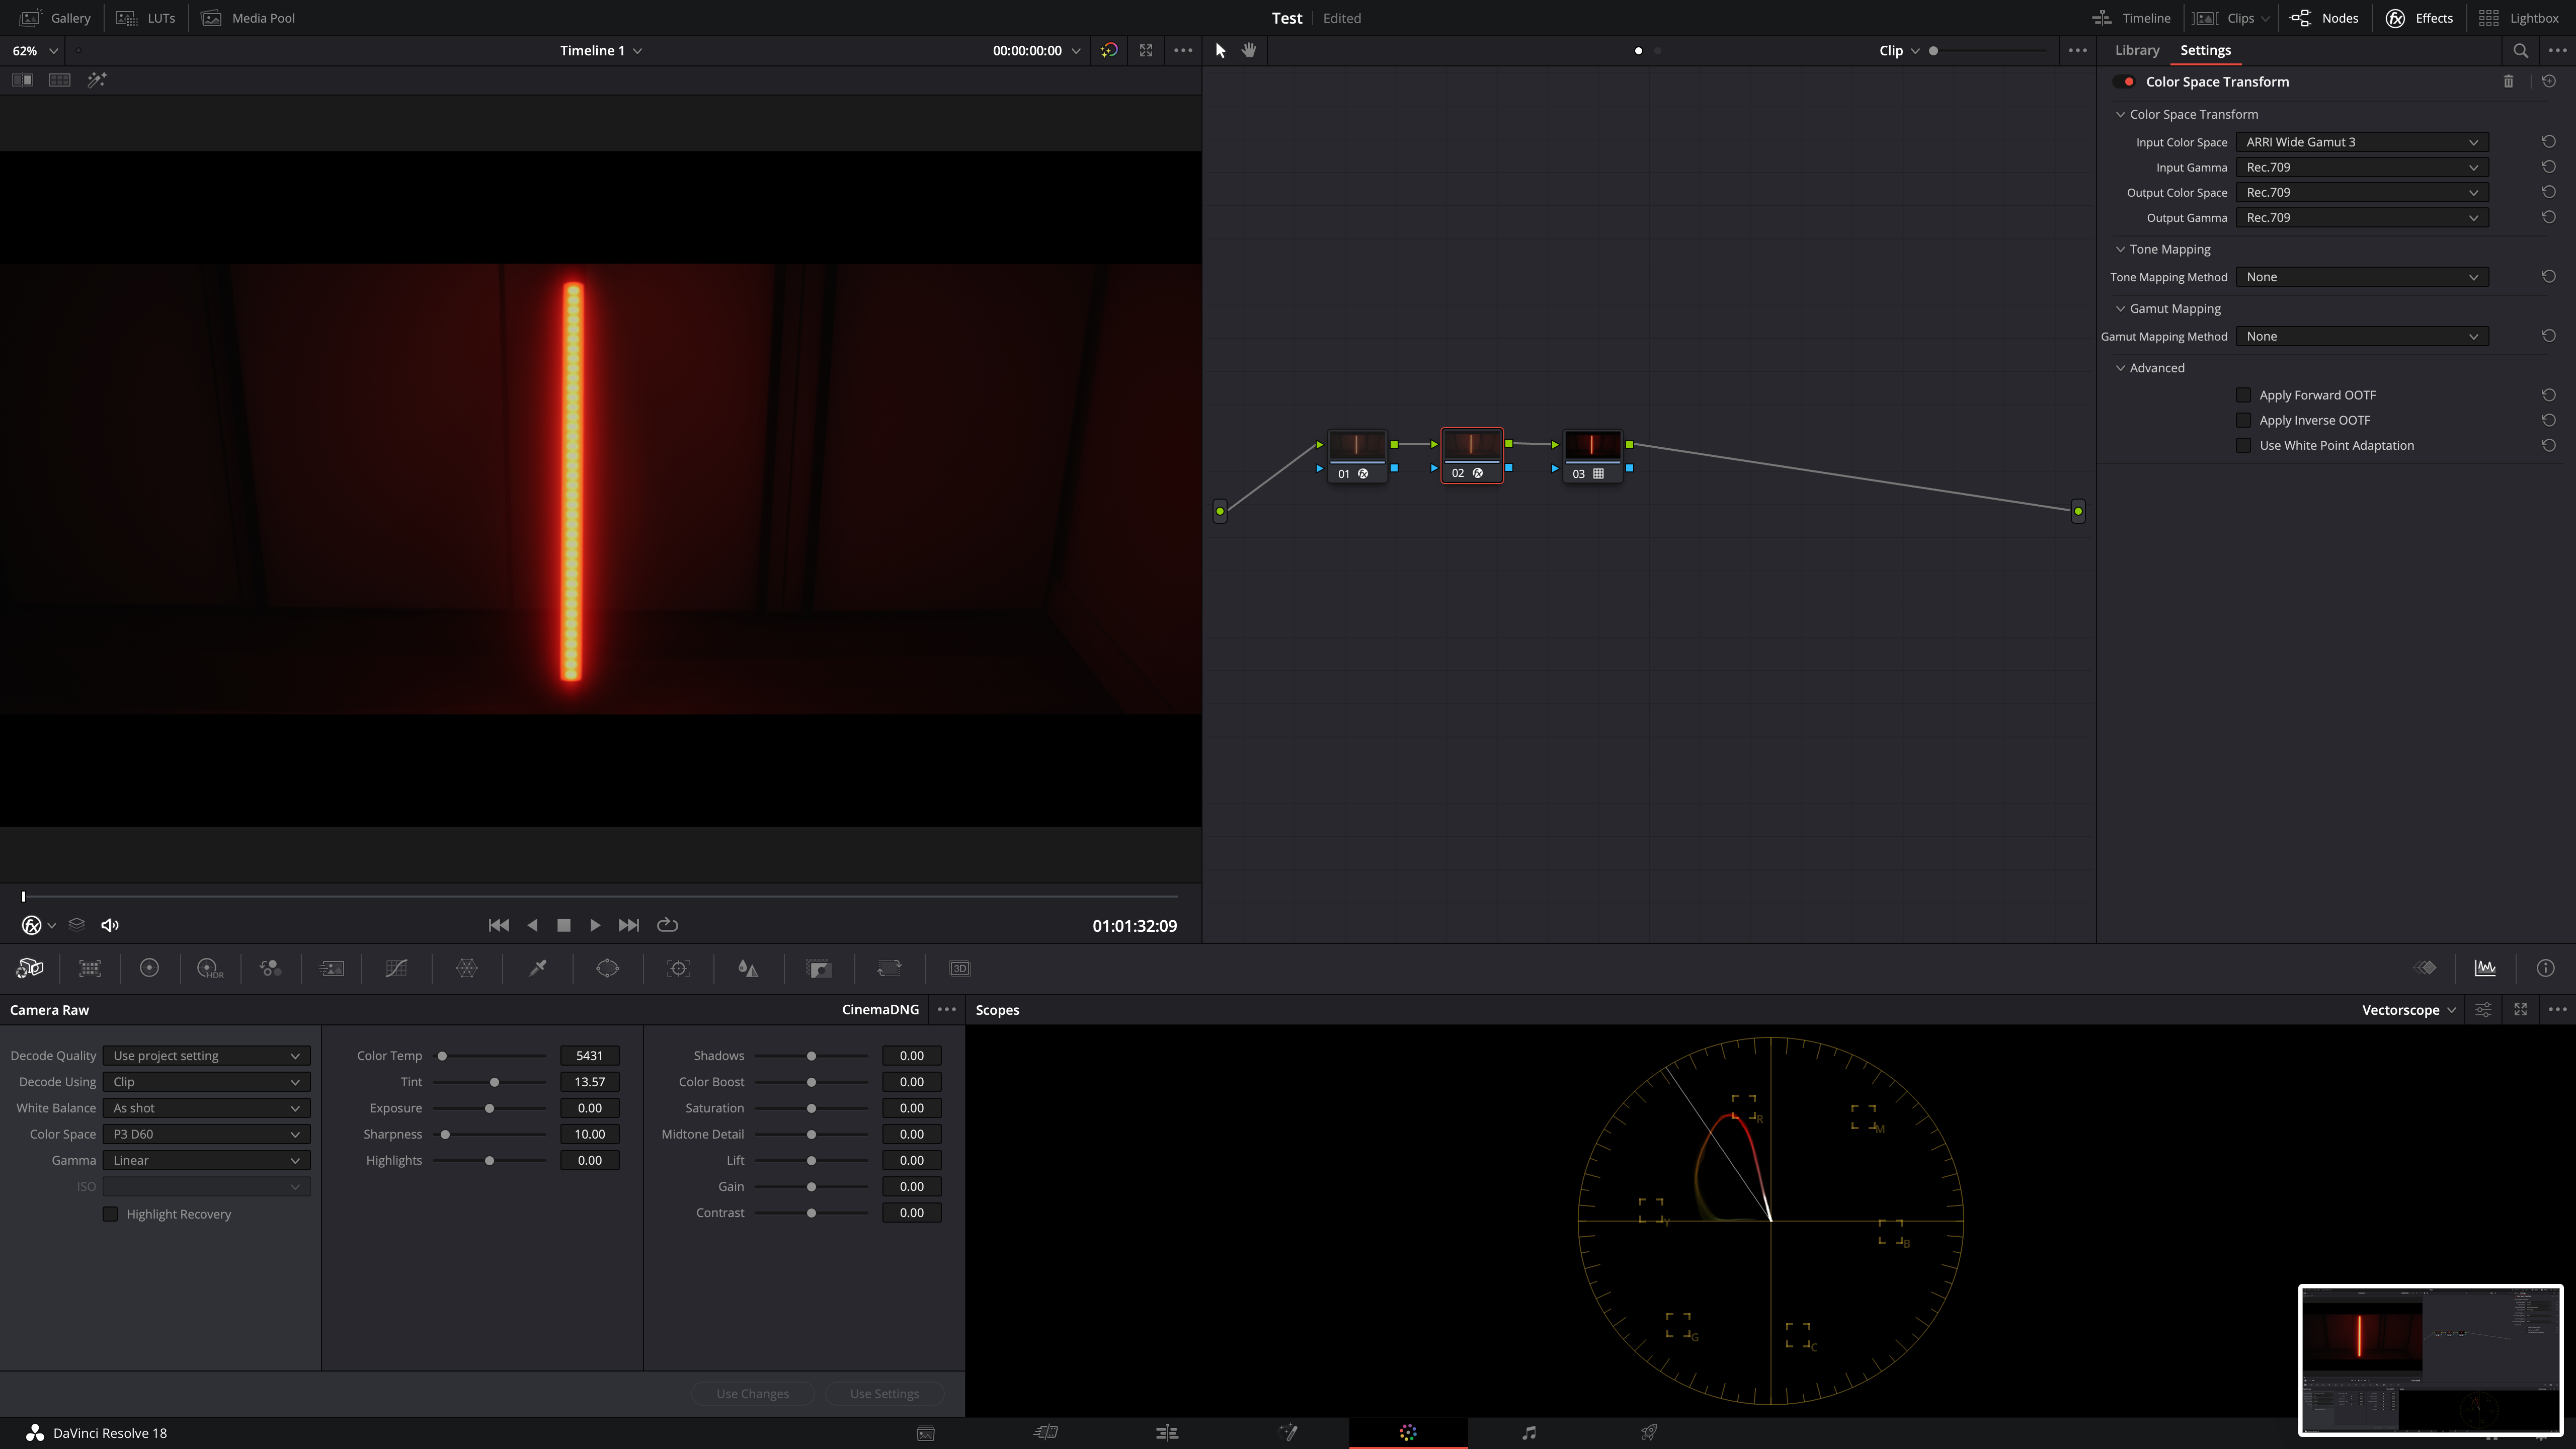
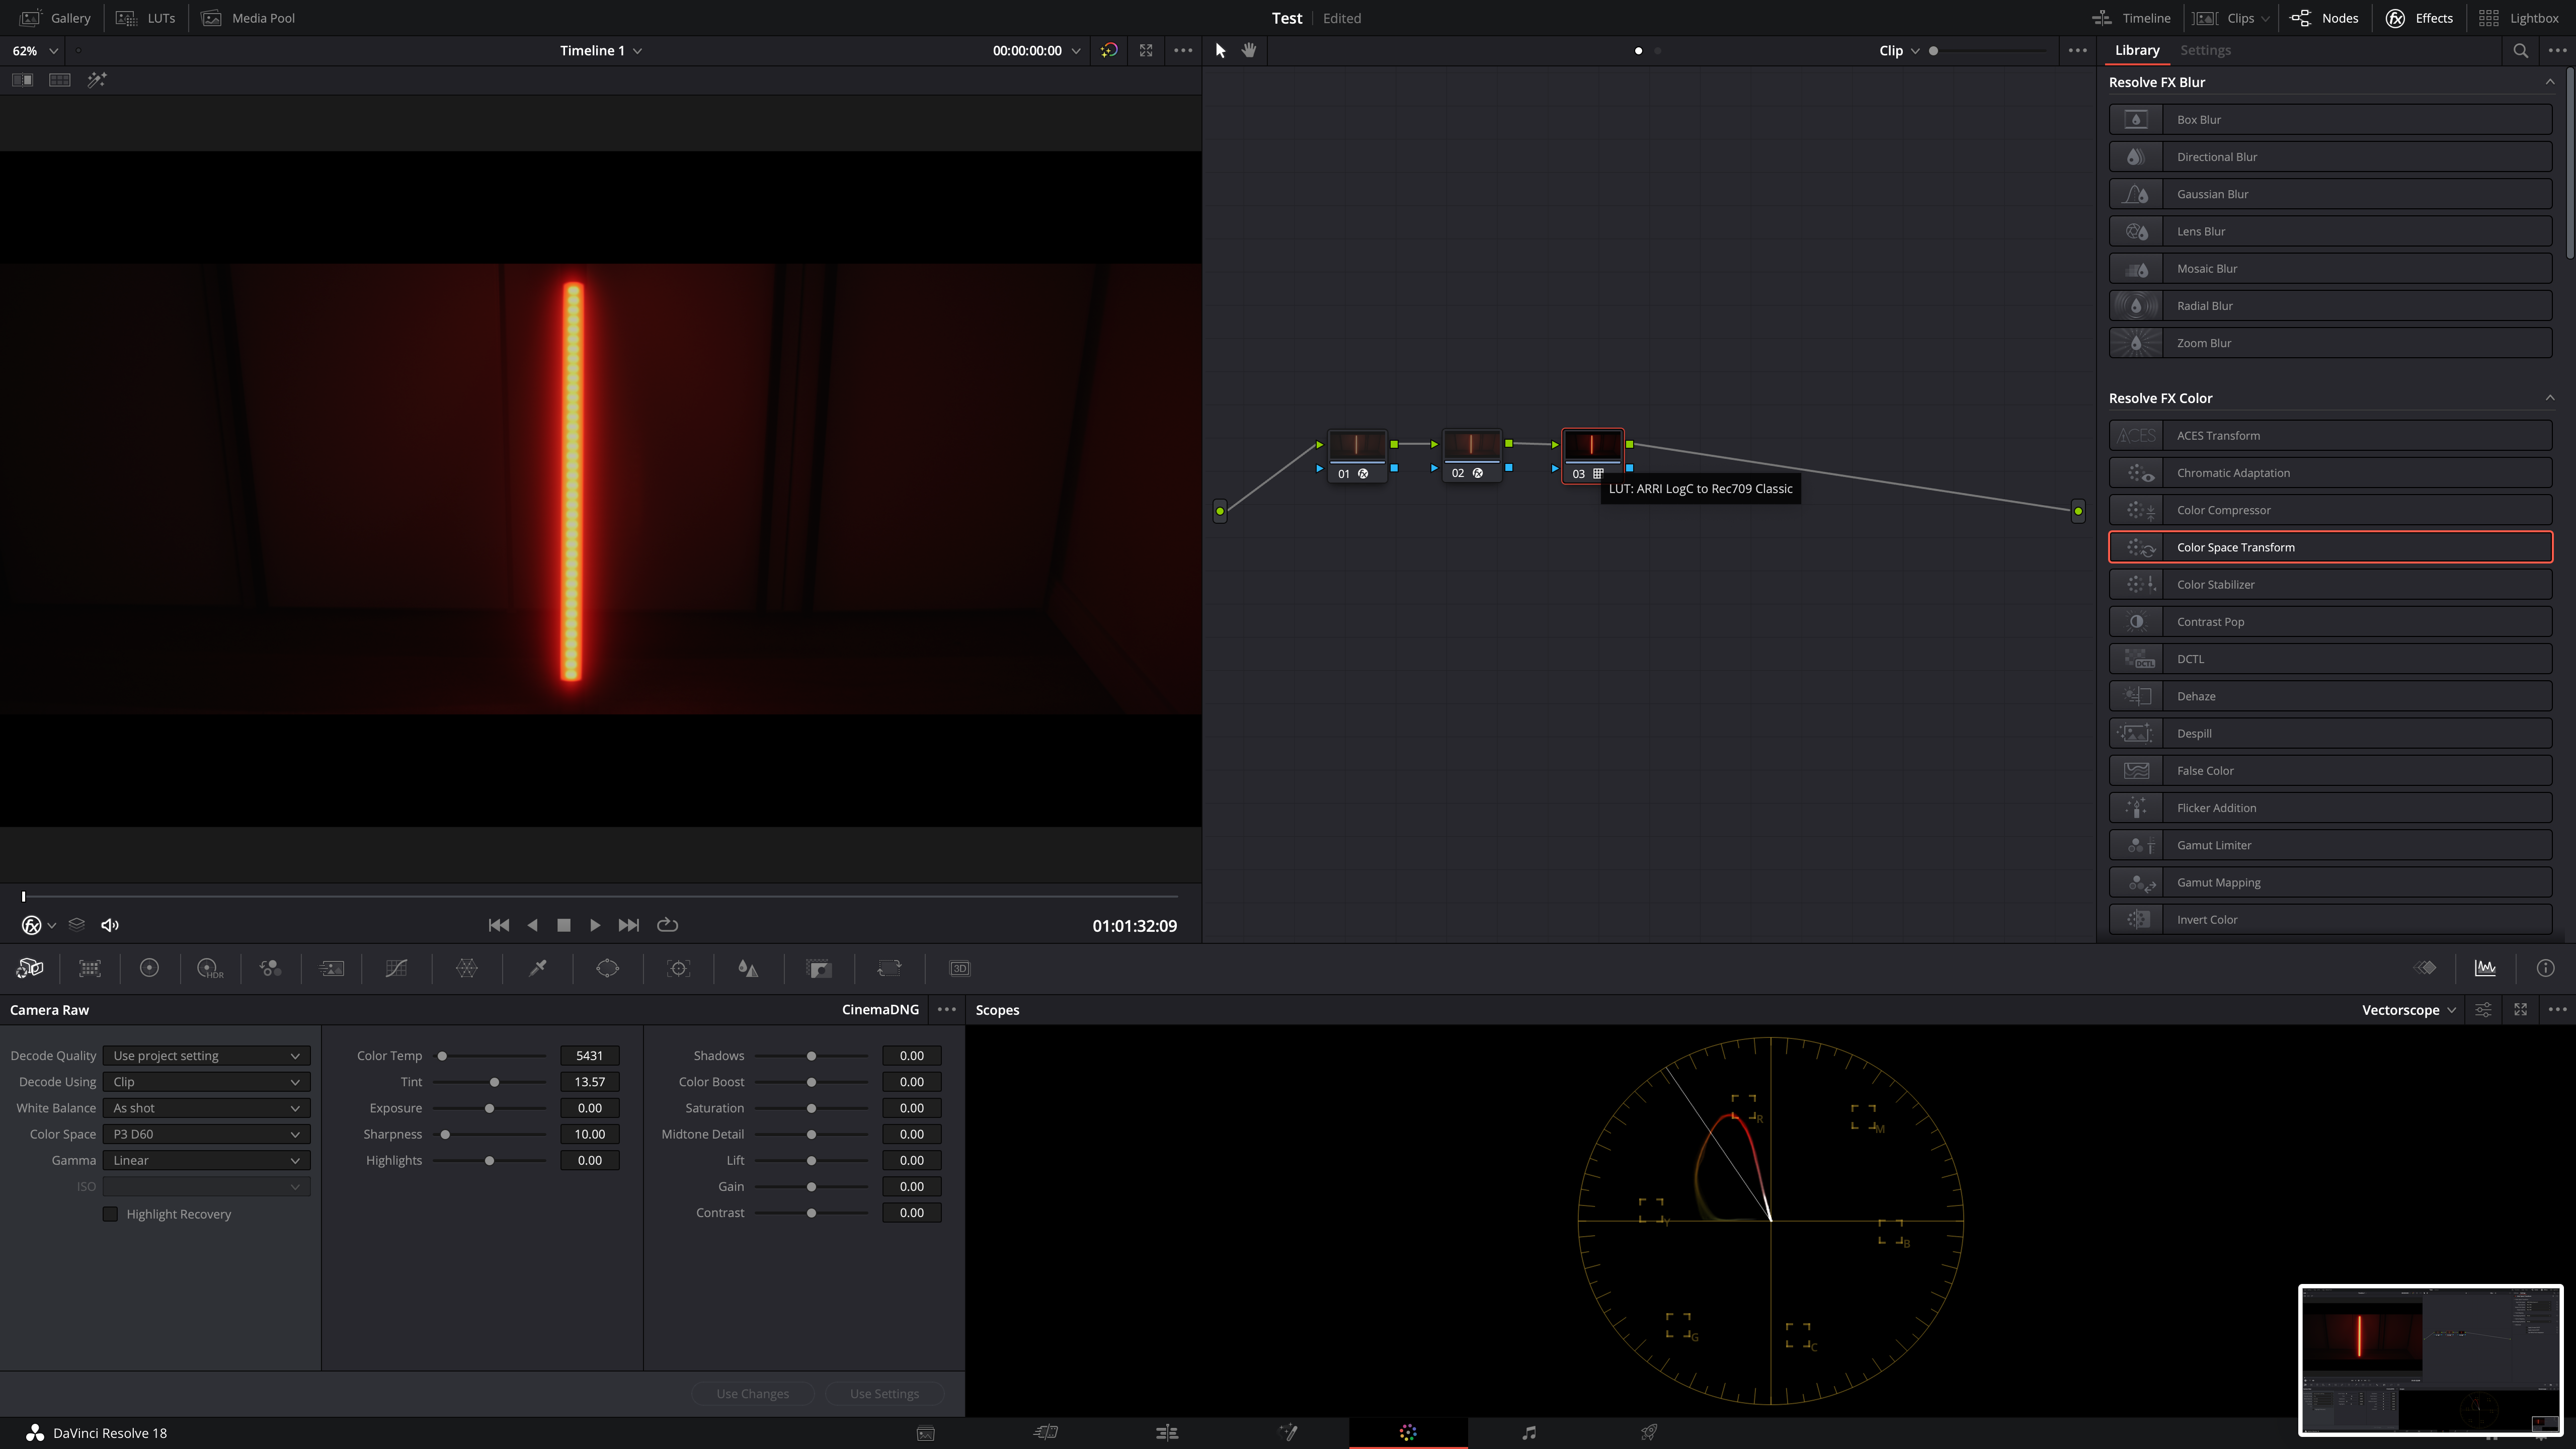
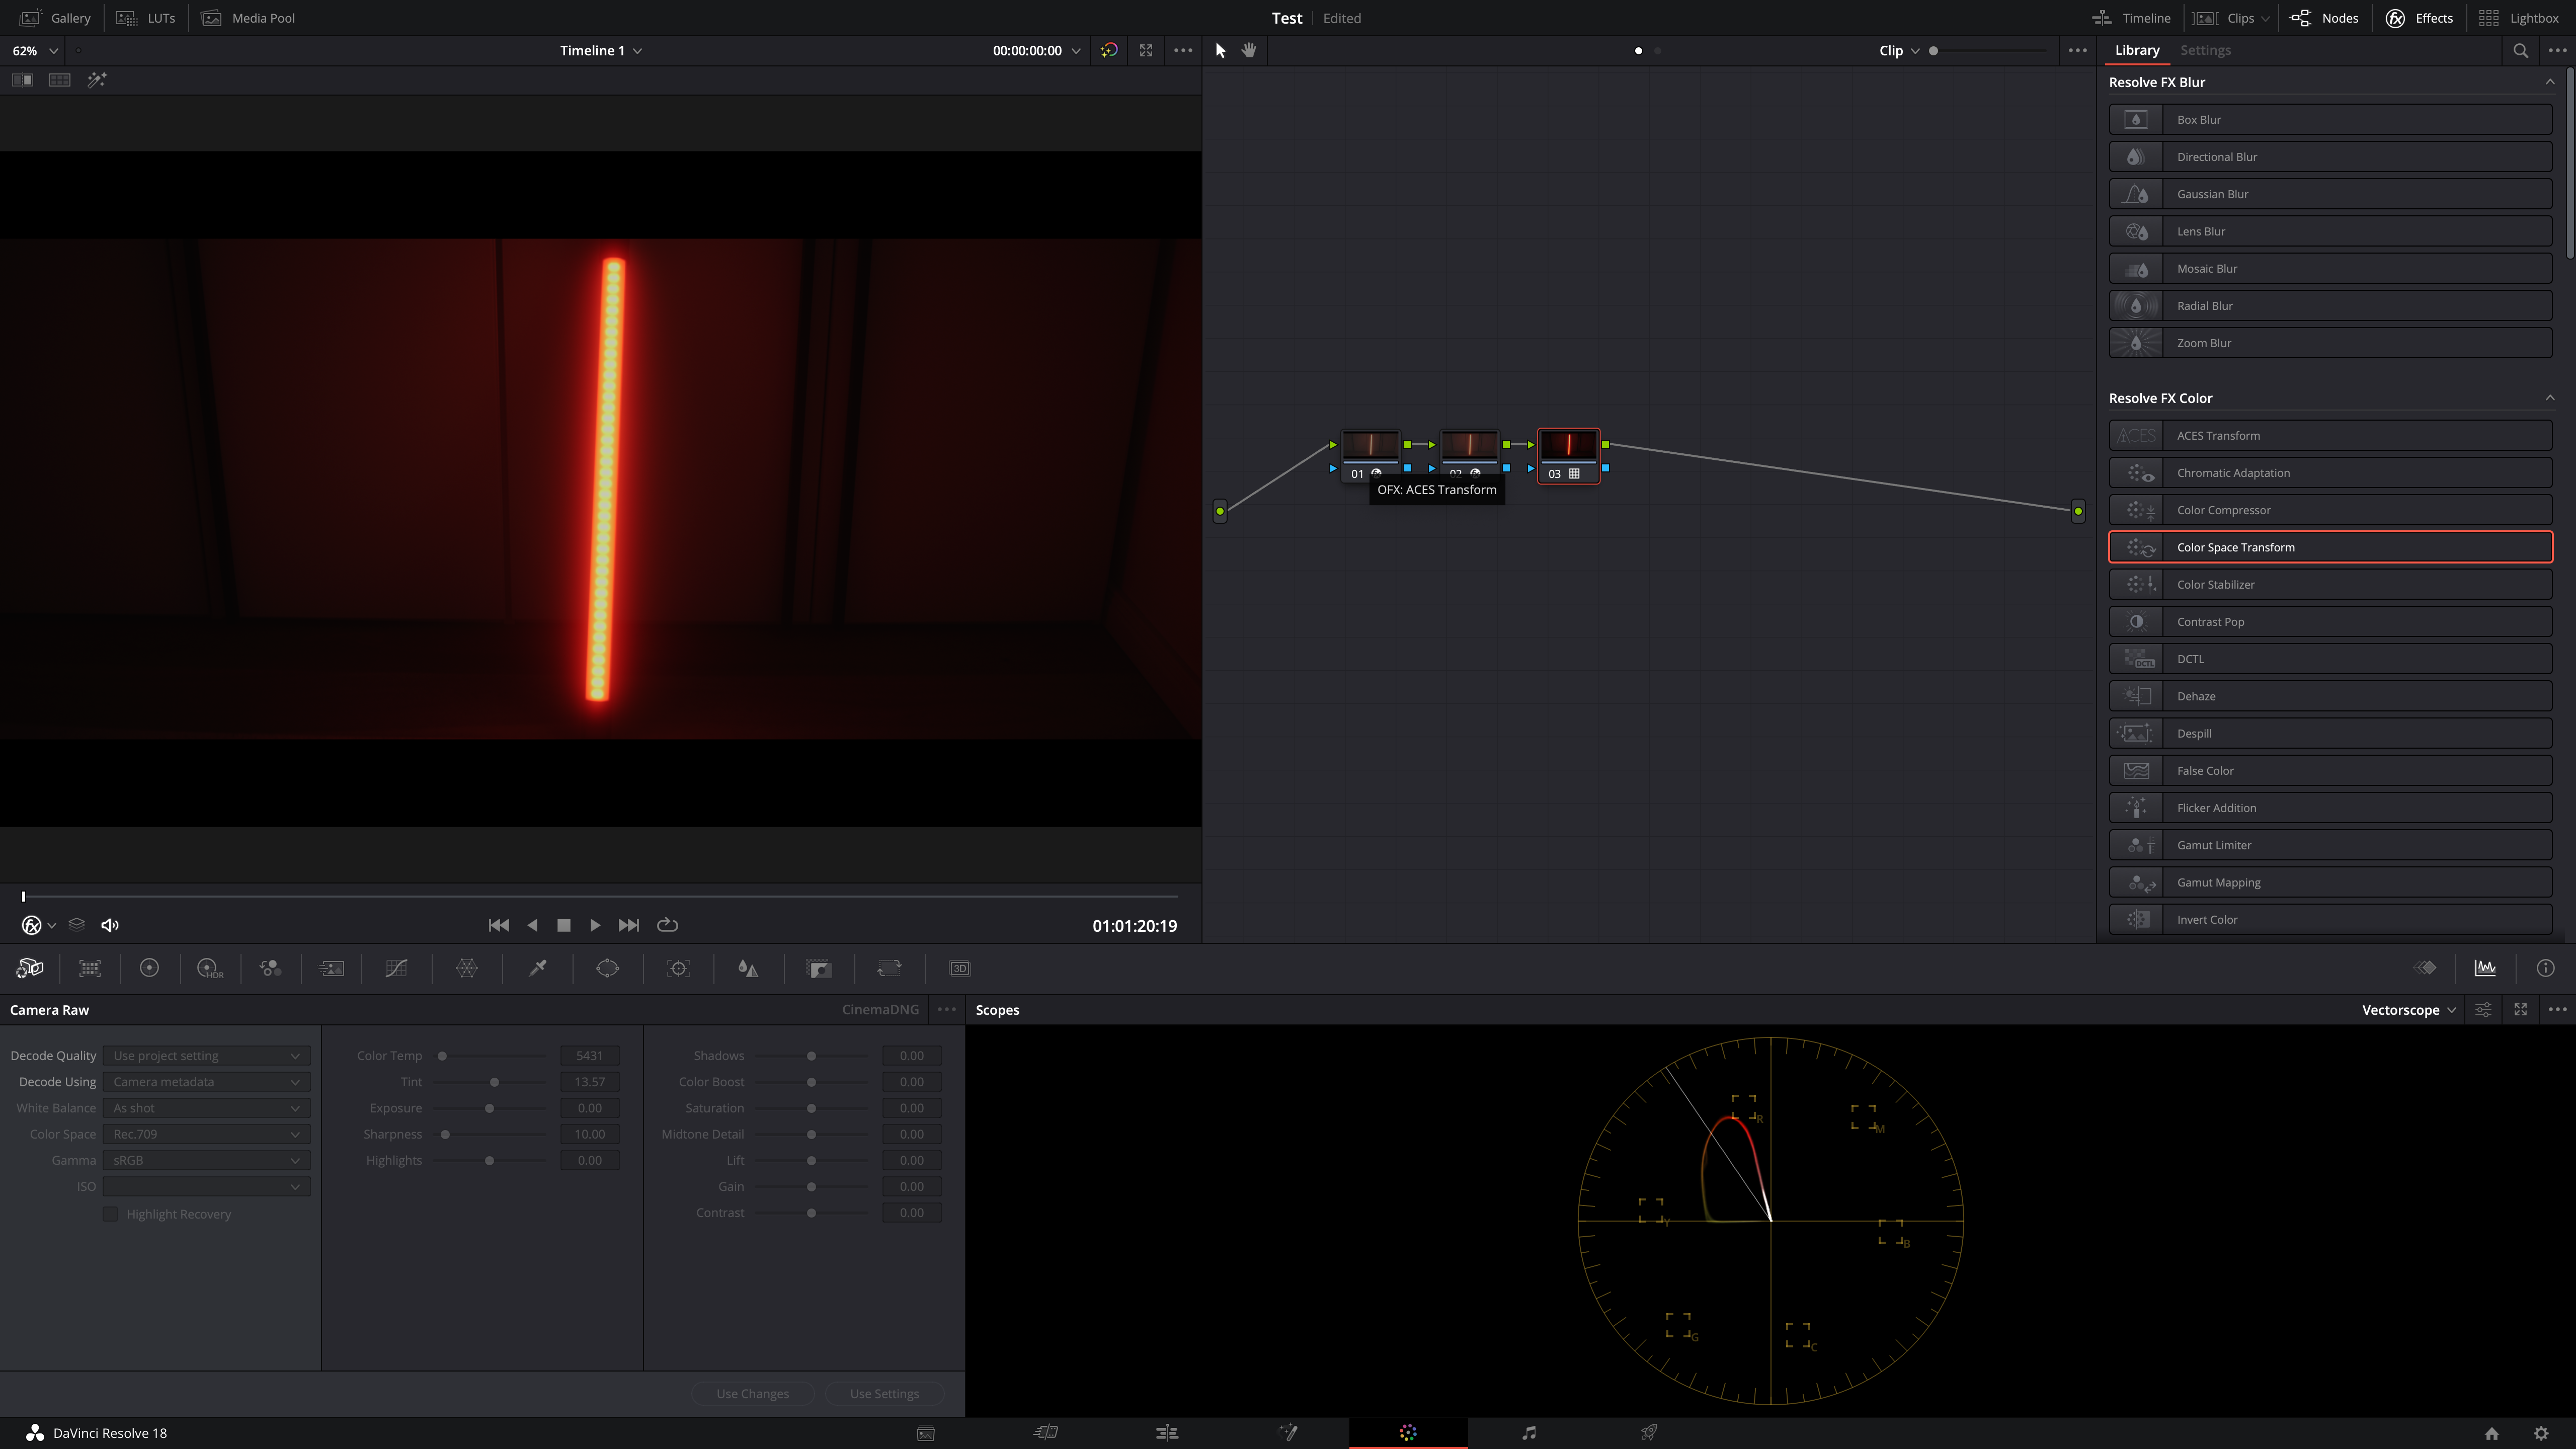
@TomTheDP Take a look at this essay below, used the same settings with your ARRI footage and they are extremely close now. Thanks again for giving access to that footage. 🙂 Hi all, I have some very exciting news for you. After a couple more testing sessions I have figured out how to match my ProRes RAW workflow coming from V-log ending in the ARRI Rec709 LUT as well for cDNG!! Assume this workflow can also be compiled into a monitoring LUT to be uploaded on 3D compatible monitor. The highlights will still be shown as clipped with more than +3 stops over middle grey. But that could be remedied by securing highlights setting the camera to ISO 100 and afterwards switch back to ISO 800. They will be left intact as the camera is invariant in that range and you can see what is happening in the shadows. Necessary steps are the following: 1. RAW settings & CST to ARRI LogC 2. CST (non industry standard) bringen the colors into range where they belong 3. ARRI Rec709 Classic LUT 4. Comparison shot of my PRR workflow footage: same same 🙂