OleB
-
Posts
132 -
Joined
-
Last visited
Content Type
Profiles
Forums
Articles
Everything posted by OleB
-
Just to follow up, newest firmware did not change anything. HDR is stuck at enabled... Thinking about how to setup a focus pulling setup than. Would it be possible to use a teradek bolt and loop the HDMI before the Ninja V? Have not found anything in the internet about looping out ProRes RAW... Maybe it is simply not possible and doing it after the Ninja V, even with correct HDR off setting, that would introduce even more delay.
-
FCPX can, as many as you want and all correction tools can be positioned at every place in between, before or after as well. 😉
-
Can confirm that is the same for me. Have to update the Ninja V to the latest firmware however, maybe that changes something. At least in the specs Atomos says, that the monitor should be able to loop out YCC.
-
Think it is really open gate, just .mov while recording and 8bit. However, this mode might be a test as well for the real thing 😉 Only issue they need to solve in regards to cDNG is the data rate open gate would write to USB. Have read that might be too much. But in ProRes RAW or BRAW that should be possible to give more readout modes. We will see.
-
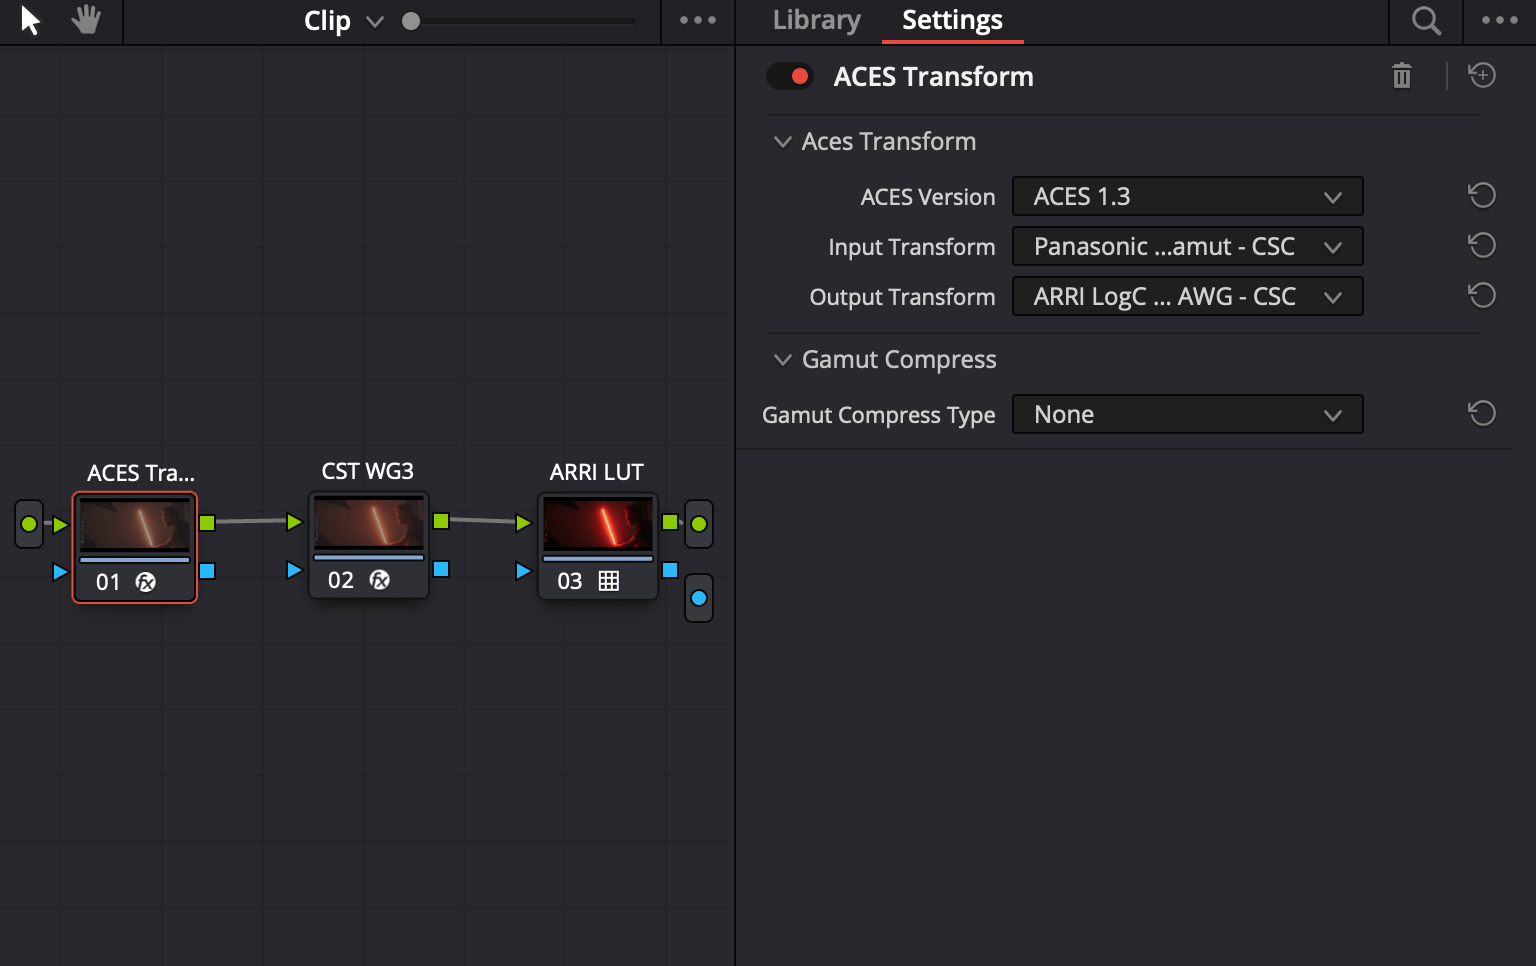
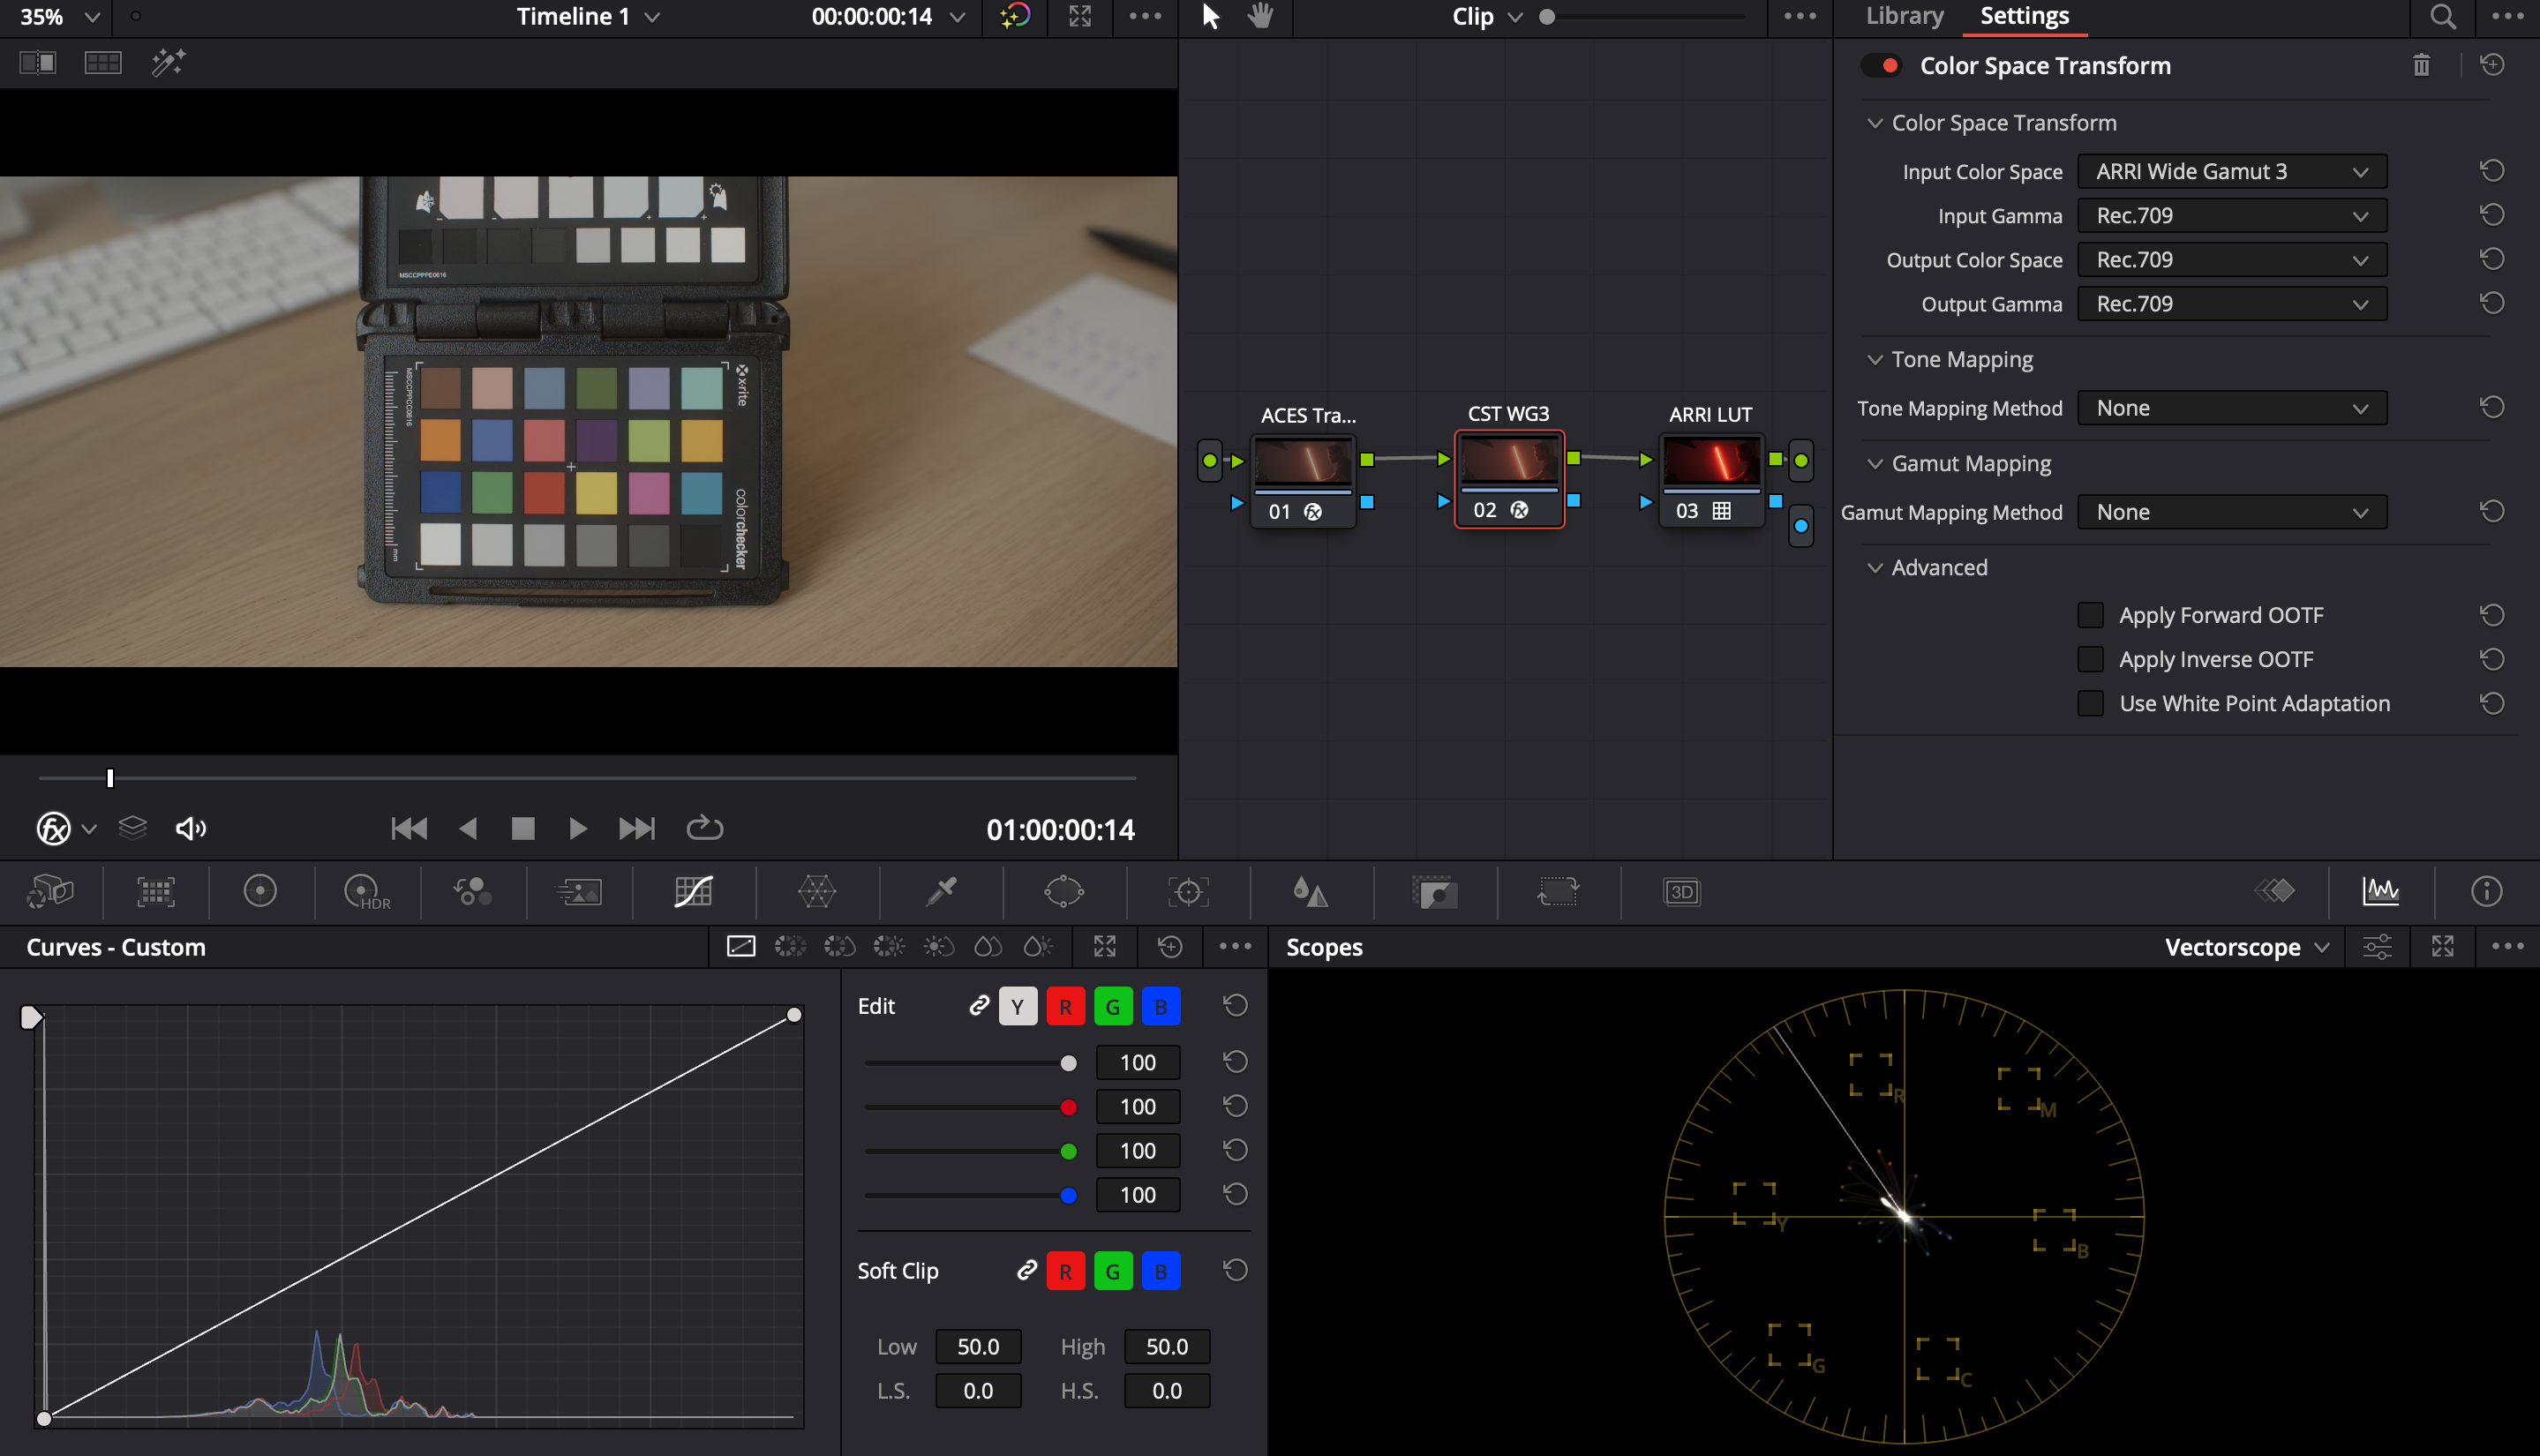
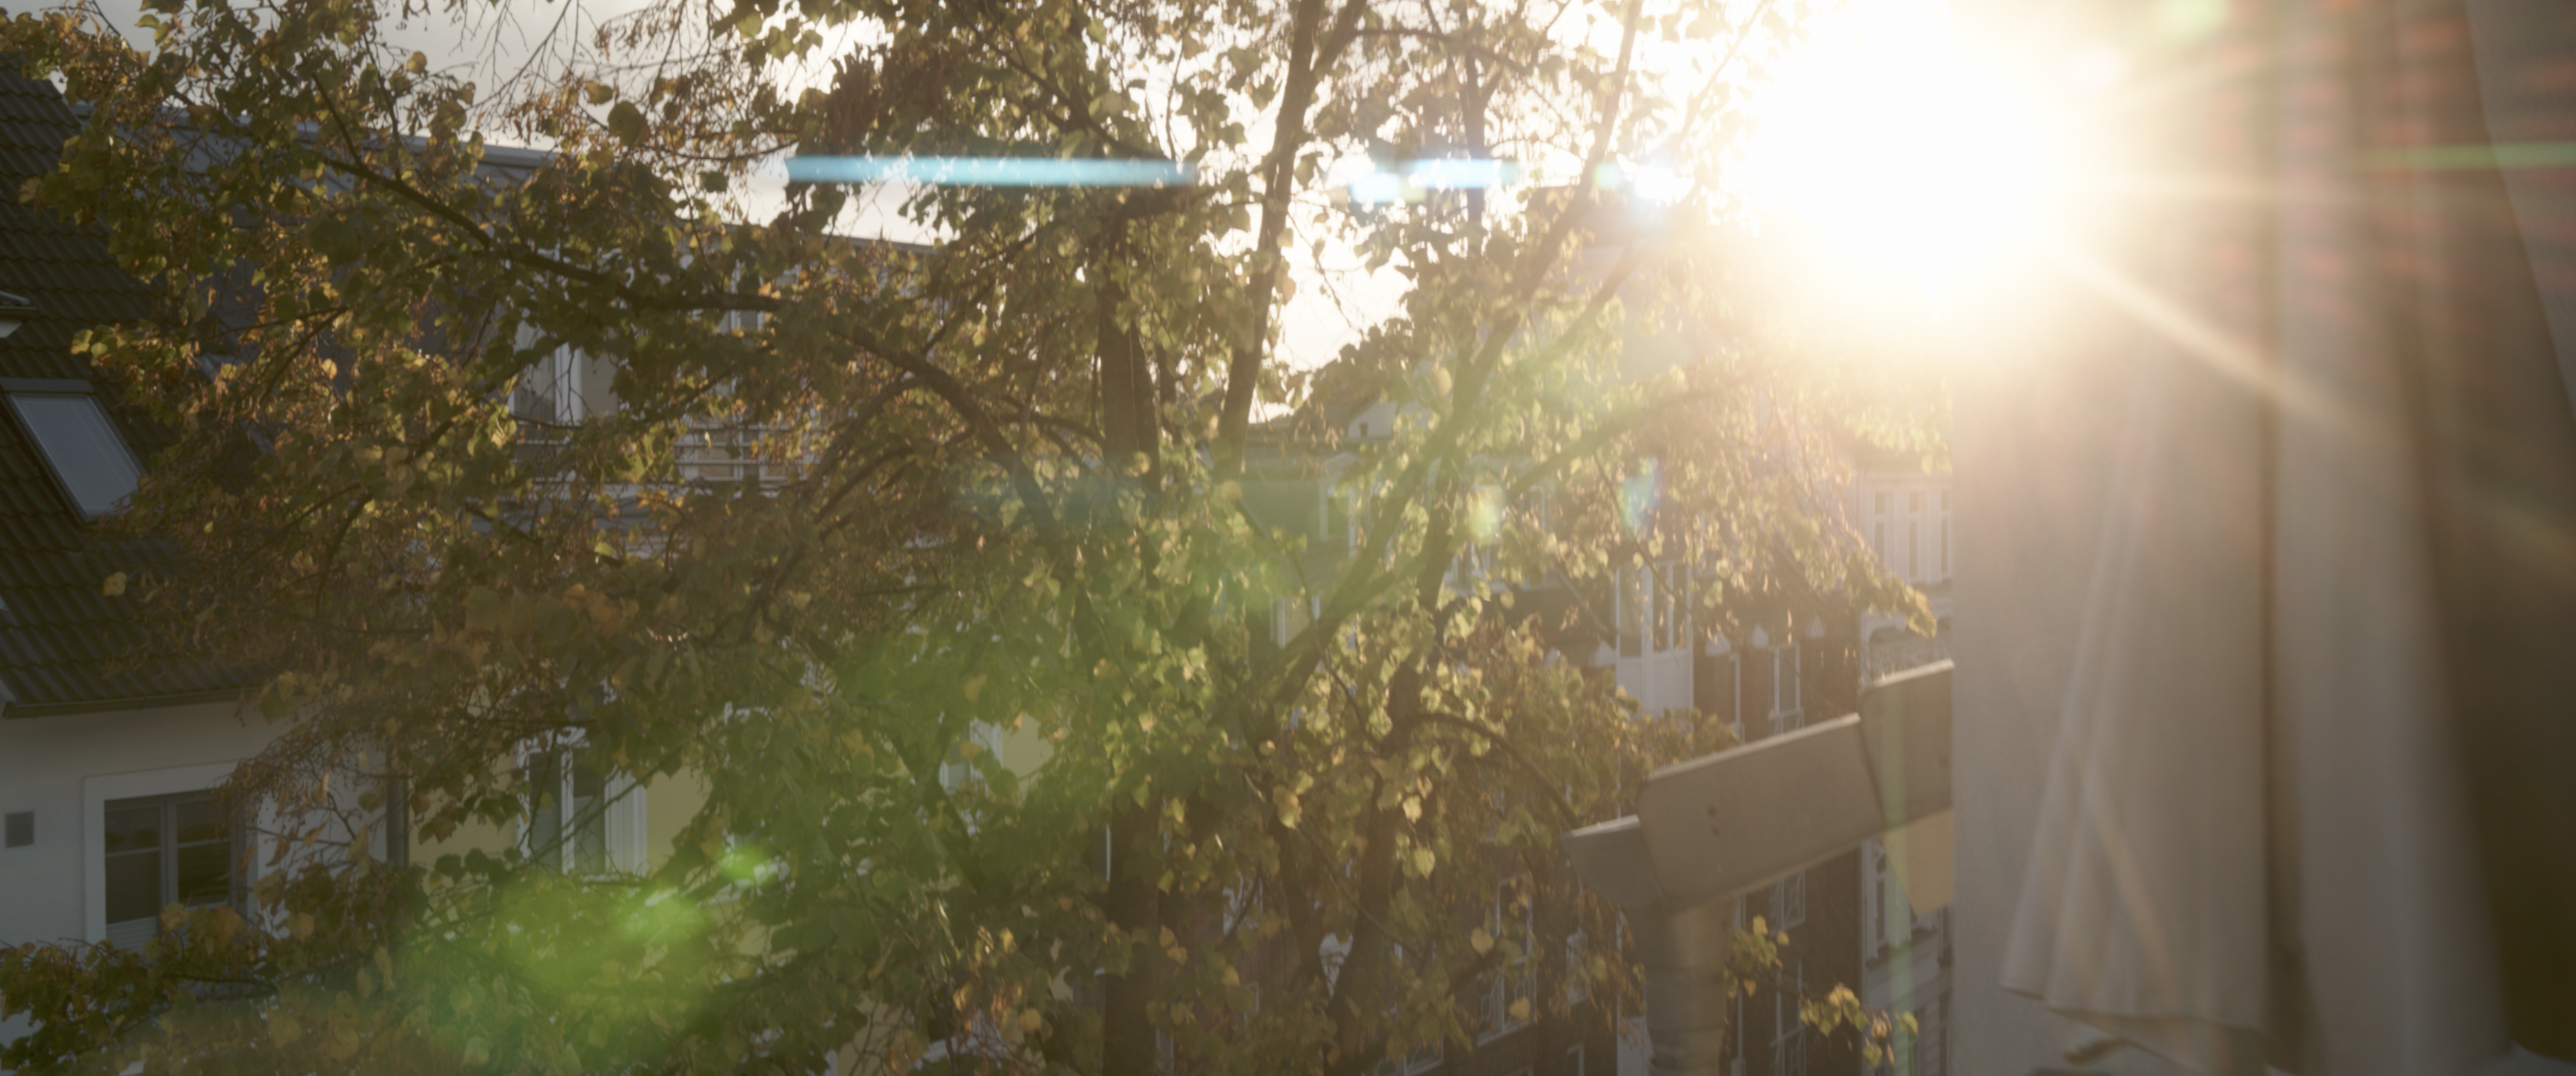
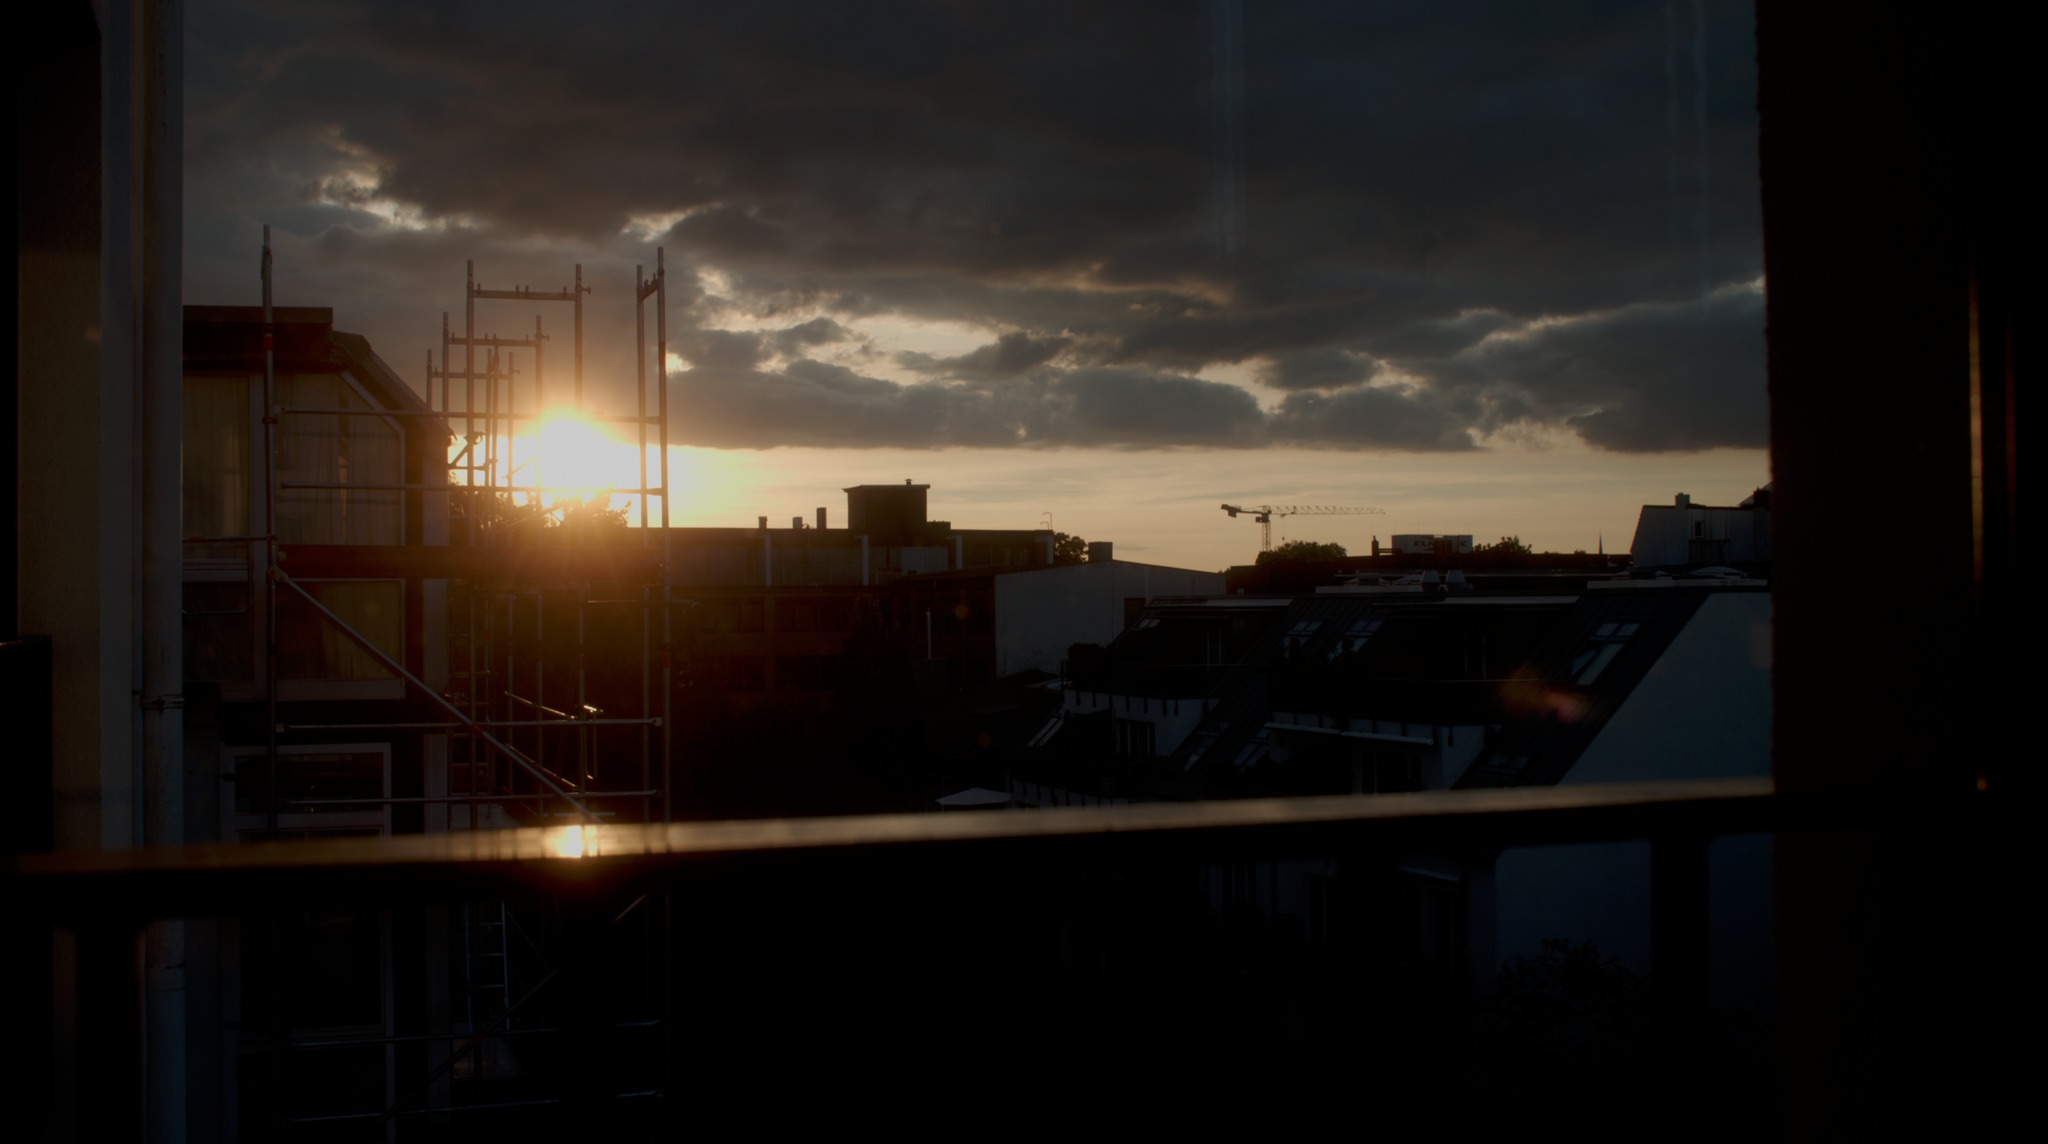
Hi Sir, coming back on this, the issue seems to be that the fp is not using V-gamut. It is using Sigma RAW gamut. Seems Atomos only applied the V-log gamma curve, but the gamut is kept native. Have had a lot of things going on lately to create a LUT to get this correct, since the exact parameters of the fp gamut are nowhere documented by Sigma. I have exported one clip from FCPX, RAW-to-Log conversion set to Panasonic V-Log, to ProRes 4444 to work further in DaVinci Resolve since FCPX is not able to create LUTs. Setting up the following nodes => Node 1: ACES Transform Input: Panasonic / Output: ARRI LogC: Node 2: Color Space Transform (that step is not industry standard, but it seems to uncompress the for me unknown gamut of the fp nicely to what the ARRI Rec709 Classic LUT expects and puts saturation where it should be - amazingly that ARRI WG3 gamut matches the sensor capabilities of the fp extremely well) Node 3: ARRI Rec709 Classic LUT. Directly downloaded from ARRI website. Result is working perfectly as you can see in this screenshot. I have uploaded the sample clip plus LUTs here: https://www.dropbox.com/home/Sigma%20fp%20LUT The monitoring LUT is the compilation of the above mentioned steps and can be used on the Atomos Ninja V and on the clips. (You will only have some minor banding using custom LUTs on the Ninja V, which is a firmware issue, which is known and was published in the release notes of the firmware bringing support for the fp) The sample clip will also show a very bright scene with direct sunlight, showing the amazing highlight rolloff which can be achieved by the combination of the ARRI LUT and if the camera is correctly used as intended in that circumstance at ISO 800. ISO 3200 was used in all very low light scenes. White balance in camera was set to 5600k to have a consistent output. Skin colors just look amazing, so as all the other example clips I have tested >70 different ones. @TomTheDP Some of the above also applies to cDNG. The gamut of the fp is basically unknown and for some reason I do not know the colors are somewhat compressed there as well. Maybe it is a gamut transfer mistakenly applied twice in camera. But knowing that you could work your way onward from that.

-
Yeah that seems to be, because in camera, and with an external monitor as well, there is no way of correctly exposing the camera in any other ISO setting than 100. The display forces you to underexpose until the preview looks okay, but in reality, this is what the log shows as well, it is then underexposed. I compared the metering options of the camera and its preview to my Ninja V route with the ARRI LUT by toggling the Ninja on/off. With the Ninja exposure was totally fine, on the fp with the same settings obviously, it was already reading as severely overexposed, both in the display and with the false colors turned on. So that being said, only the Ninja V way can be exposed like expected if you want to shoot something else than ISO 100.
-
Have played a little with the files. Seems that the white balance and exposure was different. But once that has been set approx. the same the fp files look astonishing close the the ones from the Alexa. For the Alexa I have just chosen the ARRI Rec709 LUT built into DaVinci. For the fp settings were as follows: RAW settings: Blackmagin Design + Blackmagic Design Film CST: In: DaVinci Wide Gamut & Blackmagic Design Film => Out: Arri Wide Gamut 3 & Arri LogC3 LUT: Same built in ARRI Rec709 LUT
-
Tom, I would like to test the files this weekend. What have been the ISO settings of both cameras, expect that the Alexa was on ISO 800, the fp? Cheers!
-
Thank you very much for your efforts, Tom! I am downloading the files right now and will check them asap. 🙂
-
Yeah, actually I was writing a little bit too strict. I meant to say they were really close to the line and just looking great. Agree about the different skin undertones. My daughter is more reddish, my wife has a more yellow one. That is really helpful! Due to all the technical things I had to get out of the way first I was not really starting to create creative grades until now. My planned approach is to color correct the material to get it looking "normally" first and afterwards put a creative grade on top. There I understood it is impossible and not even considered being helpful to have skin on the line. 😄 That mix you are describing sounds really interesting and I would be very happy to see an example.
-
That could be one approach yes. Depending how close the ISO ratings of both companies is it might give slightly different exposures though. Let us see 🙂
-
Tom to you have a Ninja V available as well? Because then you could upload the ARRI conversion LUT to the Ninja V to exactly monitor the camera. I would be very much interested in the result of ISO 800 from the fp against the Alexa. Theoretically they should be identical with the difference being the DR obviously.
-
I agree with everything you have said. What the fp does now using that ARRI LUT is extremely interesting, I have never seen a camera before where you get skin tones which are directly out of camera on the skin tone line of the vector scope unless you have set a totally wrong white balance. Usually that needs a lot more work. This point alone makes me very happy. Working hard currently to get my hands on an Alexa for testing both cameras at ISO 800 side by side. Granted I will provide the results here once I have done so. What I wanted to express again is my gratitude for all of your contributions on this topic. Without this forum I would never gotten to this point and I am extremely thankful for that.
-
Let me send you one more pic as a prove of concept. ISO 800, ARRI Rec709 conversion LUT and only a little bit more contrast added. Nothing else done in post. Lens used: Sirui 50mm T2.9 1.6x anamorphic plus my usual 1/4 pro mist filter. At least for my taste the colors and the highlight rendering is spectacular and leaves nothing to be desired. 🙂
-
Thank you Kye 🙂 Totally agree that the sensor is a gem, and with the knowledge provided above you get a consistent workflow as well.
-
Sorry, one thing I missed to point out is that we are talking about a rather technical rating standpoint. It is up to the operator to rate the camera now with this knowledge in mind as you personally prefer. You could also say that you always want to have as much highlight headroom available as possible and therefore rate the camera 1st ISO 800 and 2nd ISO 5000. Would be even more ARRI'ish ... at least the 1st channel. Or you decide to go for an as clean as possible image sacrificing highlights and make it ISO 100/3200.
-
Hi all, I want to come back on the topic of ISO behavior of the fp. Have tested the camera further over the last weeks and found something interesting. Think I understand now how the camera works in detail. Between ISO 100 and 800 the camera is working in CINE EI mode, with a native ISO 500 following the same rating logic as they have rated ISO 3200 (about 5.42 stops above and 7.04 stops below 18% grey). That means the clipping point is as well the same. Do not understand why they have chosen to declare ISO 100 as the 1st native ISO for video mode. Rather untypical for a cine camera. When checking the false colors on the Ninja V in native (V-Log) you can see the clipping point jump up and down accordingly while selecting the ISO values mentioned above. That means your native selections for ISO should be 500 and 3200 if you do not want to use Cine EI. Nothing else. Just imageing the camera has to be loaded with film stock. You can choose a lower or higher sensitivity. Than compensate too much light with a ND filter, to little by letting in more light. ISO values 1000 to 2500 are achieved with analogue gain and will sacrifice image quality. Same applies for all values as from ISO 6400 and above. However if you want to use the benefits of Cine EI you can use this knowledge to your advantage as well. Lower the preview ISO below 1st base ISO 500 you will get more dynamic range shifted to shadows, shift it upwards to ISO 800 you will receive more highlight details (good for rolloff on a bright day). With the 2nd base ISO 3200 you have the option to get some more highlight headroom (to be precise 2/3 of a stop) if you go up to ISO 5000. Have attached the chart provided by Sigma for visual reference. That mixture of using a CINE EI and (analogue gain) ISO is rather special. Some cameras give you the option to use either or, but no camera I know is doing the same as the fp. Hope this will proof to be a value for some of you to squeeze the best quality out of the fp. 🙂
-
Suggest that you go through the previous pages of this thread. Usually the complains in regards to DR latitude and highlight rolloff are coming from people who are not understanding how this camera works. Especially the part about ISO 100-800 being same base ISO but with different digital gain levels, thus showing different previews while monitoring and highlight rolloff handling. This camera is tricky and needs a lot studying, but once you figured out it is capable of producing top notch quality images. Meanwhile there is even a way (via Atomos Ninja V) to have a predictable workflow based on V-log and appropriate LUTs. To give you some examples about the ISO handling and rolloff. ISO 100 recorded and left untouched (put through ARRI Rec709 LUT workflow as mentioned earlier in this thread) = bad highlight rolloff ISO 100 pushed to 800 (3 stops to restore shadows as per Sigma guidance), now there is plenty of DR and a nice highlight rolloff ISO 800 recorded and left untouched in post despite the LUT, for me the best of both worlds and matches what I saw in reality pretty closely There is also an extensive white paper from Sigma stating exactly what ISO to use and when. Can only recommend to invest the time to learn the gear inside out. (and that applies most likely every other cinema camera out there as well)
-
Think that is possible if you configure one of the custom settings. C1 for example.
-
Hi all, about to finish the historical clip. As said, will link it here for your interest. Meanwhile I have also taken some shots of my little daughter and used that material to give you an idea of how the two LUTs I have posted for you are looking like. Have not altered anything in the material except for adding the LUTs to show what that camera is capable of. (Shot with my Sirui 50mm 1.6x anamorphic lens wide open, in ISO 400, only natural light, closed some curtains for a little bit of lighting control) Panasonic Rec709 LUT: ARRI Classic Rec709 LUT: For me I am personally in love with the rendering of the skin tones and overall colors of the ARRI Classic LUT. Don't ask me how they do it, but the skins are somewhat creamy, whilst the Panasonic approach seems to introduce more contrast. All in all if you take the ARRI LUT and opt for shooting ISO 800 you will get as well a very nice highlight rolloff. Cannot repeat myself more, love this camera now and what it is cable of doing. 🙂
-
That small project of mine is really interesting for me. Trying to match Barry Lyndon is extremely difficult. The fp is too clean even in ISO 3200 compared to the original footage. Next thing I have noticed is how soft the image is due to the 0.7 lens they have used. Nothing I could replicate with my 50mm 2.1. So am now trying to get closer with added film grain, blur and some sort of focus effect.
-
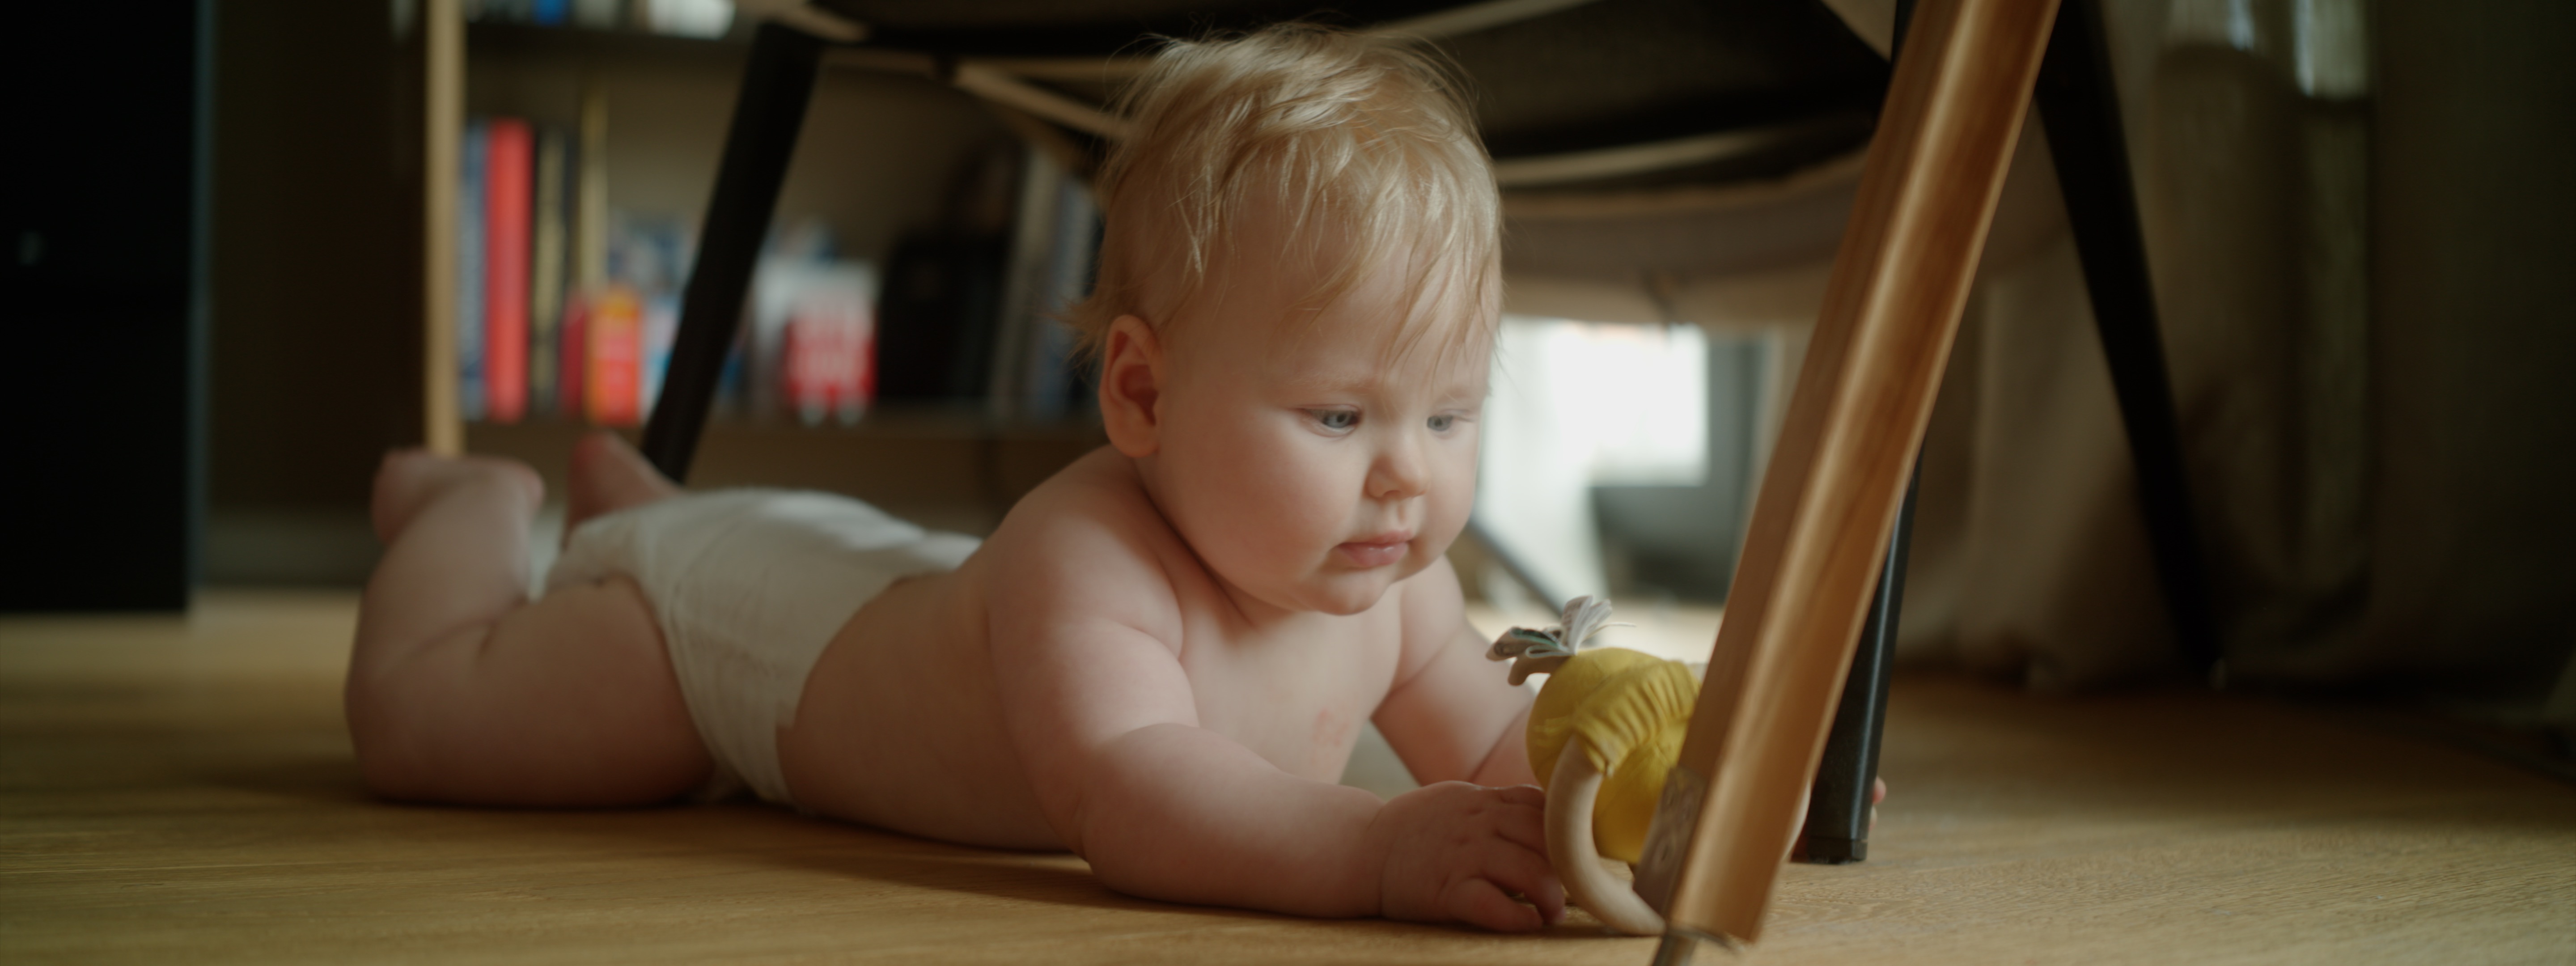
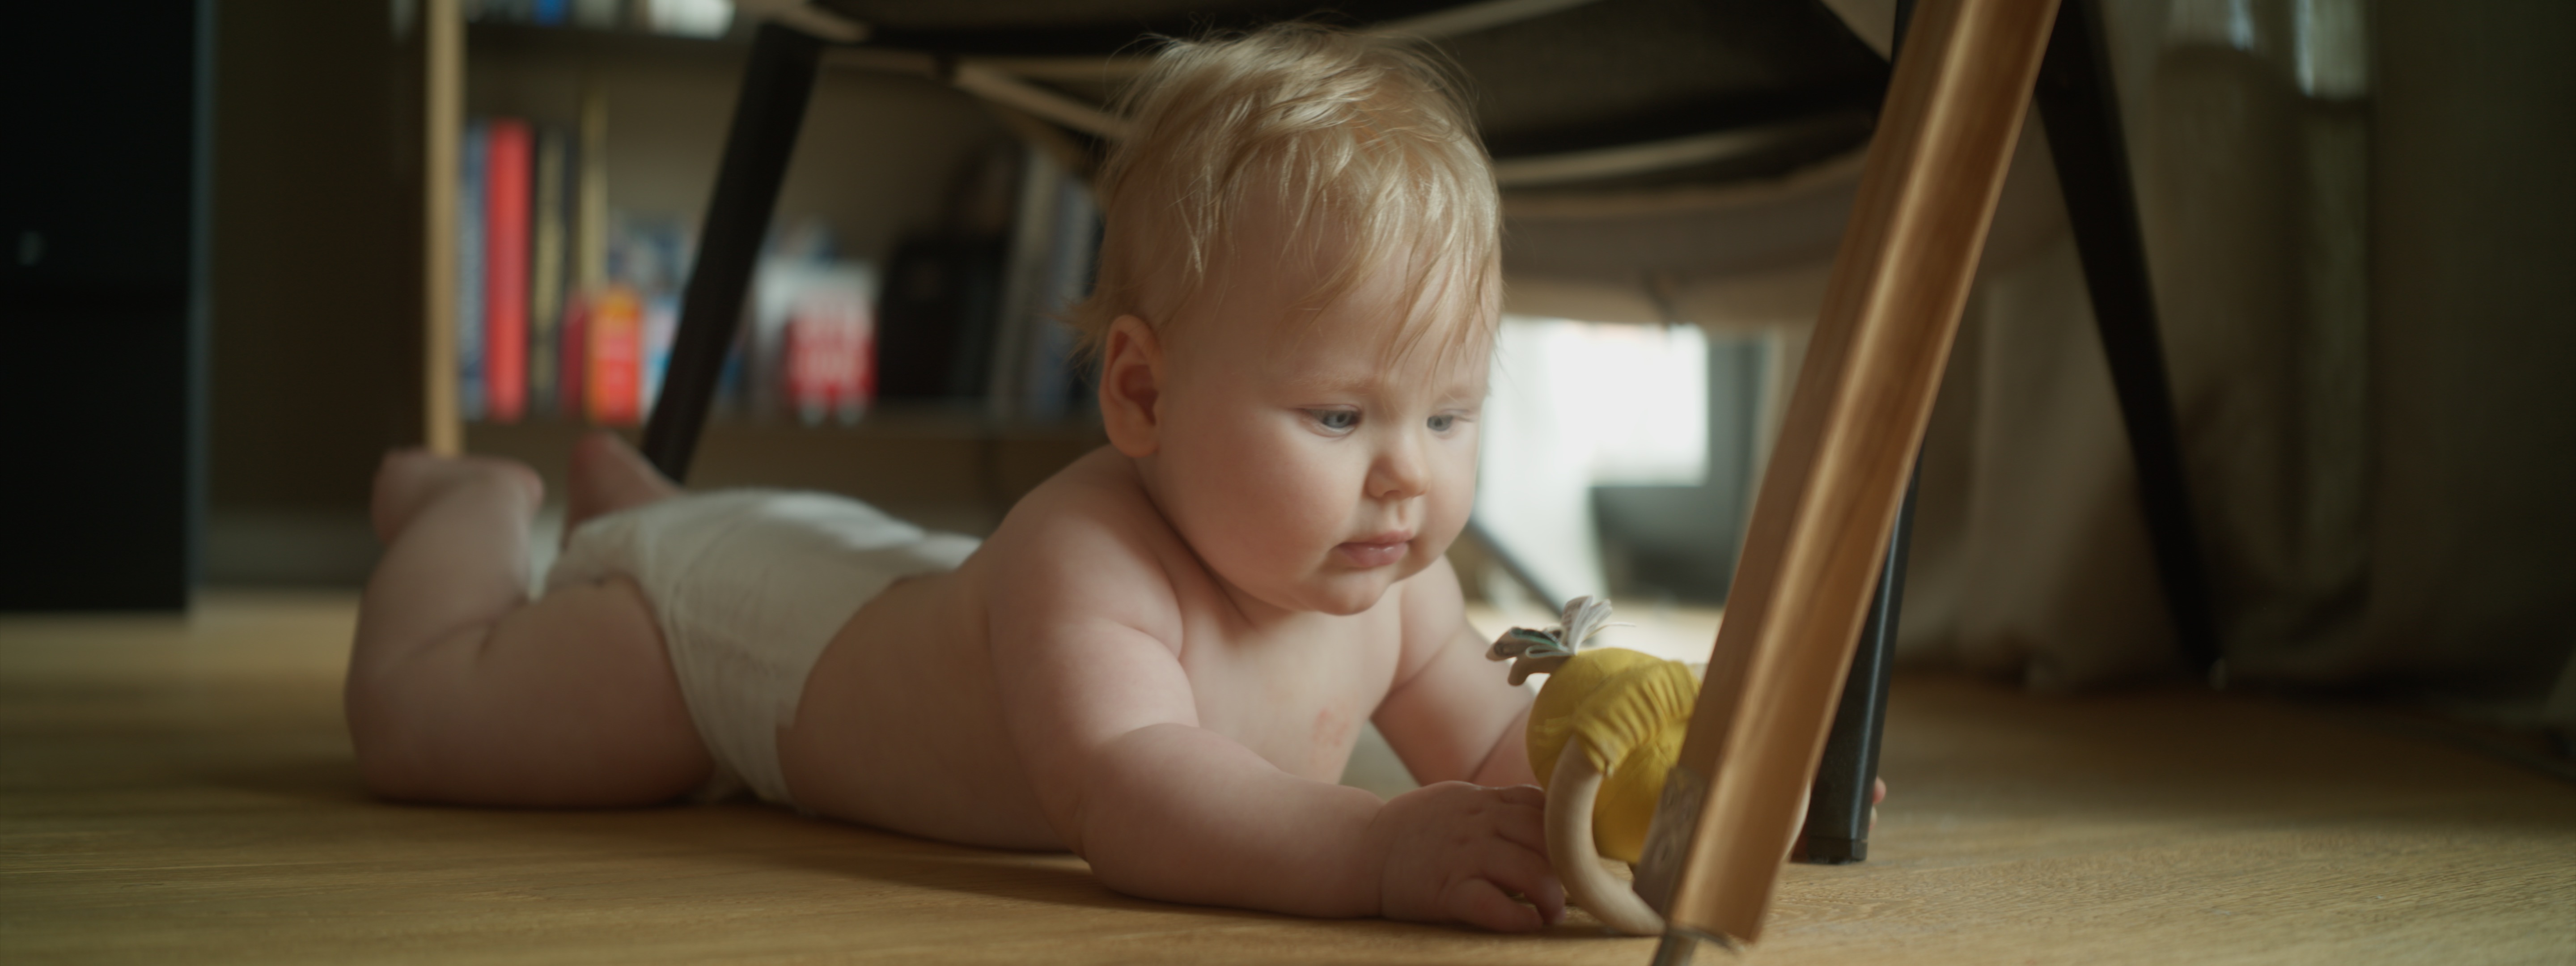
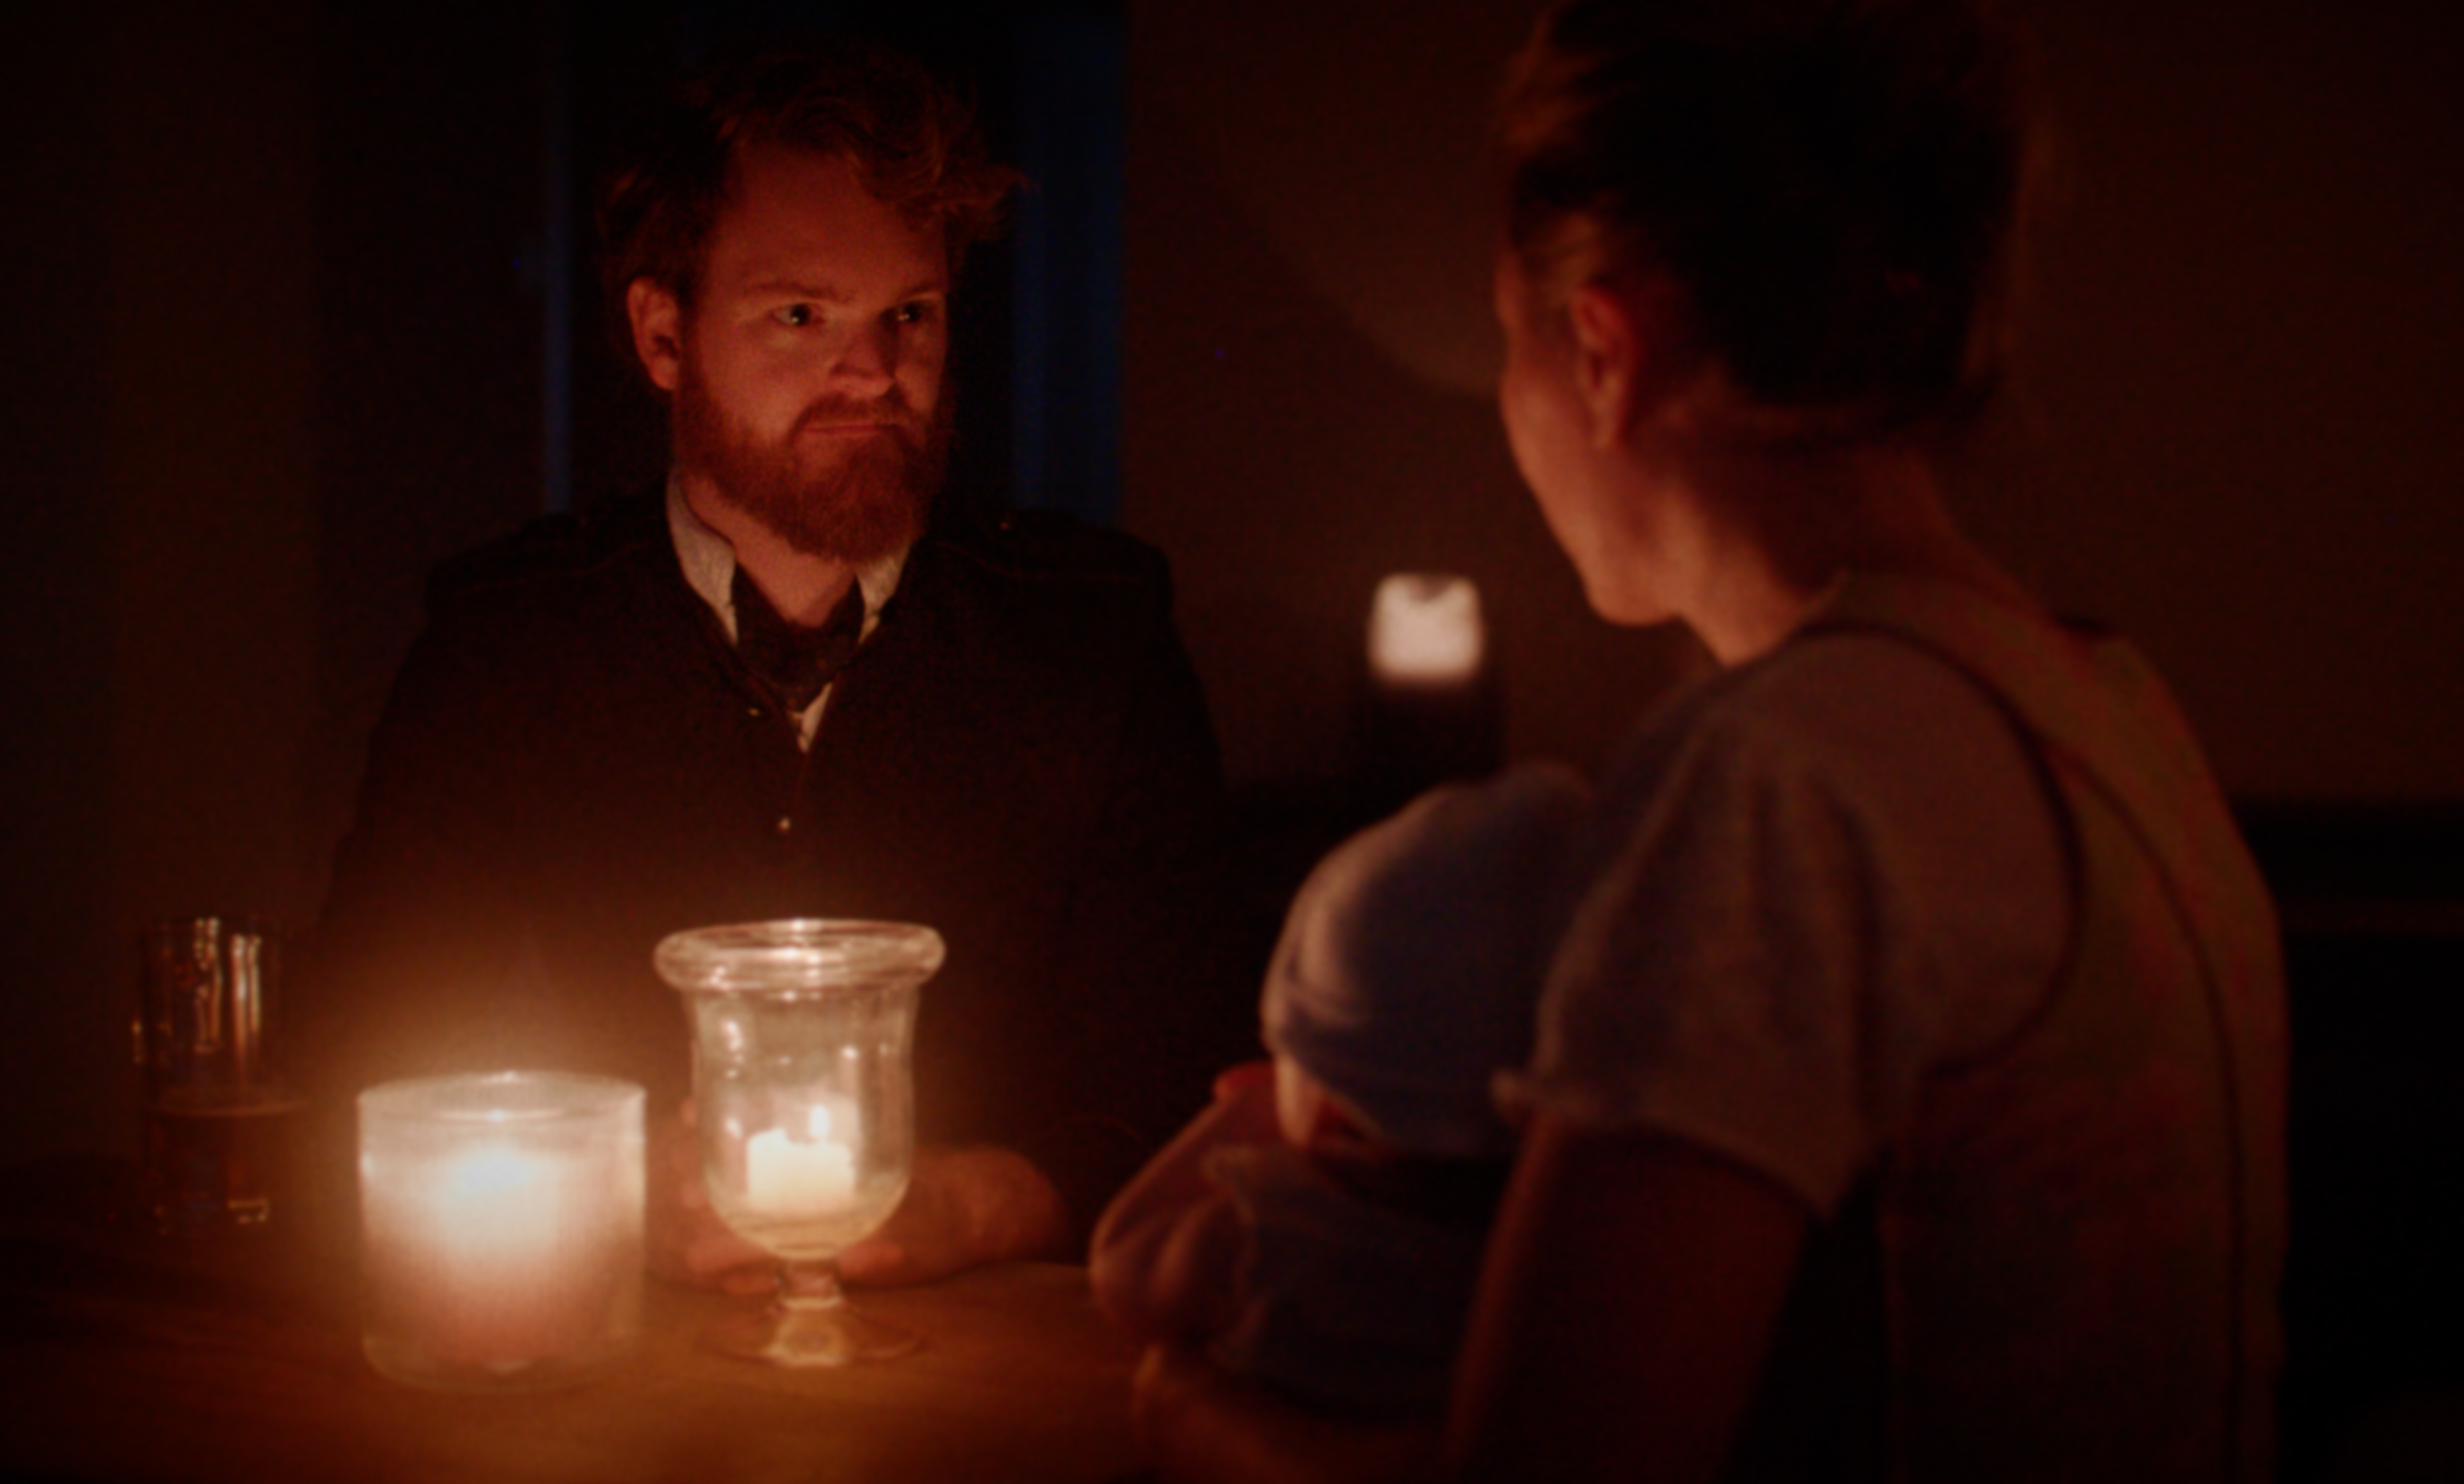
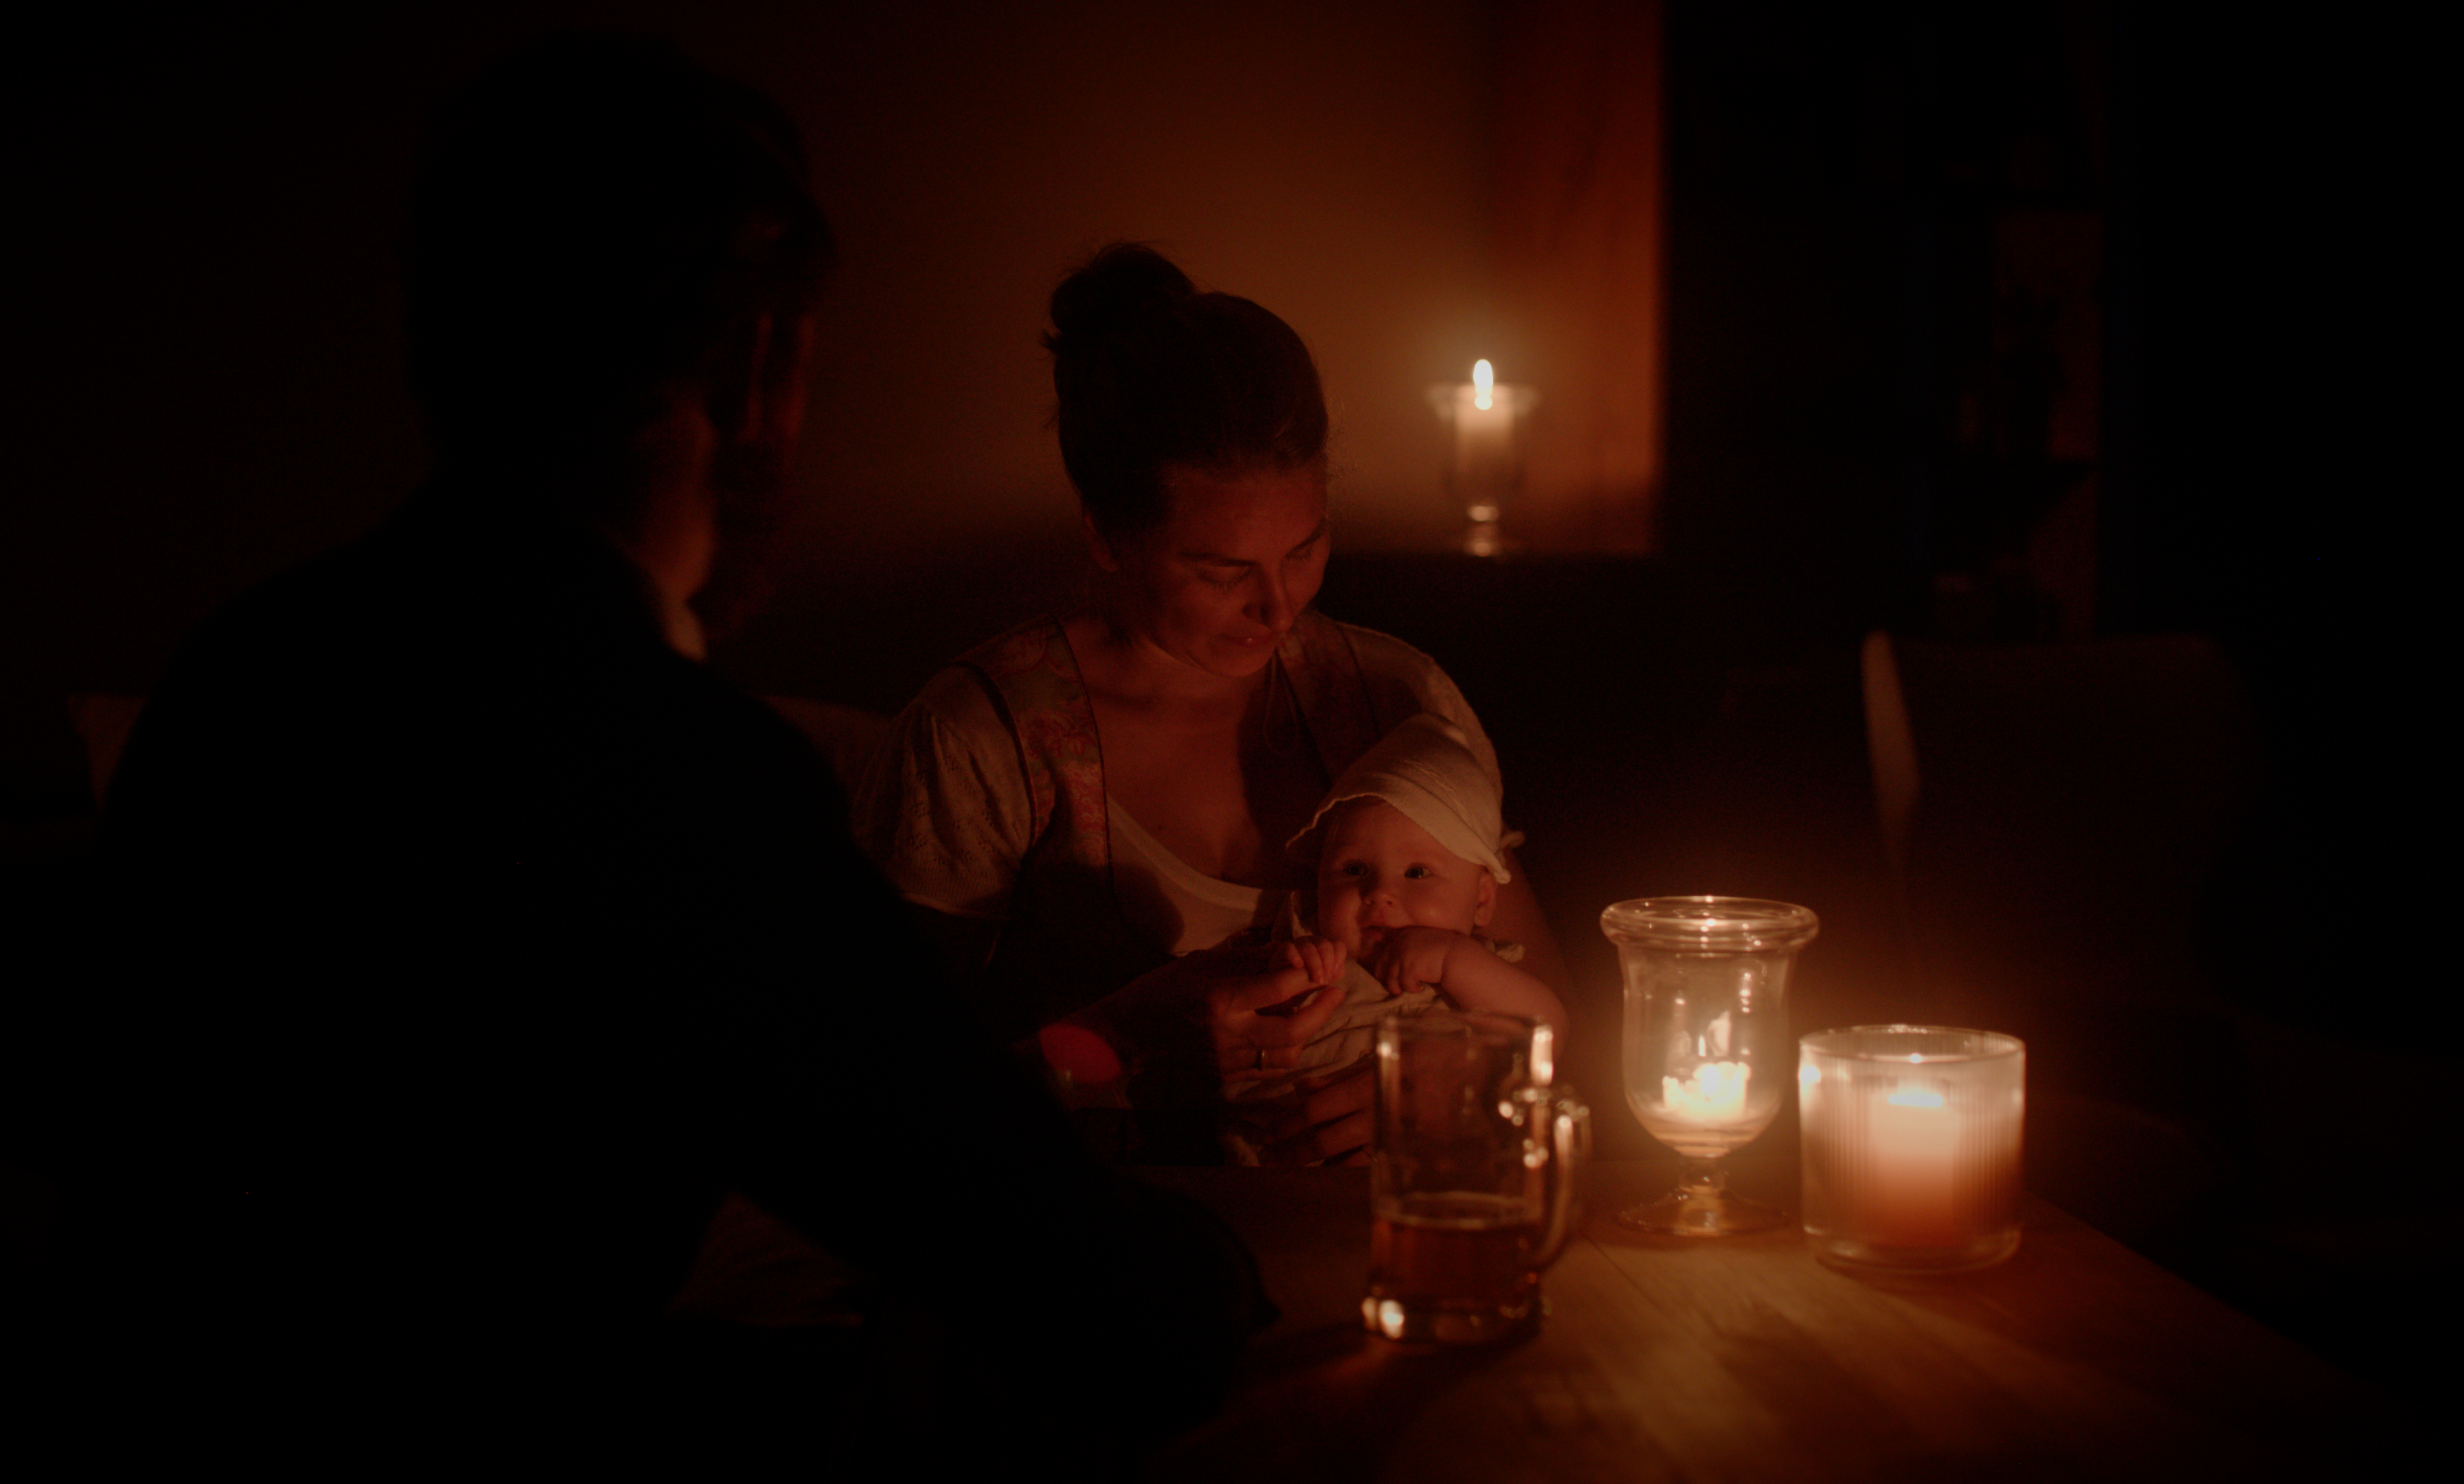
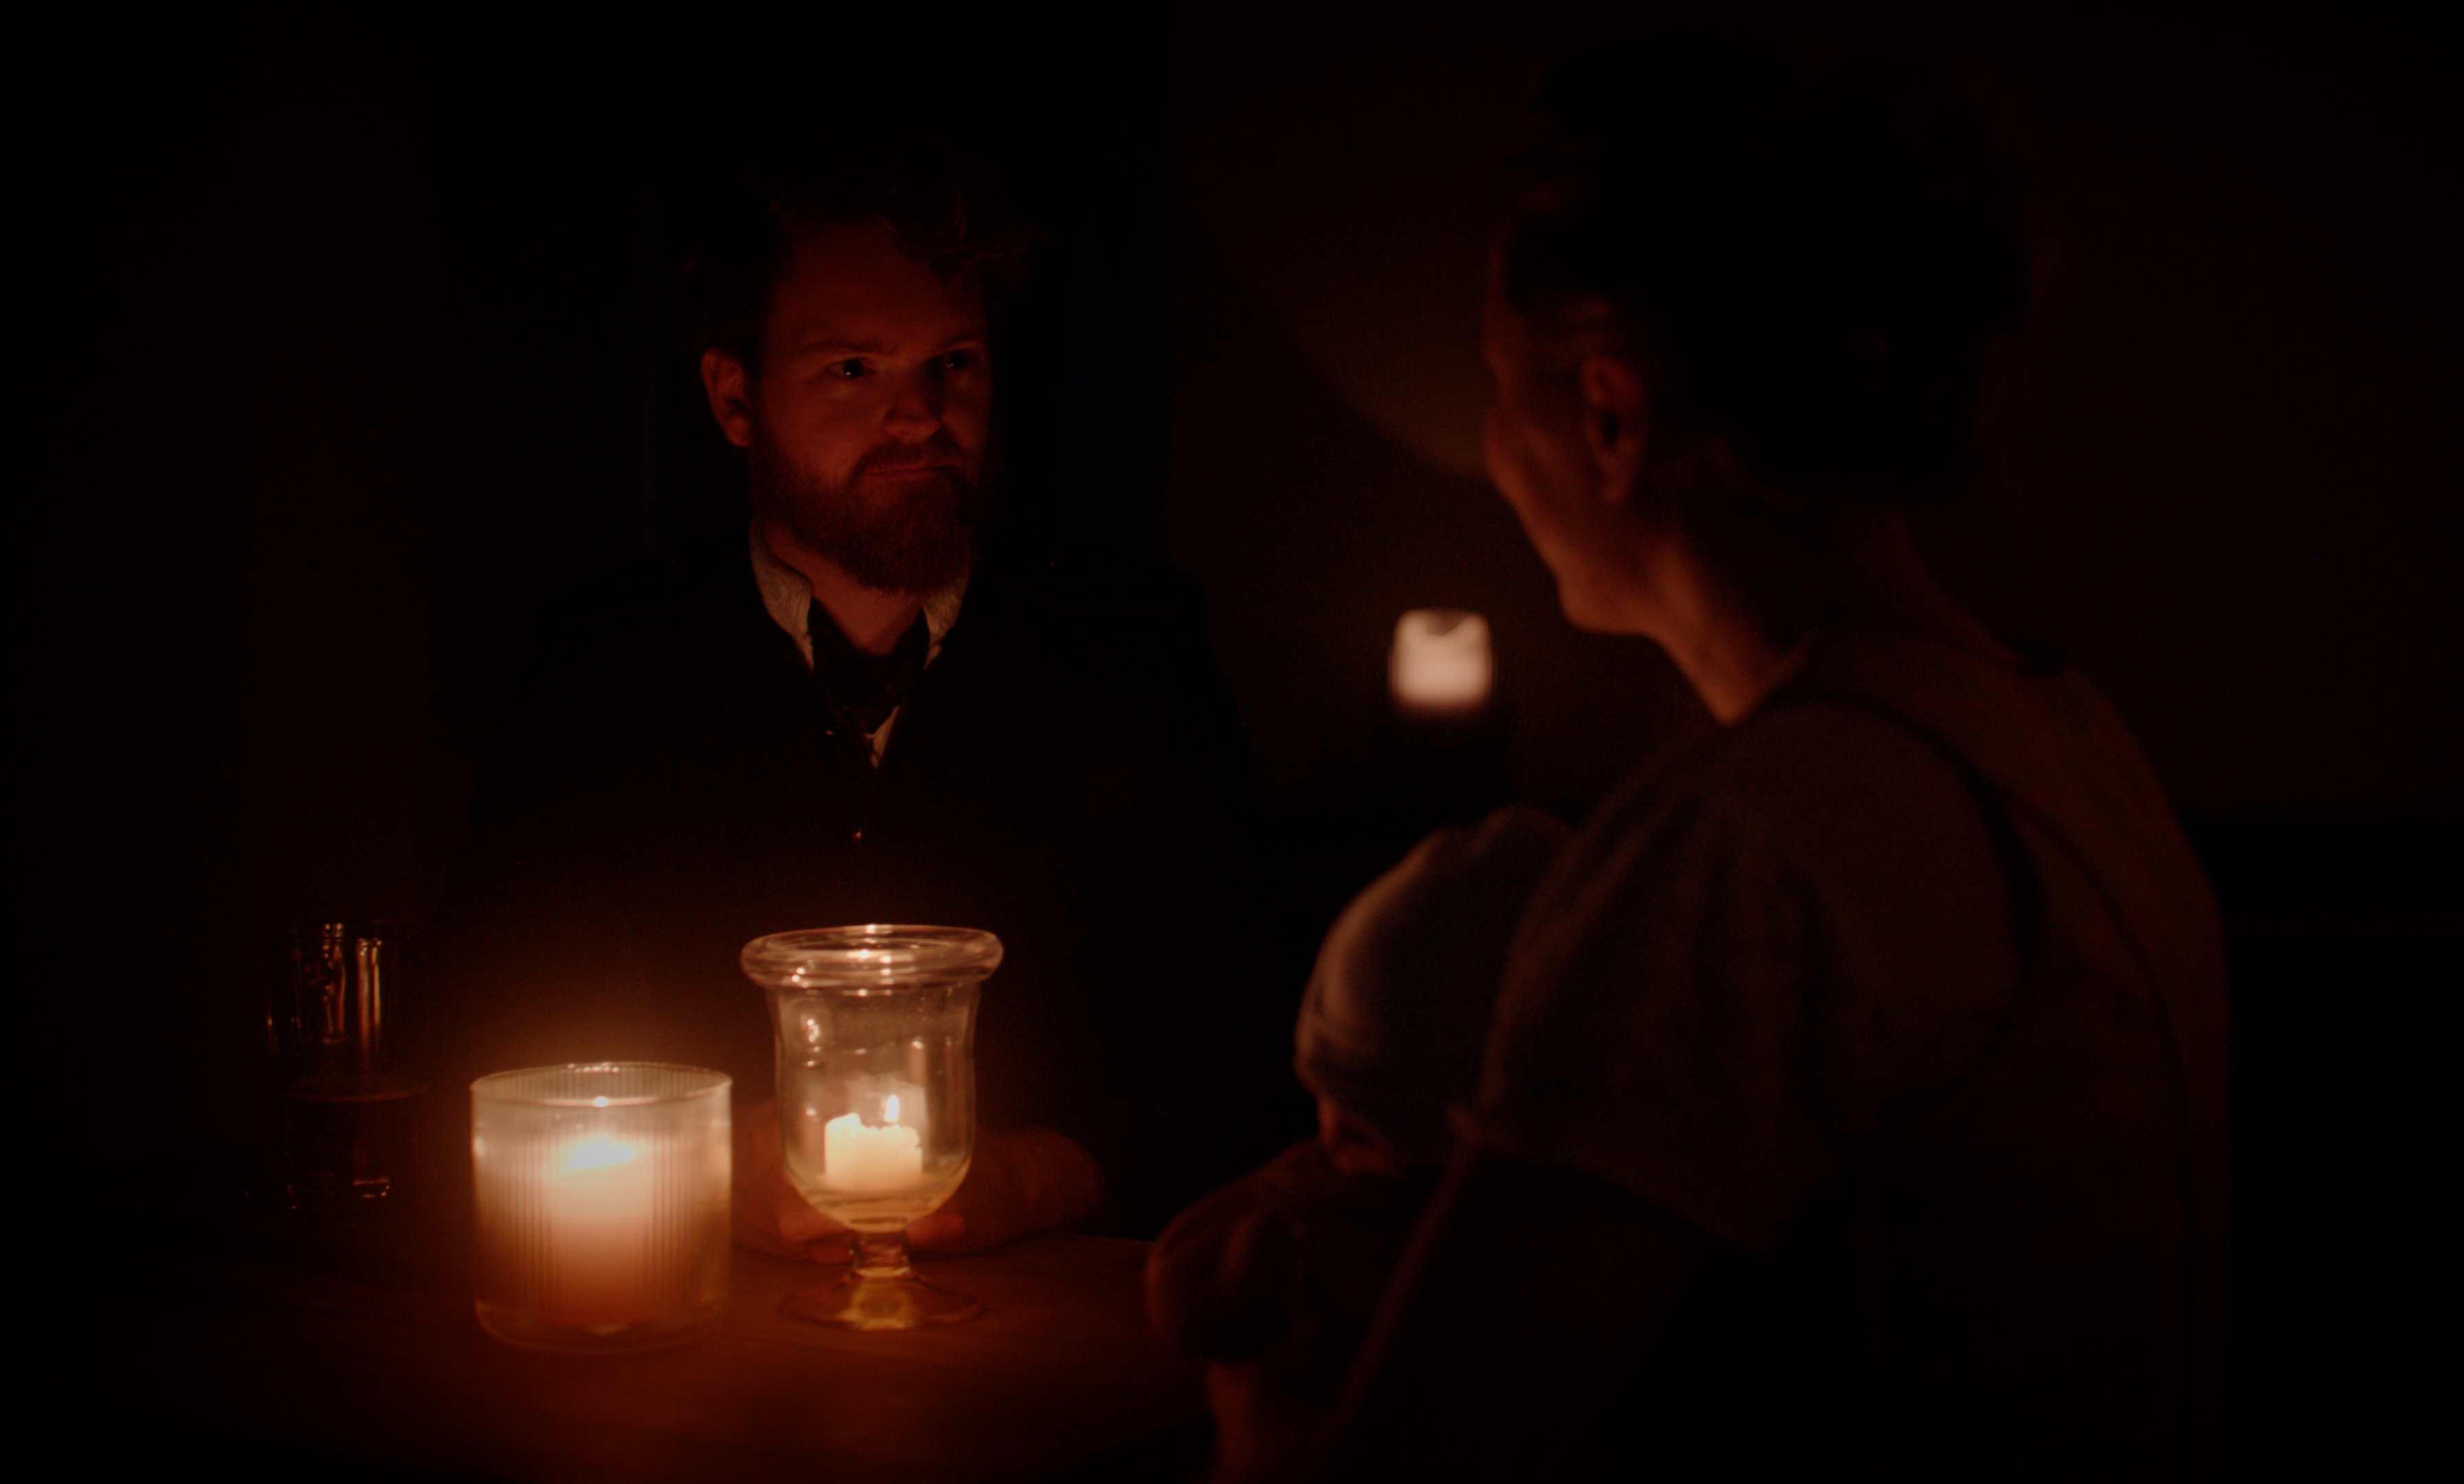
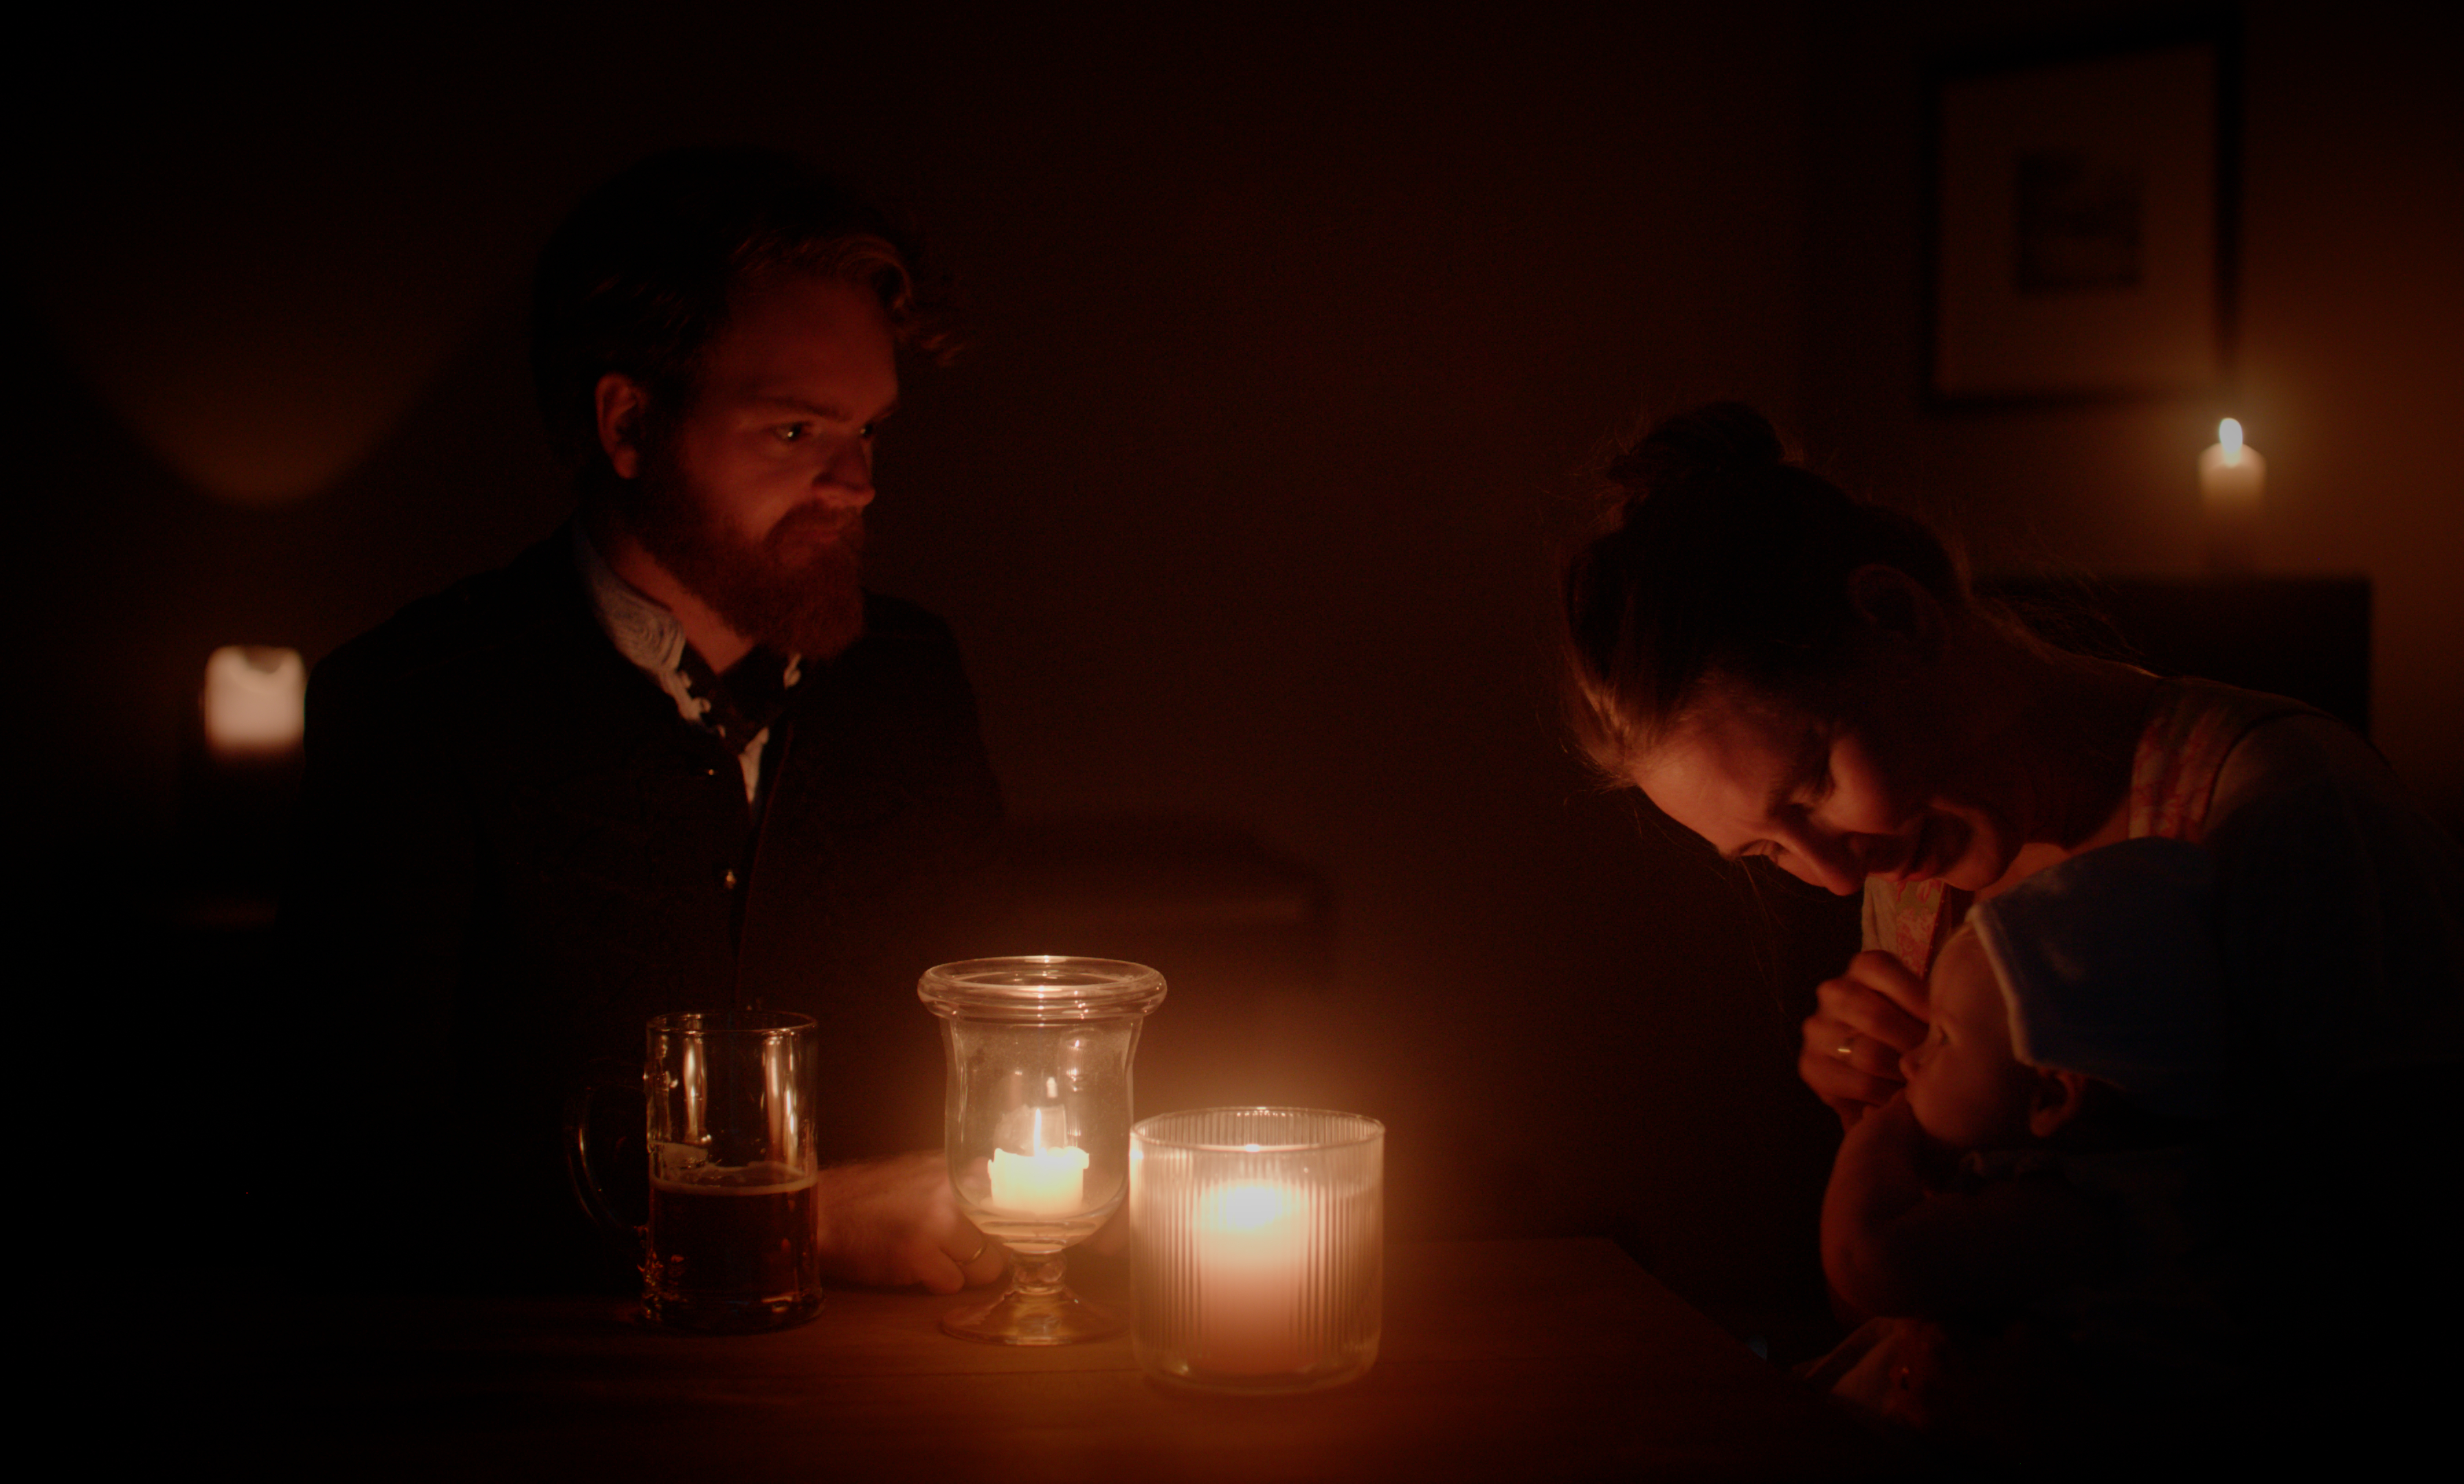
I must say I love this little camera. Especially since the LUTs are now workable. Have attached you a couple of pictures, am currently recreating a scene together with my wife and child. Guess some of you will recognize the movie? 🙂 Lit by candles only. Lens used DZO Vespid 50mm at T2.1 and fp set to ISO 3200. Once it is ready I will post a link here as well so that you can judge the image quality. But do not expect great acting, we are both not even bad actors, more like no actors at all. 😄
-
Well the PRR way gives you the option of monitoring and color correcting V-log footage. CDNG does not. Quality wise I am the wrong person to ask, but seems that both formats are extremely capable in regards to grading. So guess that is more a question of which working way you prefer. 🙂
-
Hi all, I have taken all the knowledge from this thread and my past experience and compiled it into LUTs. Llaasseerr was so kind to provide the V-log to ARRI log-C transformation earlier in this thread. So in the following dropbox you will find two LUTs which are convertingV-log to either Arri Rec709 or Panasonic Rec709 from ProRes RAW. Only thing you have to do in advance is select the RAW to LOG conversion in FCPX to Panasonic V-Log. Next you have to apply only one of these LUTs which is doing the work for you. Whichever you prefer more. 🙂 And yes, they also work in the Ninja V to monitor and meter the exposure. Some banding is present, but that seems to be a technical limitation of the fp, as Atomos stated in their release manual. Now the result is matching exactly in the NLE and while recording. Hope this will be of value for you guys. For me a little dream came true, Sigma fp to pocket ARRI Alexa... 🙂 https://www.dropbox.com/sh/h82hwjk12kvck4d/AAC9wmF8ezXhSVo4YBxNgwRla?dl=0
-
If you are recording non RAW out of the fp, it is limited to 8bit 4:2:2, which you could record in ProRes HQ on the Ninja. However because the fp does not have any flavor of log build in, I personally would rule that out. Suggest to go the RAW way therefore either Ninja V or Video Assist. In that RAW workflow it is possible to use LOG and a LUT to convert that correctly now, because (at least the Ninja V) is treating the RAW out of the fp as Panasonic V-log. That is a matter of your personal feelings towards Blackmagic or FCPX. I have invested much more time in FCPX and did not wanted to start all over with DaVinci Resolve. So I went the Ninja V route.