-
Posts
172 -
Joined
-
Last visited
Content Type
Profiles
Forums
Articles
Everything posted by Benjamin Hilton
-
So I get the whole bit depth argument, but have some questions for you Sony users on the practical side. I come from Panasonic cameras where there is a massive difference visually from 8bit to 10bit when shooting log. The 8-bit has splotchy blocks of magenta in places, and just seems way less clean. Do the 8-10bit comparisons on the a7siii mean that: A) The a7siii 10bit codec isn't a big improvement over let's say the a7iii's 8bit codec in log? B) The 8 and 10bit codecs on the a7siii are both improved quite a bit compared to the a7iii and such?
-
Any suggestions as to what would help?
-
Hey there, I am running a small home studio with several different weekly shows using Rode Procaster mics. For one of the shows we just started (two person conversation), aesthetically it would look better to use lavs instead of the Procasters. I tried setting up with my Countryman b3s, but because of the room acoustics and phasing of two mics it's sounding pretty bad. The room is fairly decent acoustically, decent enough to sound great with the Procasters. Other than completely sound proofing the room, is there anything I can do to get better audio with lavs? Wondering if a cardioid lav or something would work better. It should be possible since they use lavs in news rooms conversations and it sounds pretty good, couldn't imagine their studios are super acoustically dead either.
-
I have the old Glidecam HD2000, not recommended with a smaller camera setup. Something more like this would probably work fairly well though: https://www.bhphotovideo.com/c/product/1398457-REG/glidecam_glhdpro_hd_pro_hand_held_stabilizer.html
-
Both gimbals and steadicams have their place for sure, very different purposes and looks with some crossover. I directed a TV show were we had to follow around hosts and guests doing things for hours at a time, never would have worked with a steadicam, but was great with a gimbal setup on a backpack arm system. But on the other side, steadicams and get a specific look that gimbals really can't...just depends if you want hyper smooth planned shots (steadicam) or more reliability for longer periods (good gimbal setup) If you are going for a Glidecam or something for your xt3 though, make sure you get one that will work with a smaller camera. A lot of the older ones are intended for heavier setups and won't really work for what you want.
-

Pro camcorder ergonomics - why are they so rubbish?
Benjamin Hilton replied to Andrew - EOSHD's topic in Cameras
I'm pretty sure the setup from Sony's video is just that, the initial setup for choosing framerate. (the same thing you have to do on a mirrorless camera) Once you have that loaded all you have to do is push the S&Q mode then the record button to be shooting your high frame rate. I don't see the clunkiness here but maybe I'm missing something. Seems to be about the same as most mirrorless cameras, maybe faster since they actually have a dedicated S&Q mode. To do that on my GH5 would take a dive into the menus to select basically those same options as on the FX6, only I have slow motion assigned to a custom function, basically like the S&Q mode. I do really really wish manufacturers would start giving us built in NDs on mirrorless cameras though, seems to simple to do comparatively and so incredibly helpful. -
Have you given the GH5 or 5S a try? I think it would fit into your workflow very well personally, it has for mine for the last several years. Usability is very very nice with minimal rigging or accessories needed. The battery life is very good as well.
-
Yeah, totally😂 I also wonder if using a polarizing filter to take the reflections out of the skintone and such would help with the look, I know Shane Hurlbut did that for one of his period movies, gave a similar kind of look
-
-
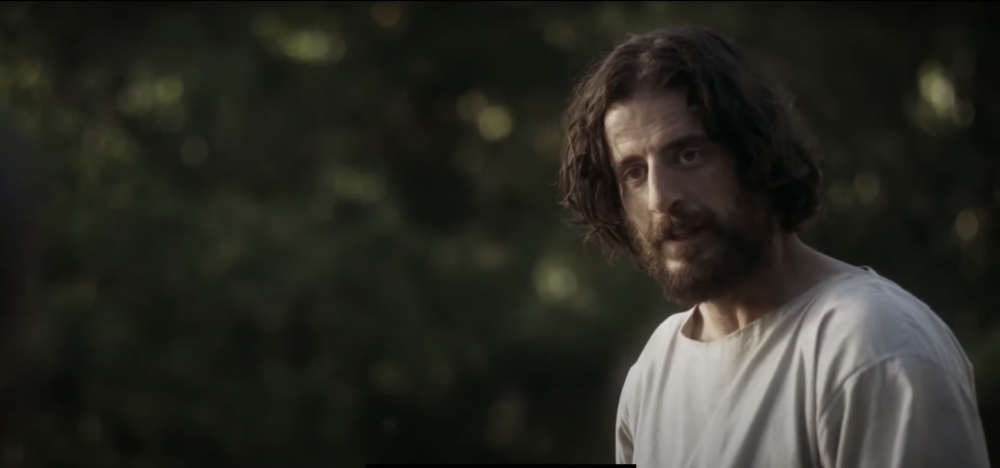
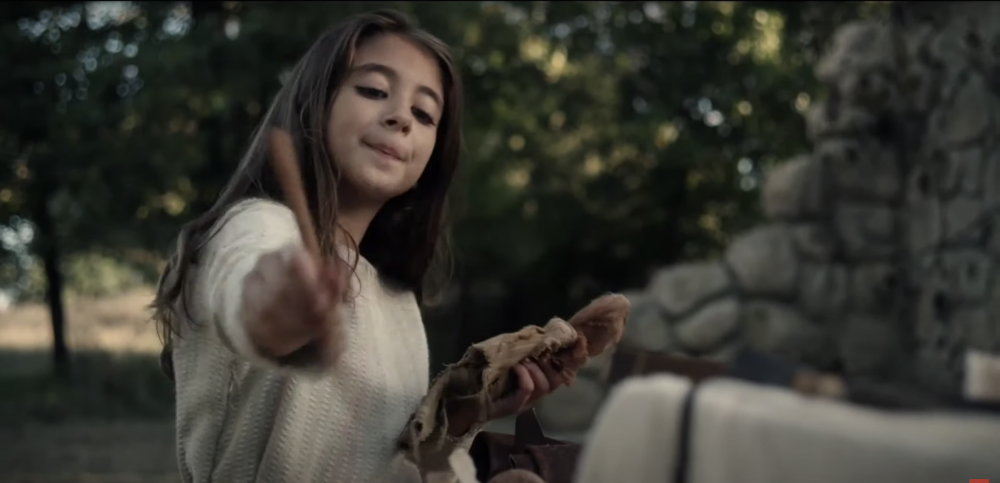
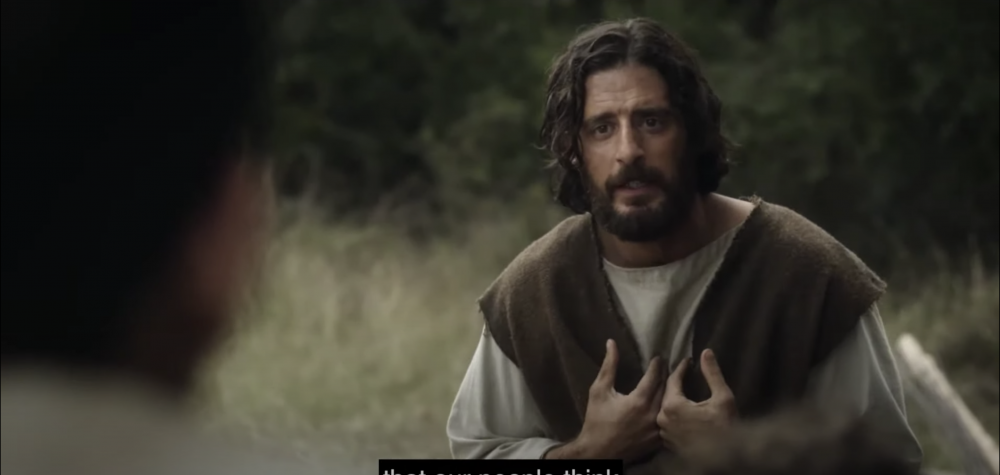
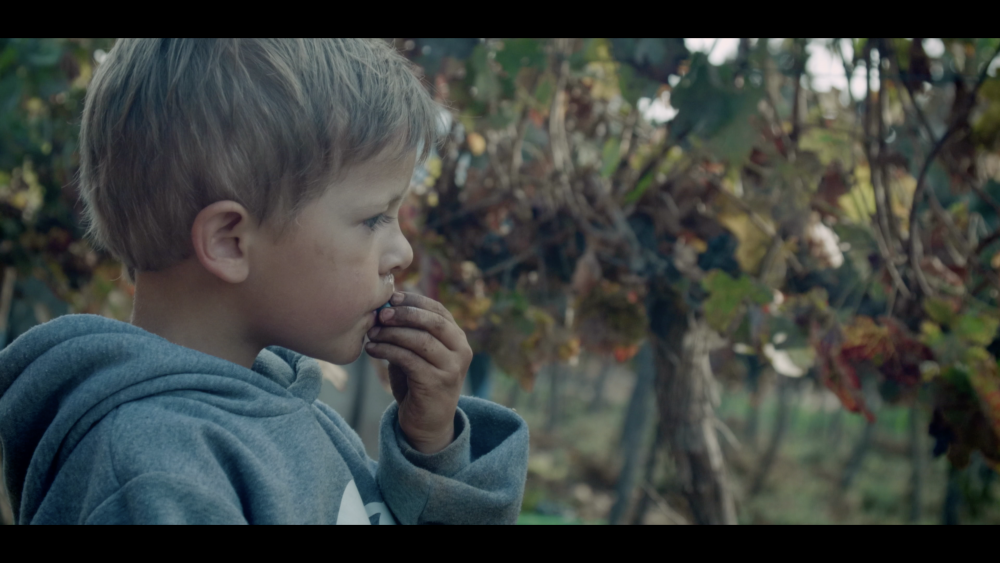
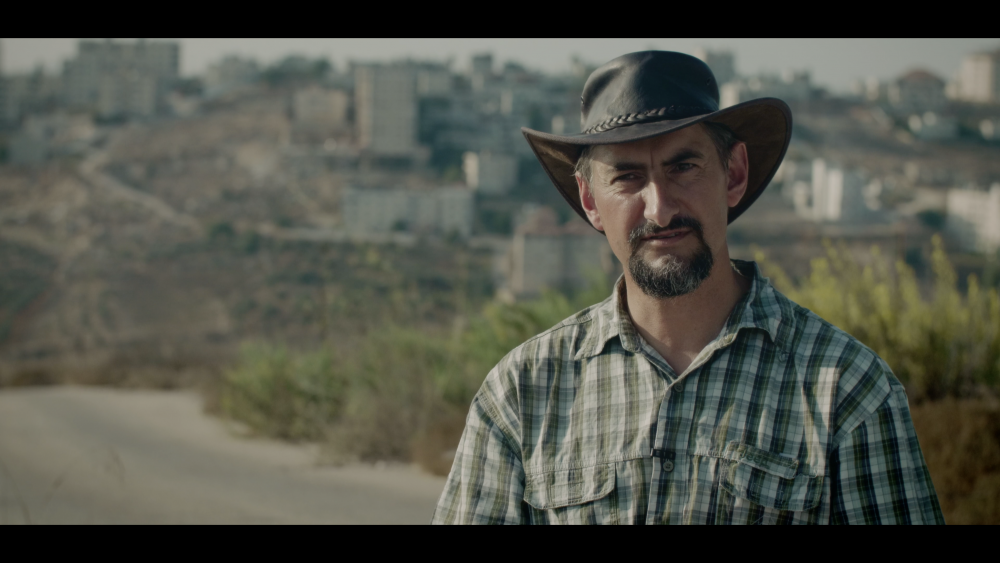
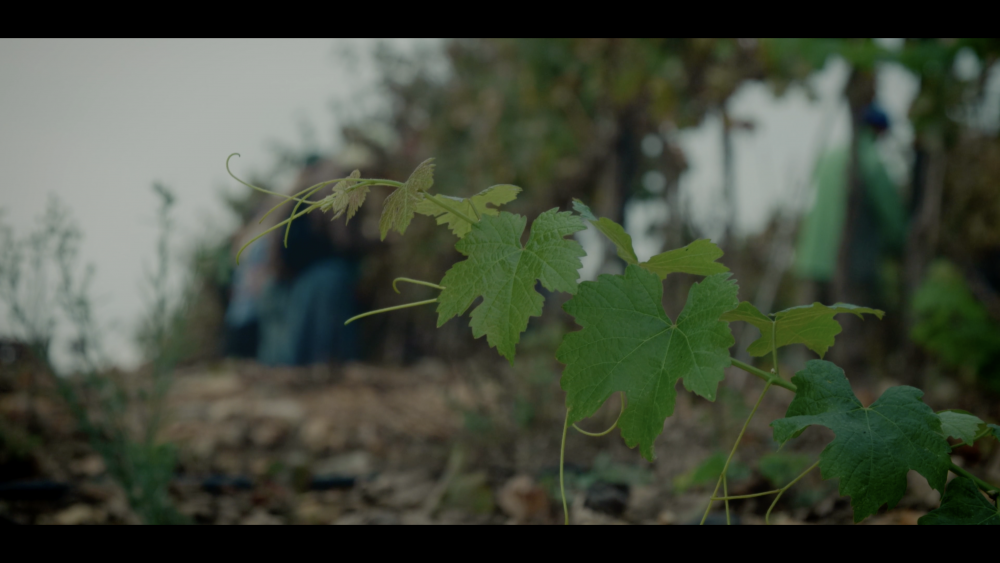
So I've been watching this TV show recently, and I would love to figure out how to replicate this specific look. Kind of a muted, but still saturated look, with soft highlights and really rich creamy shadows, and the skin has kind of a brown cast but still looks natural. I've been trying and trying and still can't get anywhere close. Are any of you able to do it? I know it's partially lighting, lensing and such, but I feel like I should be able to get at least close. These three screenshots are from the show: And here's a sample frame I have been working on, just Panasonic V-log converted to C-log with the WB balanced: And this is the closest I have been able to get to that look, which still isn't very close...
-

Panasonic interview - question suggestions
Benjamin Hilton replied to Andrew - EOSHD's topic in Cameras
I used the Canon L 24-105 with a speedboster -

Panasonic interview - question suggestions
Benjamin Hilton replied to Andrew - EOSHD's topic in Cameras
-

Panasonic interview - question suggestions
Benjamin Hilton replied to Andrew - EOSHD's topic in Cameras
Me too, honestly the S1 is really tempting at this point, although I can get really close to what I want with the GH5 -

Panasonic interview - question suggestions
Benjamin Hilton replied to Andrew - EOSHD's topic in Cameras
Honestly if Panasonic created a camera with the following I would be completely sold, all I need for quite some time to come: 4k60p 10 bit S1H dynamic range and color Native duel ISO Super 35 or full frame sensor Built in NDs h.265 and prores codecs IBIS Duel pixal autofocus I could honestly care less about 6k or 8k, raw and the like unless it was a good compressed raw like r3d. A rich cinematic image, built in NDs and a reliable body would be top of my list. I currently shoot with GH5s and speedboosters and they are the closest things I have ever gotten to that list, really just add NDs, good auto focus, nail down the color science and low light a bit more like the GH5s but with IBIS and they would have the "perfect" camera in my book. -

Panasonic interview - question suggestions
Benjamin Hilton replied to Andrew - EOSHD's topic in Cameras
When are ND filters coming to their smaller camera bodies, this seems like an essential but is strangely being overlooked by all camera manufacturers. Variable NDs are a pain, period -
Shane Hurlbut ASC is giving away his illumination experience for free right now, his stuff is like gold in the area of lighting, should answer a lot of your questions: https://www.hurlbutacademy.com/illumination-experience-workshop/?mc_cid=cc66b59990&mc_eid=d730f5a46a
-

Crazy/embarrassing/funny filming stories?
Benjamin Hilton replied to Benjamin Hilton's topic in Cameras
I was with the founder of our organization one time and he wanted to grab a quick statement with a VIP he had with him. I swung up my camera and pushed record I thought and did the statement. When I pushed stop the record light came one...somehow I had missed it. It was quite embarrassing to ask him to do it again, had a technical difficulty;-) -
I thought I would start this thread for anyone to share any crazy/embarrassing/funny stories they might have from film shoots, things we would all be interested in. Whatever it is, I'm sure we can all relate. I have quite a few, but I'll start with one. A couple of years ago, I was filming an interview with someone in a remote location. I had light stands holding diffusion and negative fill, and the light stands were weighted down with rocks. I was filming with a couple of GH5s and Leica lenses while another guy was conducting the interview. One of the stands started to sway a bit, so I quietly inched my way over to fix it before it fell over, trying not to distract from the interview. I moved one of the heavy rocks from one stand to another, and when I went to set it down, caught my finger between the rock and the stand. It crushed the fingernail, really badly. It was everything I could do to keep quiet and blood was dripping everywhere. I managed to kind of turn around to hide it, and make it back to the cameras, I then grabbed some leaves off of the tree behind me to hold on them as blood was dripping all over the ground. I didn't want to stop interrupt a good interview with, "excuse me, I just crushed my finger and blood is gushing everywhere." Somehow I managed to keep it from everyone else and the interview went flawlessly. The talent never knew...:-) It was so bad the fingernail ended up completely falling off a few days later, but the video turned out amazing! What are your stories?
-
Here it is:
-
Leica photo primes and an nd filter for the interviews
-
From a promo I did recently with the GHA color on the interviews, you have to skip in a bit to see them: Funny thing, I was in a meeting a little while back with the Director of a really big TV station in the States and was showing him a video I did using the GHA color, while watching it he turning to me and asked under his breath, "you shoot on Red, right?" I took it as a really big compliment I must say😉
-
@Sage might have better info on this, but from my experience, the 1080 out of camera vs 4K downscaled to 1080 in post are nearly identical, something very rarely found. I shoot 4K for most projects still as I have the processing capabilities and want to future proof. But if you aren't concerned about it, 1080 is very wonderful out of the GH5. On the advantage side, 1080 out of the GH5 gives 60p in 10 bit, and a more bang for your buck bitrate. I've been using this GHAlex process for quite some time now, and couldn't be happier with it. I feel like it gave the GH5 the soul it was missing.
-
That's right, the bitrate will always determine your file size, no matter what codec you use. The codec just decides how efficient the bitrate you use is for the video, meaning 10mb/sec will look much better in h.265 as compared to h.264 as it is more efficient.
-
You should be able to set a maximum bit-rate and calculate the size based on the video length. Meaning a 500MB = 4000mb = 22mb/sec for a 3 minute video


