

jaquet
-
Posts
34 -
Joined
-
Last visited
Content Type
Profiles
Forums
Articles
Posts posted by jaquet
-
-
@Romano. The last glass elements are cemented for eternity inside the metal housing. I asked VD for polishing them but they can't …
There are even lens elements glued together with organic glue which lets fungus grow.
The separation in the picture looks like this glue … -
Sounded promising. But it seems to be more complicated.
I learned that adding a shape to the rear part of the Isco means adding a front iris to the taking lens.
Yes, it reduces the veiling glare/white vignetting but also adds a new shape to the bokeh!
The white vignetting appears most when you open the iris to maximum.
It is produced by the edge of the Iscos's front lens element (i guess it's the second) and therefore just visible on the widest taking lenses only.
If the ring/shape or whatever you add to the Isco's rear part is smaller than the taking lens iris itself the shape is going to be your new iris.
That means your 1.4 lens is no longer a 1.4 lens any more but a 2.8 (depends on the diameter of the shape). The picture is getting darker and sharper (more depth of field).
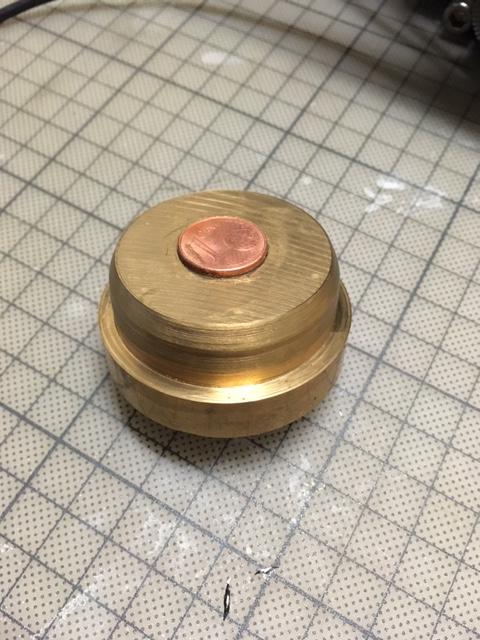
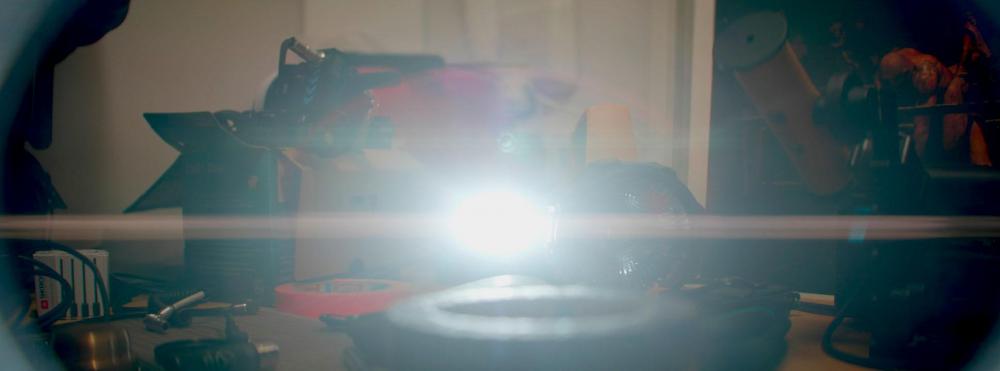
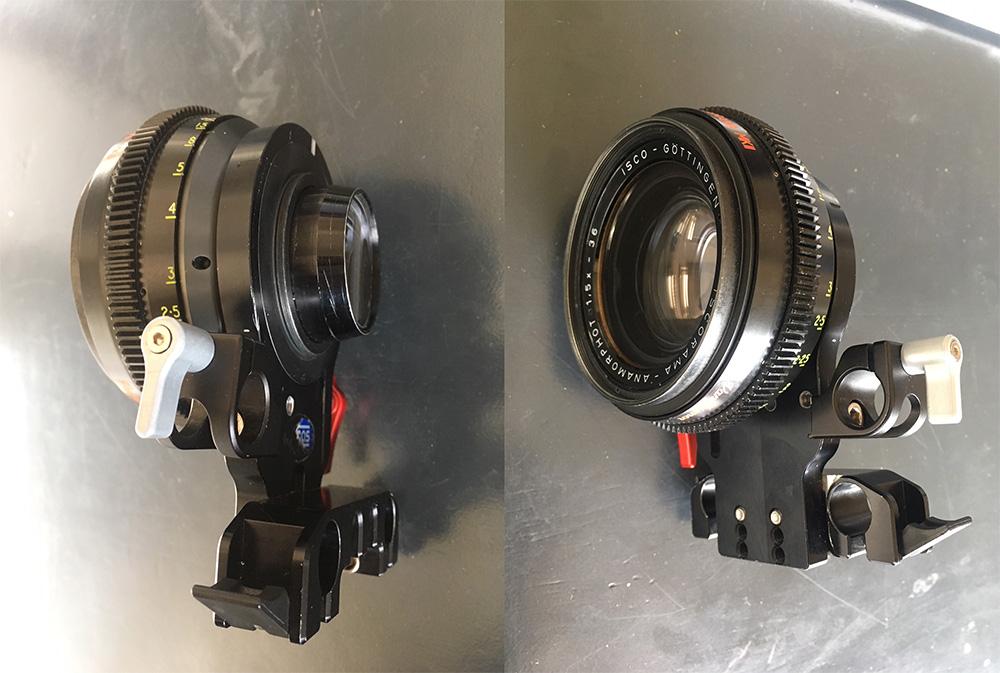
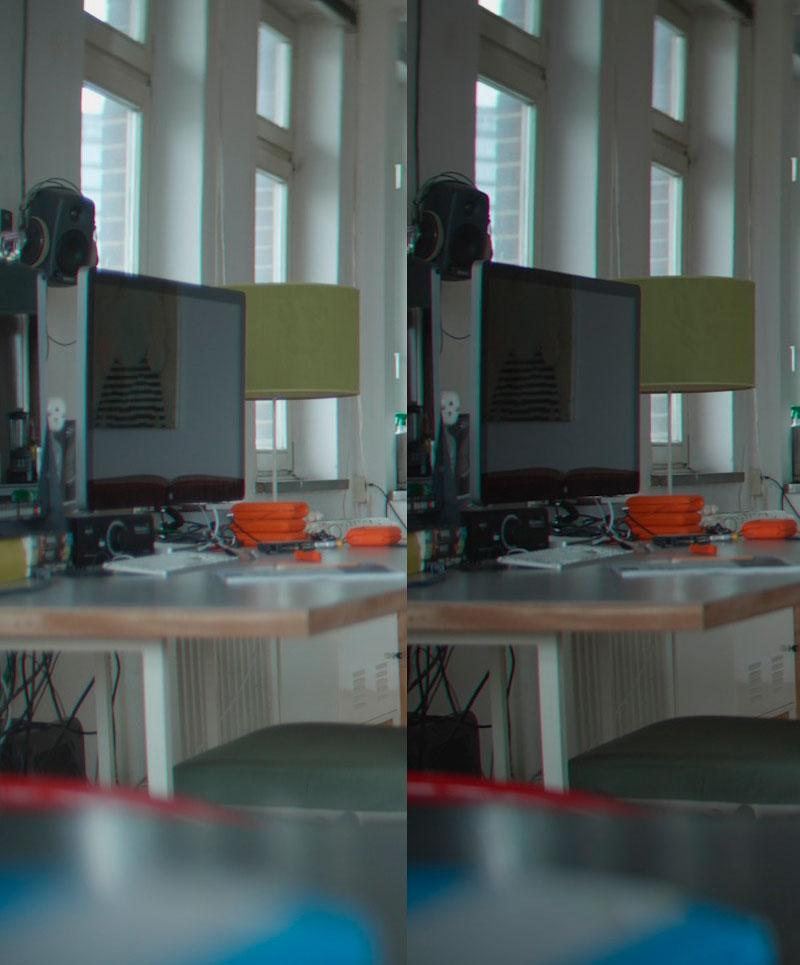
I made a rubber shape with a 15mm diameter hole which fits best to my Isco 36 (without vignetting).See the pictures below - with and without the rubber shape.
40mm 2.0 taking lens on a GH5s with Speedbooster XL (the widest you can go)
The flare pictures are made at 90cm close focus to show that it is not possible to avoid every white vignetting at this distance.
You can see that the overall bokeh and exposure has changed by at least 1 stop.So at the end, is this mod useful? I don't think so …
… the Iscos overall performance and look is best at f4.0-5.6. At these iris settings the white vignetting isn't that prominent.
But if i had to shoot at night, wide open, facing a car's front light, on a wide shot, maybe I'd give it a try …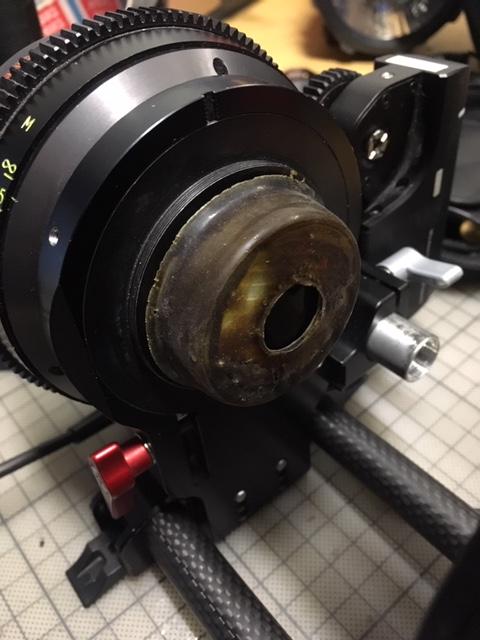


-
I found out that using the 1080i (HDMI Rec Output) mode for external monitoring the delay/lag is almost invisible compared to the 1080p mode (5frames delay on a smallHD 502B).
BUT - If you switch from 25p to HFR (75-100fps) and have a HDMI monitor attached - the cam freezes after 5sec recording. I tried the same setting with a brand new cam in a shop and the bug is the same.
So sadly no monitoring without delay when using HFR mode.
Hope Panasonic can fix it!
-
Oh no. It is a DJI. And the breakout boxes are from Wooden Camera and Tilta.
And the wireless video is from IDX. A little stick powered by the usb port of the SHD502 Bright.
-
-
Long story short. Stay with the original ISCO if you plan to do a simple V1 modification.
The close focus distance is the same as if you mod it by yourself.
The additional weight is a problem if you gonna try to screw it in front of a plastic Nikon pancake. You shouldn't trust that tiny lens to hold a heavy lens like the V1 will be.
So you will need a lens support.
The V1 does not vignette more than with the original design within the SAME focus range. The distances are the same. But if the front stays 72mm it will vignette at the new and closer close focus, because of the small front element that comes out further than on the original ISCO.
That's why i asked Christopher at VD to make a 77mm front to get a little less vignetting on the 50 pancake. So, it works.
And sometimes you want to slide the rear element into the front of a taking lens and stay more flexible in the selection of the lenses. That was the V1+ mod (77mm front and no screw-in rear element)Yes, i did them all and even more.
DIY mod, VD-V1, V1+, V2, V2+
The V2 is worth it. 77mm non rotating front, 85mm close focus! But at that prize … Sometimes I wish I had stayed with the original ISCO. Screw it on and ready to go.
But for serious tasks (first AC, FF motor, …) you'll need that rehousing. But for that prize you can rent everything without headache … It's like a dog chasing his tail – eternally … ?
-
Leica Angenieux 45-90mm, 2.8 is an option too.
-
Thanks Hans! On my Isco 36 SC (not the pre 36) the veiling glare is very prominent.
So my guess is, that this flare is produced by the edge of the second element.
I think it it worth a try to find the causing element. At an ISCO it it definitely a job for a pro. -
ISCO 36. Not yet. But I will. I guess the flare producing lens is the second element.
I'll send it to Van Diemen to find it out. Thank you guys for that info!!!! -
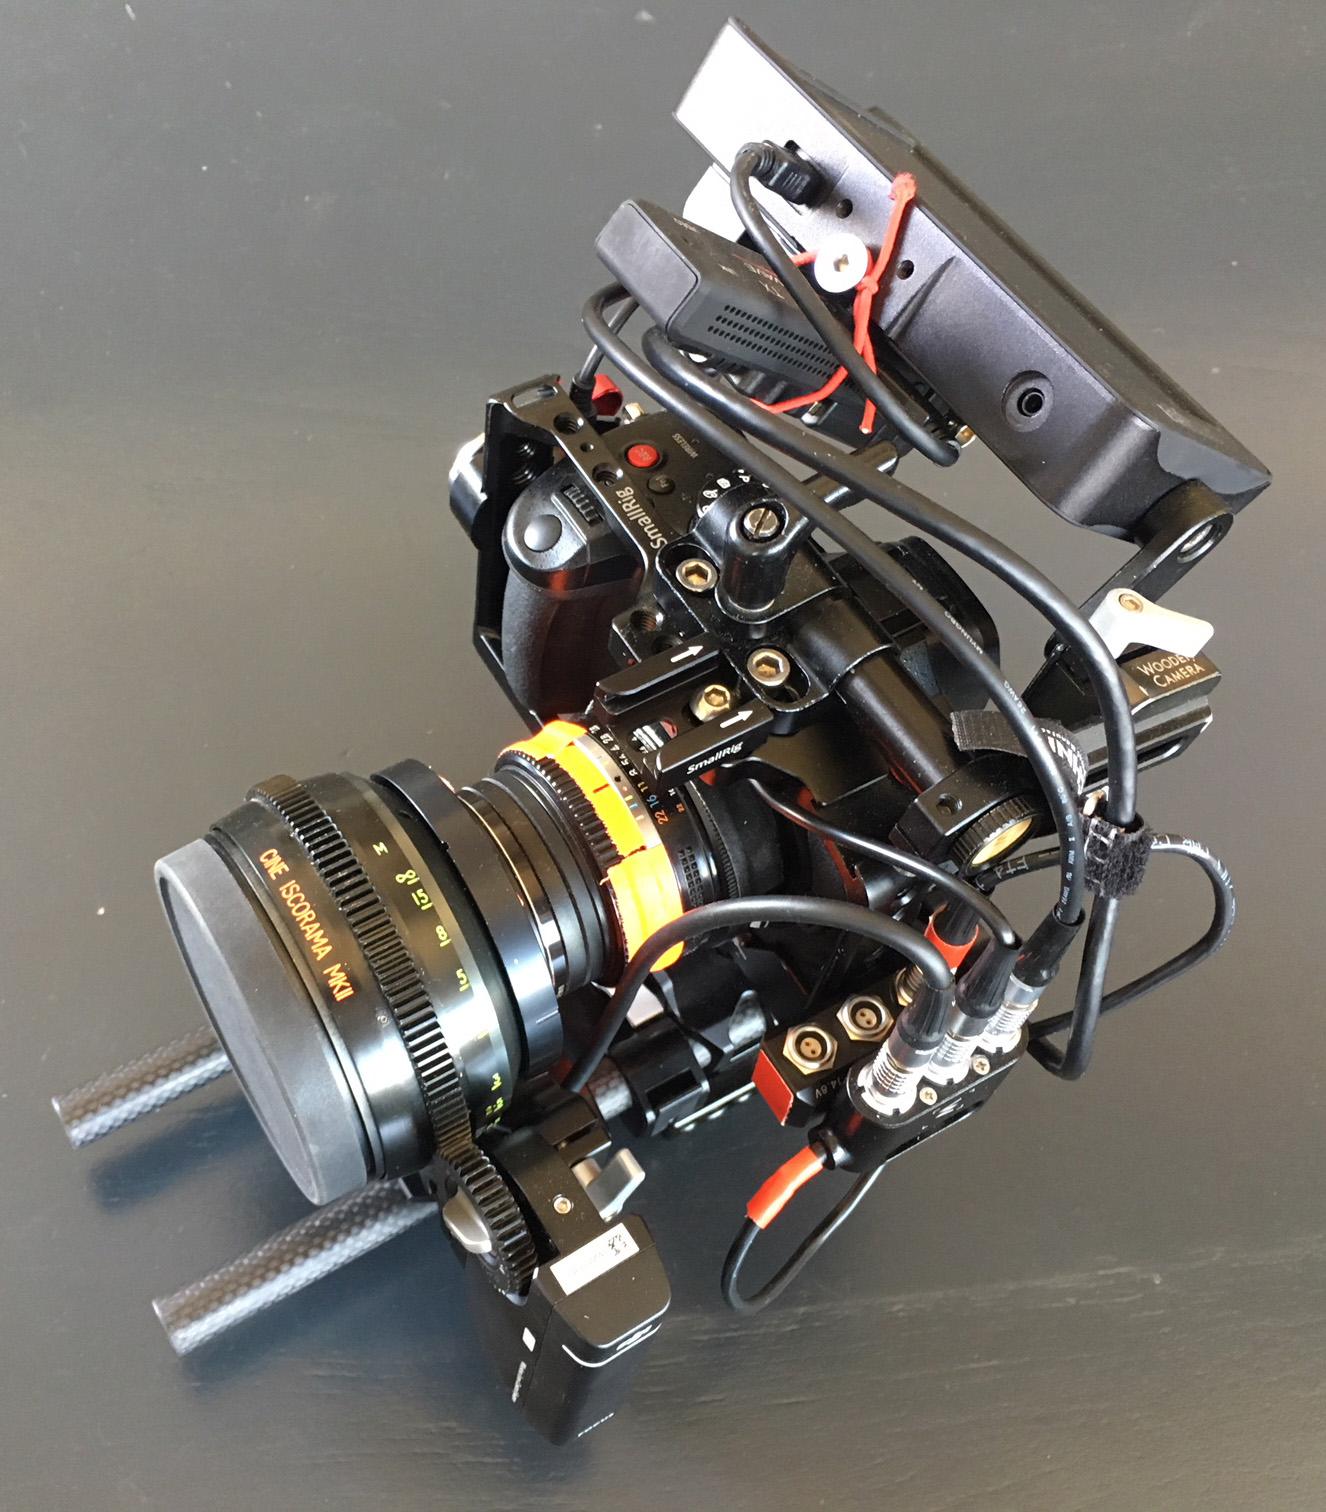
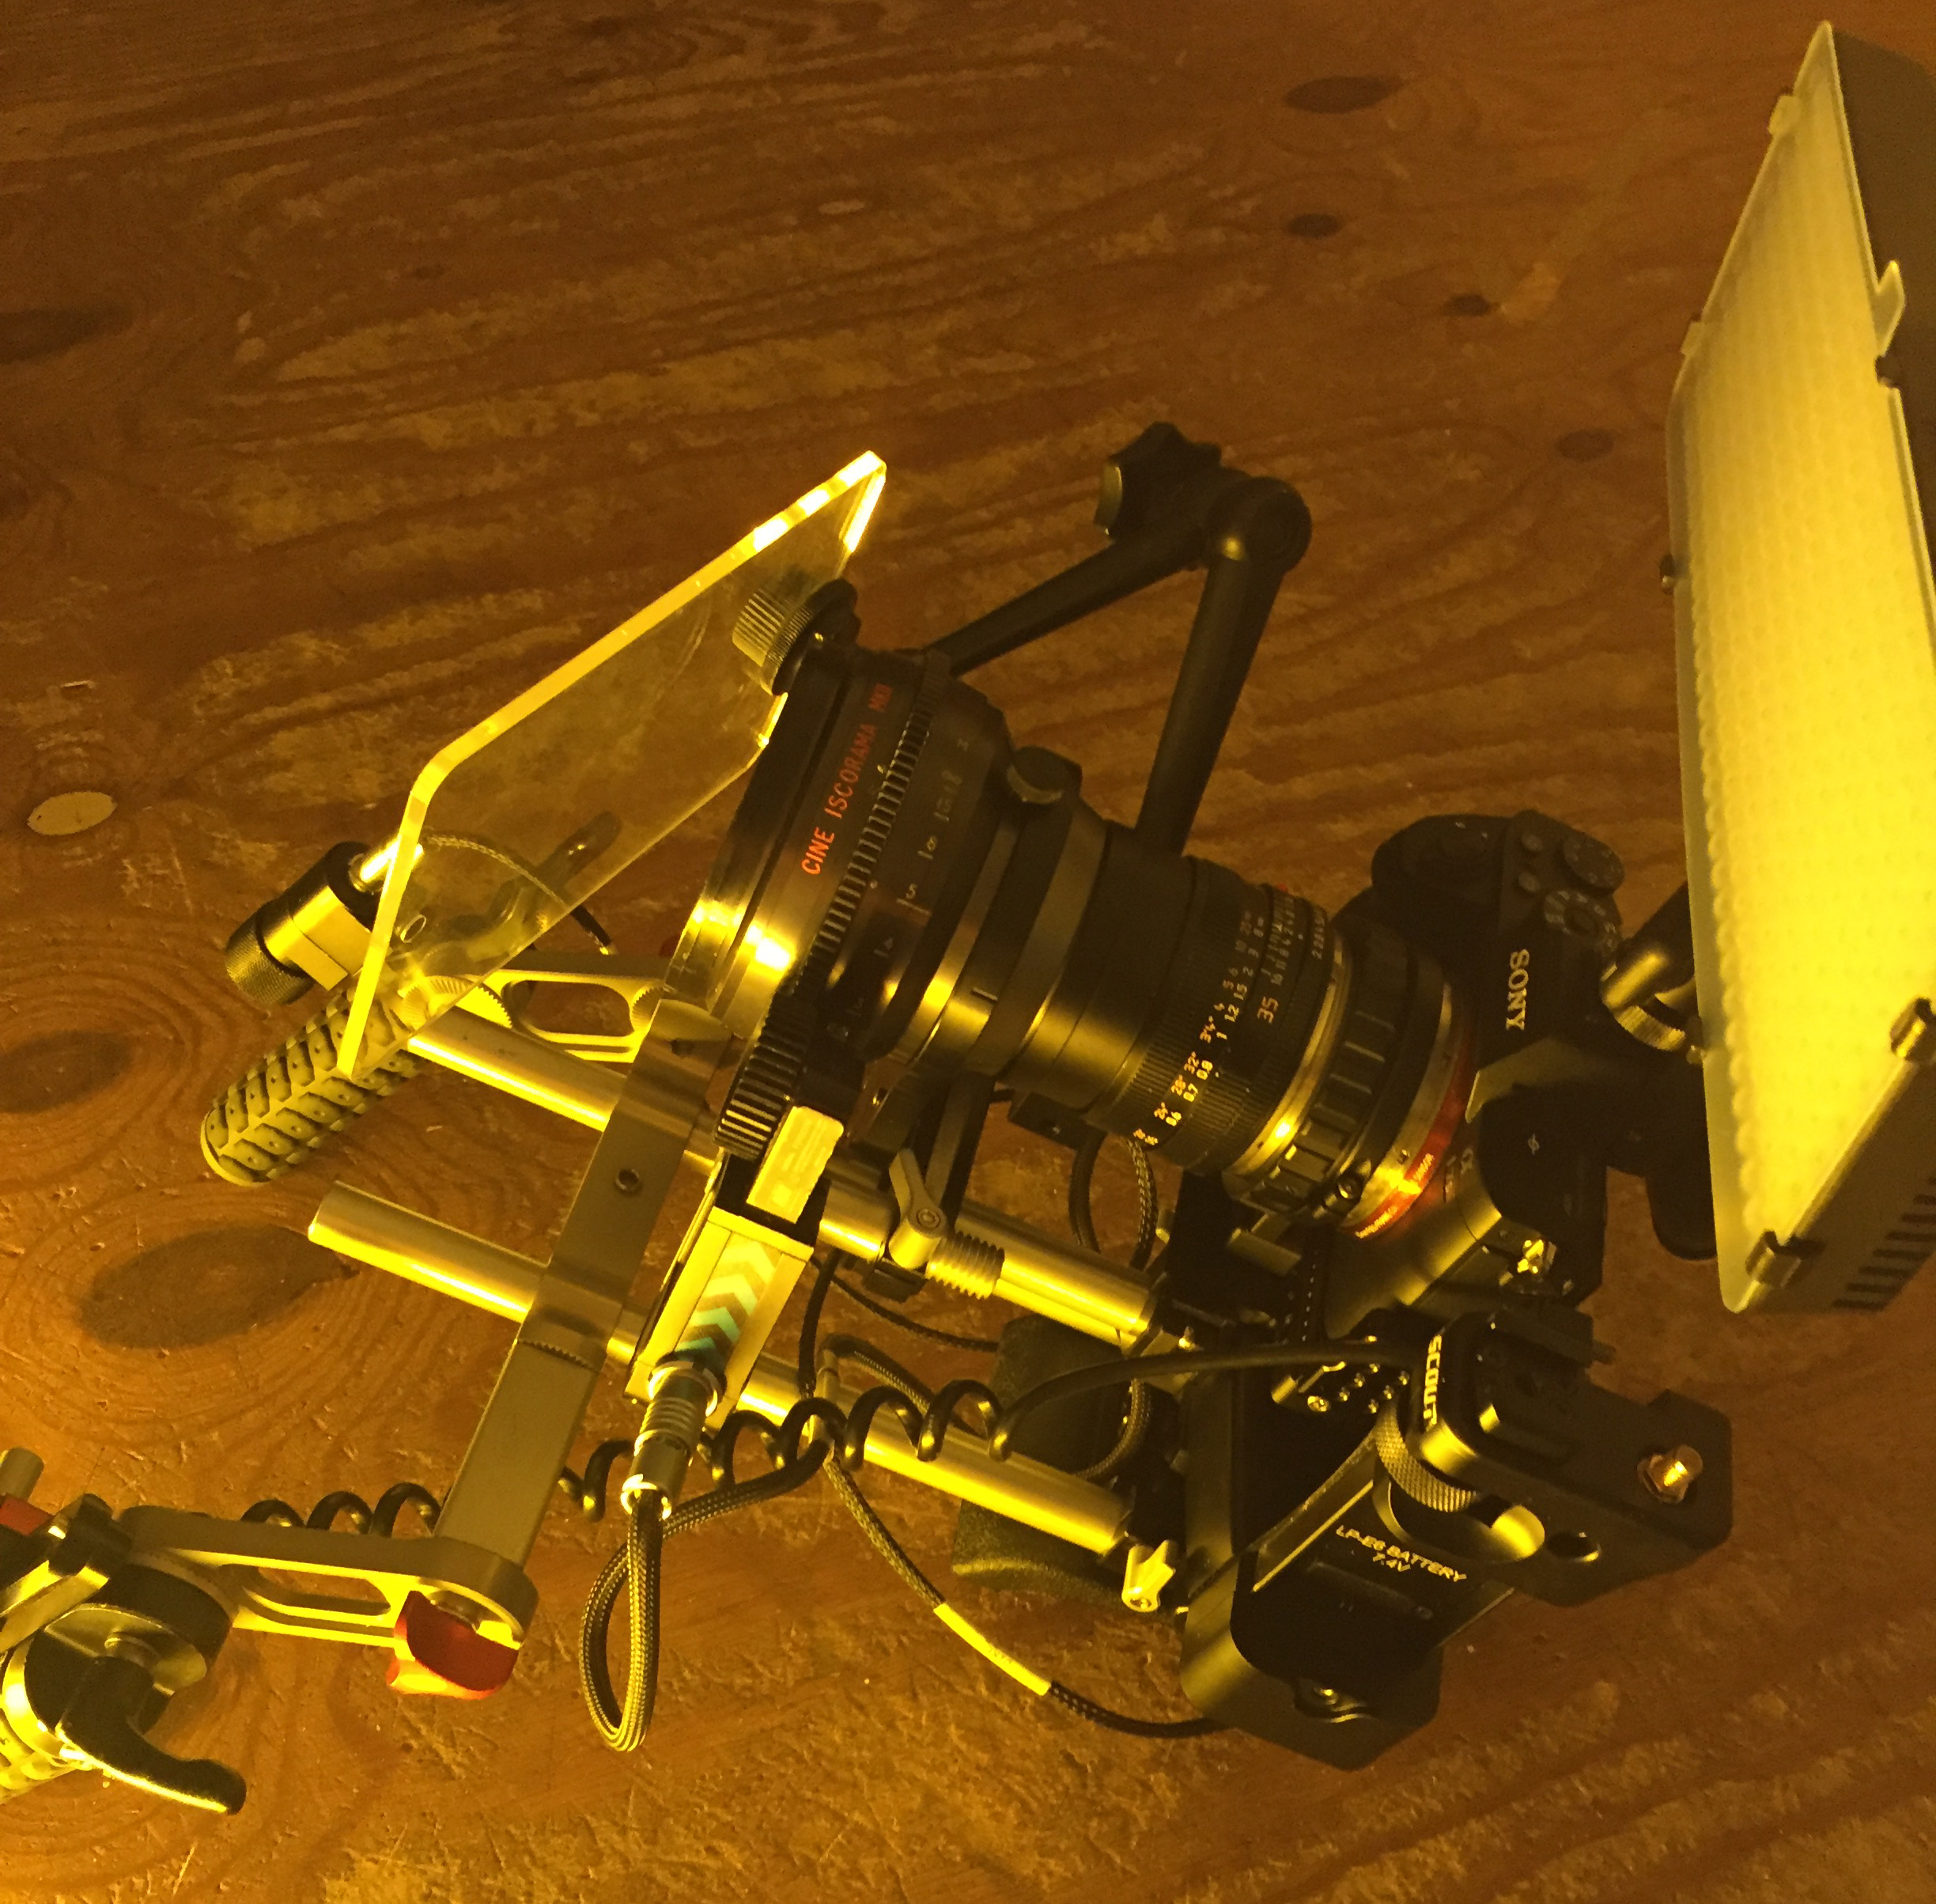
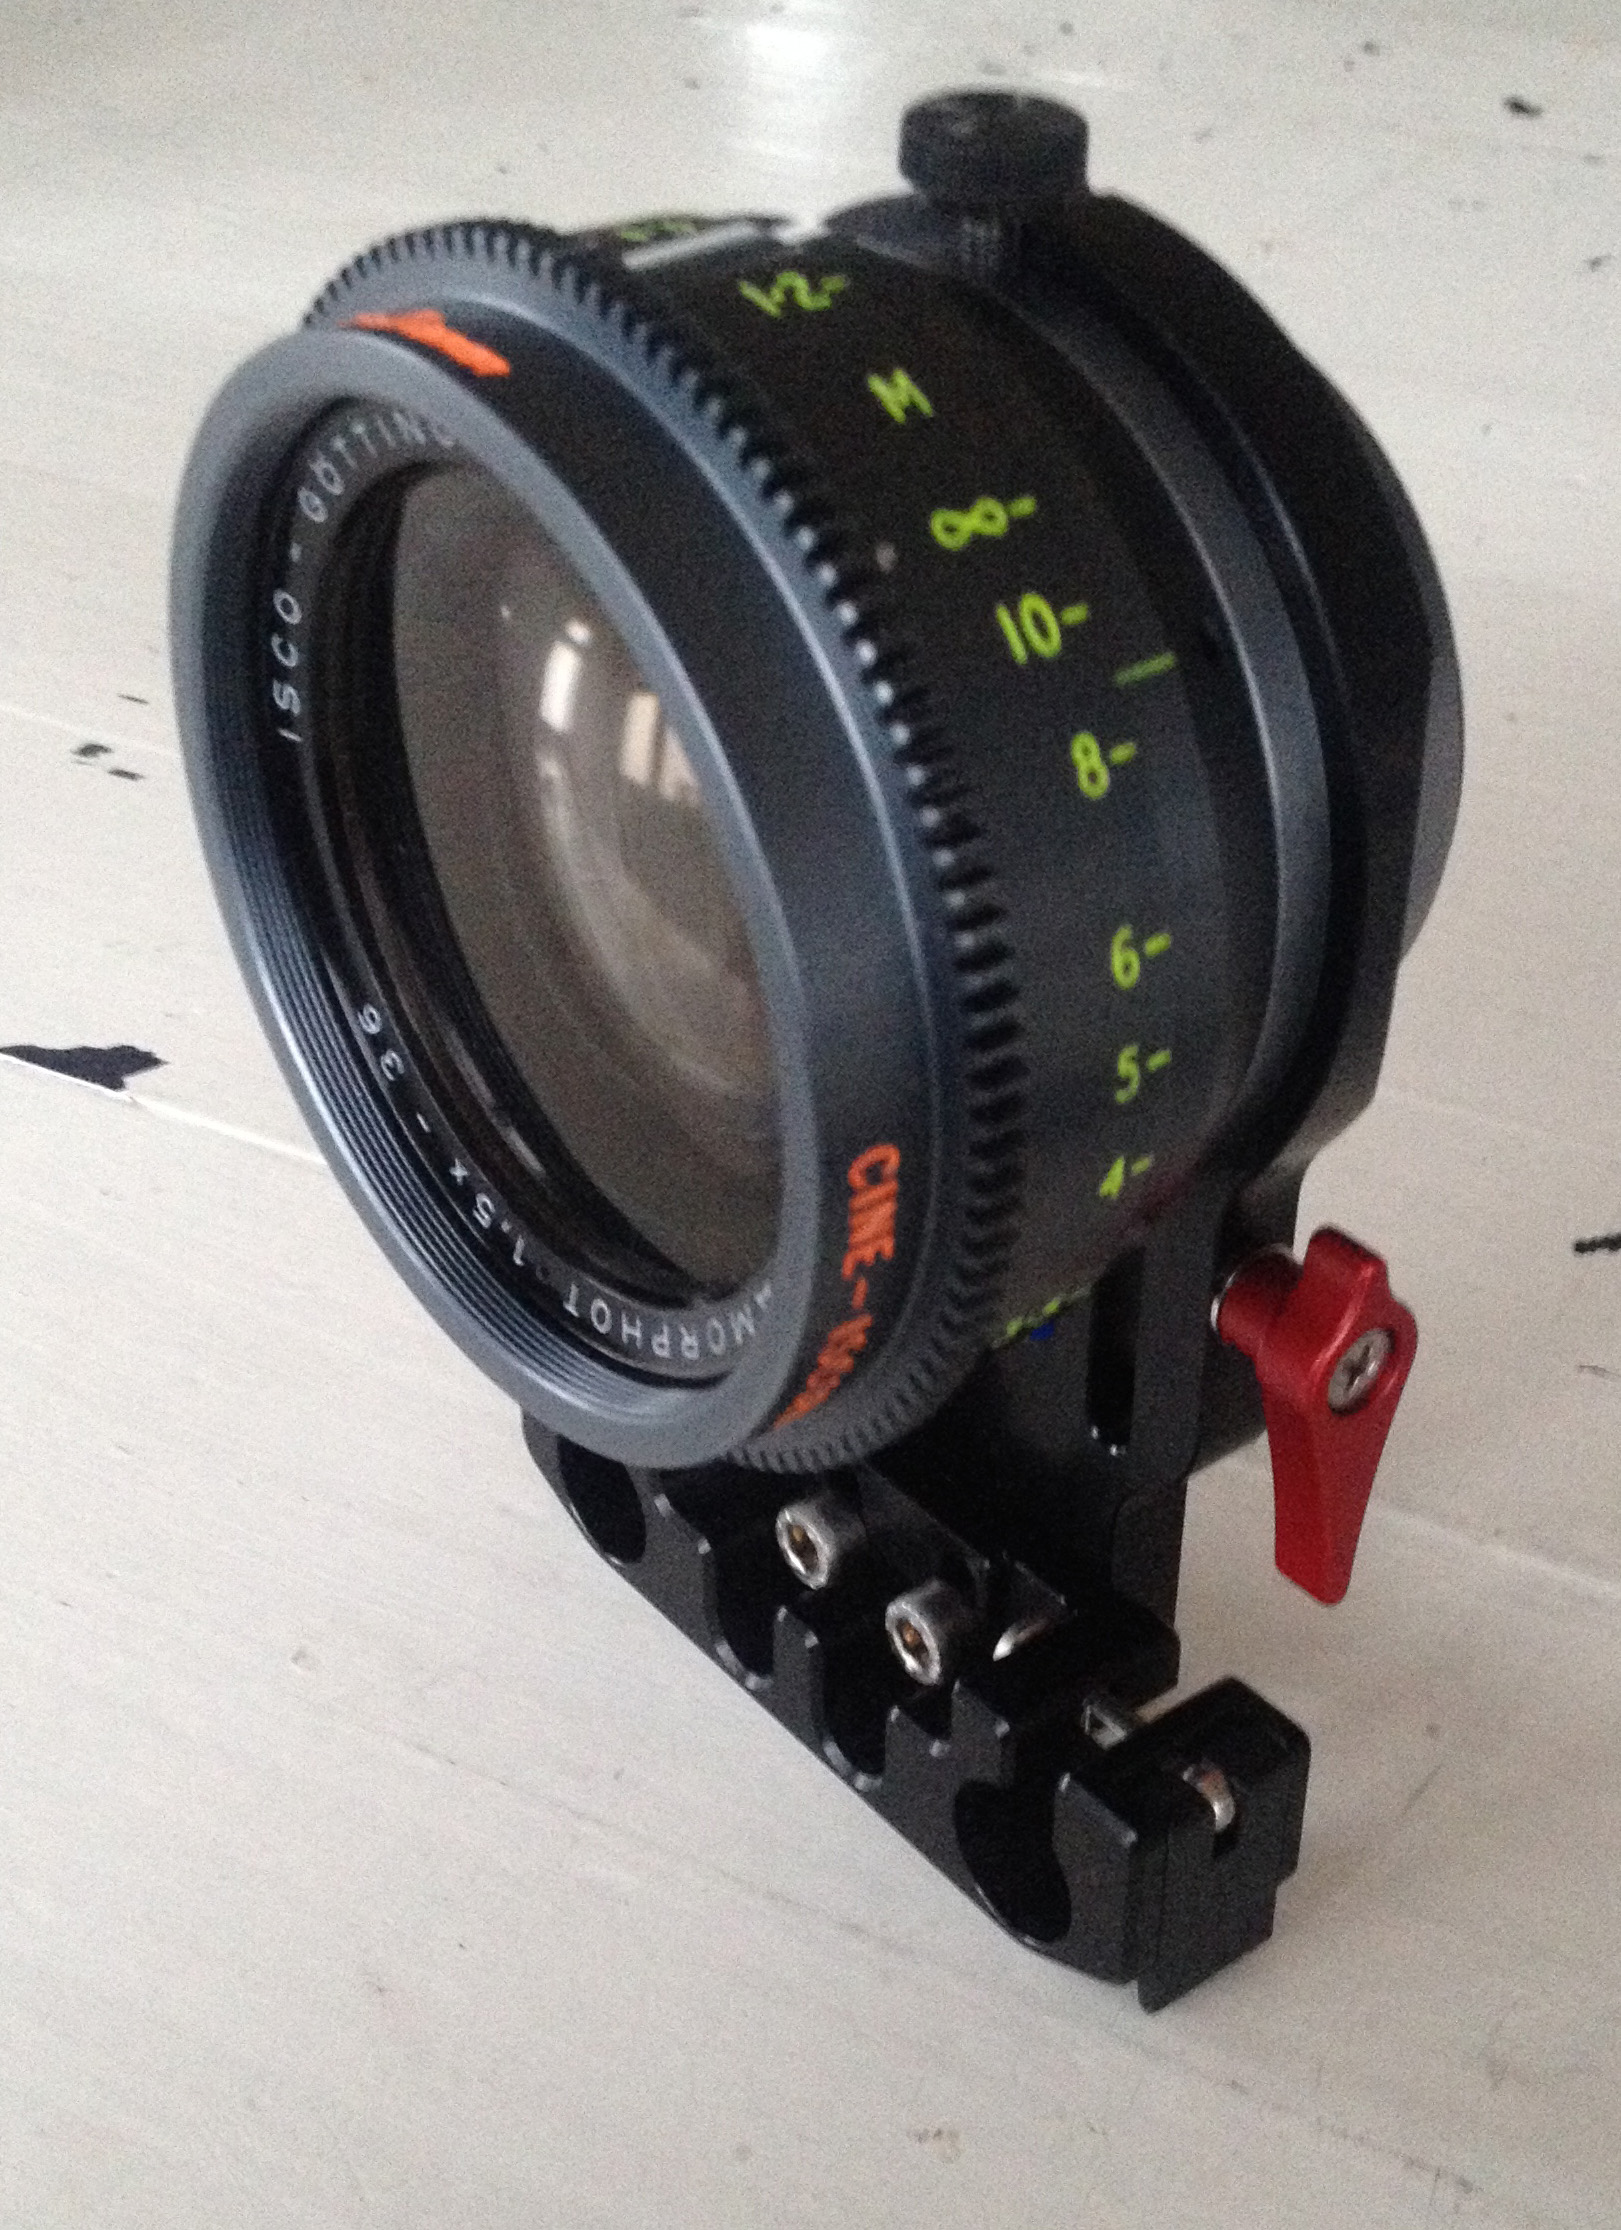
Nice topic. This one i did with a modified Isco 36 (now cine Iscorama mkII). I used different taking lenses (voigtlaender 40mm 2.0, Nikon 50mm 1.8, 58mm Helios and i think there was a 80mm Nikkor as well) I used the Gh5 on a Letus gimbal in 4:3 full sensor mode. So the final frame was a 2:1 ratio in 4K. Which gave me a lot of freedom for reframing.
-
just plastic.
-
50mm pancake on FF
35mm on APS-C
-
Music promotion for the german band: CORTEZ
Made with Sony A7SM2, Leica Summicron (35, 50, 90) and the mighty Van Diemen Cine Iscorama M2.Enjoy!!
- Timotheus, richg101, Marcel Zyskind and 2 others
-
 5
5
-
All the same. 135mm, on 2x crop at 120fps.
No resizing. All captured at 1080p.
-
Thanks!
-
Whores'n'Heroes
A short comment about the situation in Thailand.A film by Jaquet
Music: glantz.cortezUsed gear:
Sony A7S M2
Leica M 135mm, F2.8
Nikon 20mm AIS, F2.8Mostly shot in sensor crop mode with 100/120 fps and sensor stabilization.
No sticks. Hand-held.
Picture Profile: cine4, S-Gamut3.CineEdited in Premiere Pro CC.
Graded with Lumetri (Deluts) and Filmconvert.
Noise reduction with NeatVideo in AE CC.Thanks for a lot of useful information on this blog.
Enjoy!! -
You are right Andrew. I can force mine as you said in Pal25.
There is a small window in exposure. Then it appears. But just as a light gray circle. -
And they did a change on the back focal length or something else.
Focus goes beyond infinity with my adapters (voigtlaender leica M and novoflex Nikon F)They worked perfectly on the previous A7s.
-
Hi Andrew. Many thanks for your fast review – as always.
That's strange. I never noticed a black sun effect during the last week.
But a weird aliasing effect in contrasty highlight areas instead.Newer saw this on my old A7s.
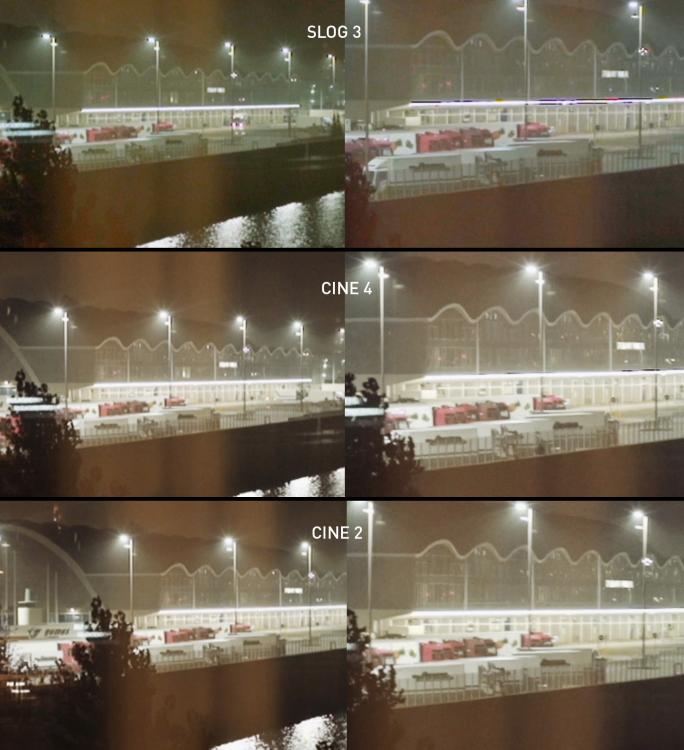
Here is a quick comparison between FF and APS-C mode while recording in HD to card.
On the right hand side (APS-C) you can see dark pixel lines dancing around the horizontal lights (sLOG and Cine4).
Only "Cine2" seems to suppress this effect.Detail set to -7 in all modes.
Did you noticed anything like that during your testing?
-
Not in APS-C mode. BUT it does if you use the "sensor-crop-mode" called "clear image zoom". Strange – but I've tested it. You'll get 2160p from 0 (FF) to 2 (smaller than s35, 1.7 should be around APS-C).
But it is indeed blurry and useless …
It is a hidden feature also for the A7s. I've set it on the function wheel for quick (and dirty) focal length change … HD 1080p stays always sharp (more or less). -
It does 25p/100M 4K if you switch to PAL. In NTSC the options are 24p and 30p.
Same with HD. If you want to shoot 100p/100M you have to switch in PAL mode.APS-C mode does a crop from the 4K sensor. So it will be a upscaled 4K from ... maybe 2800px …
-
You can finally assign the Movie/record release to any of the customizable buttons (axcept the shutter button)!!!
I'll use the C2 – almost perfect! -
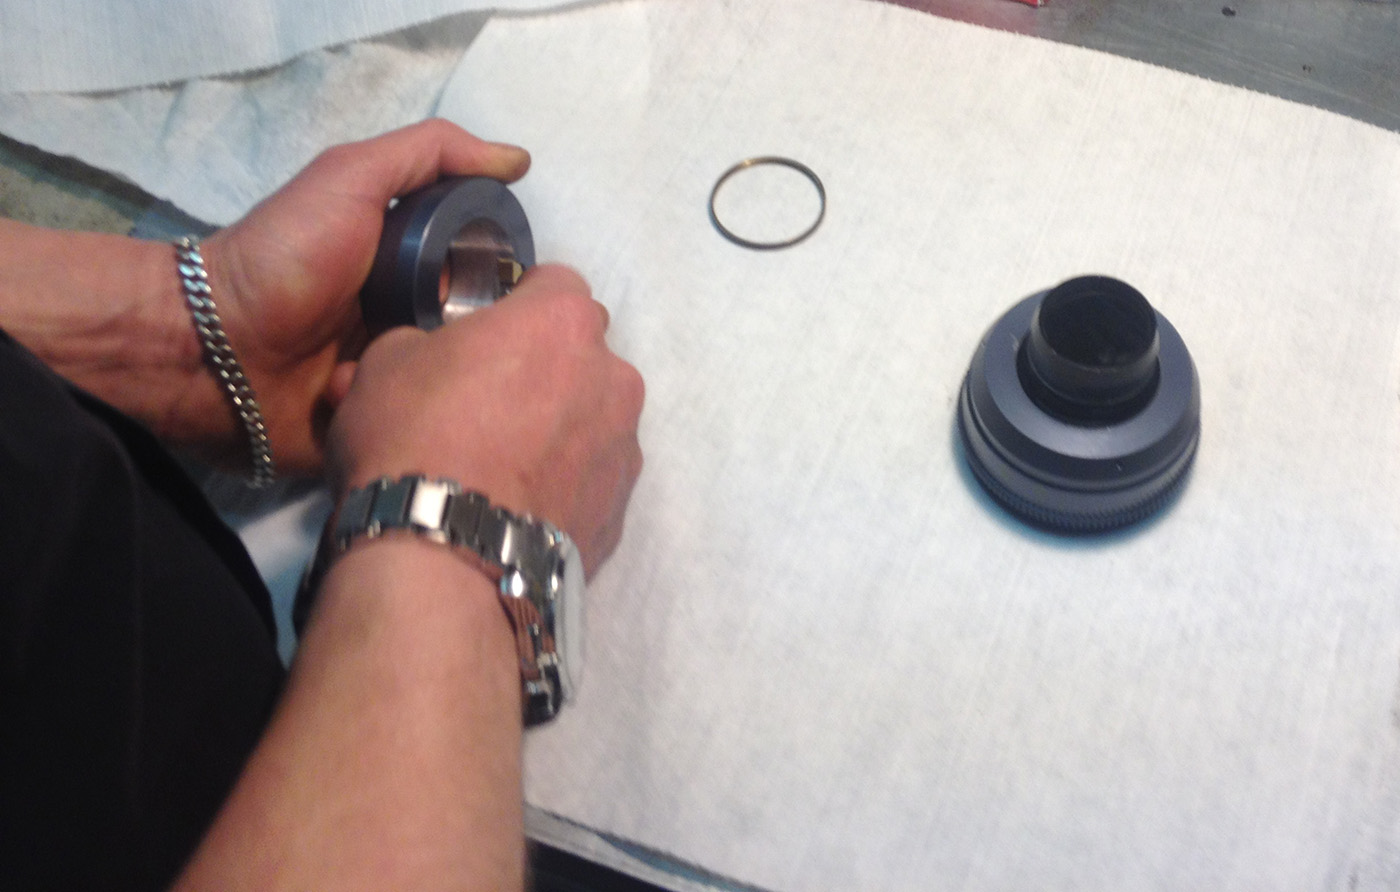
Yes. I did the same one year ago.
But this is nothing you can do by yourself.
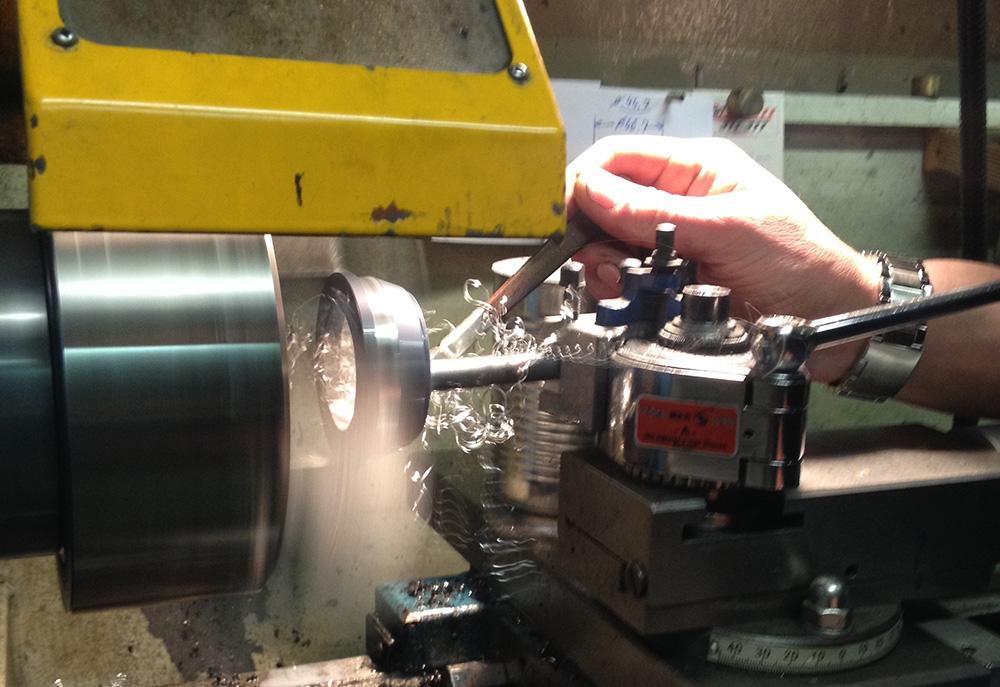
I did it with a professional metal/optics engineer.
And it was a mass … I died several times.You will need to make a tool first to be able to unscrew the real element for example.
Only if you have loosened the inner ring (with that custom tool) you can unscrew the real element.
Now you will need a lot of power (a two man job) to unscrew the rear element because they used this special kind of metal glue …
After that you can use a turning lathe to do the rest of the dirty work.Good luck!
P.S. Or sent it to Van Diemen and stay alive :-)


-
EARLY ADOPTERS DISCOUNT OF 5% FOR ORDERS TAKEN DURING JUNE 2015. USE VOUCHER CODE - Isco June Offer - at checkout
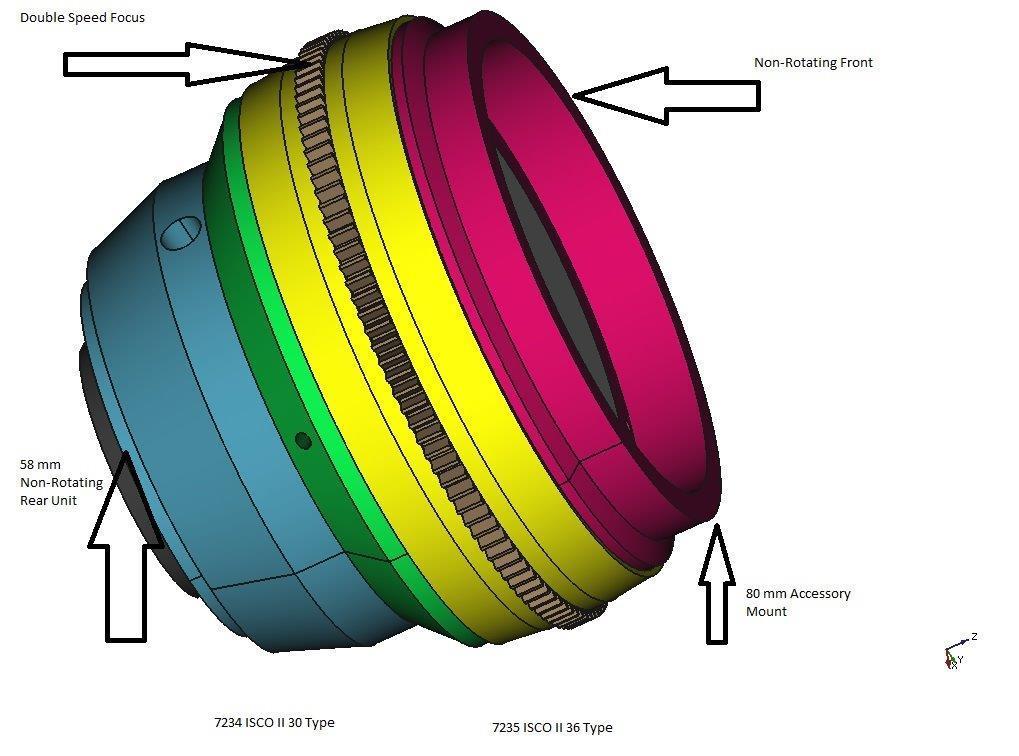
The Cine Iscorama Anamorphic II can be designed to suit a number of focal length lenses and formats.
General Specifications:
Static front ring with 77mm front thread.
The back thread diameter is typically 58mm at a standard pitch of 0.75mm (filter thread).
The front lens cap diameter is 80mm.
Once screwed into position the Anamorphic can be aligned and locked.
Close Focus is 3ft 7in.
End to end focus rotation is around 180 degrees.
1/4" Whitworth threaded hole for support is provided as standard.
Support system for 15mm bars at 600mm (apart) is available at extra cost.


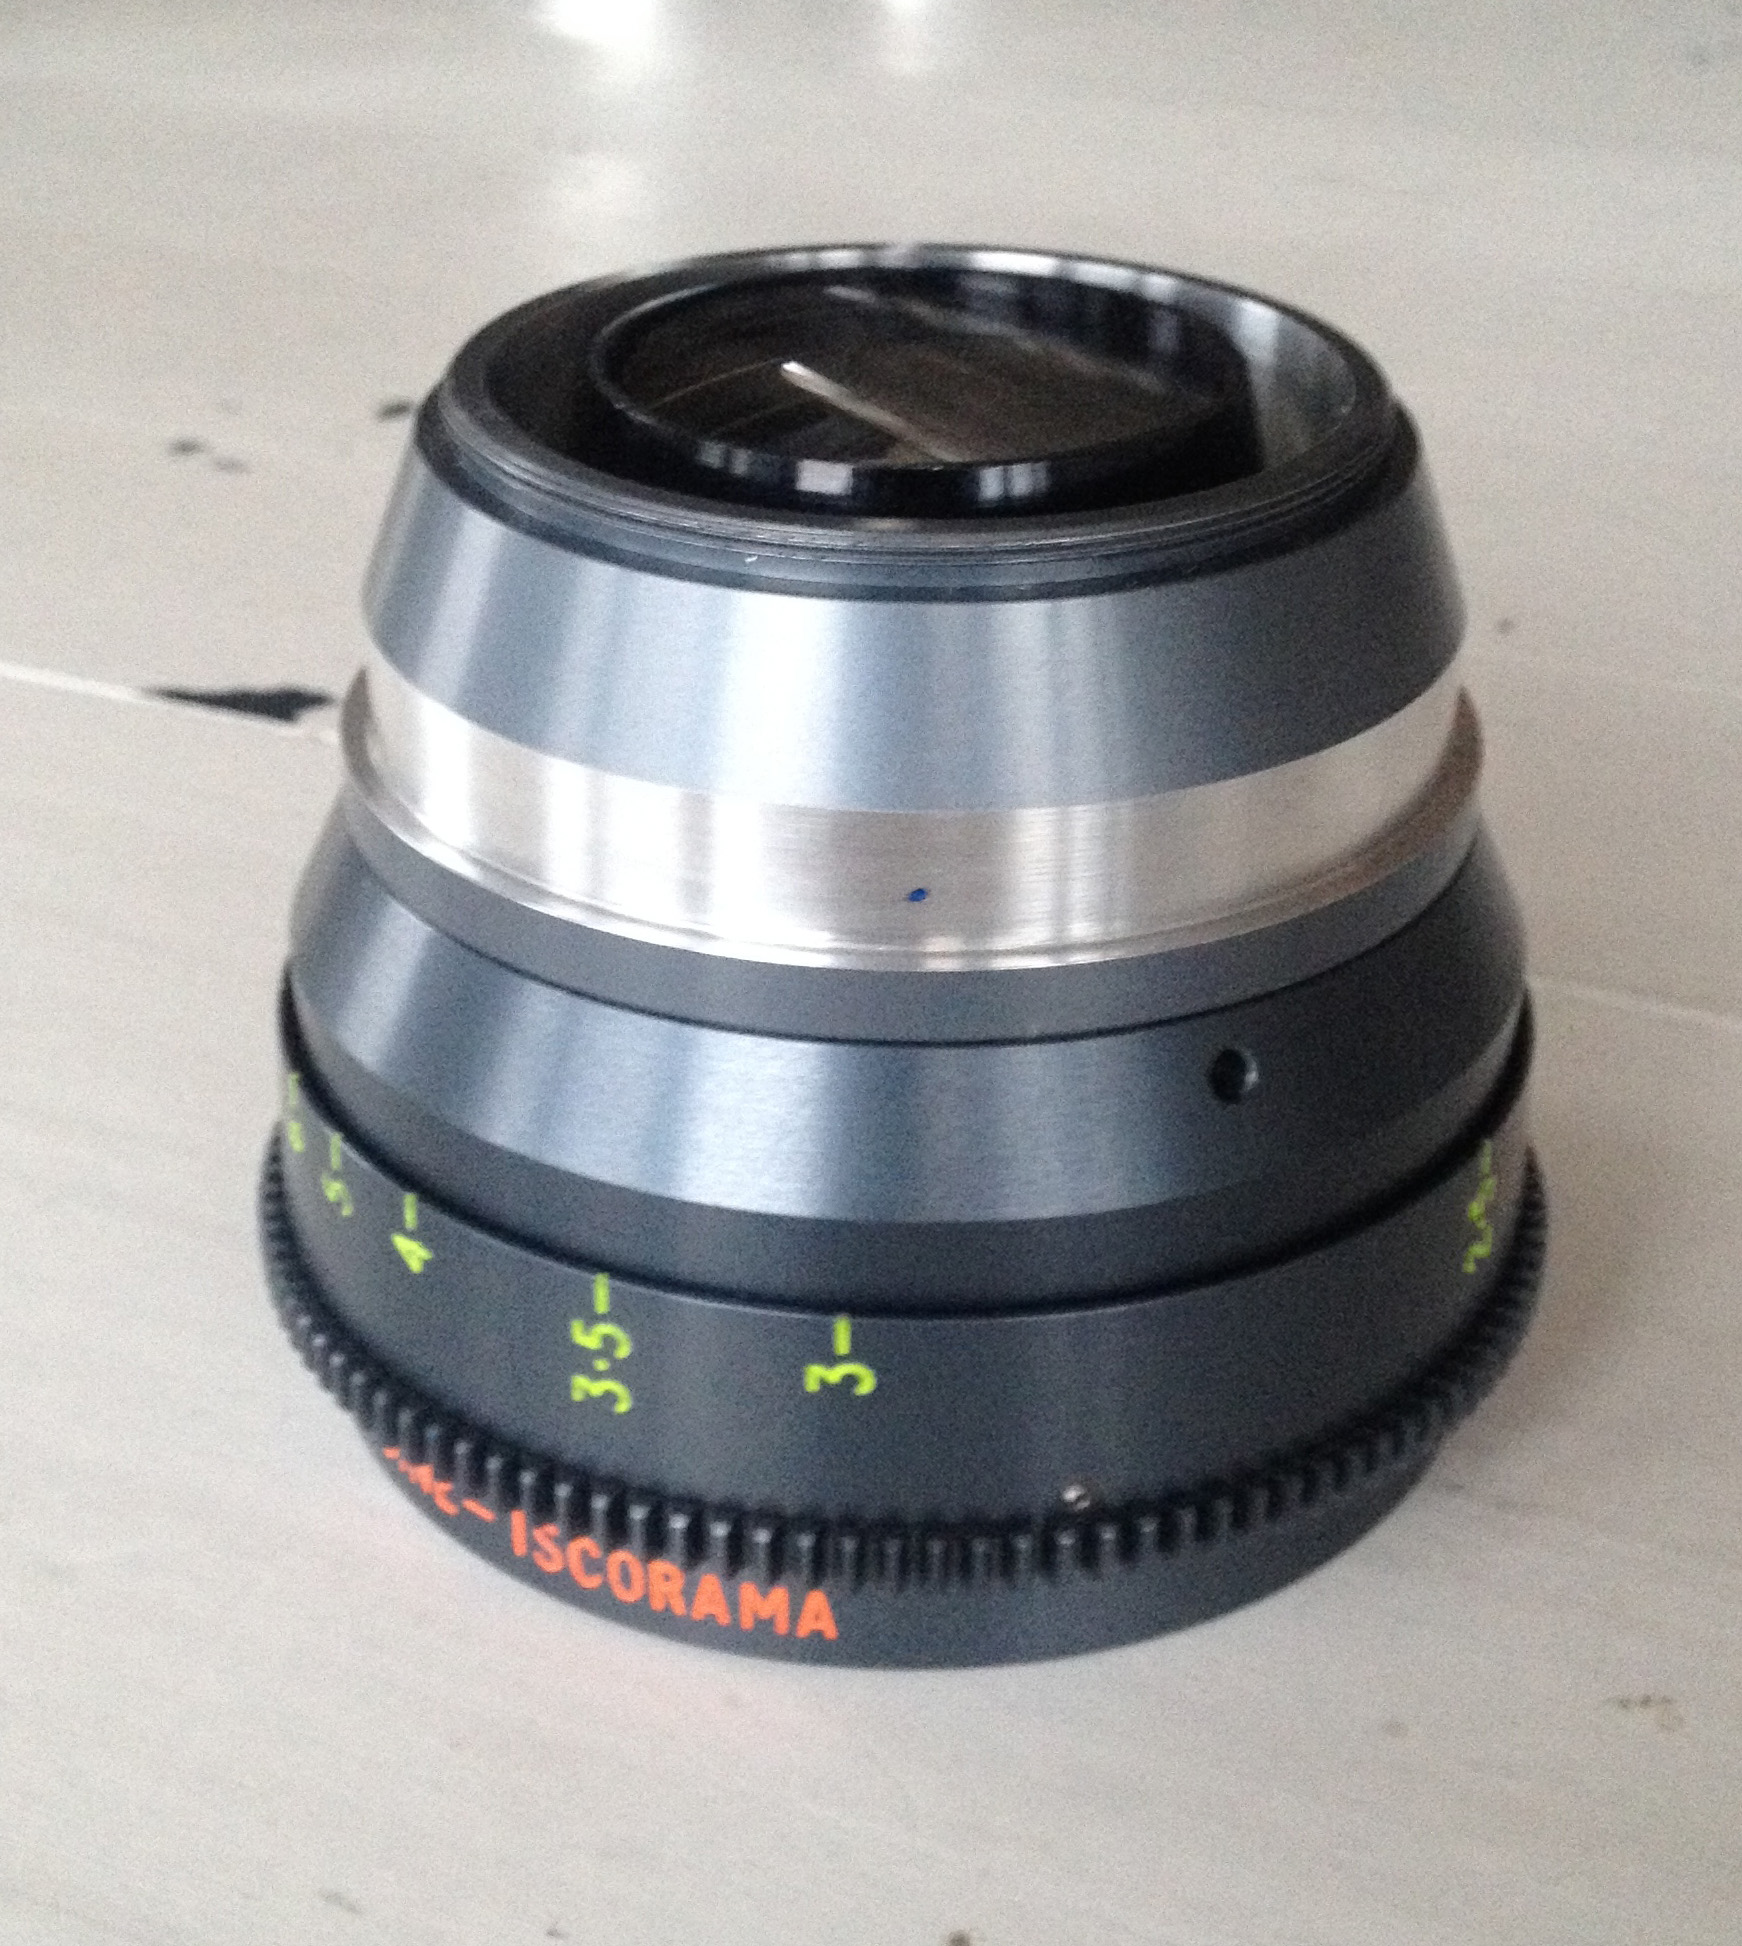
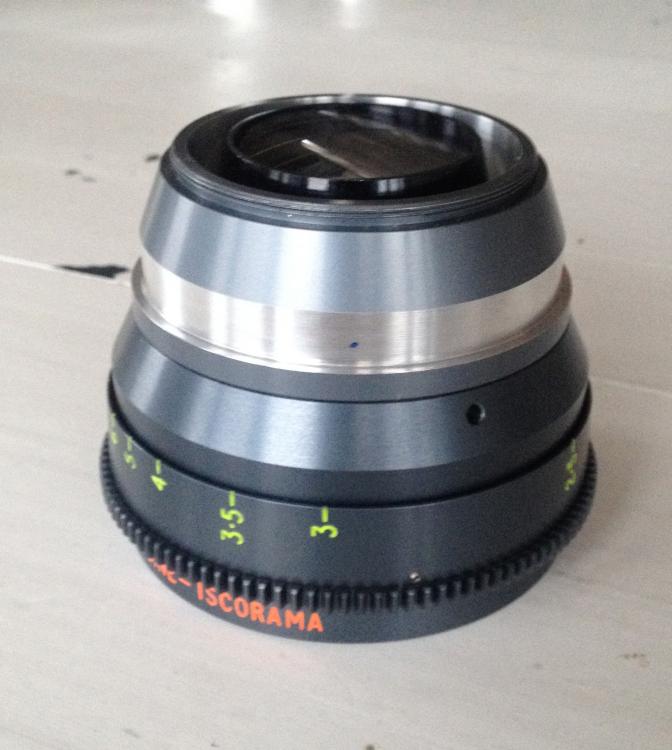
FS: Iscorama 36 MC - $2400
In: Cameras
Posted
Still for sale? Any pictures of the rear element? TX