

deathly_twig
-
Posts
4 -
Joined
-
Last visited
Content Type
Profiles
Forums
Articles
Posts posted by deathly_twig
-
-
2 hours ago, Sage said:
Premiere distorts the color space of ProRes - most noticeably saturated red. It also hides the correct levels flagging of VLog (this is correctable with the PRE).
I will do a PRE to fix Premiere ProRes exactly, eventually
I did use Premiere, unfortunately. So it's not the best it could be due to that! Will send over the DPX asap!
-
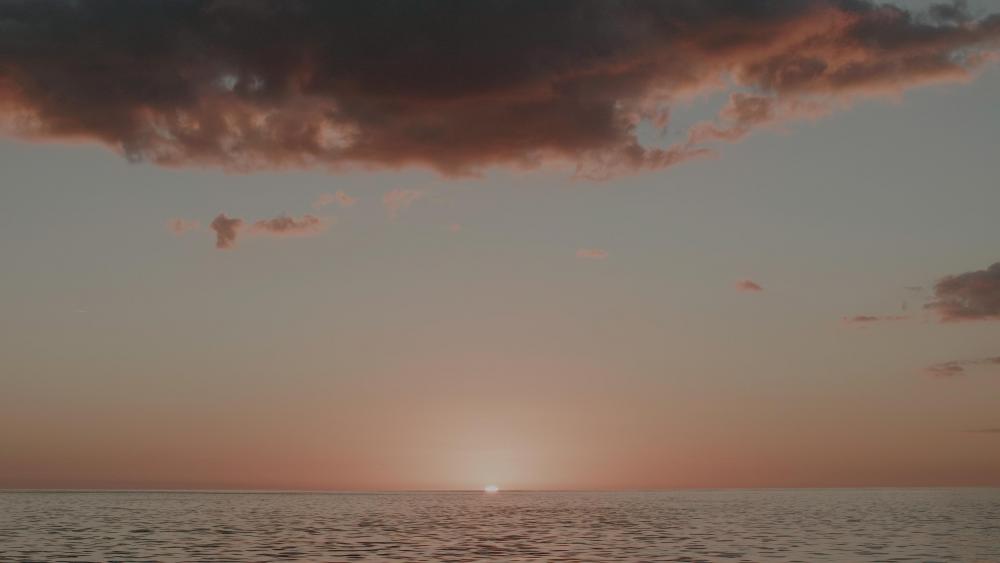
Some shots taken this evening. Not much grading other than V3 and some minor tweaks. These were wrapped in prores, as I used the Ninja V, so they aren't optimal. But I am really loving V3! So beautiful.


- mercer and JeremyDulac
-
 1
1
-
 1
1
-
On 9/28/2018 at 1:12 PM, will_fowkes said:
hello all! I made the Ireland video, thanks for all of your lovely comments
")
@PannySVHS I'll try to remember as much as I can about the process I used for this video.
In-camera: I set my WB for each shot using a grey card, and the whole video was shot in V-LOG 24fps 150mbit 4K.
Post: I use Premiere Pro for all post-processing, and I'm pretty sure I did all of the colour correction and grading within Lumetri for this video. I used the GHa Premiere 10-bit VLog [PRE] LUT in the 'Input LUT' section of Lumetri. And then used the GHa Daylight (Soft) at 80 Strength in the 'Creative LUT' section. I would do those 2 steps first, before colour correcting (minor adjustments to WB, exposure, possibly adding contrast in the RGB curve, slightly increase saturation). I didn't have to do anything else to the video in terms of grading, I really liked the colours like that. As @Sage mentioned, I found sometimes that greens went too far towards blues, but this was fairly easy to correct with the Colour Wheels in Lumetri. After colour correcting, I duplicated the videos into a second layer and set this new layer to Opacity 0.18 and Gaussian Blur 5.2, as recommended in the LUT PDF as a way of removing some of the GH5's digital sharpness. I then added in some grain which has been smushed by Youtube as expected.
It's worth mentioning I only have a very limited experience of videography and colour grading, having done it as a hobby for about a year now. However, I'll gladly try to answer any other questions anyone has. Equally, I'm very open to any suggestions on my process anyone has after watching my video! I can't recommend @Sage's conversion LUT enough, it does magical things to the GH5.
@will_fowkes Loved the video! I loved the story and how you told it as well. The voice over was done wonderfully! If I may ask, what type of exposure did you aim for? Neutral, or over a bit?


GH5 to Alexa Conversion
In: Cameras
Posted
So I just got my Mavic 2 Pro today, and decided to try the GHA conversion on it, in 10 bit mode of course, to see what would happen. I used the Cine-D pre, and then Linear. I still have to dial in my Mavic settings a bit more, but the lut seemed to work! Obviously not perfectly, but not bad. Now to get some better footage and more practice with this drone!