-
Posts
8,104 -
Joined
-
Last visited
Content Type
Profiles
Forums
Articles
Everything posted by kye
-
Yeah, unfortunately it didn't have captions so I couldn't use auto-translate, but I noticed some waveforms and the tests seemed controlled etc so pretty good effort. His enthusiasm was..... pretty darn high too!
-
I'd be very curious about what this one is (from his thumbnail): Unfortunately it's not in the video and some googling couldn't find it, so I suspect it's AI?
-
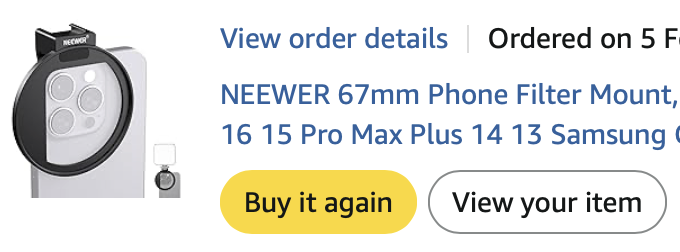
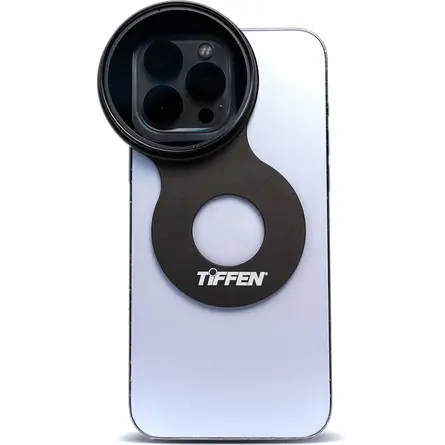
OP hasn't logged in for 18 months and the post is over 2 years old, but I'm actually going down this rabbit hole right now. I bought the Neewer one below but don't recommend it because it clamps onto the touchscreen of the phone (and if you watch the reflections you can see the screen bend around the clamp!), plus is seriously bulky. The idea you need a large one isn't necessarily true - I have a range of ND filters and I found that if I hold a 46mm one up to my iPhone 17 in just the right spot it covers all the cameras with no vignetting. Having said that, as some (or all?) phones don't have apertures, you'll need enough ND to shoot wide open. I tested my iPhone 17 Pro a few days ago and discovered it needed more than 5 stops of ND in direct sun conditions, and from about 2-3 stops onwards became unusable with IR pollution, so mine is going to need my 4-stop ND, my 1-5 stop vND, and an IR cut filter. I've just ordered the Tiffen MagSafe one (that only claims to work for the iPhone 16, not my 17) and plan to attempt to modify it to work with my phone case and see if I can get it to work, and if the 58mm filter size covers all the lenses without vignetting (especially if it doesn't align properly).
-
Yeah, I guess you could just start using it and see if it bothers you, and like you say - there are various tools to fix it even if it shows up on a few shots where the ground doesn't obscure it. The C300 having a similar problem helps to give more confidence that your unit wasn't treated especially badly, but also gives less confidence in it happening again, or in the Canon design department! I've had a number of things repair themselves over the years. The power mirrors in an old car I bought just started working out of the blue, and on the same car I bought it from a different state and was taking it to be inspected so it could be registered and I realised I'd forgotten to fix the horn, which didn't work. The guy was running through a checklist and said "horn" and I remembered I never fixed it. I decided to press it, pretend to be surprised, then promise to fix it later, hoping they'd be lenient.. so I pressed it and it worked - scared the crap out of me! I've had electronics do similar things too. I was visiting a friend in the Windows 98 plug-n-play days and he had a new card in his computer that wouldn't work in Windows so we were chatting and just for amusement I tried over and over to install it, using the same process (open device manager, delete the entries with errors, restart, repeat) and I had gotten to the point where I remembered each mouse click in the process and then out of the blue it just installed correctly and worked fine. When something doesn't work now I just treat it as the first offer in a negotiation and switch it off and let it chill for a while and come back to me when it's ready to raise it's offer 😄
-
Ah, I didn't realise it was behind a layer of glass... I'm assuming the ND moves in and out of position, so maybe it got it on there when it was out of position? I'm assuming that whole volume isn't completely sealed. It still begs the question of how the dust got into there, and how much dust it's been exposed to in its life... the probability the camera has only ever gotten one bit of dust in it, and that dust happened to get to that spot is pretty slim by my estimation! Can you call CPS to get an estimate for how much it would cost? Maybe that would help inform if it's a return or if you'll keep it and send it off for the service.
-
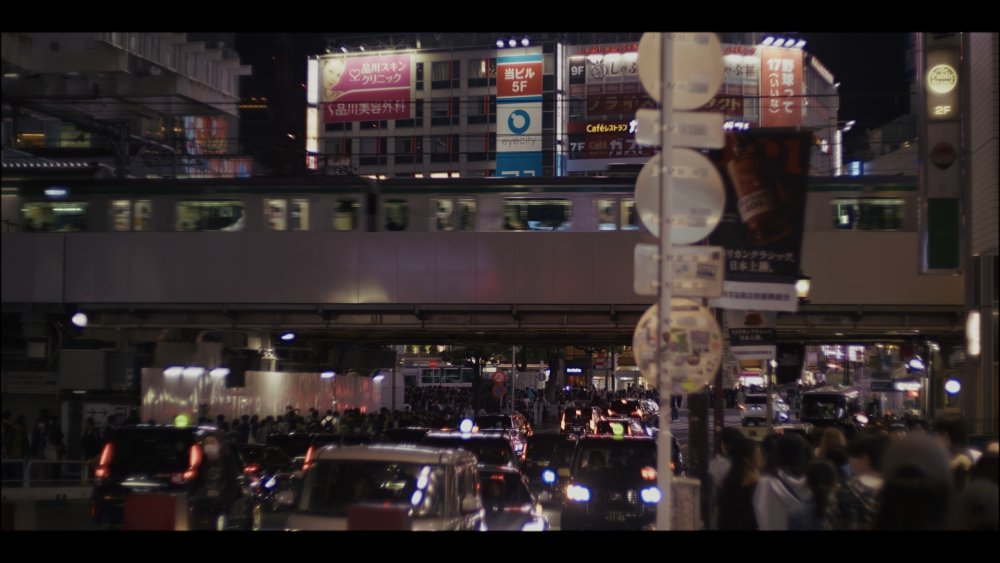
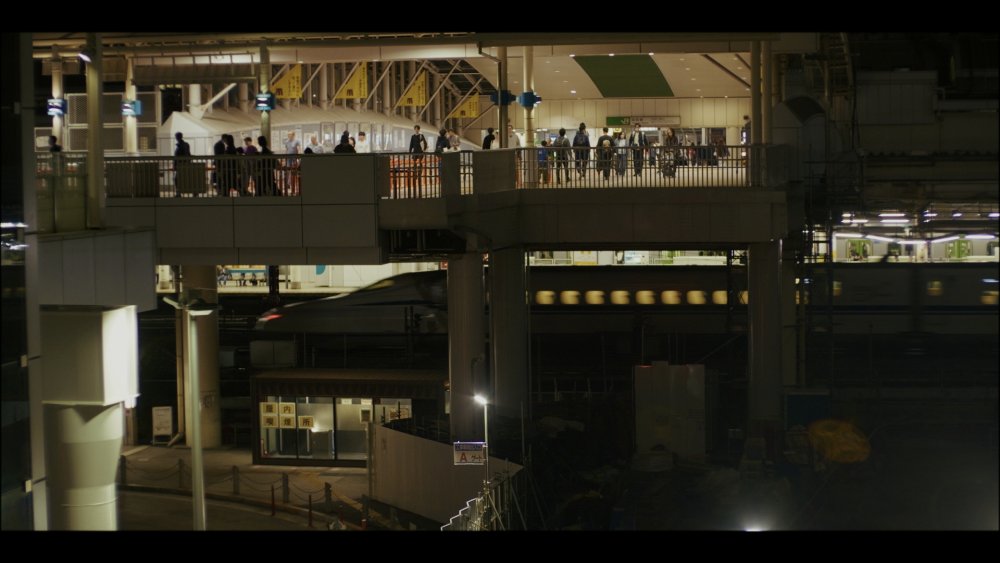
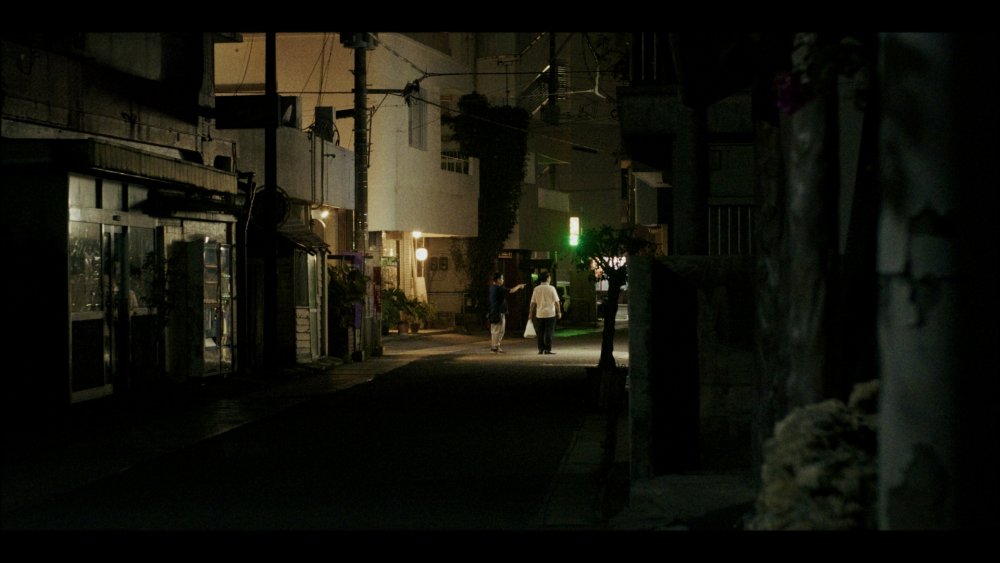
Thanks! Partly I feel like I've moved past shooting the obvious stuff and started focusing on what I'm looking for, but also there's a bias in what frames I choose to post online too as wider more normal shots often look really cool when moving but as soon as you look at just one frame as a still image all the movement is gone and the depth collapses and the frame just looks like a chaotic mess. This happens even if you've been looking at it in motion and so your brain already has a 3D mental model of what it's looking at - you hit stop and it just collapses. This shot is a moderate example and looks like a very busy but confusing still image (taken right next to the Shibuya train station): When watching the video clip the train stands out most because it's moving quickly, the pedestrians on the bottom right are moving a lot and the ones in the distance and to the left are moving less but still moving, and the side of the rail bridge and buildings in the rear are completely still. Seeing these things your brain instantly builds a sense of depth, which combined with the rear of the signs then means you recognise the cars as being several lanes of traffic despite it being almost completely stationary, and so in only a fraction of a second the frame becomes about six clearly-defined areas, rather than the almost indiscernible chaos that the still frame is. The process of pulling nice looking frame grabs from my footage is a fascinating exercise in how different still images are from moving images. They really are a completely different thing, and I shoot for motion and chaos and layers, so in a way I'm posting my least interesting shots. I agree. I follow someone on YT shooting with the same Takumar 50mm F1.4 on FF and they shot a video of using it wide open in daylight and it just didn't look right. There are strong anatomical reasons for this as in lower light our pupils dilate giving our eyes a shallower DOF, we can often get flares etc from strong light sources (which will be on our periphery because we're probably not looking at them directly), and in very low light we even start relying on the rods in our eyes (which are far less detailed) instead of the cones which we usually use. I have a trip later on in the year where I will probably only be shooting during the day and won't have many/any chances to go off shooting at night, so I'm forcing myself to get excited about daytime images again, and in thinking about equipment I'm not sure that shooting with larger apertures / fast lenses makes visual sense so I might not even take any, instead just using my usual 14-140mm zoom lens.
-
Nice. Good idea about giving it a solid clean out with rocket blower etc. Mine tends to leak air quite a bit from the one-way valve, but if you put a thumb over it then it turbo boosts the air to give a much more solid blast. It'd be good to know if there's dust all through it, and if you end up dislodging a bunch, at least you can include that in any cleaning service you arrange. I have also found that fan brushes for painting are really nice for dislodging the dust that is just attached enough to not move from air alone, but they tend to be gentle enough that they're not picking up dust and then pressing it onto the surface as you move it around. I don't know how far I'd go if something was on my sensor - I'm mostly blowing dust off my lenses or off the outside of the gear after a trip. Speaking of brushes, the makeup section in most shops will often have very soft brushes with a short handle that fit really well into the case/container you're keeping your lenses. In terms of how it got there, I've noticed a minority of people seem to be perfectly happy taking their time and doing other things while the camera has no lens or body-cap attached. Personally when I'm changing lenses I do it in a sheltered area, taking the rear lens cap off the next lens, then swapping the lenses as quickly as possible (while still being calm and controlled) and then putting the cap onto the previous lens. If I'm at home and feeling fastidious I blow the rear element of the next lens (and rear lens cap) before fitting it, then blow the rear of the previous one before putting the rear cap on, in an effort to not let dust hitchhike its way into the camera.
-
I don't want to side-track the thread by diving into IBIS but I find that mostly the specs of "stops of stabilisation" are meaningless, as the limiting factor is what it does when you reach the limits of the mechanism, not what stabilisation can do if you don't shake it that much. A much more meaningful factor in the performance of these mechanisms is the way it responds to movement, like the difference between the mode that stabilises by smoothing the shake and the one that emulates a tripod by eliminating it as much as possible. I also found the behaviour of the OG BMPCC and BMMCC to be excellent, being about 80% towards eliminating the movement but not quite being clinical about it, a very nice feeling response. Maybe I'm just using it in far more aggressive ways and therefore constantly pushing it to its limits. I really like the Dual IS where it combines the lens OIS with the IBIS too. I shoot everything up to 280mm equivalent handheld, and frequently shoot while tired, while hungry, while cold, while holding the camera in odd positions or at the very edge of my reach, etc, so this probably isn't something most people really test that much. I often look at shots I have taken and wonder why I didn't hold it a bit more still, or didn't pan a bit to the right, and then I remember I was shooting blind holding the camera out the window of a moving vehicle and framing in my head while paying attention to the posts flying past, or while walking down stairs into a cave while holding the camera in one hand and the handrail in the other trying not to hit my head. The Crop Zoom function is nice, if a bit limiting (it won't go past 1:1 so if you're shooting 4K you can't get much crop, whereas the GH5 and GX85 2x and 4x crop didn't care and gave you the extra reach regardless, with the ETC 1:1 mode giving you a 1:1 if you wanted it).
-
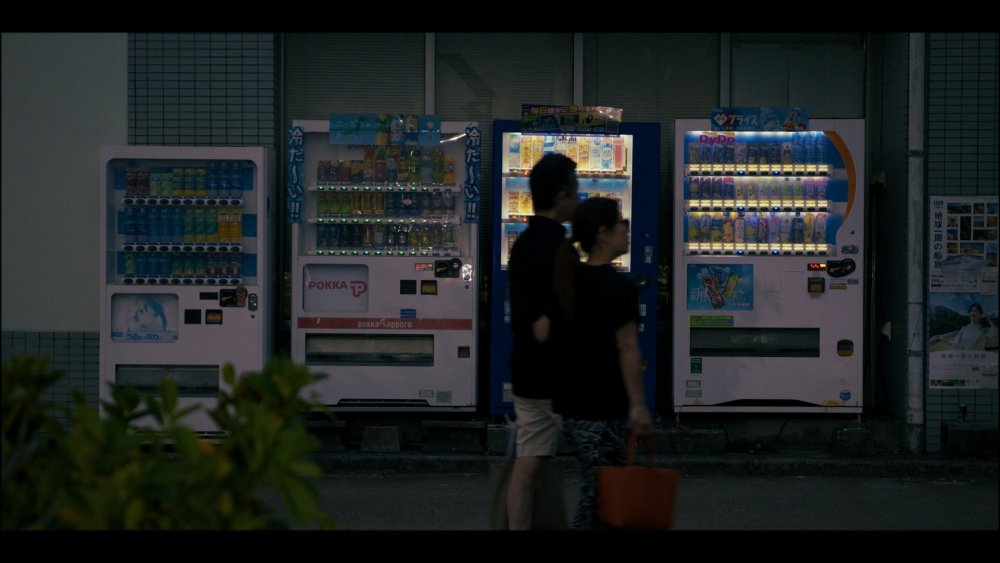
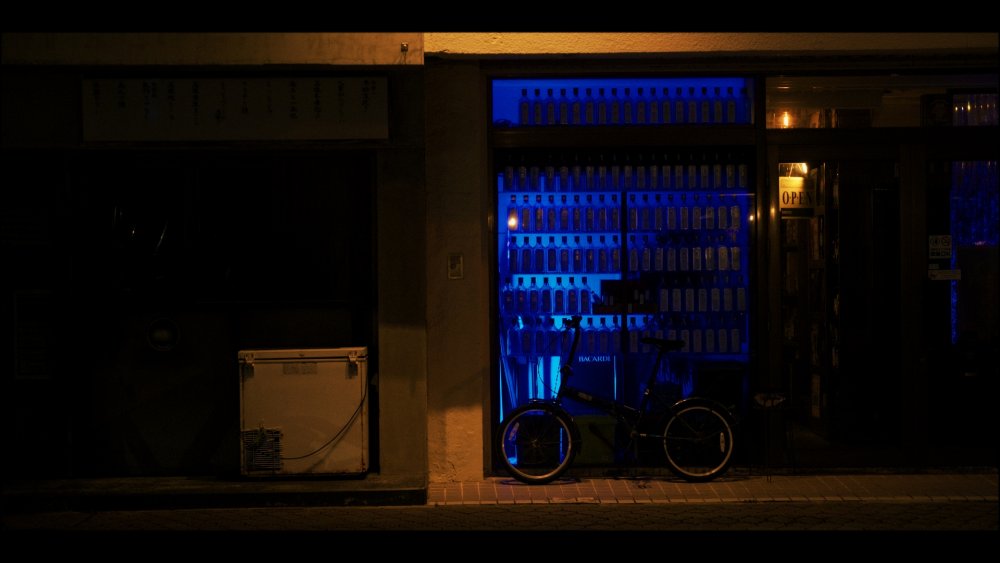
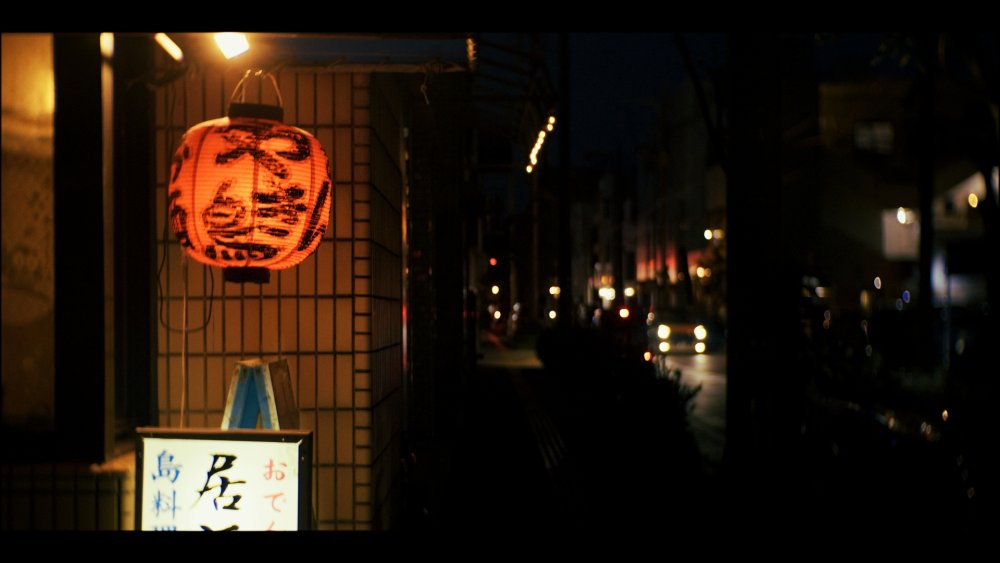
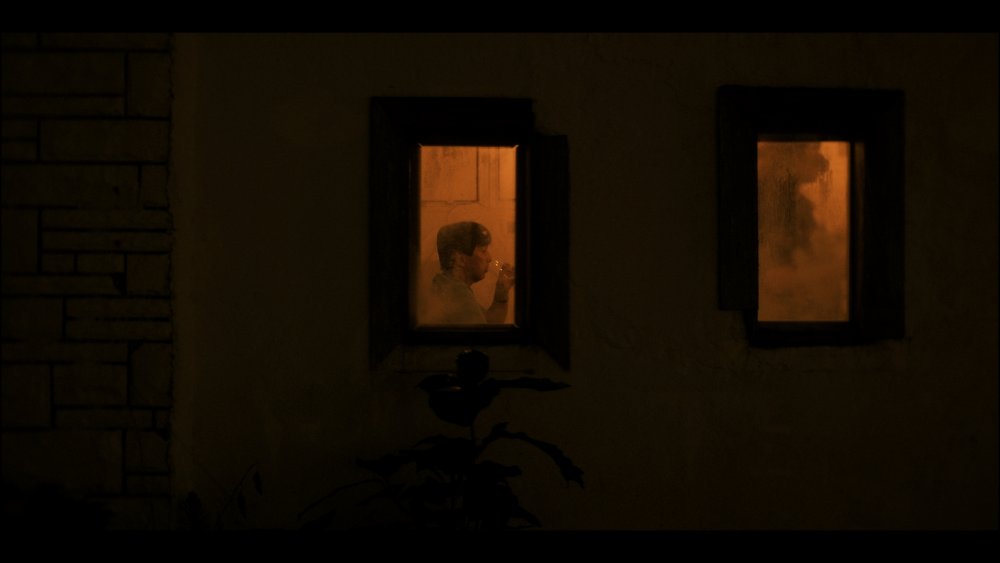
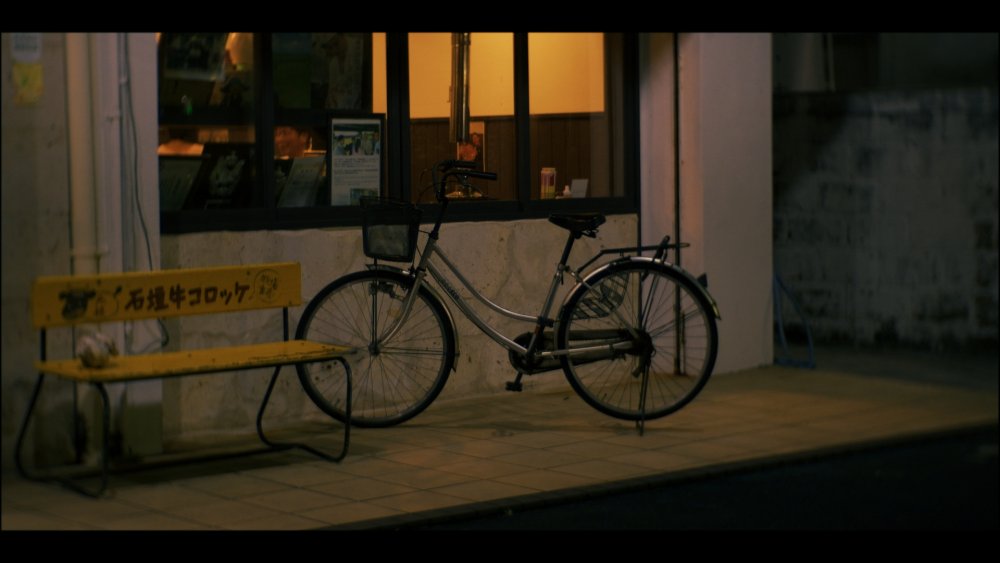
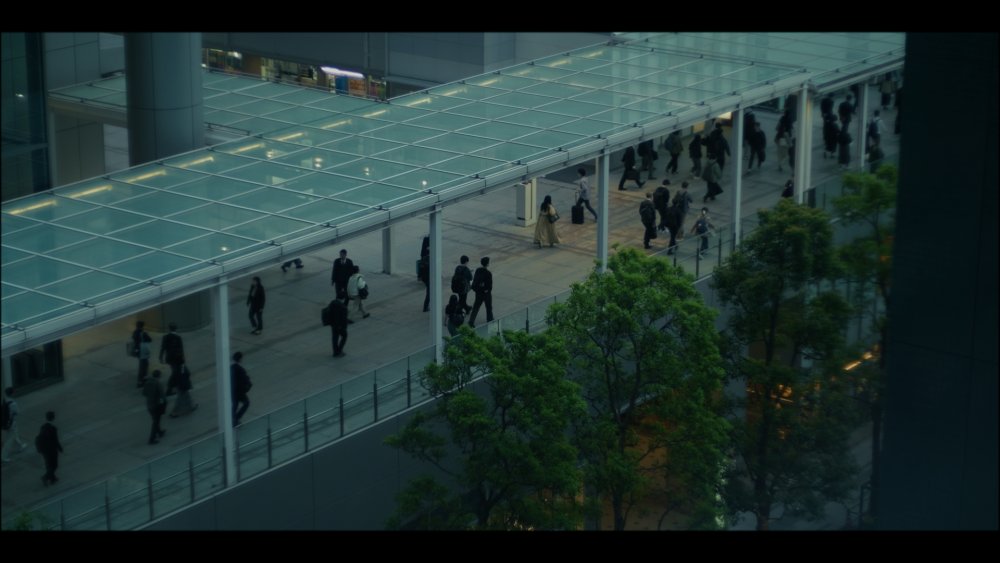
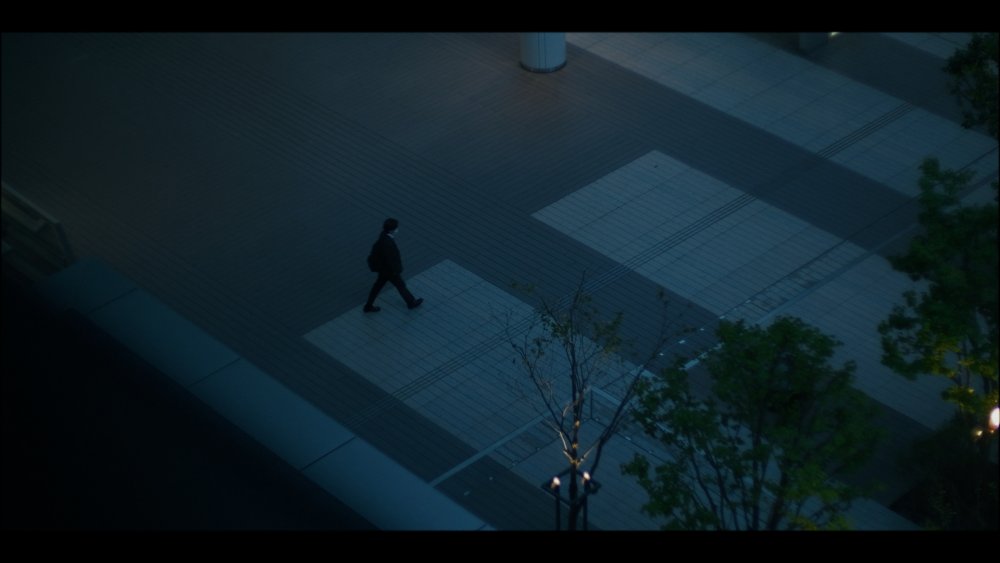
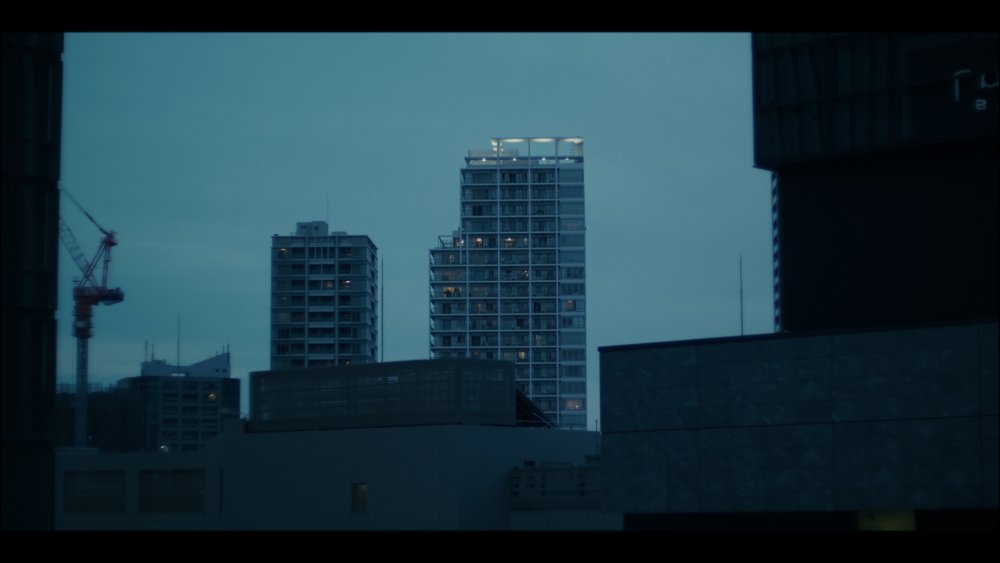
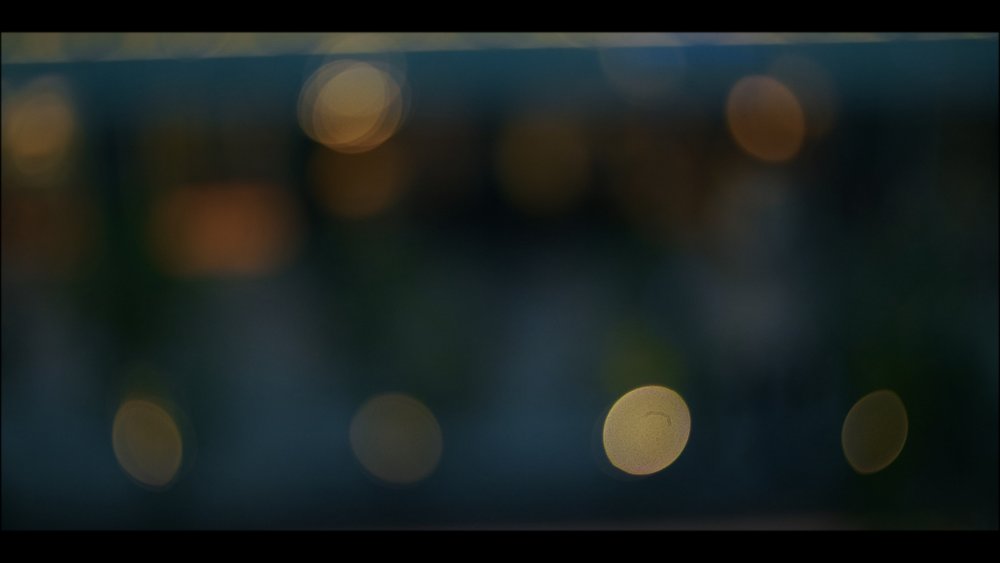
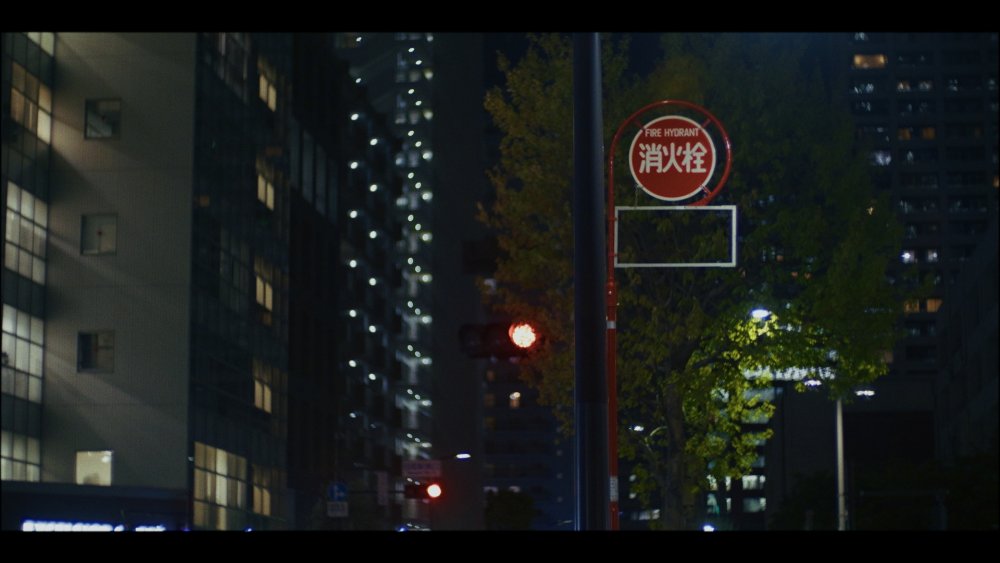
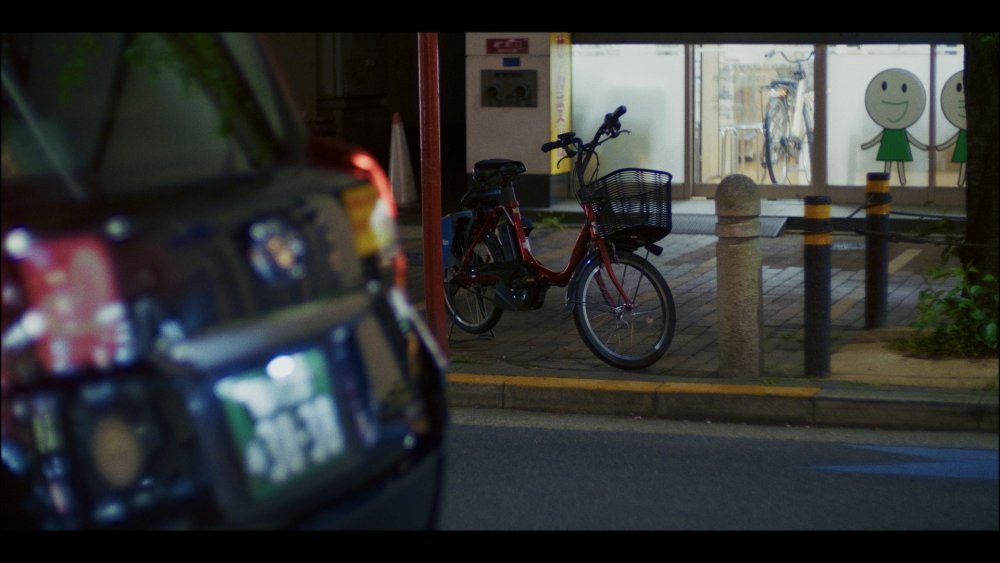
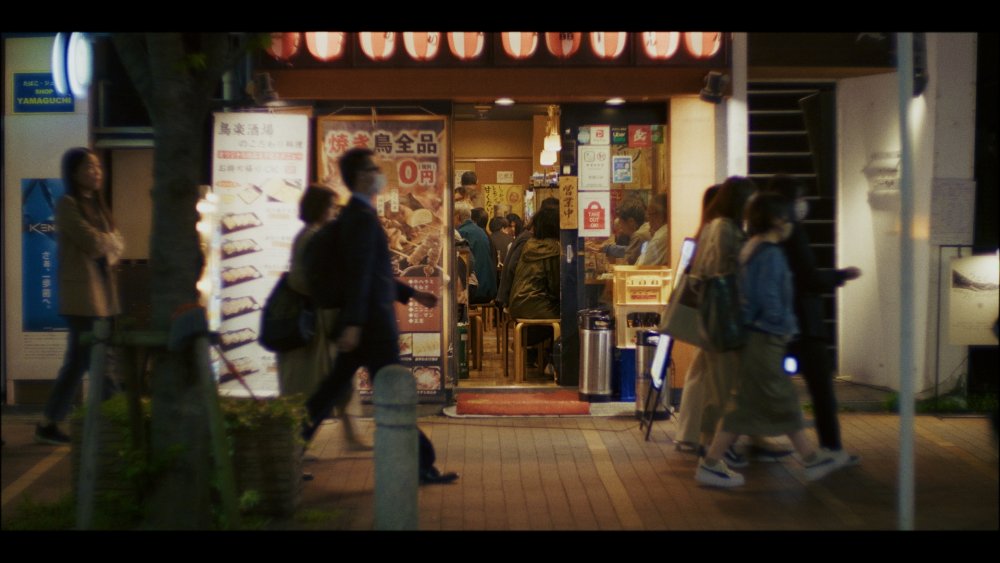
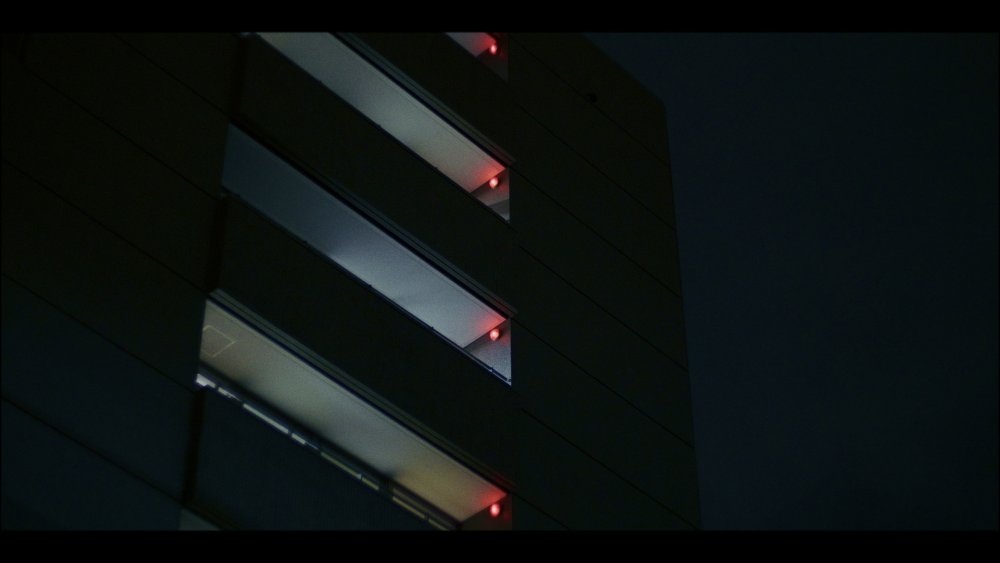
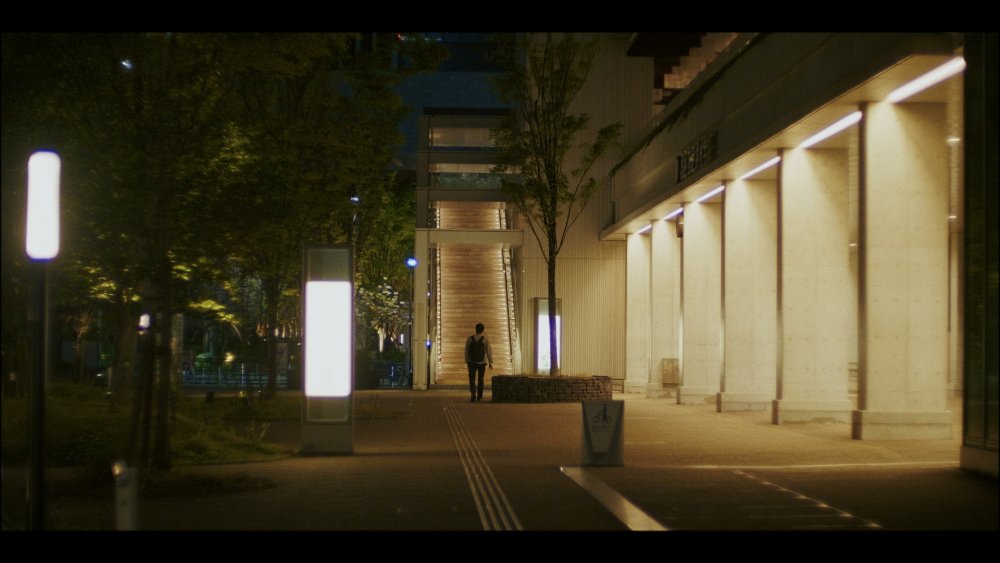
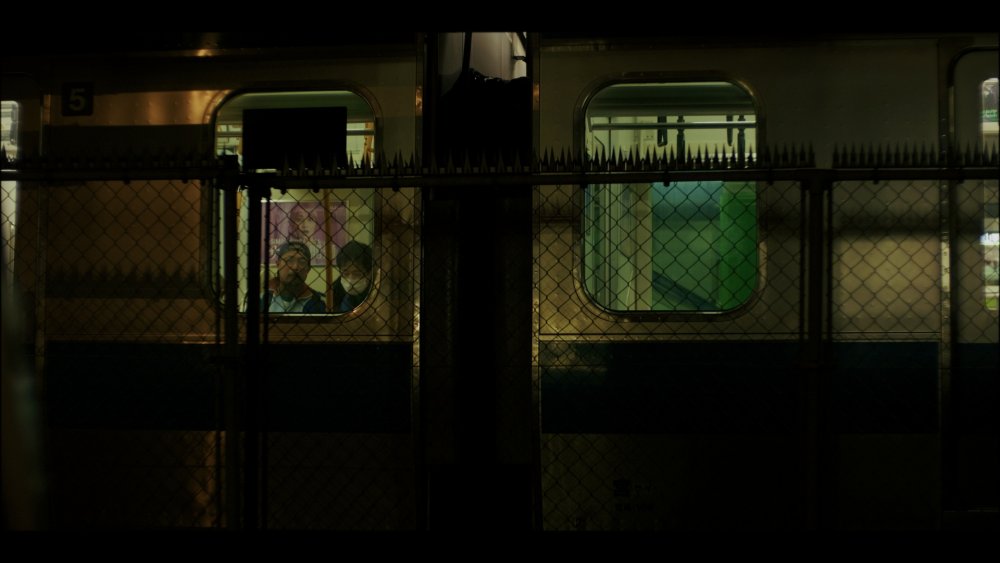
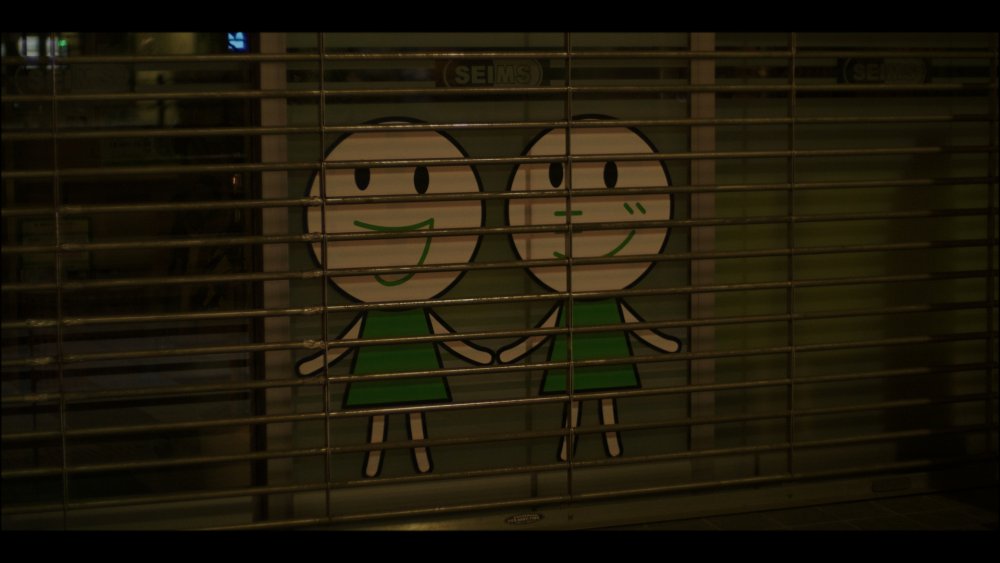
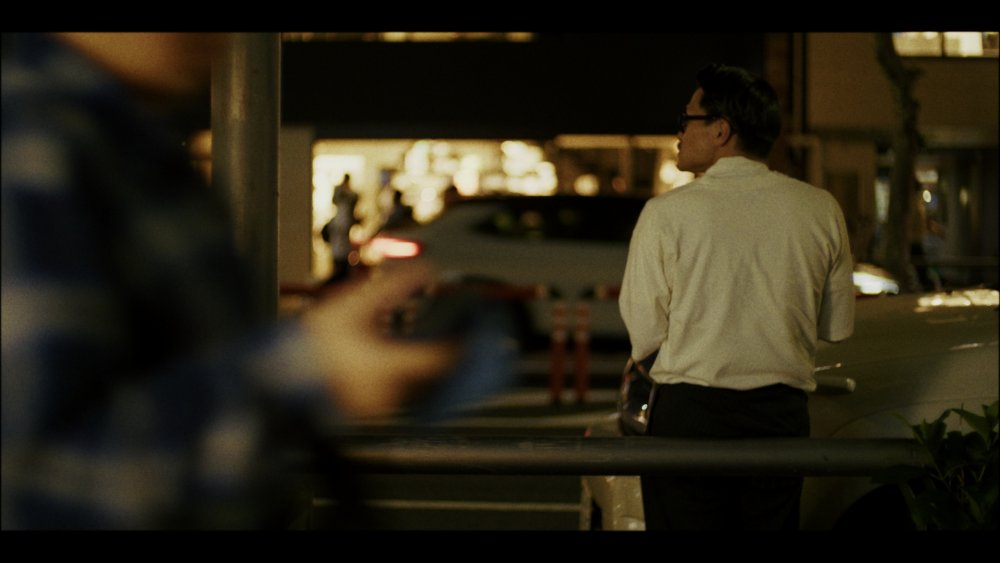
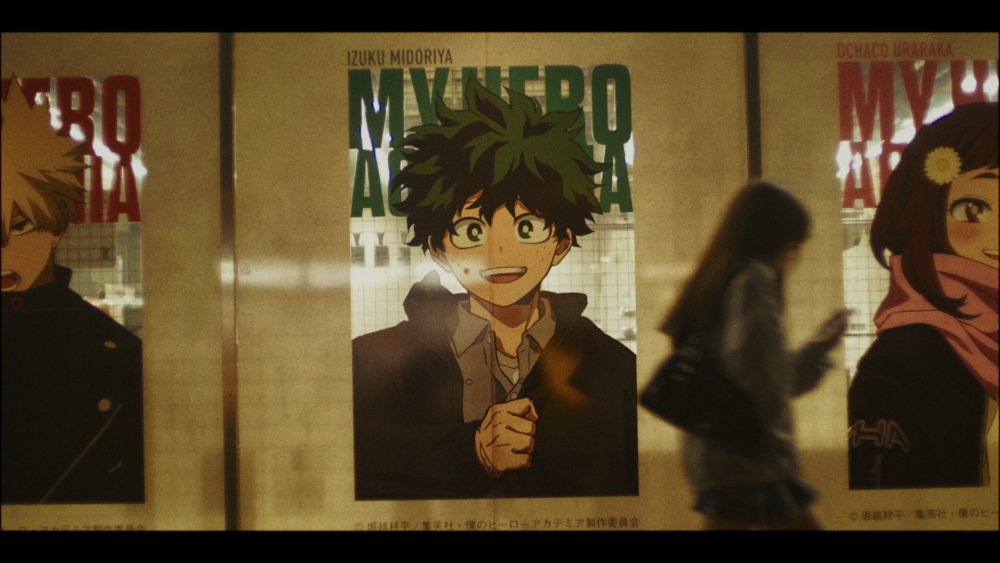
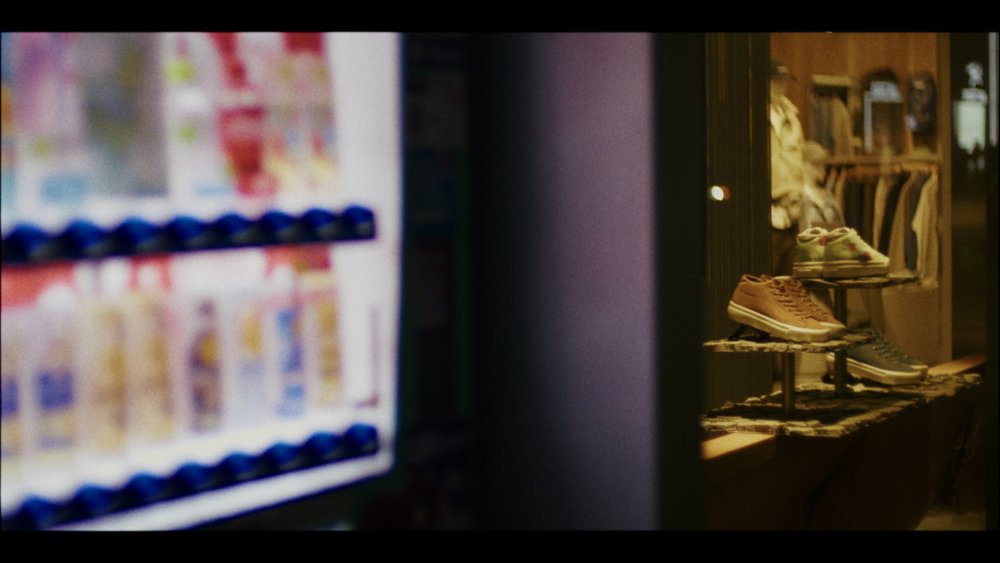
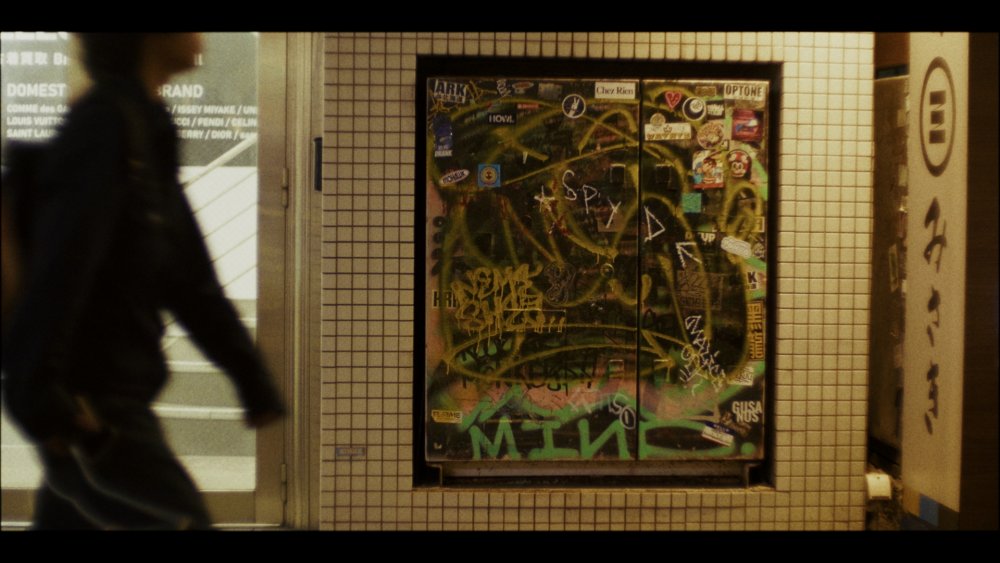
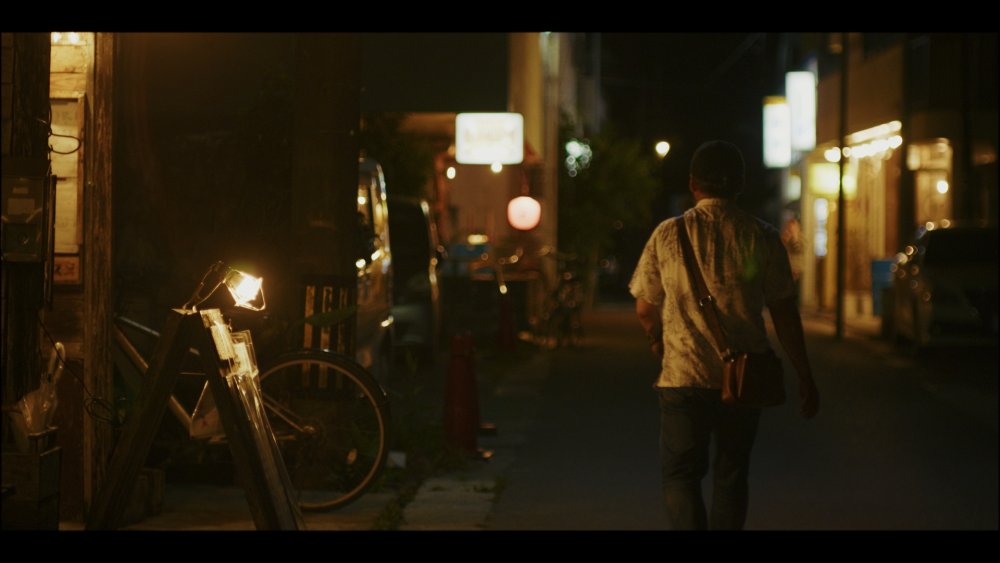
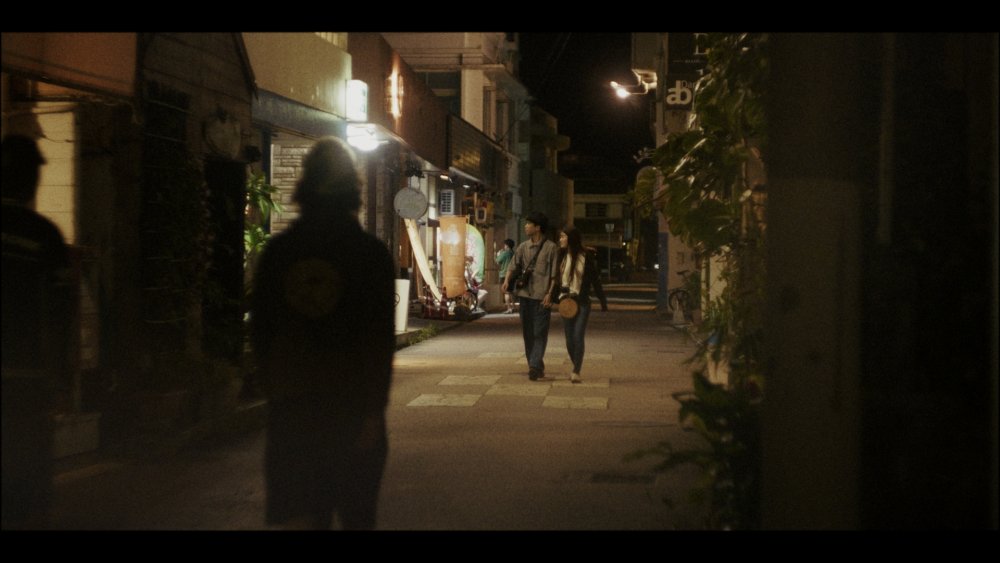
Back from a visit to Japan. We spent most of the time in a small town but went to Tokyo for a weekend, so I shot a lot in Tokyo and used the rest of the time to test a range of lenses I took just for that purpose. I tested the 12-35mm F2.8 for Night Cinema and it worked great and I loved the images, but as it got darker I kept cranking up the ISO and in the end it just didn't have the levels for the truly dark backstreets. I also tested the tiny 35mm F1.6 c-mount CCTV lens I got off ebay some time ago. It produced some really nice images in the right scenarios, but the plane of focus was so incredibly distorted that any scene with stuff off-centre in the frame would look really strange. It had more level than the 12-35mm but still fell short of my better options. My themes for the place emerged very quickly.... vending machines, bicycles, and lanterns. Anyone who has been to Japan will be surprised by this exactly zero percent. At this point we went to Tokyo and I treated it like a Night Cinema interval event, basically shooting as much as I could. I shot a whole sequence from the hotel window as the sun set using the Takumar 50mm F1.4 and SB, my go-to setup. I did a number of walks around the local area with the same setup. Each time I went out I liked using the setup more, and each time I reviewed the files I liked the images I got from it more as well. After China I was feeling like it was a bit too vintage / low-fi but I've really warmed to it since. I found myself a bit at odds with Japanese culture, especially in regards to the fervent dislike of badly-behaved foreigners and the locals dislike for being filmed in public (despite the fact no-one will tell you they don't like it), so I mostly filmed the place and not the people, or at least I didn't tend to film individual people, instead including them small in the frame, or en-mass, or out of focus. I think that lent itself to the cultural experience as well. The city, and to many extents the culture, dwarfs the individual, placing the focus on the group. As a tourist I can only glimpse the culture from afar, so taking the perspective of the outsider in the compositions is very much representative of the experience. My "big" outing was a walk from Shibuya to Harajuku on our last night there. As these places are known for youth and fashion and culture (and the counter-culture that fashion normally draws from) I concentrated on the grittier side of these areas. I also leaned into the layers and the overall chaos of the place, taking advantage of the Takumars ability to focus on a small slice of the chaos, both through the 70mm FOV and also the shallow DOF. Back in the small town I did more "test" walks with the TTartisans 50mm F1.2 (100mm F2.4 equivalent), the Helios 44M + SB combo (82mm F2.8 equivalent) and Takumar + SB combo for comparison (71mm F2.0). As the small town was much less dense I found the extra reach of the TTartisans to be useful, and the DOF was shallow enough to be useful at distance, and the image was much cleaner across the frame compared to the Tak. The Helios 44M was a different beast. I felt like I was fighting with it basically the whole time and came back from the shoot thinking it was a bust and I'd wasted an outing. The FOV often seemed wrong, it lacked the aperture to get enough light to the sensor and I was pushing the ISO a lot, the DOF was also deeper and so I found myself having to get closer to objects to get the separation I wanted, which then meant I was too close and the parallax motion from my hand-held movement was really distracting. The focus on my copy is very stiff and it is a very low gear so to go from distance to closer focus had the ergonomics of opening a jar where something sticky had gotten into the threads. Still, I got back from the shoot and lots of the images looked really nice, which I think is to do with the extra diffusion this has. It was also better behaved on the edges of the frame compared to the Tak too. One thing that isn't obvious from the frame grabs is the ghosting from the strong light-sources in frame, and because I shoot hand-held and have IBIS active, they move in unnatural ways. At first I thought they were coming from my vND but if anything they got worse on both the TTartisans and Helios after I took it off. I think due to this I'll have to lean into the imperfections in the grade and edit and go lo-fi, which is why I've applied a film emulation softening equivalent to 20mm film to the Helios footage. I also shot a lot with the iPhone 17 while there, normally during the day for non-cinema purposes, but that's a different topic for another time.
-
TBH I never really noticed any improvement in the IBIS between the GH5 and GH7, although I didn't really use them that closely together so maybe I missed it. The IBIS (and Dual IS with compatible lenses) on all the MFT cameras I have is pretty incredible actually, GX85, GH5 and GH7.
-
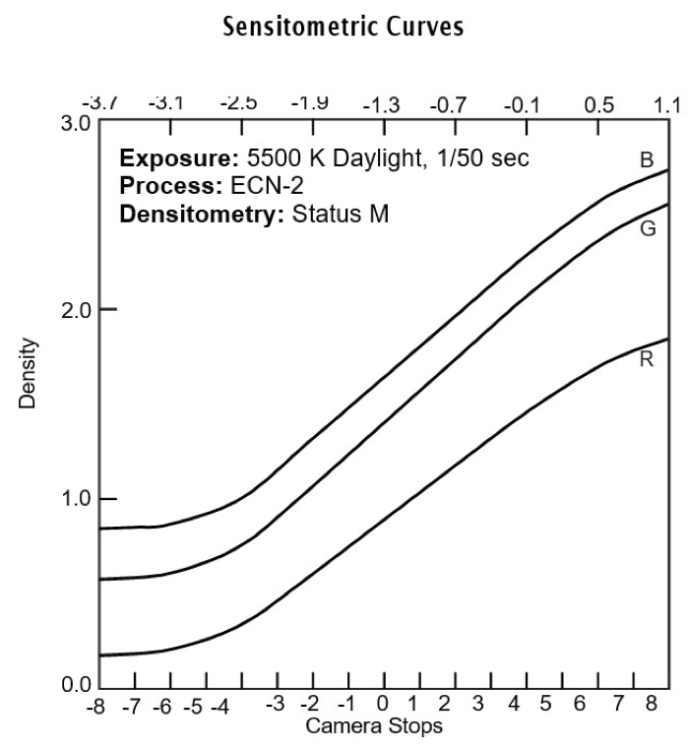
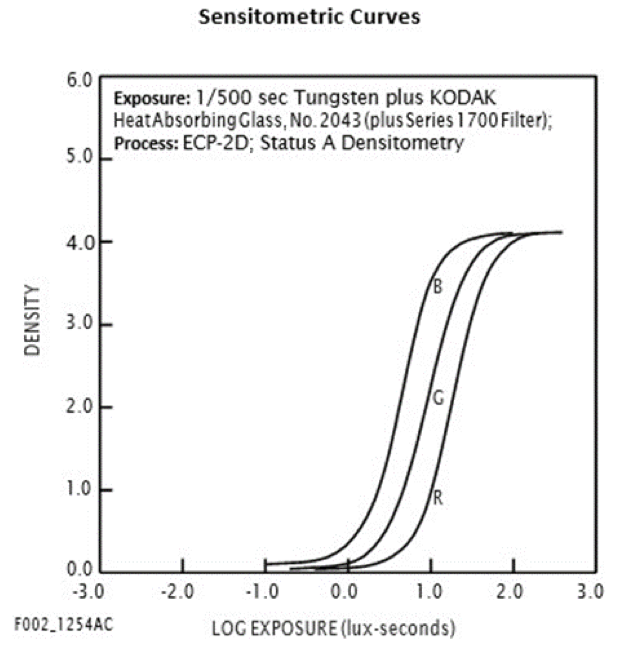
When it comes to things like the extra DR, I think about practicalities. Back in the day they had a certain amount of DR, so they filmed what they fit into that DR, modified scenes with too much DR where they could, simply didn't film other scenes with too much DR, or accepted sub-optimal results. They often had far more budget and leeway for lighting etc than you or I have. They also didn't tell some of the stories that you or I might want to tell. You and I are filming things they might or might not have filmed, we are doing so with far less resources than they would have had (*), and are doing so for an audience that is far far far more discerning than audiences used to be. (A note on resources.. Anyone who shot film automatically had a pretty large budget as just the line-items for negative film, development, and printing were absolutely huge compared to the entire project costs for what you and I are doing. As such, for them the cost to add a light here or modify something there was drastically less percentage of their production. I also suspect that back in the day the simple fact that someone was shooting on film gave them a sort-of legitimacy that would have meant they could get away with a more invasive shooting environment (adding lights etc) whereas now that level of legitimacy doesn't really come unless you're getting official permission.) I think of extra DR as being the thing that lets me bridge a gap between the worse conditions I shoot in, the lack of ability to control or modify the scenes I'm shooting, and the far greater expectations of myself and anyone else watching. Another note on DR, this is the curve from 250D: This has easily more stops than the GH5 has, potentially more than the GH7 has, and is likely to respond to high-DR scenes in a more pleasing way as well. Of course, the print stocks had far lower DR, like 2383 which only had 5-6 stops: But they were still capturing the greater range and depending on how fancy they wanted to get in the darkroom (or if they had a DI to play with) they could definitely print the 5-6 stops of DR they wanted from the negative (essentially adjusting exposure in post) or they could extend the DR by printing different areas of the image differently, using graduated filters and all kinds of other tricks. I sort-of feel like comparing film-making now to back in the day is a apples-vs-oranges kind of thing, so comparing the specs directly without acknowledging the situations were vastly different doesn't really make much sense. However, to return to your situation in the present, I look at several factors to assess if equipment is good enough: Does it allow you to shoot what you want to shoot? Does it provide the speed / efficiency / convenience you need to create the work in the budget / schedule limitations you have? Does it provide a pleasant-enough experience while using it? Does it create the quality of results you are looking for? If these things are all true, then why change?
-
Just a thought about that last statement.. if you're taking a practical approach to considering upgrades then I'd say it's the other way around.... ...you've matured TOO much for the market 😉
-
Looking at my notes when I was upgrading from the GH5 to GH7, the main benefits of the GH7 over the GH5 were: PDAF Real V-Log (not V-Log-L or light or whatever it was) (*) Prores and Prores RAW internal Improved DR (*) Improved latitude - due to having real V-Log as well as the improved DR (*) Improved low-light (*) and the cons were: Size / weight Cost (not only the body, but potentially the media and new batteries etc) Loss of modes between 1080p and UHD (3.3K 4:3 mode) The items with the (*) are the ones that motivated me to take the plunge. Obviously the size / weight / price also factored into things! My take on your situation is that if upgrading doesn't offer you tangible improvements that will be worth the (considerable) hassle of upgrading, why change? Modern cameras are improving all kinds of things that aren't needed / used in every situation (including many features that are actually incredibly niche), so if you happen to shoot in only situations where your existing kit is enough, then the upgrades are just cons/costs.
-
I did think of that, but took it out of my reply because I was thinking that anything on the sensor would be in-focus regardless of what the lens was doing. Maybe I'm wrong though, not sure..
-
First thing I'd do is fit a mild-telephoto lens, focus it wrong so it's all blurry and point the lens at something that is one colour - like the sky or a blank wall - and see if the mark appears on the footage. If it does then you have a problem, otherwise it won't show and you're fine. It may show up in the bokeh of out-of-focus areas too, but texture or patterns in bokeh is normally relatively benign and very common.
-
Perhaps the risk you are hinting at is that making things technical will limit them creatively? This is a valid concern, and we know that people can't be analytical and also creative at the same time cognitively, so switching into analysis mode is opposed to creativity in that moment. However I think this is a challenge that we're all already facing and dealing with (in our own ways and to our own various levels of success). The approach I take is: Do the analysis and technical work between projects. This involves doing things like latitude testing, lens testing across apertures, testing codecs and colour spaces, testing colour grading approaches and techniques, comparing export codecs and settings, etc. Save the results of these tests in an easy-to-reference place (I save stills that are labelled clearly). Putting your creative / emotional / aesthetic hat on, assess the results of those tests aesthetically. How do they make you feel? Which ones do you like or dislike and why? When shooting on real projects, remember what you learned from your assessments and make sure the tech is setup right (camera set to 24p not 30p, right resolution / codec / colour profile, etc), and then forget about it and think and act creatively. Great artists know the technical aspects of their craft but are able to move beyond them once they're in place and act creatively. Roger Deakins isn't thinking about ARRI vs RED or thinking about lenses and which aperture to use when he's operating the camera, but he sure as hell has looked at these things and formed his conclusions and made these decisions. If you swapped lenses on him he'd sure notice and not be happy about it - he chose what he chose for good reason. That's how I think about it anyway. I've actually done some initial tests (drawing from my vast backlog of previous camera tests) and worked out the following: GH7 set to 1080p Prores HQ is about equivalent to 35mm film (This might actually be a little low - this was 1080p footage on a UHD timeline so it'll have been softened in the upscale.. however, what this means to me is that it's fine for my purposes and although not as sharp as C4K etc, it's sharper than I need it to be and so I can take the win with storage sizes and editing performance) My Voigtlander 17.5mm @ F0.95 is about 23mm, and my TTartisans 17mm @ F1.4 is about 18mm Not only does this confirm the TT is softer than the Voigt, but I actually think that for lots of my projects a 16mm equivalent image is perfectly fine, so just as I had hoped, the TT has now moved from "oh, that's soft - is it too soft? I don't know" to "it's better than 16mm so probably fine for grittier or dreamier aesthetics" These are both wins in my book! I suspect most people can just look at the images from a setup, see them and assess them on the spot, and then move on using that information. Unfortunately, that isn't me.
-
An additional barrier that my above approach helps me side-step is the disparity between technical resolutions and aesthetic preferences. What I mean by that is that when we talk about resolutions (4K / 1080p / 720p / 576i / 480p etc) there are a bunch of associations with these. No-one is linking these with aesthetic decisions - no-one says they're shooting for the "480p look"! Any discussion of these is typically in the "more is better" context, or at least in the "1080p vs 4K" realm. However, my image analysis indicates that there are quite a lot of images that are deliberately created with an aesthetic that aligns with 720p or lower! Therefore, if I tried to "map" aesthetic preferences to technical resolutions I would be fighting all these connotations I have from these technical resolutions. However, linking these things to film doesn't have nearly the same associations. People don't talk about 16mm as being "crap" whereas they sure do if you're talking about a 720p camera or timeline resolution. The other challenge I have with the "I like that" and "I don't like that" is that I don't really know what that means. If I can look at an image I like and work out it's equivalent to 20mm film (if such a size existed) and I worked out that a camera/lens combo was also around 20mm film equivalent, then I could "link" that camera/lens combo with that aesthetic, or even that reference. Alternatively, if I shot with my GH7 in Prores HQ (which is likely to be around 50mm film equivalent or more) and a lens that is in that ballpark, but I wanted that 20mm film equivalent look, then I'd know to just adjust the Film Look Creator to align to the 20mm film equivalent settings, and I'd have that look. Speaking of using the Film Look Creator to adjust to various sizes of film, it comes with presets for 8mm, 16mm, 35mm and 65mm, but I did some interpolation and came up with the following values for intermediary values, so it can be used for in-between things too. From the initial image analysis I've done so far, lots of stuff shot on desirable vintage cinema lenses is often in those in-between areas, so this isn't just about using the FLC grain panel to emulate film, it's really about using it to emulate the softness of the final image, which is a result of the combination of: - haze / smoke in the scene - filters (such as diffusion filters, haze filters, beauty filters, OLPF filters, etc) - lens sharpness at a given F-stop - sensor resolution in the readout mode it's in - image processing (such as NR, sharpening, etc) - compression - etc. If you're emulating lenses then the edges might also be softer than the middle, so that would be a separate thing, but you can get quite far using a combination of: - Lens correction in the Edit tab - Round power-window to adjust vignette - Round power-window in combination with Tilt-Shift Blur OFX to emulate edge softness
-
For those interested in small setups, in modestly priced gear, in non-clinical rendering of images, in very fast lenses, in vintage lenses, or older equipment, we exist in a space that has no quantitative reference. There are no numbers to look up and understand things from. It applies to the equipment: Questions like "how sharp is that lens?" don't have an answer (that is intuitive anyway - MTF charts aren't intuitive and often aren't reliable or even available). Even if it did, that answer would only be true at one aperture setting, and even then, is only true for the middle of the frame or the edge of the frame, but not both at the same time. If we shoot at base ISO with a 4K camera then we'll likely get an image with roughly 4K resolution, but at higher ISOs the effective resolution will likely drop due to ISO noise, NR, compression, etc. If we use filtration, like diffusion filters, then these lower the effective resolution of the image. It's literally what they're designed to do. How much do they do this though? Not only is there no published answer to this, but the answer changes depending on focal length, sensor size, etc. It applies to the look we're creating: Any colourist working creatively will be trying to create an image with the right amount of resolution / sharpness / noise / etc, not just "the sharpest" or "the highest resolution". How much is desired? What are the references? I've been struggling with many questions from my own equipment and projects, including: My TTartisans 17mm F1.4 is less than half the weight of my Voigtlander 17.5mm F0.95, but the TT is quite soft at F1.4. How soft is it though? Is it too soft? If I want to shoot low-light with the GX85 (which has terrible higher-ISO NR) then what ISO setting is too soft, and then which lenses do I need to use in which environments to get enough light into the sensor? My Takumar 50mm F1.4 on my generic M42-MFT speed booster has pretty soft edges, but how soft? You'd think the solution to these would be to look at the footage and decide, but (for me at least) it's a double-edged sword because I also don't know what final images I want! I have spent a good amount of time looking at Hollywood films and big budget TV shows (see the original The Aesthetic thread) but apart from just going "I like that" and "I don't like that" we have the problem once-again of there being no way to quantify things. Saying "this show is softer than that show" really doesn't help. My solution is to reference things back to film. I originally did this with my Panasonic GF3, which shoots 1080p so soft you could cut it with a wet noodle, by comparing it to the presets in the Film Look Creator tool for 8mm and 16mm film I concluded that when the GF3 didn't show macro-blocking due to the (very low) bitrate, it was about the same as 8mm film. This was actually a really useful reference for me, because the associations I have for 8mm and 16mm film are quite useful. 8mm film has an aesthetic that is very nostalgic and low-fi, but was never good enough for TV shows, let alone the cinema. My new plan is to reference everything back to film, across quite a number of ways... Texture, which is what I've talked about so far: - I will be trying to "map" my lenses and cameras and codecs to a specific resolution of film (16mm, 35mm, somewhere in between) - I will be trying to "map" my aesthetic preferences to film too, like wanting a certain project to have the resolution of 16mm for example, but further than this - the size and amount of grain can also be a useful reference. These are useful references for me because a lot of the aesthetic references of cinema I have were actually shot on film and so by associating these things back to film it's a relevant reference, not just some arbitrary scale that isn't directly related. Dynamic Range and Contrast: - How does the DR from the GX85 look when put through an image pipeline in Resolve compare to the contrast of a 250D -> 2383 process? - What about the iPhone vs a 16mm process from the 90s? or a B&W process from the Italian Neorealism or French New Wave period? Contrast and DR should be relatively easy to match to various film stocks by just shooting some over/under exposure tests and adjusting my standard Resolve colour pipeline to match what is in the spec sheets. Speaking of spec sheets, not only do the spec sheets for motion picture film contain the Sensitometric Curves that show DR and contrast, but they also contain the MTF curves too as a reference for resolution. When it comes to resolution you don't need to look at the charts though - I asked some film geeks I know to comment on the FLC presets and they said that the 8mm / 16mm / 35mm presets in the Grain panel have about the right amount of image softness and amount of grain (but that the character of the grain isn't accurate), so the FLC is a reasonable reference for the texture of film in a very broad sense. What else? Image stability is another one. 8mm film cameras were larger than modern compact cameras so were more stable with the lenses they were normally fitted with, but 8mm had pretty terrible gate weave (alignment from one frame to the next) so having micro-jitters from hand-holding is compatible with the look. Whereas 16mm would have had more mass and less gate weave but at least at first would have probably been shoulder mounted or on a tripod, so some types of shots / angles will be more compatible with the aesthetic than others. Depth of field is another one. Lots of people think the "Super 16mm look" just means deep DOF, but it's more nuanced than that, as the lenses typically used would have some separation in low-light when focused closer, but due to the lenses at the time the shots might have been softer wide-open, so that's another relationship to understand. There are lots of other parameters that make an image that aren't covered here, but I am finding that getting some kind of reference for texture and contrast fills a very large gap in the landscape for me. The goal isn't to accurately emulate anything, its to develop a keener understanding of the spectrum these things exist in. Where I'm hoping to get to is to be able to develop summaries like: The GF3 is about 8mm at base-ISO, which during the day is equivalent to <some particular F-stop>, so I can put basically any lens sharper than 8mm onto it and the result will still look like 8mm. I can hand-hold this tiny camera with an acceptable level of shake up to about Xmm and it'll still fit the 8mm vintage / amateur / nostalgic vibe. The GF3 is tiny but once you add a lens that is larger than a pancake then I may as well use the GX85, so the only sensible lens is the 15mm F8 bodycap lens. Any other combo doesn't make sense. (This is an actual example I've worked out through testing). The GX85 at base-ISO is equivalent to <film size of some kind.. 16mm? 24mm? 35mm? 50mm?> which requires lenses of <F-stop> during the day and <F-stop> in well-lit night environments. This amount of resolution is suitable for projects with a vibe of <gritty street? vintage? night cinema? high-end commercials? etc?> but not other vibes. (This is still yet to be tested, but once I've worked out the camera then certain lens combinations will reveal themselves to make sense and others will obviously not work) iPhone? Where does it sit in all this? It has huge resolution and very strong codecs (4K Prores HQ or even Prores RAW) but poor DR and even worse ISO performance. GH7. What are the aesthetics I want to create that I can't create with the above (because the above is too limiting). What lenses and shooting styles and approaches are required for these aesthetics? The ultimate thinking is developing "constellations" where there is compatibility / alignment between: a camera, one or more lenses, certain shooting situations and techniques, an image pipeline, and a target aesthetic. I've been working on finding these "constellations" by starting at the camera and working forwards, but also by starting with the end aesthetic and working backwards, and I've identified a number of partial matches, but I think that by relating everything back to motion picture film, I can make more progress fitting the pieces together.
-
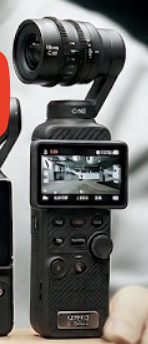
There's a realisation I keep hitting in my setups, despite me trying to keep a small kit. It goes like this: Start with a small camera body Think about the lenses I'd use with it for that project Think about the shooting style and approach and think about extra rigging and accessories that would require ----<realisation occurs>---- If the setup is going to be that big - why not use a larger body with better features / quality I'm having that realisation with this GoPro. Not that there's a ton of small bodies with 10-bit recording, which we've all complained about at great length, but just having a camera body with more than 3 buttons and a screen that is larger than a postage stamp etc is actually quite useful.
-
I heard this recently and think it's pretty interesting. I'm not sure if it's the best definition I've read, but it's more practical than other ones, so is useful from that perspective. “He who works with his hands is a laborer. He who works with his hands and his head is a craftsman. He who works with his hands and his head and his heart is an artist.” - Saint Francis of Assisi I'm 100% for not gatekeeping. Even from a practical perspective, saying someone/something is or isn't 'art' doesn't mean anything, and people who like to be critical are really just telling us about themselves, not the thing they're talking about.
-
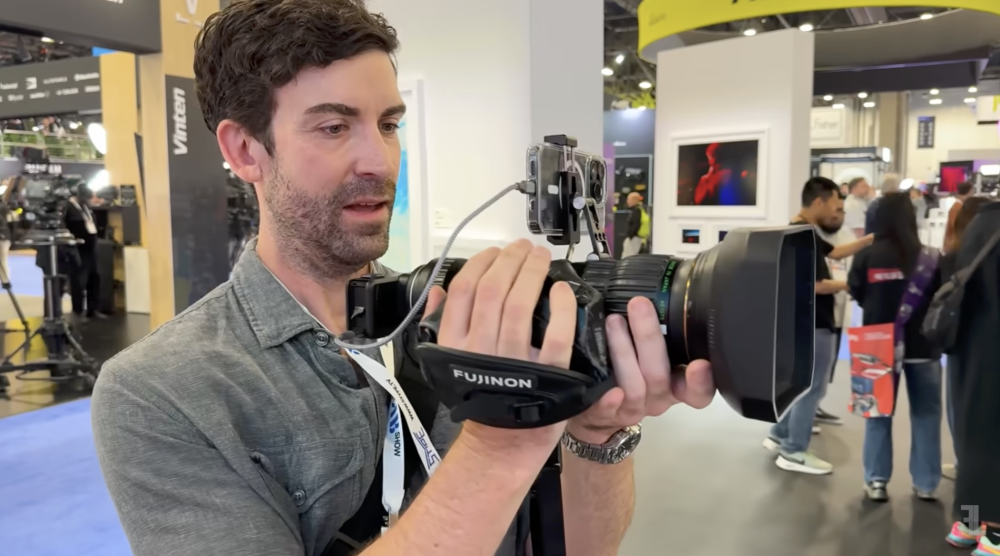
Luc Forsyth likes it, or what he saw at NAB anyway. This is a setup they had with a broadcast servo-zoom lens on it. His comments (link with timestamp) He's worked on the survival show Alone for a few seasons and they use dozens of GoPros, but the footage always looks like it came from a GoPro This new model with a proper lens attached looked like footage from a real camera The broadcast zoom setup (with a phone as a monitor) handled like a proper camera He doesn't use AF when rigging cameras to vehicles etc most of the time so the lack of AF doesn't bother him in that context
-
I think it's a loss for us, as he was doing independent testing of things that no-one else was, like DR, and commenting on various combinations of modes and features, especially which combinations of modes and features couldn't work together. This is all information that the other people don't bother with because their 'reviews' are really just product showcases or first-looks. As much as the camera journalism and independent review ecosystem is in a sorry state, it just got worse.
-
Great write up and thanks for making the effort. I can see that shooting the Alexa with a neutral / clean lens with deeper DOF and crushing the whites / blacks and it not having carefully sculpted lighting etc would mean it would be an easier act to follow for MFT. As I see it, the limitations of the GH5 compared to the Alexa would be the colour science on skin tones etc, DR, and shallower DOF with character lenses.. most of which weren't significant in how it was shot. I have no experience with an Alexa but I've heard that it's a two/three person camera and that operating it solo is difficult. When I think about things like that, combined with the weight and form factor, I can really understand how limiting it would be to operate compared to how fast the GH5 etc are. I do have some idea about coverage and how incredibly demanding actual "real" productions are. When I analysed Parts Unknown and saw the quantity and quality of shots required for a 40 minute episode I was blown away. Most shots were professional but not incredible, but there were something like 1000 of them in each finished episode. Which they manage to get in something like 5 days on location. I suspect the speed and flexibility difference between the Alexa and GH5 is really a microcosm of the DSLR Revolution. Sure, some of that would be shooting style from the operators and some would be camera choice (ARRI made the Amira for being much more portable/faster) but even between an Amira and GH5, if the goal was getting as much acceptable quality coverage as quickly as possible then the lighter camera has the edge for sure. Pair it with one of those tripods where a single mechanism releases all the joints simultaneously and you'd be able to really cover a scene very quickly. I remember doing a graphic design course back in the day and they said that you can use whatever stock images you like for your projects, and as long as they don't actually clash with the theme of your project then no-one will notice. Since hearing this I have paid attention to such things and it's definitely true - the graphics really don't have to be related at all. I suspect b-roll is partly like this too, as long as you have someone talking and include things that are vaguely related to the subject then it'll work like forgettable eye candy to keep the viewers attention. The Kuleshov Effect is working in your favour for sure. I love the quote "kids love colour and motion" which I think was from a movie and used very sarcastically, but I suspect some of the purpose of b-roll is just to keep that part of our brain from getting bored while we're listening to the person say the thing. Of course, there is an art to it for sure and talented people will be shooting and making edits that create magic by being a lot more than the sum of their parts. Great to hear you were able to navigate the politics and that the end result was a success in the eyes of the boss. Going back to the ARRI takeover and strategy, the fact that ARRI created the Alexa Mini as a 'special use' camera and then everyone switched to it for the whole production says (to me at least) there's a demand for smaller camera packages. It would be amazing if the new management didn't realise this and see what they can do with smaller bodies still. I'm sure ARRI would have a good idea about sales figures for things like the RED Komodo and Komodo-X etc, which are very small, which must further emphasise the demand for smaller packages. I understand that cinema cameras potentially do things like heat/cool the sensor so it's at the optimum temperature and this requires size/weight for the mechanisms and also significant battery power too, so maybe making things smaller is more difficult than we'd imagine. I like to point out to people that the GH7 has a lot more stuff in it than the smaller cameras people compare it to (IBIS, cooling, internal RAW, etc), but in this case we're comparing mirrorless cameras with cameras that literally have heaters in them, so it's not a straight comparison by a long shot.
-
Fascinating, and reassuring too. This is why I concentrated on colour grading - the hardware was good enough and the gap was squarely with me. Can you shed any light on what colour grading / image processing was done to get an acceptable match? Was there any particular way you shot with the GH5, or lenses etc you used in order to get it to match? I would think (if it was me) that going out shooting with a GH5 knowing it would have to be intercut with Alexa footage would trigger lots of thinking about how to best go about it so it would be good enough.
-
It's an interesting update for sure. While I find the upgrading process to be too much of a PITA to upgrade unless there's a killer feature in the next version I really want to use, there are a few things in there that are interesting from an AI perspective. The first is the AI Face tools, with AI Face Reshaper & AI Face Age Transformer. This is interesting because it shows their ability to track and understand faces is vastly improved from the previous generation of Face Refinement tool, which was obviously designed to have very soft masks because their tracking wasn't that great. I did an excellent course in Beauty Retouching which used Resolve and basically you apply different treatments to each area of the face as each has a different tone/colour/texture and you had to mask each one manually yourself. The ultimate would be for the AI face tools to detect the face and output a mask for each area of the face, automating the masking/tracking. The second is the Adjust Focus with AI CineFocus, which simulates a shallower DOF, and is a combination of a blur plugin with their depth map plugin. When the depth map plugin came out I tried it on some deep DOF shots to see how it did, and the results were worse than the iPhone 'cinematic mode' with the edges being a very obvious blurry transition, and you couldn't apply anything more than a barely perceptible blur before the edges ruined the shot. The fact this is now an integrated plugin means it's gotten better to the point they're willing to put it forward for this application. It's probably still a long way from blurring the background but keeping each hair on the subject in-focus, but it shows increased confidence. I know they are also doing tonnes of little things in the background too. I went through a phase of posting to the BM forums and suggesting features as I came upon things that annoyed me, and to my amusement I had professional colourists (including from Company3) reply and say they've been suggesting the same improvements to BM for year after year, and I notice that a number of these have gotten fixed in the last few versions. Still, there are gaps in the things I'd really like. One is the stabilisation, which can't handle any kind of shot that isn't perfectly rectilinear, and has no support for removing rolling shutter etc. This is possible, and I went down a deep dive at one point some years ago looking for a solution and there was a product that did it flawlessly, but the product was in the thousands-of-dollars price range so wasn't worth it for me. The stabilisation also lacks the ability to stabilise the tilt/pan/roll/zoom in different amounts. If I shoot with the BMMCC and an OIS lens for example, the lens stabilises the tilt/pan quite well but has zero roll stabilisation. I'd like to stabilise the roll almost to 100% to keep it almost perfectly fixed, while also stabilising the tilt/pan maybe 40% just to smooth off the rough edges. This isn't possible, except if I build something in Fusion, which apart from forcing me to learn Fusion, also requires I go into the Fusion window to track the shots as well, I can't build a custom OFX and then apply it in the Edit or Colour page. I don't know why BM didn't just make the stabilisation occur in a node, that way you could just apply it several times however you wanted, but it's a 'special' thing that happens once in the image pipeline, and once only. My biggest wish for Resolve 22 is lens emulation. Like the Face and CineFocus tools, the lens emulation ingredients are all there if you combine them yourself manually, but integrating them into one plugin would be pretty sweet!


