kye
-
Posts
8,219 -
Joined
-
Last visited
Content Type
Profiles
Forums
Articles
Everything posted by kye
-
 Indeed, algorithms do tend to isolate us from the huge diversity out there, that's for sure. One thing I like to keep in mind is that even if something is so rare that it's only one in a million people, that means there are 8 million of them! I have a Korean friend who is incredibly into film-making and film itself. He is currently studying film and TV in the US, and owns his own complete RED Dragon 6K setup (one of the older DSMC2 models). He has been shooting film for many years and still regularly shoots projects on it, mostly 16mm and is a massive film nerd who frequently dives into the detail and can name specific models of film scanners etc off the top of his head. He is a huge fan of K-pop and loves retro camcorders and early digital stuff. I'm in a private Discord server with him and bunch of other film-maker types and there are a lot of them that are into a wide range of looks, including ultra-high-quality digital, film, cinema, TV, music videos, advertising, sports and live action coverage, and aesthetics of all imagination. They don't just talk about cameras, or film, or lenses (but they do talk about all of those), they talk about bags and equipment trolleys and lights and all things grip, they talk about sound and editing and colour grading, they talk about directing and scheduling and pre-production, they talk about YouTube and sponsorships, they talk about clients and client management and business, as well as cars and other non-video stuff. The YouTube bubble seems to only talk about cameras, lenses, and colour grading, and that image quality has to be the highest possible unless you're emulating film. My experience is that there a ton of people who are interested in much more than these things, but they're made to feel unwelcome because there's no place for these things in the camera-industrial complex that camera bro YouTube is a part of. The world is much bigger and stranger than any of us know 😄
 -
I had ruled out the GX9 for some reason, thinking it didn't have IBIS, and then I randomly heard that it did have IBIS and so I got confused about why I had written it off, so hearing about the crop made me wonder if that was potentially the reason. 200Mbps is a great bitrate, especially for HD! I don't recall hearing about this. Yes - there's even a thread about it that just started! I haven't looked at it myself yet, but if it's a one-stop solution for film emulation then it seems promising. I've heard it's pretty slow still, but it's still early days and perhaps optimisations will change that at some point. For me, and this GX85 Super-16mm film camera project, it was more about the GX85 and me finding a place for it. I have equipment I like, shooting situations / scenarios I prefer to shoot, and images I like, and the goal is to find combinations that work well. This project has resulted in me successfully discovering and developing the combination of: GX85 plus 14mm F2.5 pancake lens at 1x / 2x / 4x digital zoom Shooting street scenes in uncontrolled / available light, hand-held, from waist height Passable S16mm film camera emulation for gritty images with a strong vibe I'm actually really heartened by the GX85 and will be testing how far I can push it in other ways. Emulating a S16 camera is a lot easier than a S35mm camera, for example, so I'll see how I go with that. I'm effectively done with the S16 film camera emulation but not done at all with pushing to get the most from the GX85.
-
Keen to see footage from it, especially compared to other cameras if possible.. 😄 In the event that Panny don't create an MFT version this might be tempting for me at some later point.
-
So the GX85 has a 1.1x (2.2x compared to FF) and the GX9 has a significantly larger crop despite being newer and the replacement model? That's disappointing!
-
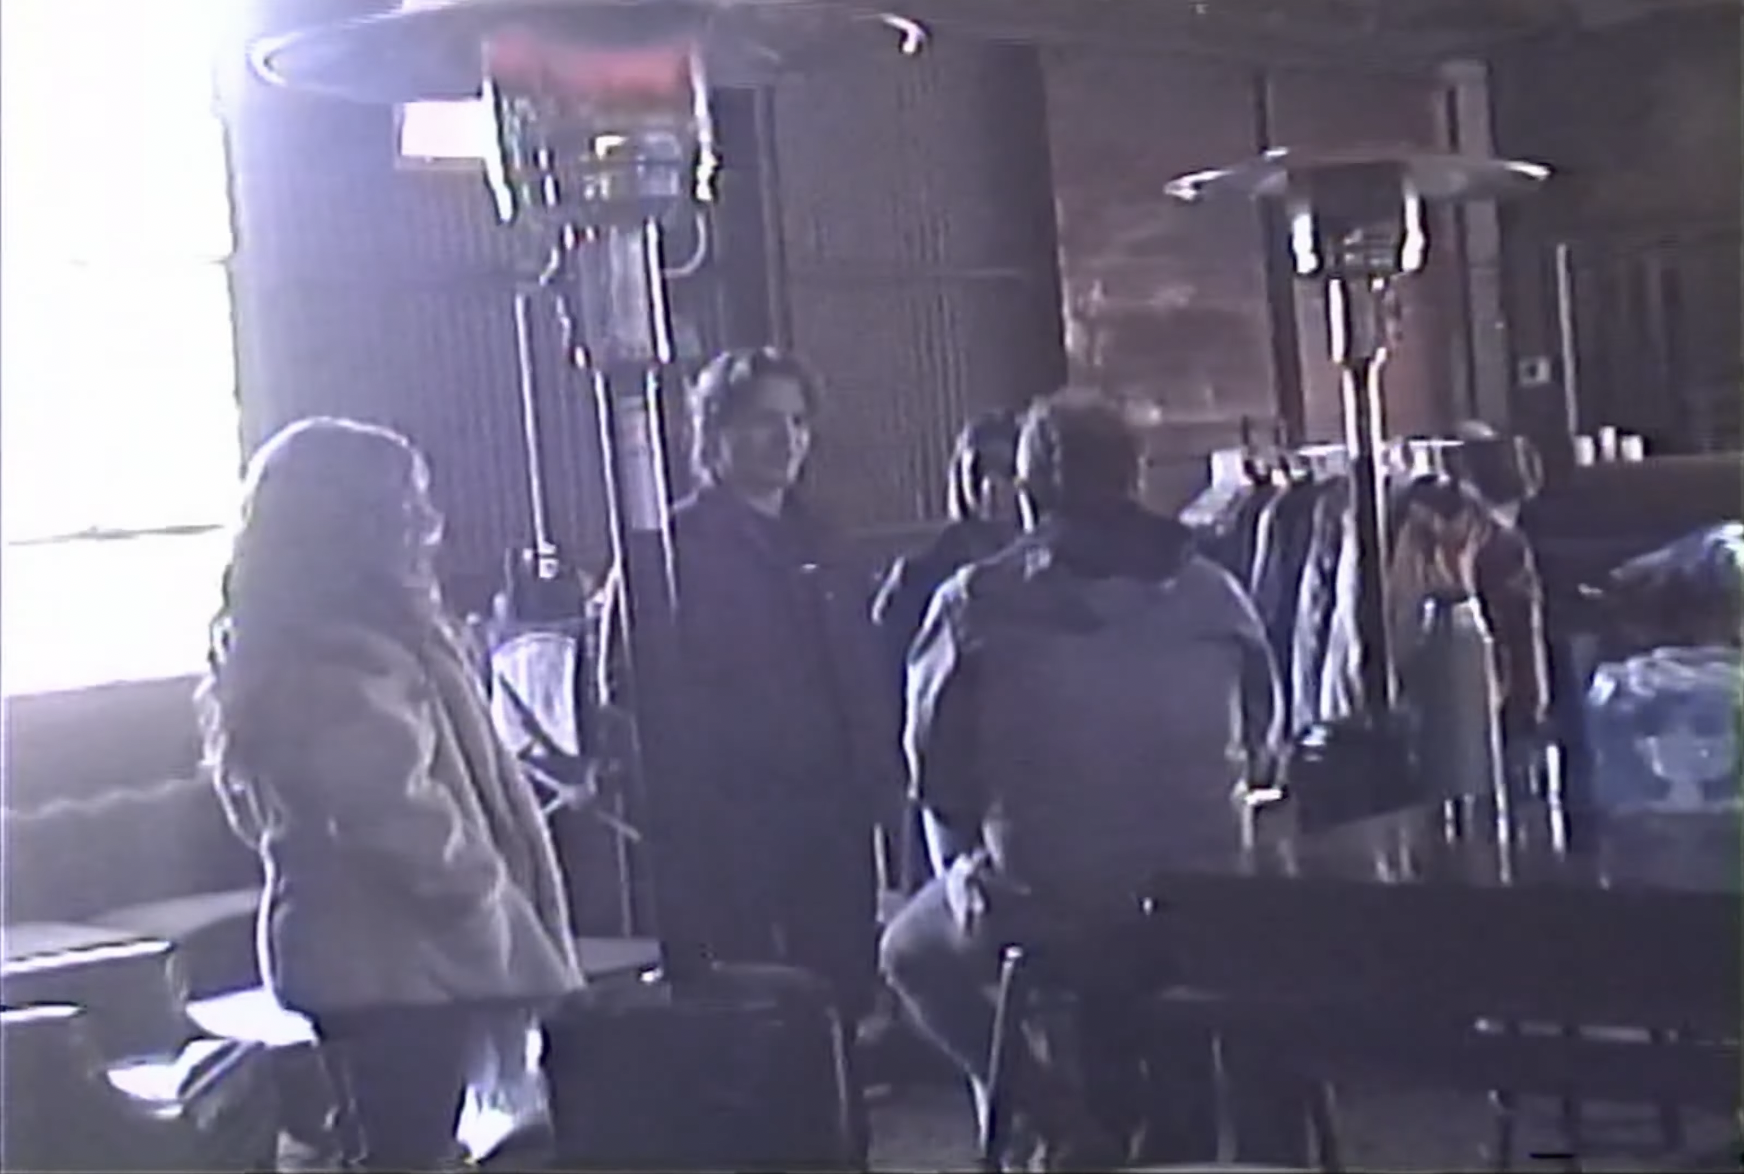
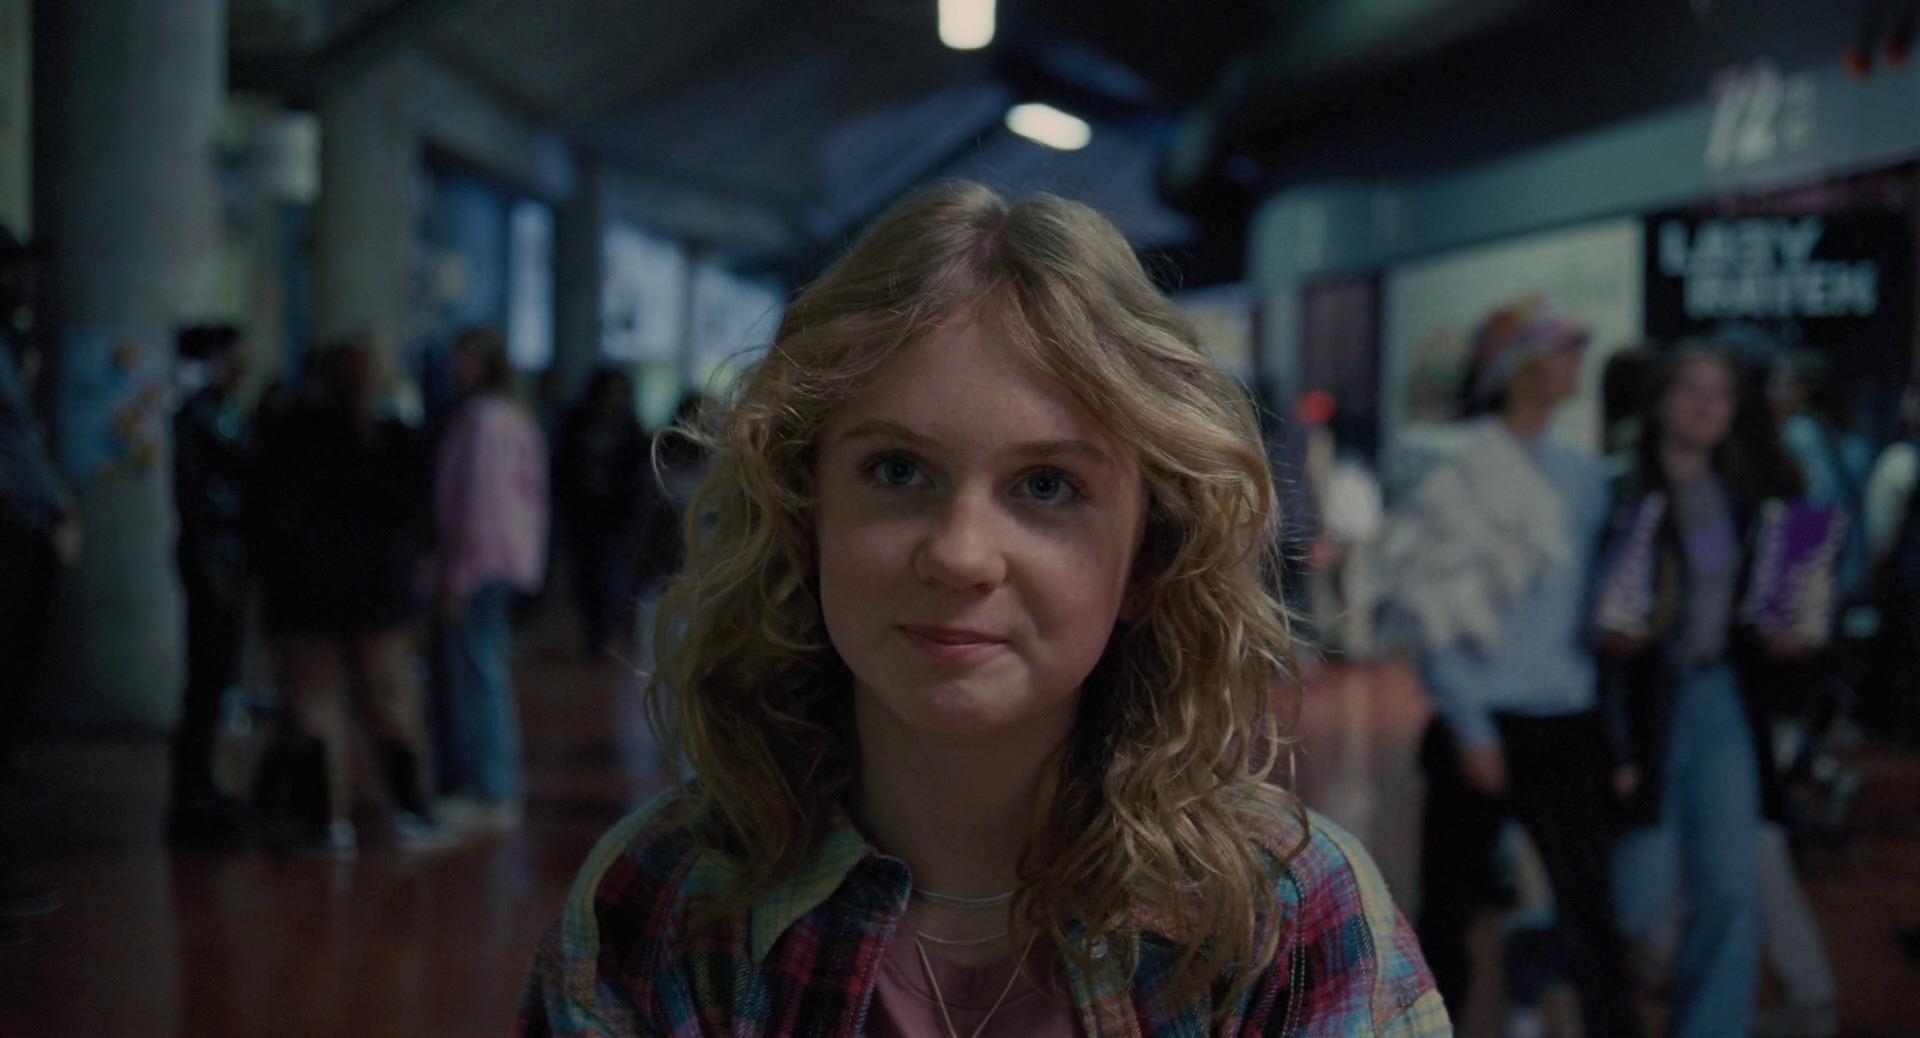
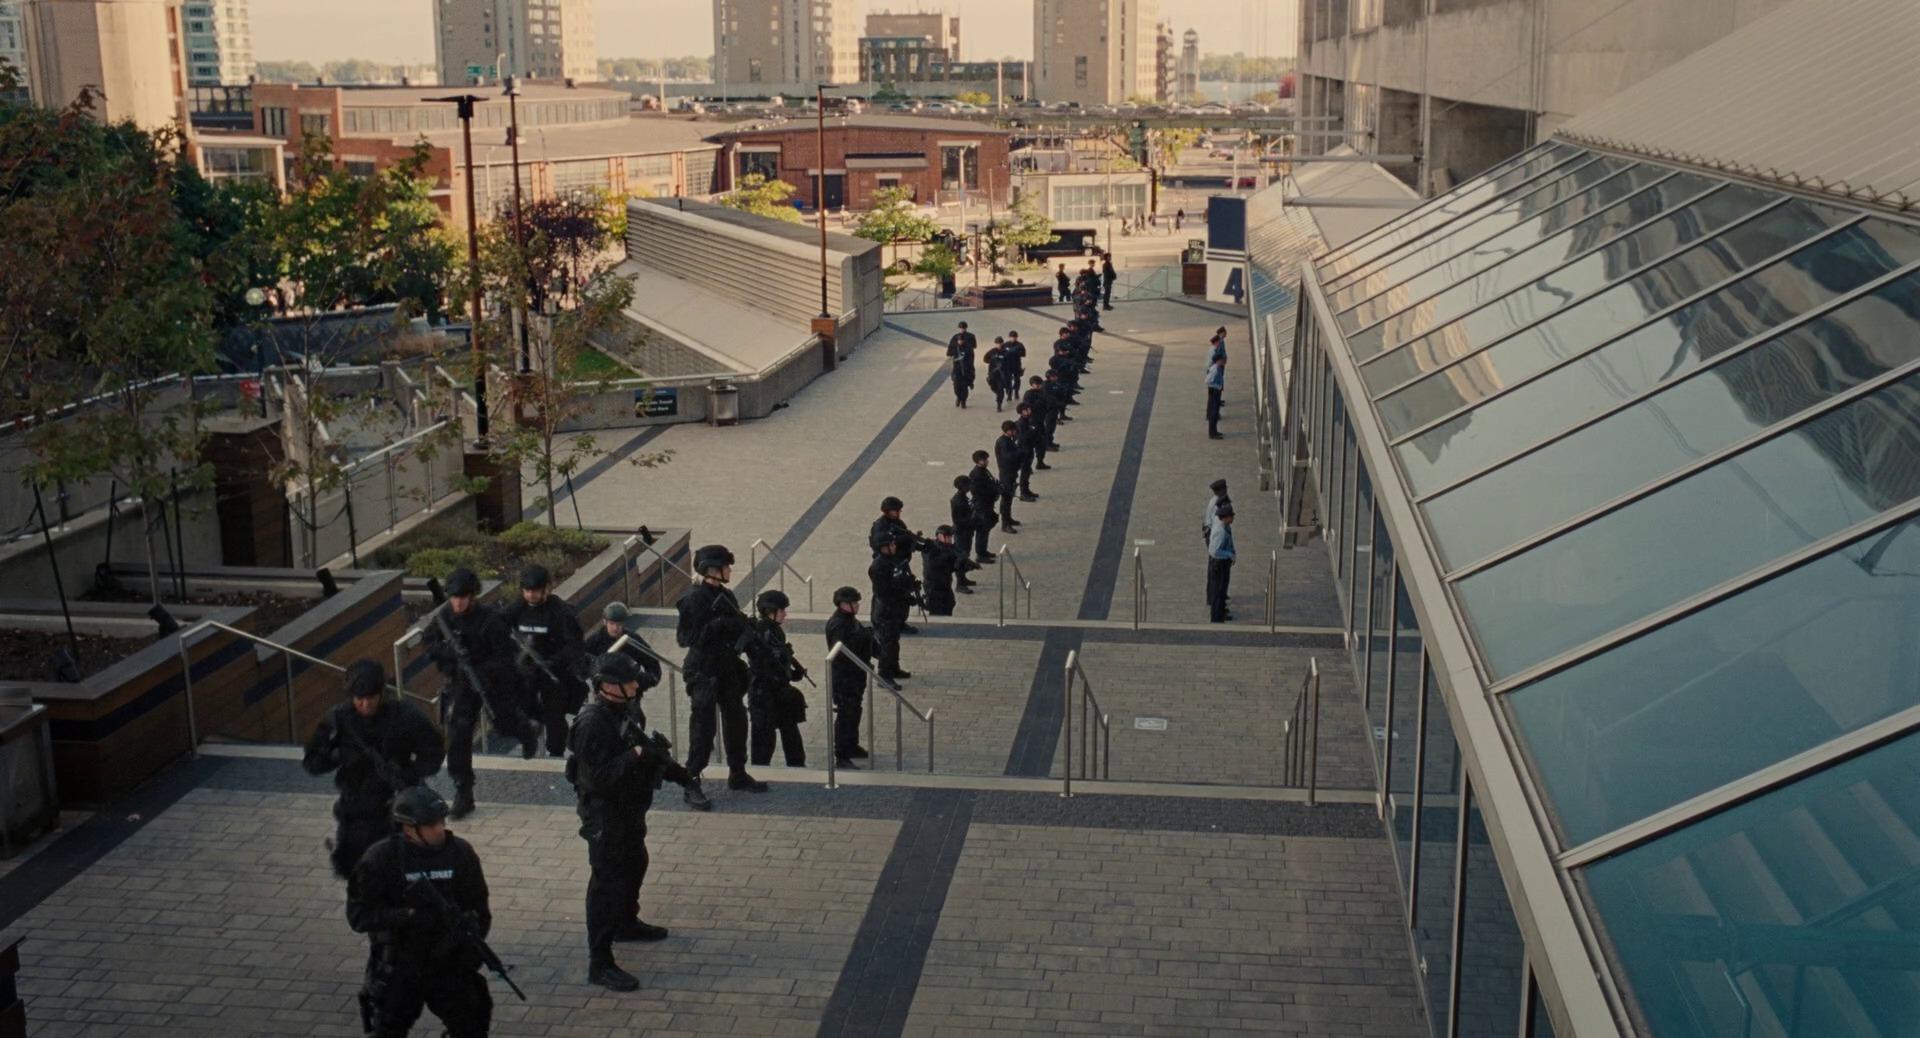
The below video titled "Retro camcorders are EASY to use in 2026 (full guide)" was posted two years ago and has 241K views. It opens with these shots: and his first line is "retro camcorders are freaking awesome". Maybe you're right that getting worse image quality isn't the primary motivator, but if it wasn't then I don't really know how to explain why anyone would be attracted to these camcorders when new/modern ones have all the same advantages of being a single-use device, have great ergonomics, novelty value, etc, but are also far easier to find, far easier to use (and don't require legacy computer interfaces!), are far more reliable, and have much better image quality. Maybe the draw is that they're old, and therefore that's the novelty, but I've heard people gush over how they love the JPEG look from cameras that have 2MP cameras and the JPGs are hugely compressed and full of artefacts etc. Here's another one comparing Hi8 vs MiniDV on the basis of the image alone.. 24K views! It might also be a nostalgia thing, where the image quality is desirable because it's poor, but in exactly the right way.

-
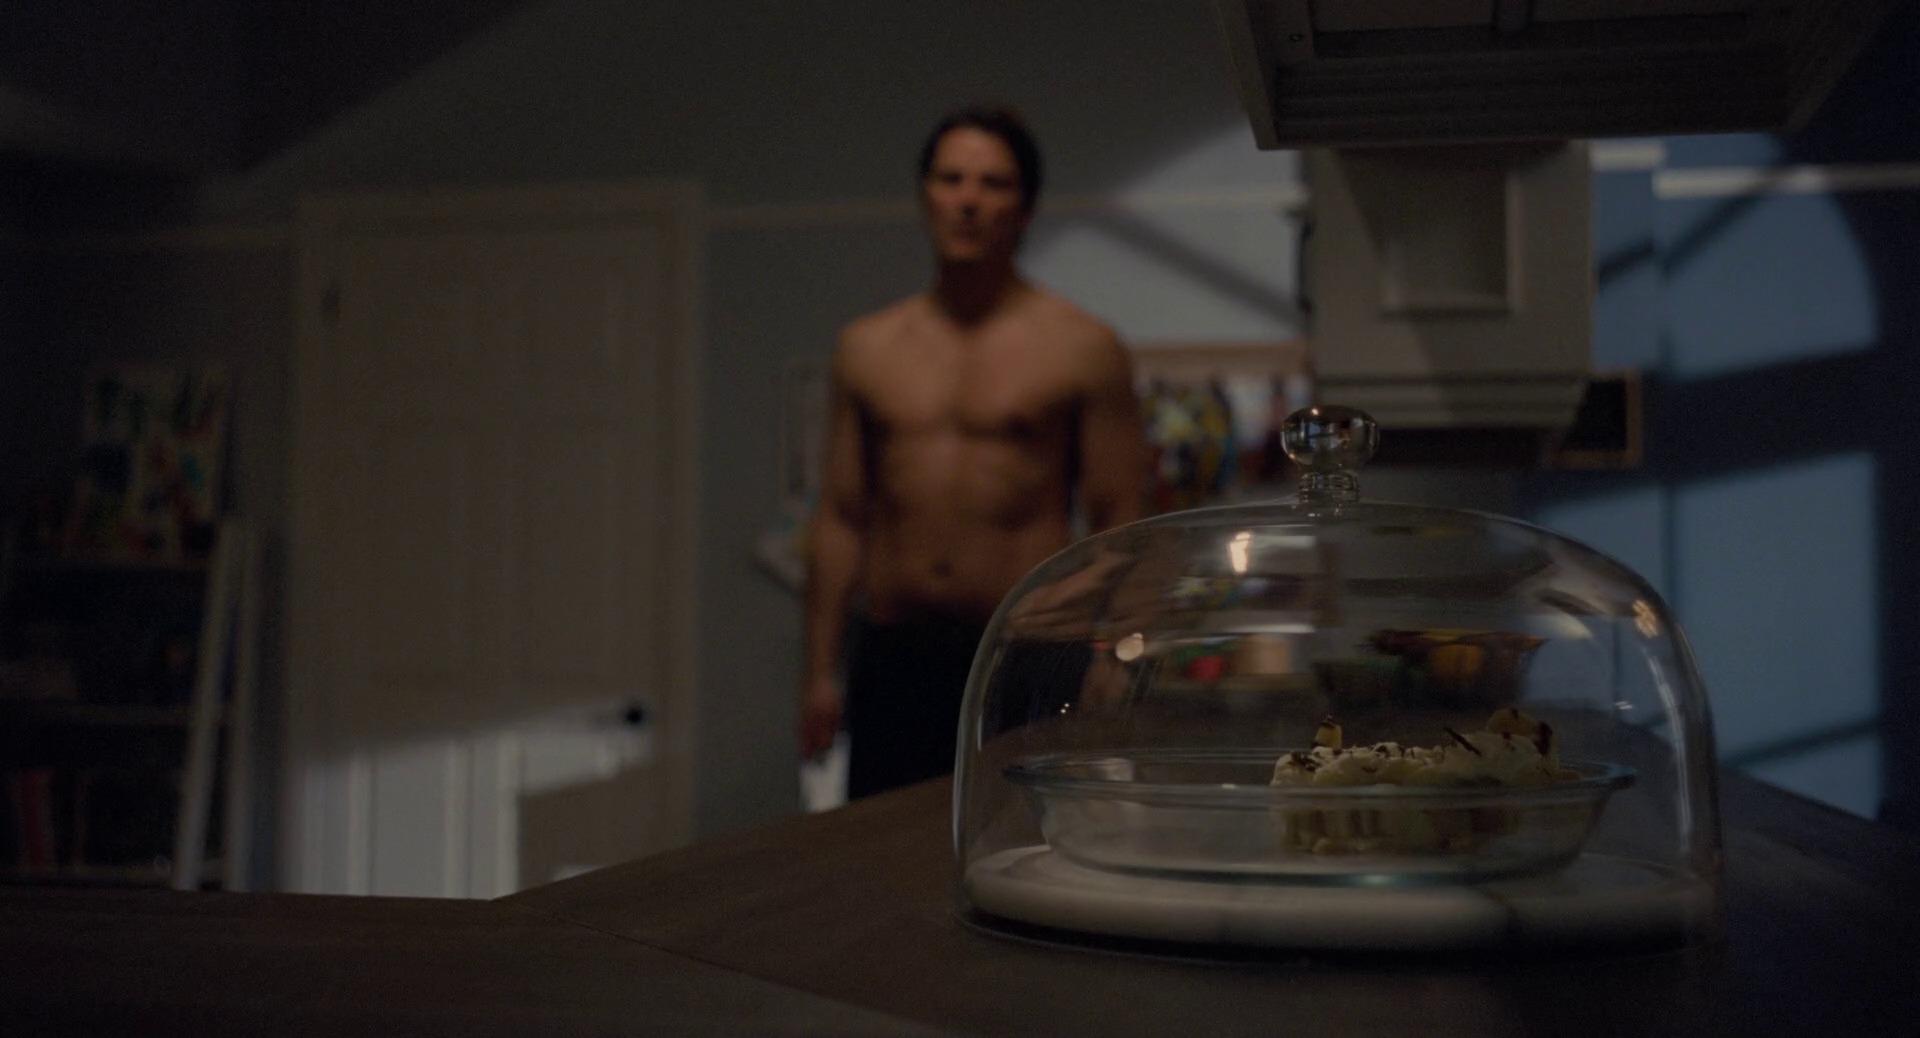
For example, here's a K-pop video that clearly has enough budget for half-decent cameras, but was shot on cheap looking cameras and definitely looks like it: ...and don't think it's a student film or anything, it was posted 6 weeks ago and has 9M views and lists the A&R person amongst the dozen or more people involved in making it!
-
I think compact cameras are also enjoying a resurgence because some of them are far worse than smartphones! Just look at how retro SD video cameras have taken off, and how people are applying 00s digicam filters in post to their (comparatively pristine) smartphone footage too. In a way the high quality and ubiquity of smartphones creates a desire for something different... which includes things like poor image quality (low resolution / DR / bitrates / etc), long zooms, ghosting and other image distortions, etc. Beyond even that I think the fact that the phone is in people's hands for many hours a day means that having a change means putting something else in your hand, so a dedicated camera allows for that change of pace. It also means that taking a photo at a social event or festival or solo walk etc doesn't mean involuntarily seeing all the notifications on your Lock Screen either. People are always looking for a change from what they have, and when what they have is high quality that means they will pursue low-quality.
-
Good points from @eatstoomuchjam. That's why I went for the sharpest frame grabs I could find - considering the range of variables involved a soft looking grab might have been a scanning issue or provenance issue or there might have just been movement in the frame. Now that I've done that analysis I'm wondering where to from here. One thing I can do is to take my S16mm emulation and scale it 50% of the size and then adjust my power grade to match the grain and halation etc, and see if that looks like a 35mm scan (it should - that's how film works!!). If so then I can proceed on that basis, but if not then I might have to get feedback and iterate again to get something appropriate. Once I've got that sorted out then I should be able to interpolate / extrapolate the parameters that needed changing and get a range of looks that vary from 8mm up towards 16 and 35mm and then beyond. At that point it'll be interesting to explore different combinations of: Film sharpness and grain Lens emulations Filtration (diffusion etc) From these I should be able to get a range of common looks, inspired by different combinations like: 8mm shot on-the-go Bolex 16mm camera shot at night The look: Faster 16mm film with mediocre prime lenses shot wide open Krasnogorsk-3 16mm camera during the day The look: Slower / clearer 16mm film with standard zoom lens (17-69mm F1.9 Zenit) shot stopped down 35mm film camera with master primes, or Cookes, or Panavision C-Series & T-Series, etc (I have a few lens tests with many of these lenses so should be able to recreate something that smells vaguely right by changing the vignetting, edge softness, CA, bloom, etc) I'd imagine that certain combinations will be more convincing than others, as we've likely come to associate certain image attributes together. Obviously I won't be recreating them faithfully, but simply by taking inspiration from these a range of looks can certainly be developed. One thing I have noticed is that lens designers often get custom requests from film-makers to tune a set of lenses to have a customised response. For example maybe they want the speed and bokeh from a set of lenses to remain as-is but want more/less horizontal streaks and much more diffusion, etc. This is noteworthy because if film-makers are are interested in different combinations of lens attributes then I don't feel like I need to try to get a perfect emulation of one lens or another either - it doesn't matter so much when you view it from a creative perspective rather than engineering perspective. This is why my goal in my S16 emulation project wasn't to emulate this or that film stock, but rather to get something that looked like it was shot on some unknown stock with unknown provenance (e.g. maybe it's expired or wasn't stored well etc).
-
Yes, it's on my radar too. Their Discord server is where the action is if anyone wants to follow along or get involved. Sometimes there are even daily updates so it's very much still in development.
-
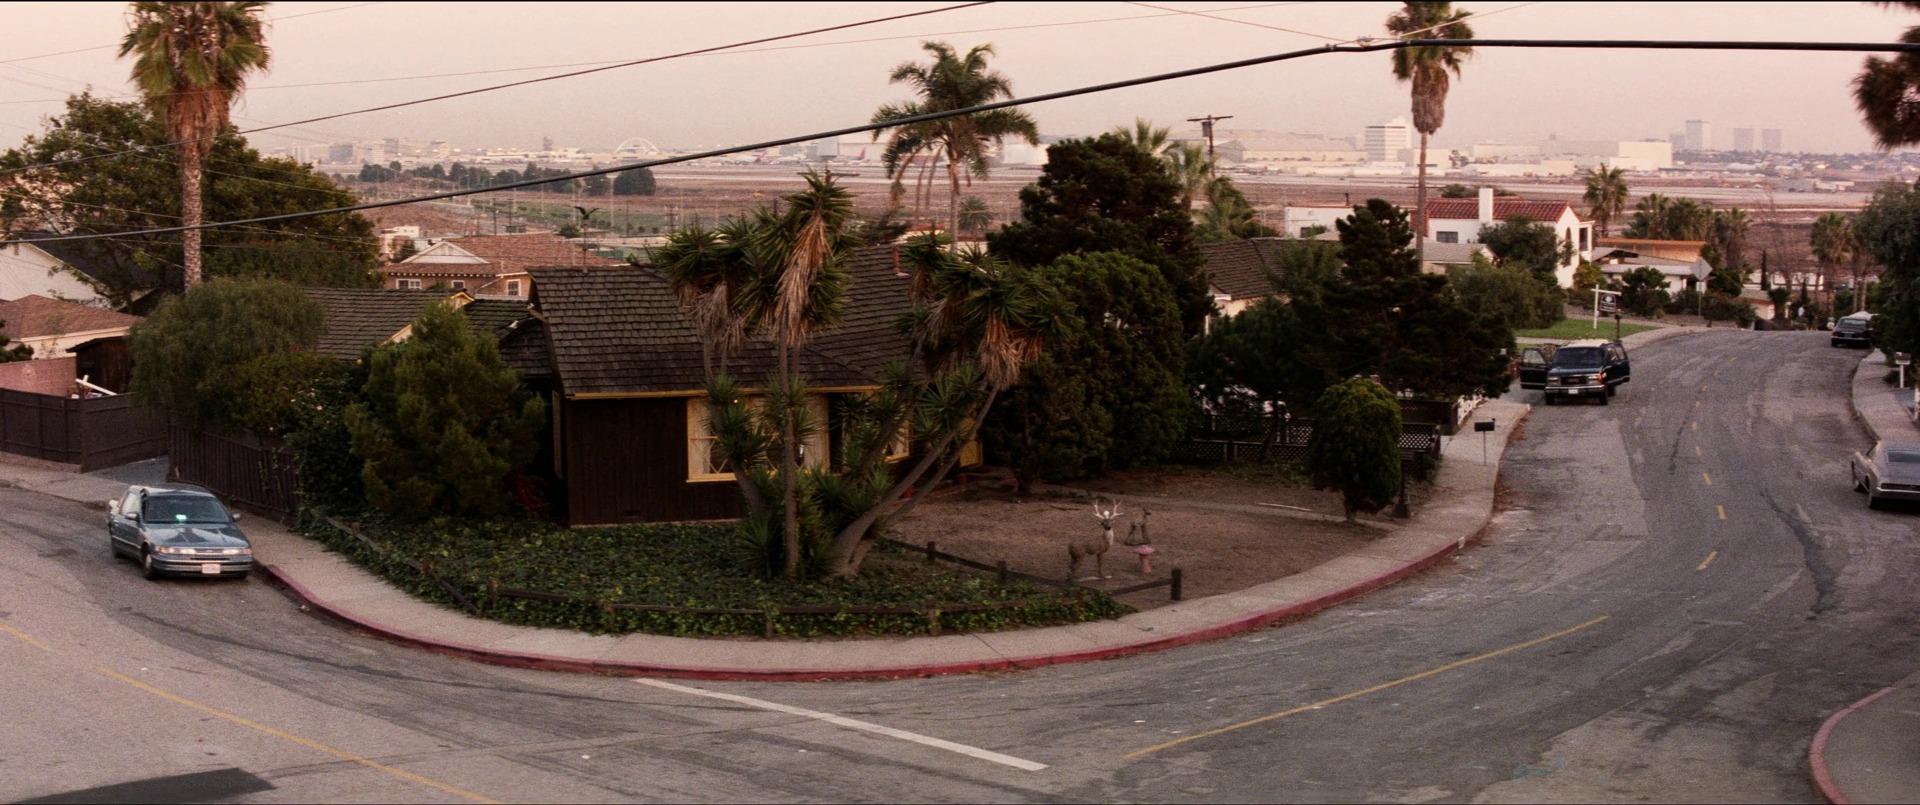
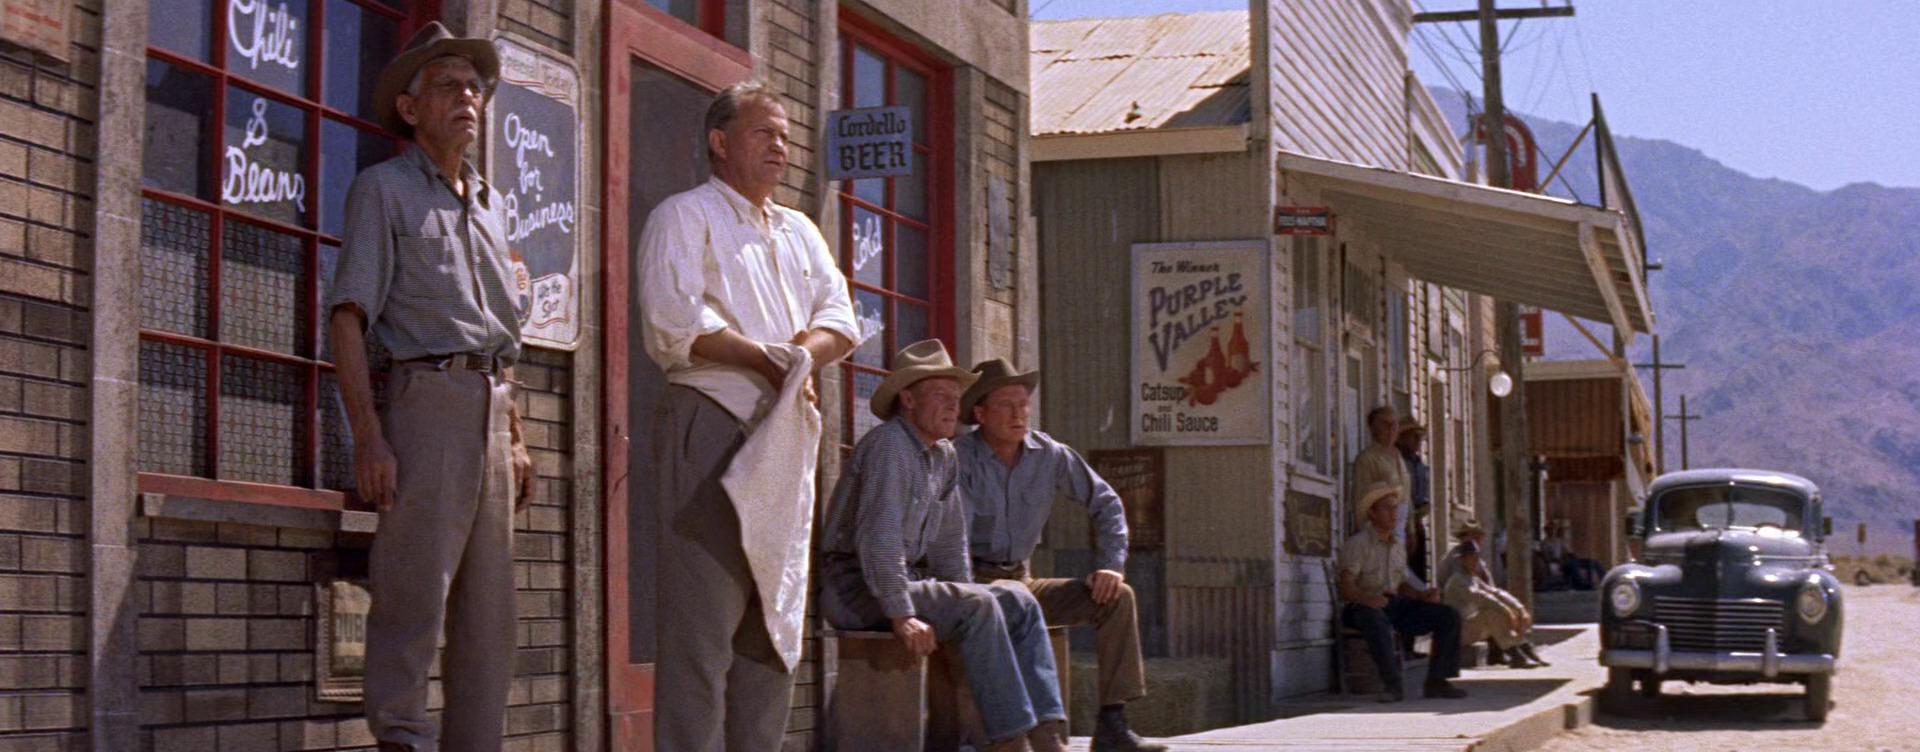
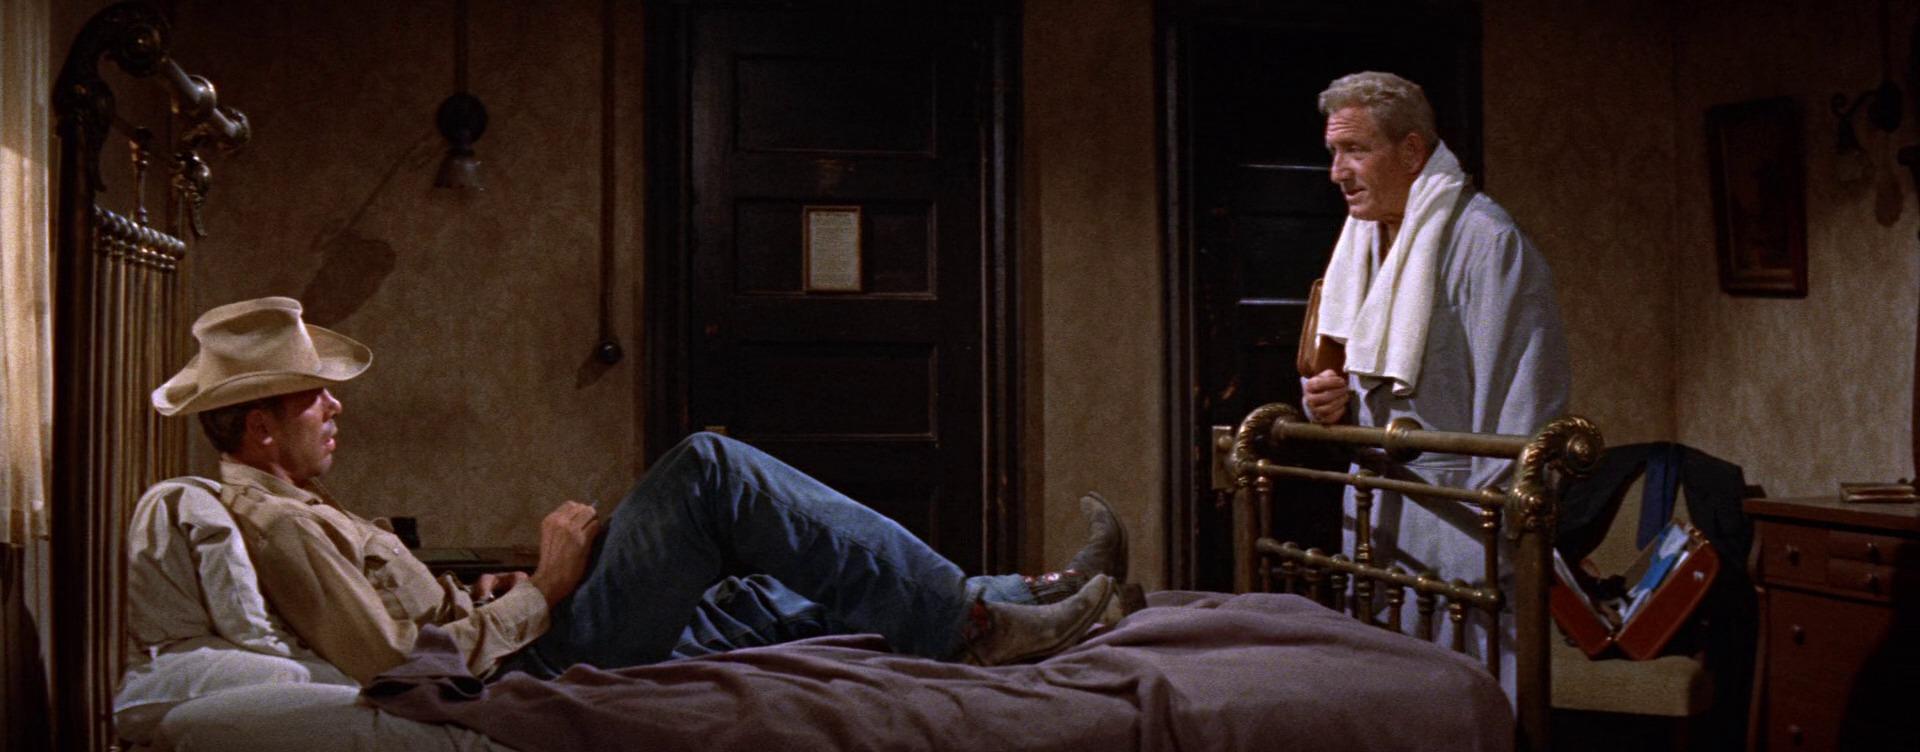
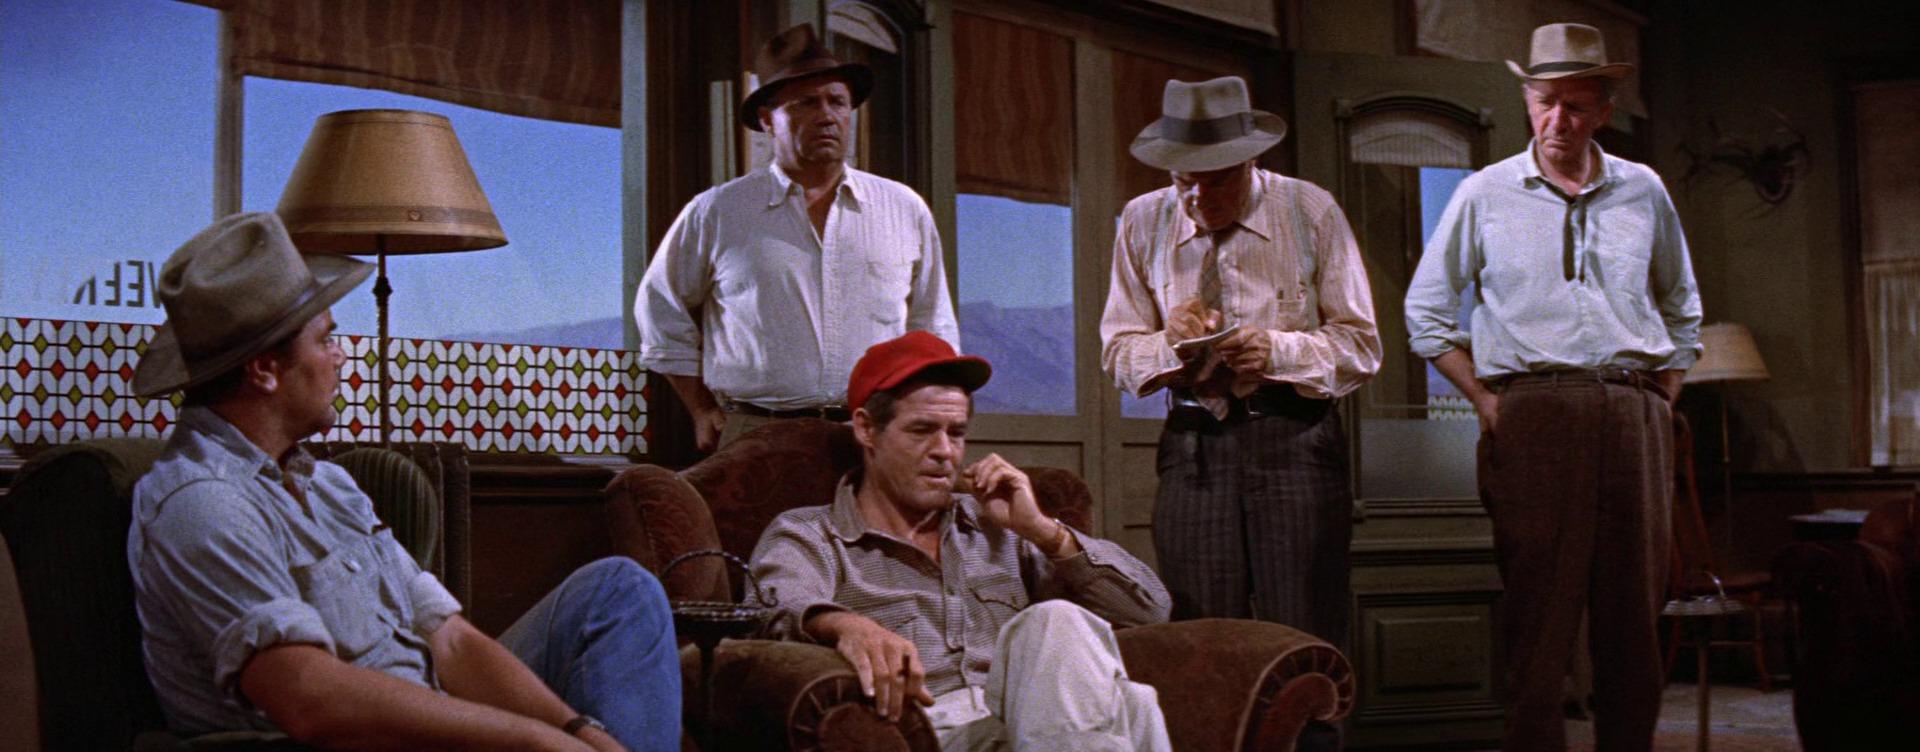
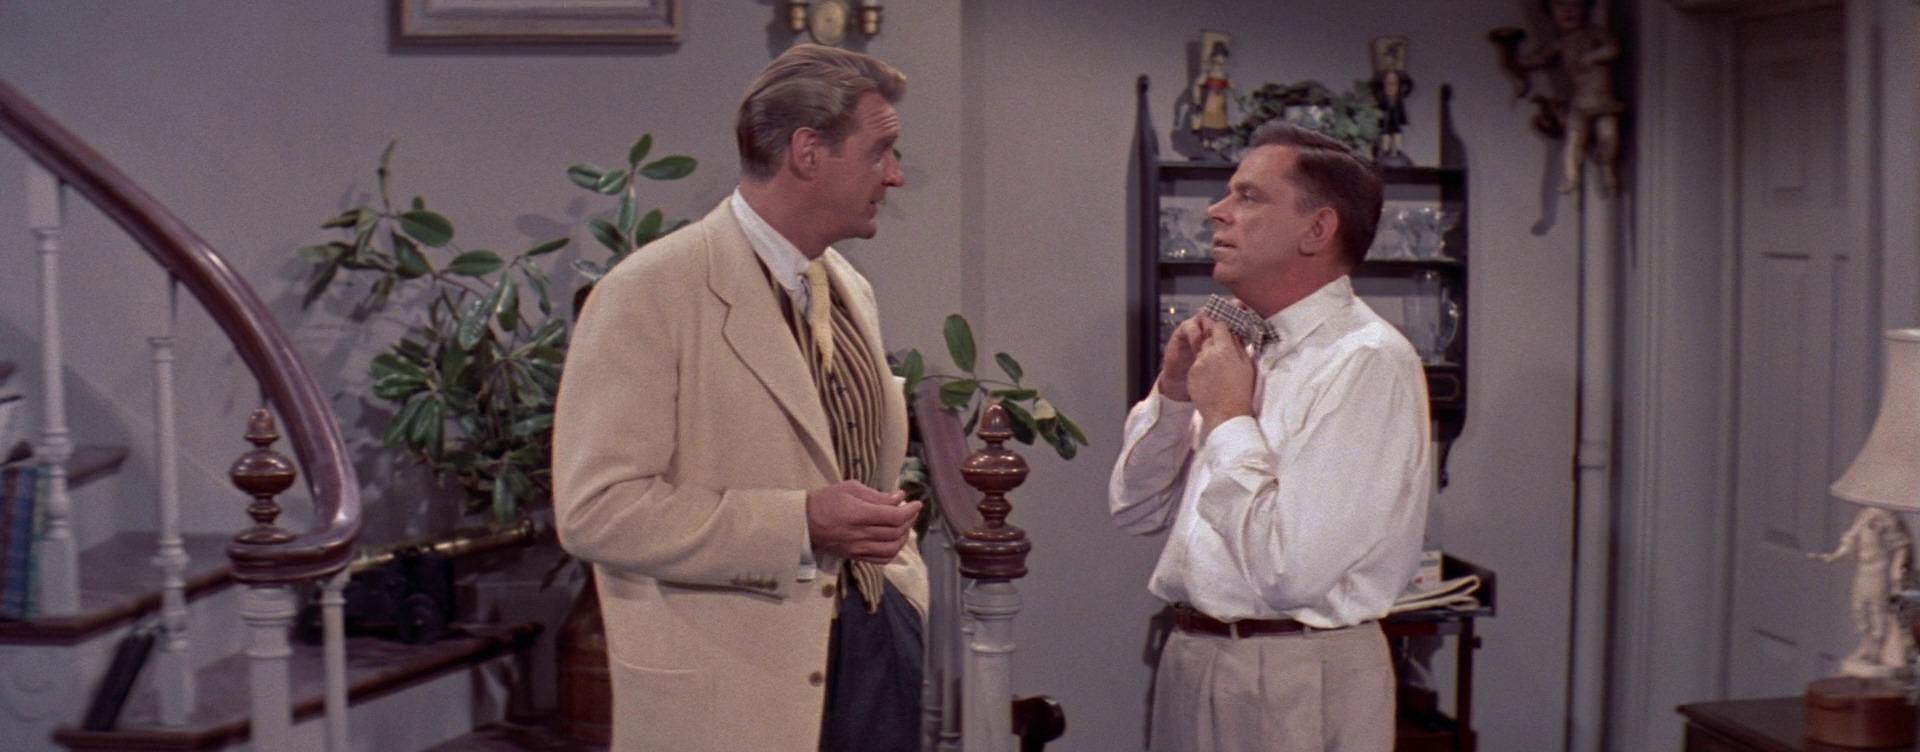
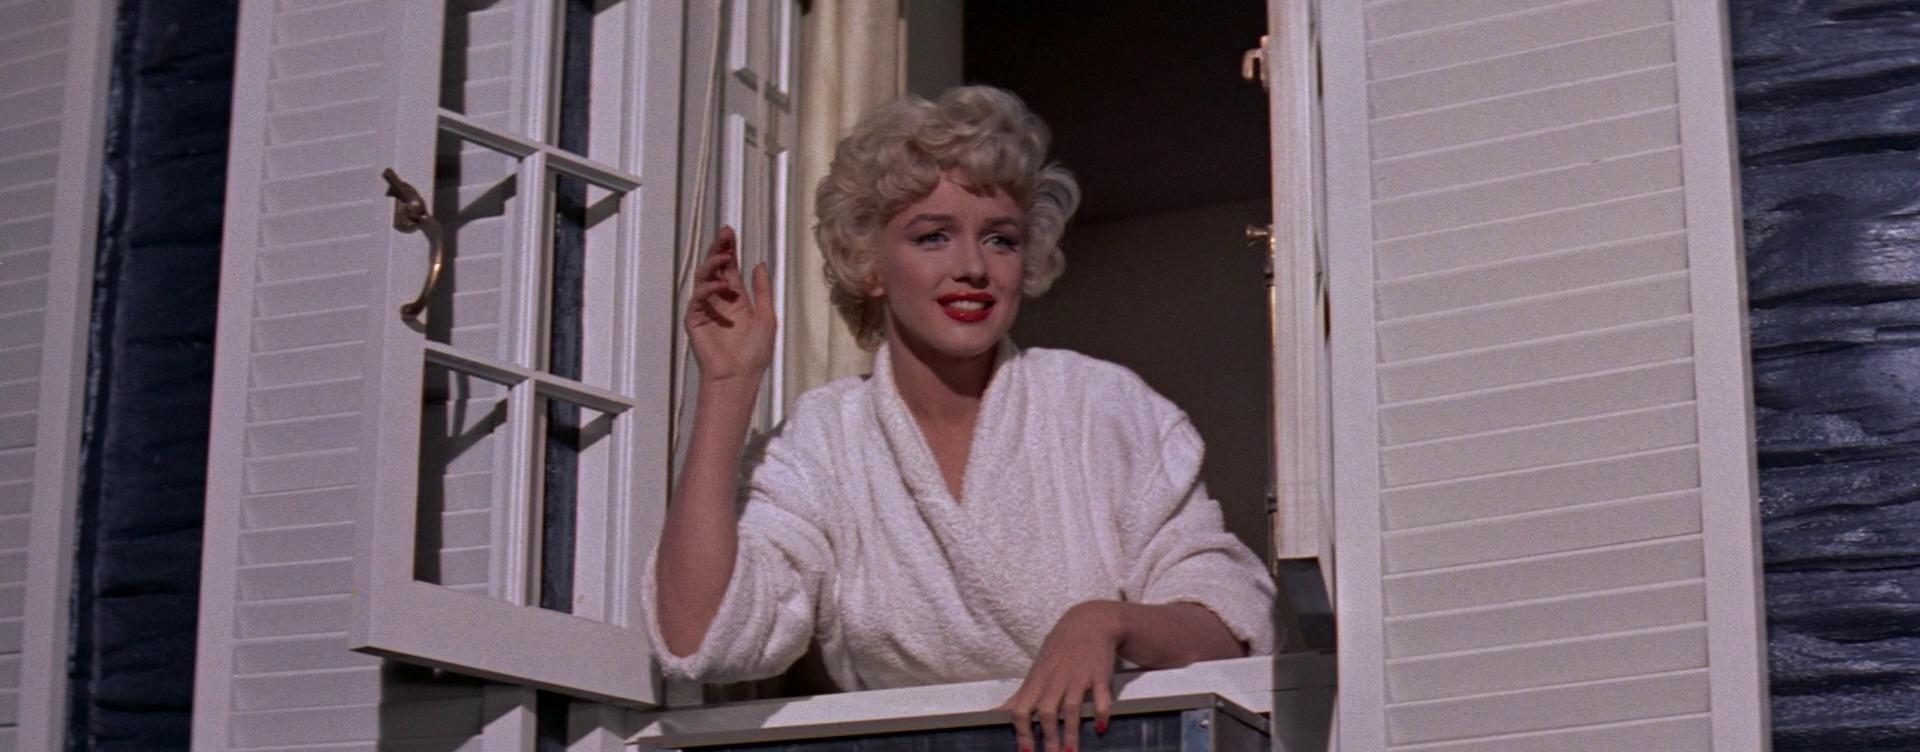
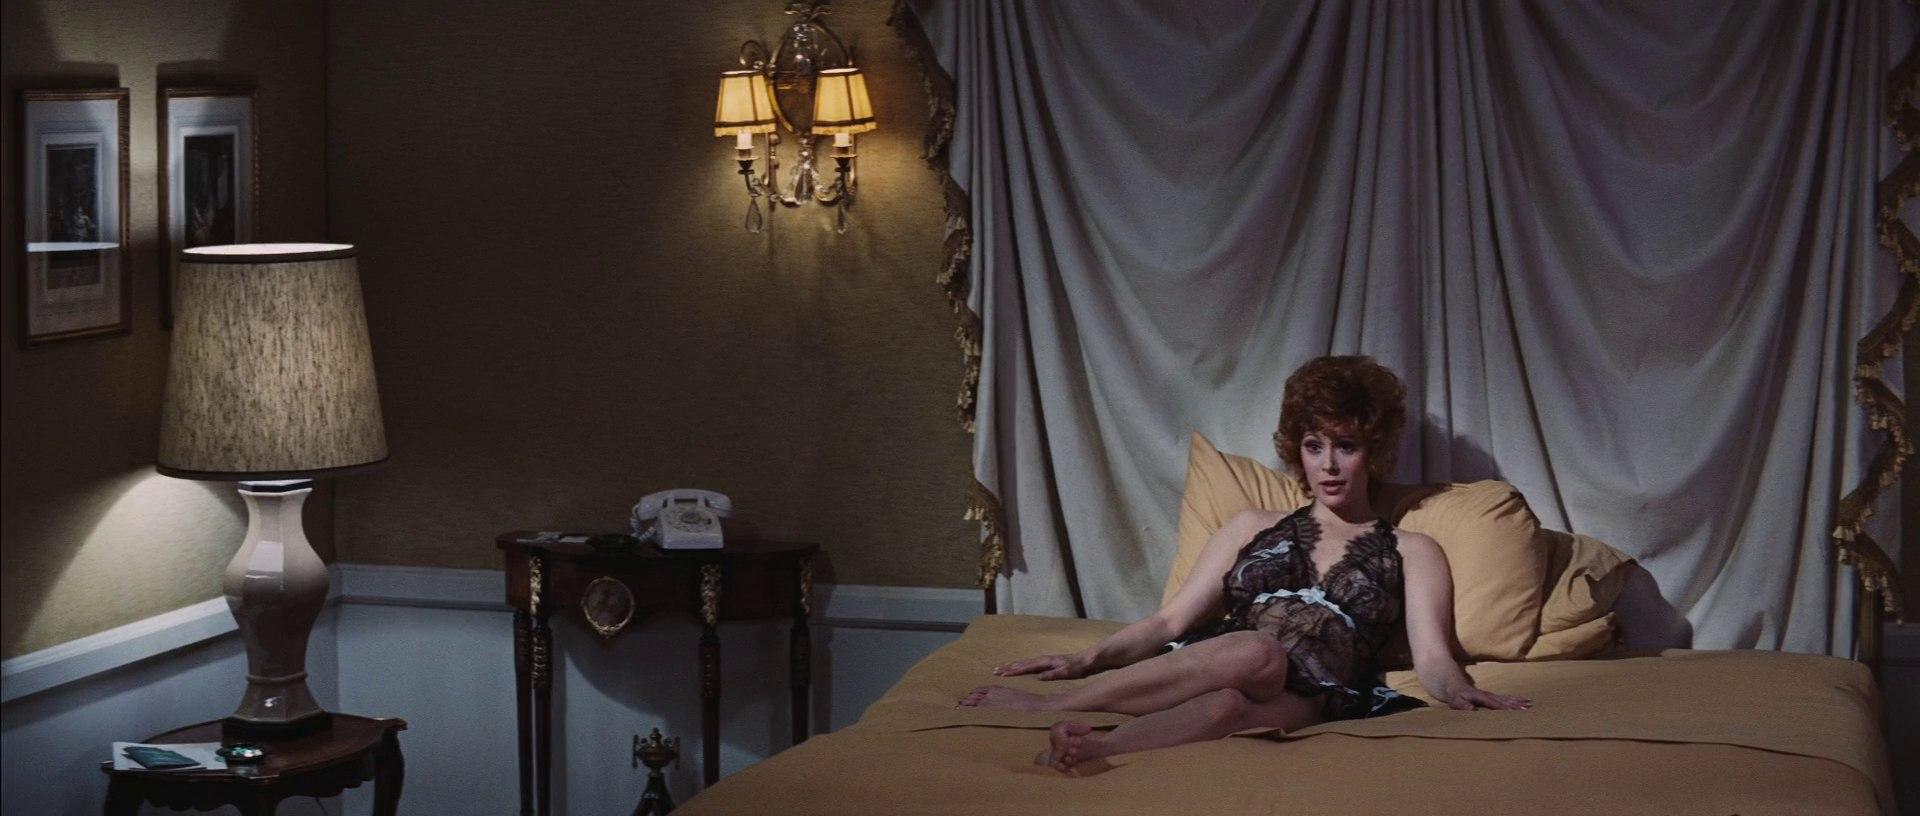
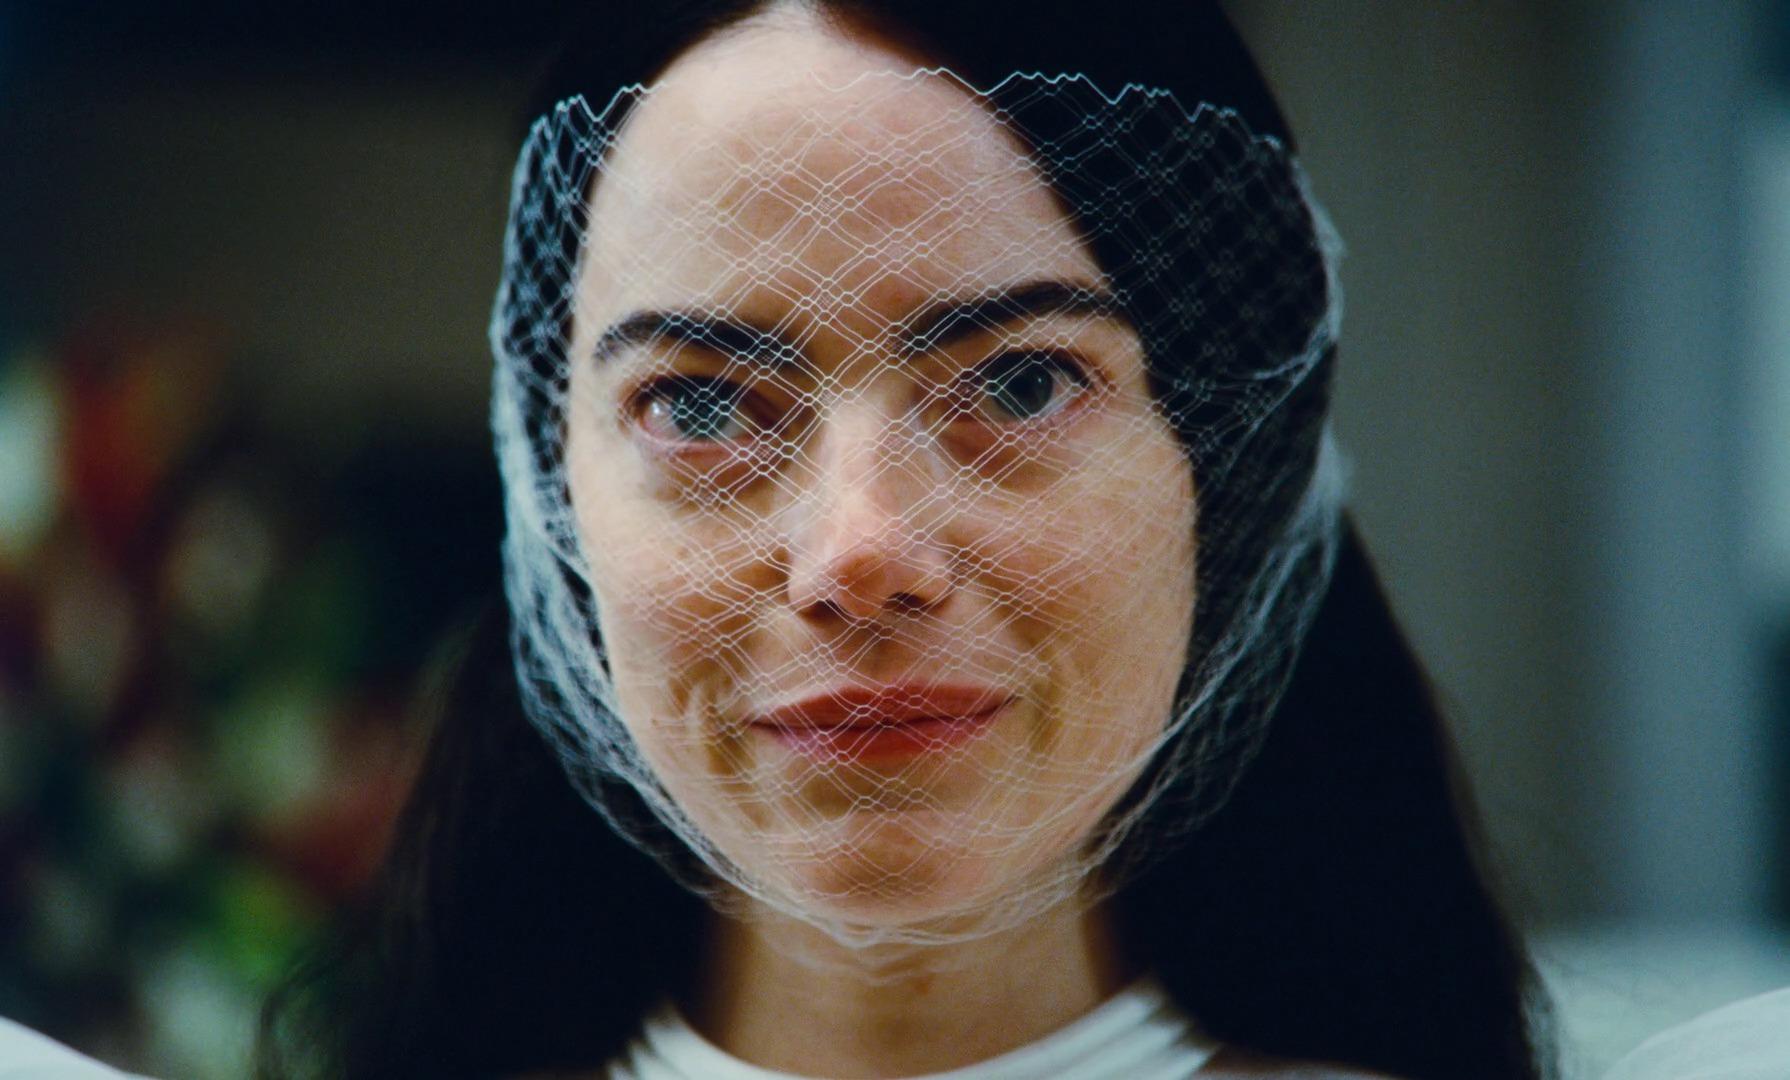
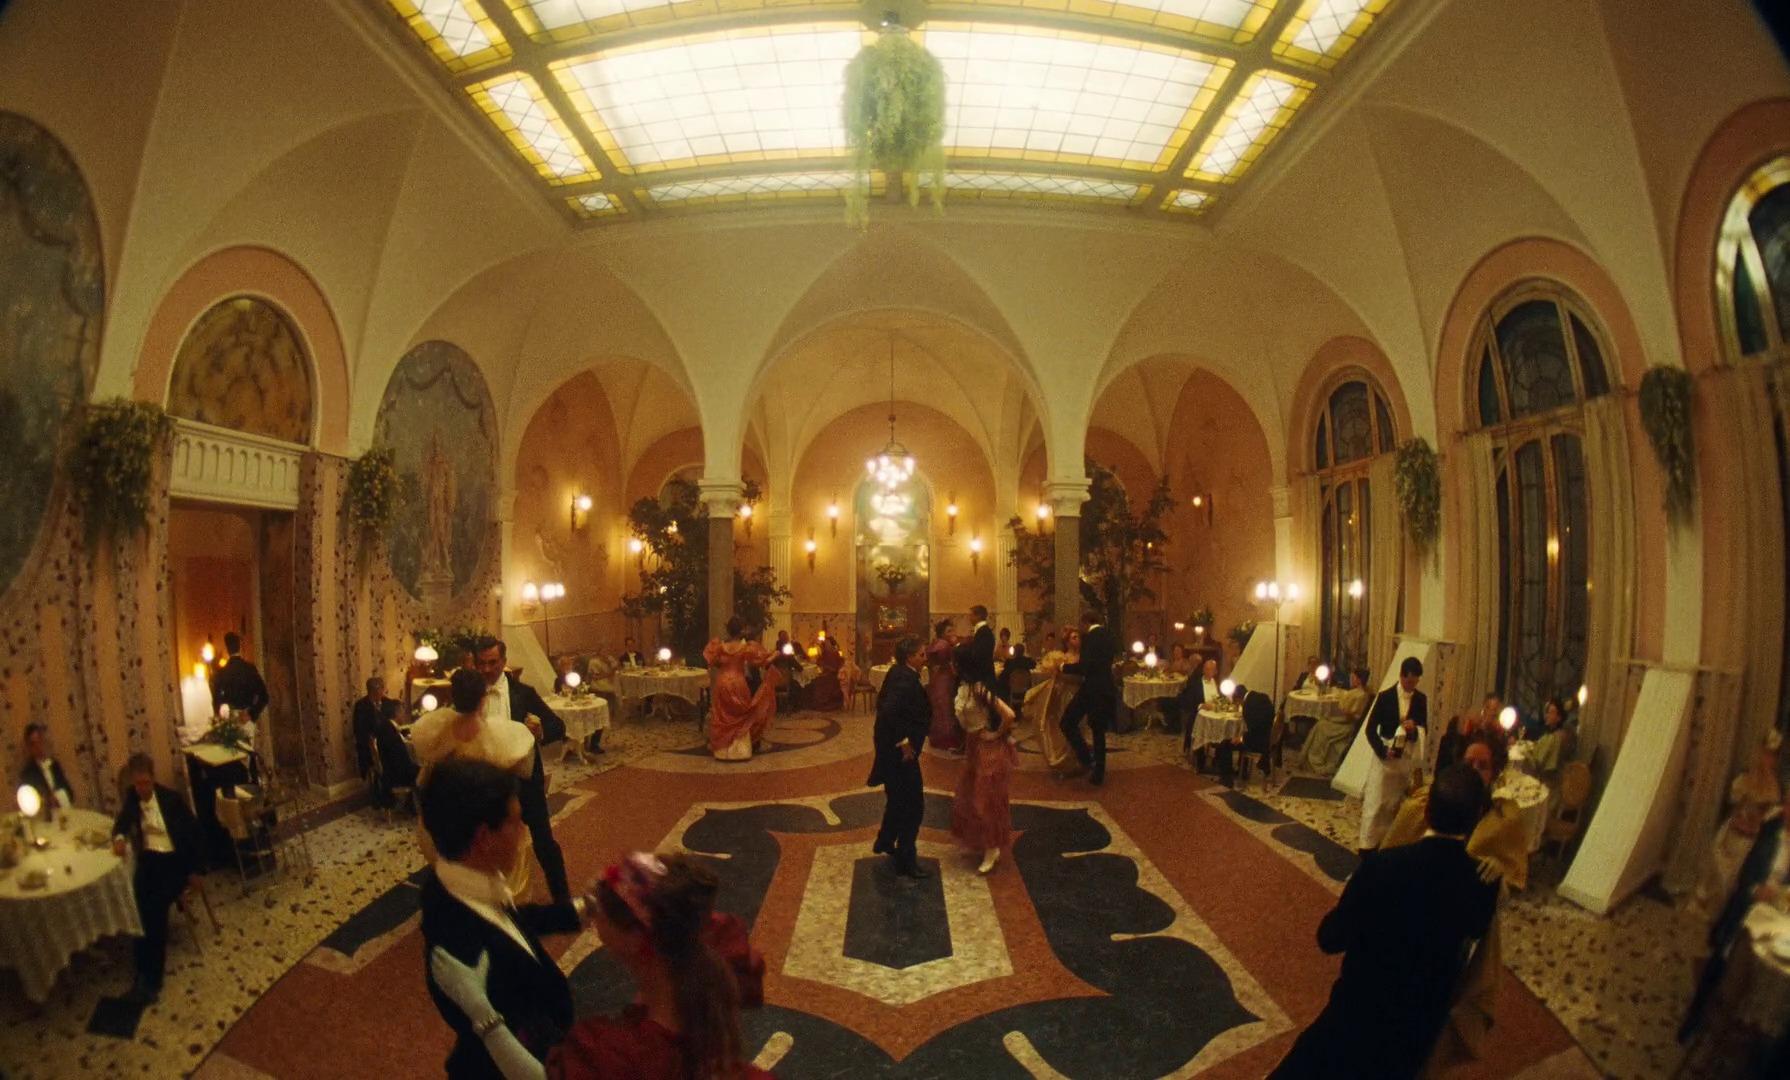
Now I have mostly progressed my GX85 Super-16mm "conversion" I am turning back to a more generalised look at film and The Aesthetic as it pertains to cinema. My next step is to convert my S16 emulation into a 35mm emulation, which shouldn't be that hard as it's the same stuff but just using more of it, so turning down the grain and backing off the softening and size of halation and bloom etc. In order to get my bearings I've collected a bunch of frame grabs from cinema over the decades, and some fascinating things have emerged. Observation One: Film doesn't look like it's gotten cleaner and sharper This is what people say, but when scrolling through the references, you can find things like this from 1952's Bend of the River: and then things like this from 1994s Speed: Obviously you need to be smart about things, so both these shots are likely to be locked off, focus wouldn't be missed, lit naturally and exposed properly, etc. There are lots of shots from Speed that are soft, but it's an action movie so lots of them are probably motion blurred or the action was impacting how well that frame was focused etc. Luckily, License to Kill from 1989 will get us back to safe ground with some nice sharp images: But how are these images possible all the way back then? One thing that comes to mind is that when consulting Kodaks excellent Chronology of Film page, you see that the negative stocks started off as very low sensitivity and increased over time, so it's like comparing the high-ISO of todays cameras to the native ISOs of past cameras. Observation Two: Images look like they've gotten less worse The further back you go, the more you find shots that should be sharp but just aren't. The example above from 1952 was a real outlier, as most of the images from that time looked more like these from 1955s A Bad Day at Black Rock: I suspect the quality of the lenses. All the above looked like wider shots, so maybe that lens wasn't so good (wider lenses are harder to make). Maybe it wasn't at its sharpest F-stop. A lot of the sharpest images across the frame grabs I looked at were close-ups, and I suspect back then a 50mm at it's sharpest aperture and focus distance was a lot better than a wider lens at whatever F-stop and focus distance was required for the scene. Check out these grabs from 1955's The Seven Year Itch: Monroe was at her height of popularity so there's no way she's getting the beat-up lenses from the rental company or a camera team that doesn't know what they're doing. I can't think of any reason these two particular images would be softer than the technology at the time would have allowed. By 1971 things seemed to have gotten a lot more consistent with Diamonds Are Forever: Then if we fast forward to the last few years, we get films like 2024s Trap, which looks quite sharp and even approaching a digital look: but still has films over-emphasis of high-contrast edges: and it's a similar case with 2023's Poor Things which can look quite sharp: but on wides it still has that film look: and it's only when the lenses get crazy that the edges start looking more vintage again: Anyway, lots of food for thought, but it's almost like the sweet spot of film has remained relatively similar in performance but has gotten drastically wider as you can now get images that are that sharp and clean in much less light and across a vastly wider range of lens focal lengths and apertures. Another variable is that prior to digital projection, the final image had to go through many more layers of film than it has to now. Back in the day the image pipeline was something like: negative → interpositive → internegative → release print, rather than just negative -> scan, and it's not like our projection lenses haven't gotten better now too! Let me know if you can think of any more variables that I didn't mention, but it's like we're looking at lenses get better and film be useful in more situations, rather than it get "better".
-
It actually feels like it's in a softer set of threads, so it's not like metal on metal where it grips and then slides easily, this just requires a certain level of force to get it to move and once moving it requires the same force to keep it moving. I would absolutely never ever put something like WD-40 into an optical assembly! Not only would it potentially dissolve or melt any plastic it comes into contact with, but solvents can 'wick' into things and spread across surfaces (especially bad if those surfaces are on the inside and you can't get at them to clean them), and solvents will evaporate and likely fill every void or space with fumes, which can potentially condense on the surfaces of the lenses and dissolve the coatings etc. I've glued things together before with PVA glue, which is water based, and after the glue had dried (ie, the water in it evaporated) it had condensation all over the sensor and lens etc. I set it on a windowsill in the sun to dry for a few days and it cleared up fine, but I think that was mostly because it was water and that didn't interact in any way with the lens or sensor elements.
-
Speaking of the dials registering the wrong way, I've mostly noticed that on dials when you rotate them quite slowly, so it seems like trying different speeds might be the best strategy. It's also good to get a decent light source and look over the surface of it by looking at the reflections as you rotate it. I'd be looking for any evidence it's been dropped etc, especially on anything that's meant to move like the buttons or dials etc, but also on the corners. I dropped my GF3 on one of its corners and as it's a metal chassis it just got a little flat spot and wrinkle, but you can feel it if you pay attention.
-
Wow - that's one hell of a sun star! You could use that to gain both power and respect on the entry-level stills photography sites.. they'd fall on their knees before you!! After going through the exercise of seeing what EF glass was out there I didn't see a lot of options that tempted me, so I suspect that I'll just end up leaving it attached to the Zeiss 50/1.4 and that will be that. If the image from the Zeiss is half as good as the lens' physical construction then it would be worth buying the Viltrox just to use with the Zeiss lens alone! Someone else pointed out that the Viltrox is probably only capable of F1.2 at maximum, so that would mean the Mikaton 50mm F0.95 lens is out of the running, and it was the only other thing I was really tempted by.
-
I'd use a little known plugin called Tilt Shift Blur (TSB), which comes with Resolve but is very special in a critical aspect. Normally if you have a node and give it a key then the node calculates things as normal and then uses the key as a transparency effect, so if you used a large Gaussian Blur and gave it a key then you'd get a huge blur mixed with the sharp image at the level of transparency the key dictated. However, with the TSB, the key defines the size of the blur, so you can vary the size of the blur that way. For this purpose I'd give it a luma key of the image and adjust the contrast and amount to control the relative amount of blur between the lighter and darker parts of the image. The TSB is what I use to soften the edges of the frame in my lens emulation nodes, which allows there to be no blur in the centre and it gradually transition to having a larger and larger blurring towards the edges. The fact that the key input acts as a transparency control really doesn't make much sense when applying most OFX plugins and I'm surprised they haven't made more of them smart like the TSB one where it uses the key as an input to control one or more of the OFX parameters.
-
Thanks! The colour part of the emulation (which has the rolloff in it) is just a preset in the Resolve Film Look Creator (IIRC the Fujifilm one, but if not that one then it'll be the Kodak one). Other parts of the emulation I've had to go DIY and disable those parts of the FLC, but no-one has said anything bad about the colour profile so that seems to be good. Thanks! I was just thinking about where it's at and next steps and I realised that there are a few things I hadn't done yet, but feedback suggests that it's fine how it is, so that's amusing. One of the things I had noted was that apparently the size of the grains is different in the shadows vs highlights, so I was thinking about different ways to implement that, but maybe I just won't bother!
-
Got it! It was just quite stiff, and the technique is to take a microfibre cloth and to grip the element from both sides pressing in on the glass elements themselves to turn it. Foolishly I wasn't using the full surface of the glass! I swear I could feel the surface of the glass bend slightly to get enough traction to get the lens to move, but it seems to have worked, and I now have slightly past infinity focus. I can adjust it to dial it in but I'm curious to see if that's enough clearance for the Takumar and M42-EF adapter, so will try that tomorrow and see how I go. Damn the Zeiss is a highly engineered object though!
-
I watched the same video, but he rotates his with his fingers and I put little dents in the ends of my fingers trying and failing to get it to move. Also of note is he seems to have the EF-M2 and I have the EF-M2II (the second version of the EF-M2).
-
The plot thickens.... My Zeiss ZE 50/1.4 arrived and (apart from being an incredible chunk of glass and metal) it won't focus to infinity on the Viltrox EF-M2II. The Zeiss is properly seated on the Viltrox, the Viltrox is properly seated on the camera, and it's talking to the camera fine. I'm blaming the Viltrox because both the Zeiss and M42 Takumar both have the same issue, plus, the Zeiss has a hard-stop for infinity so it will be well calibrated and I'd trust their engineering over Viltrox any day! The advice online is that the optical element inside the Viltrox can be rotated to fix the issue, which makes perfect sense, only mine doesn't rotate, and I gave it a good go (with just my fingers) but it wouldn't budge. Do I just need to (carefully) attack it with tools? Any advice?
-
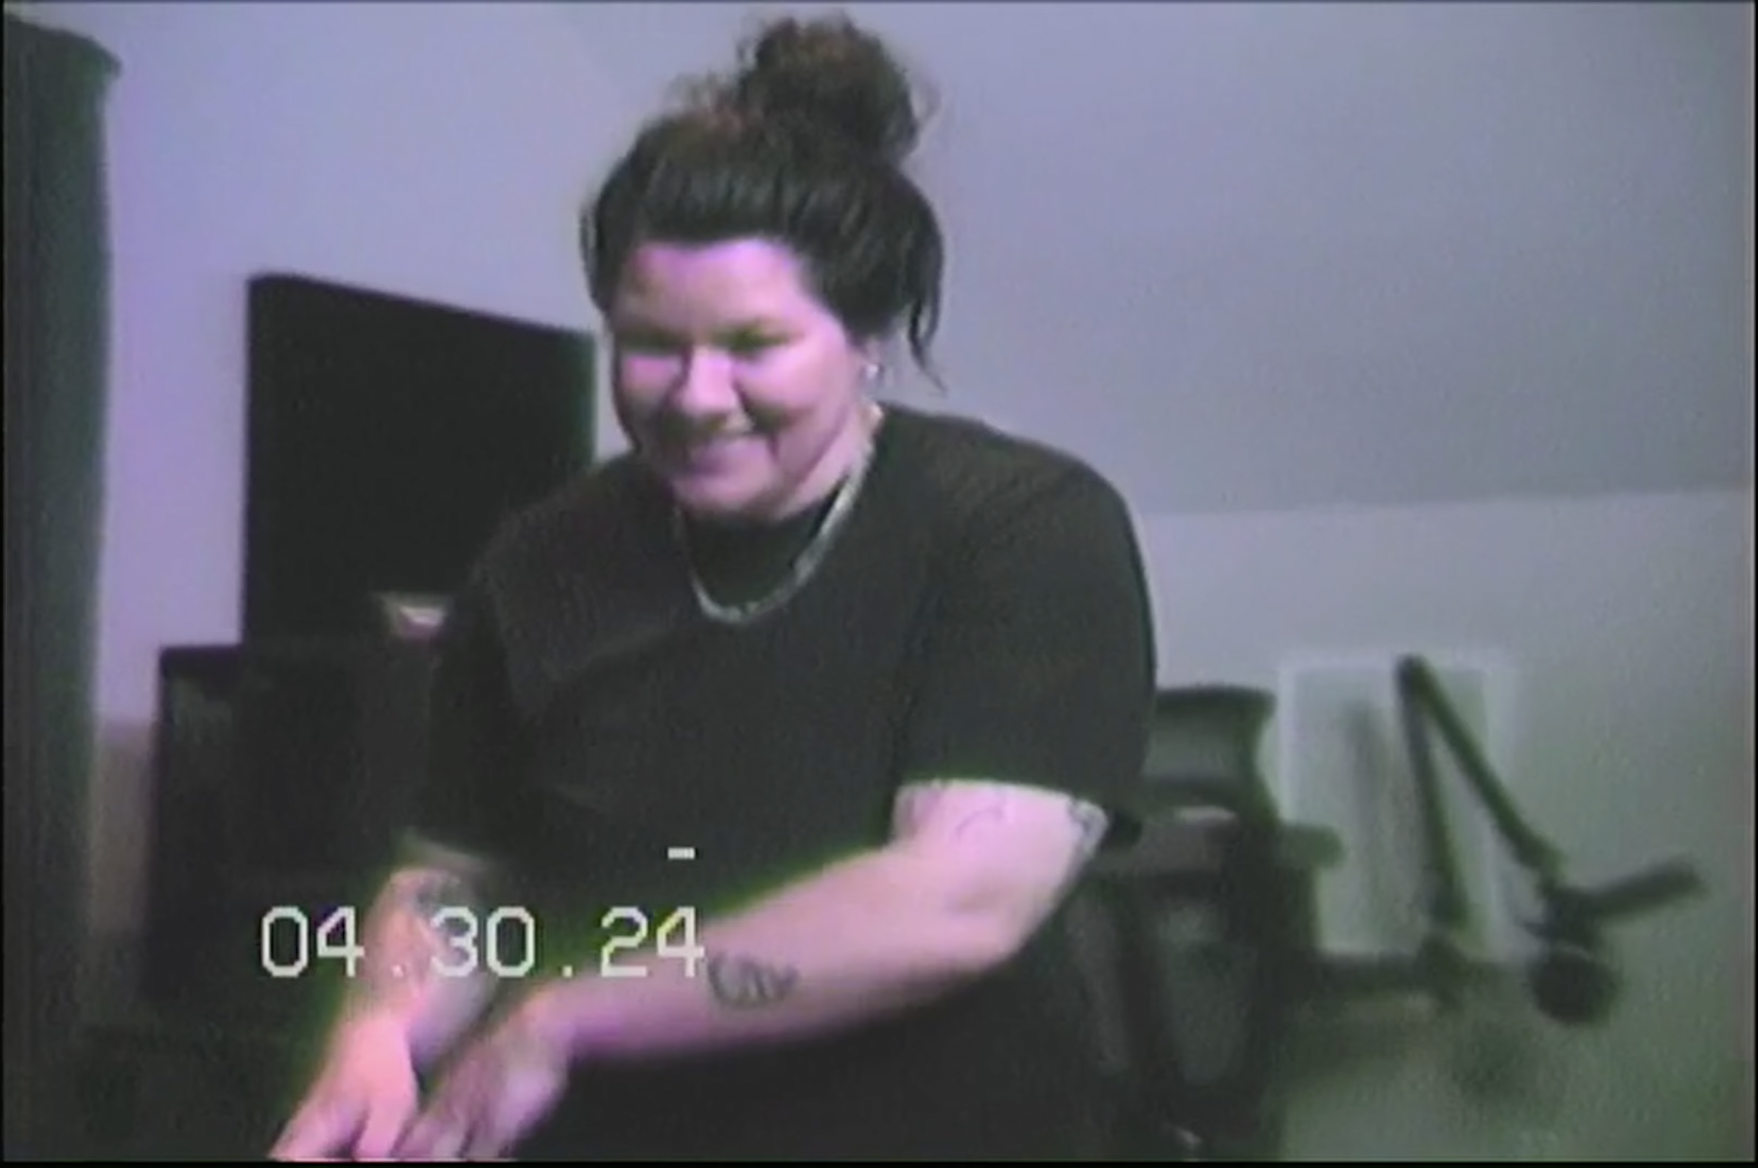
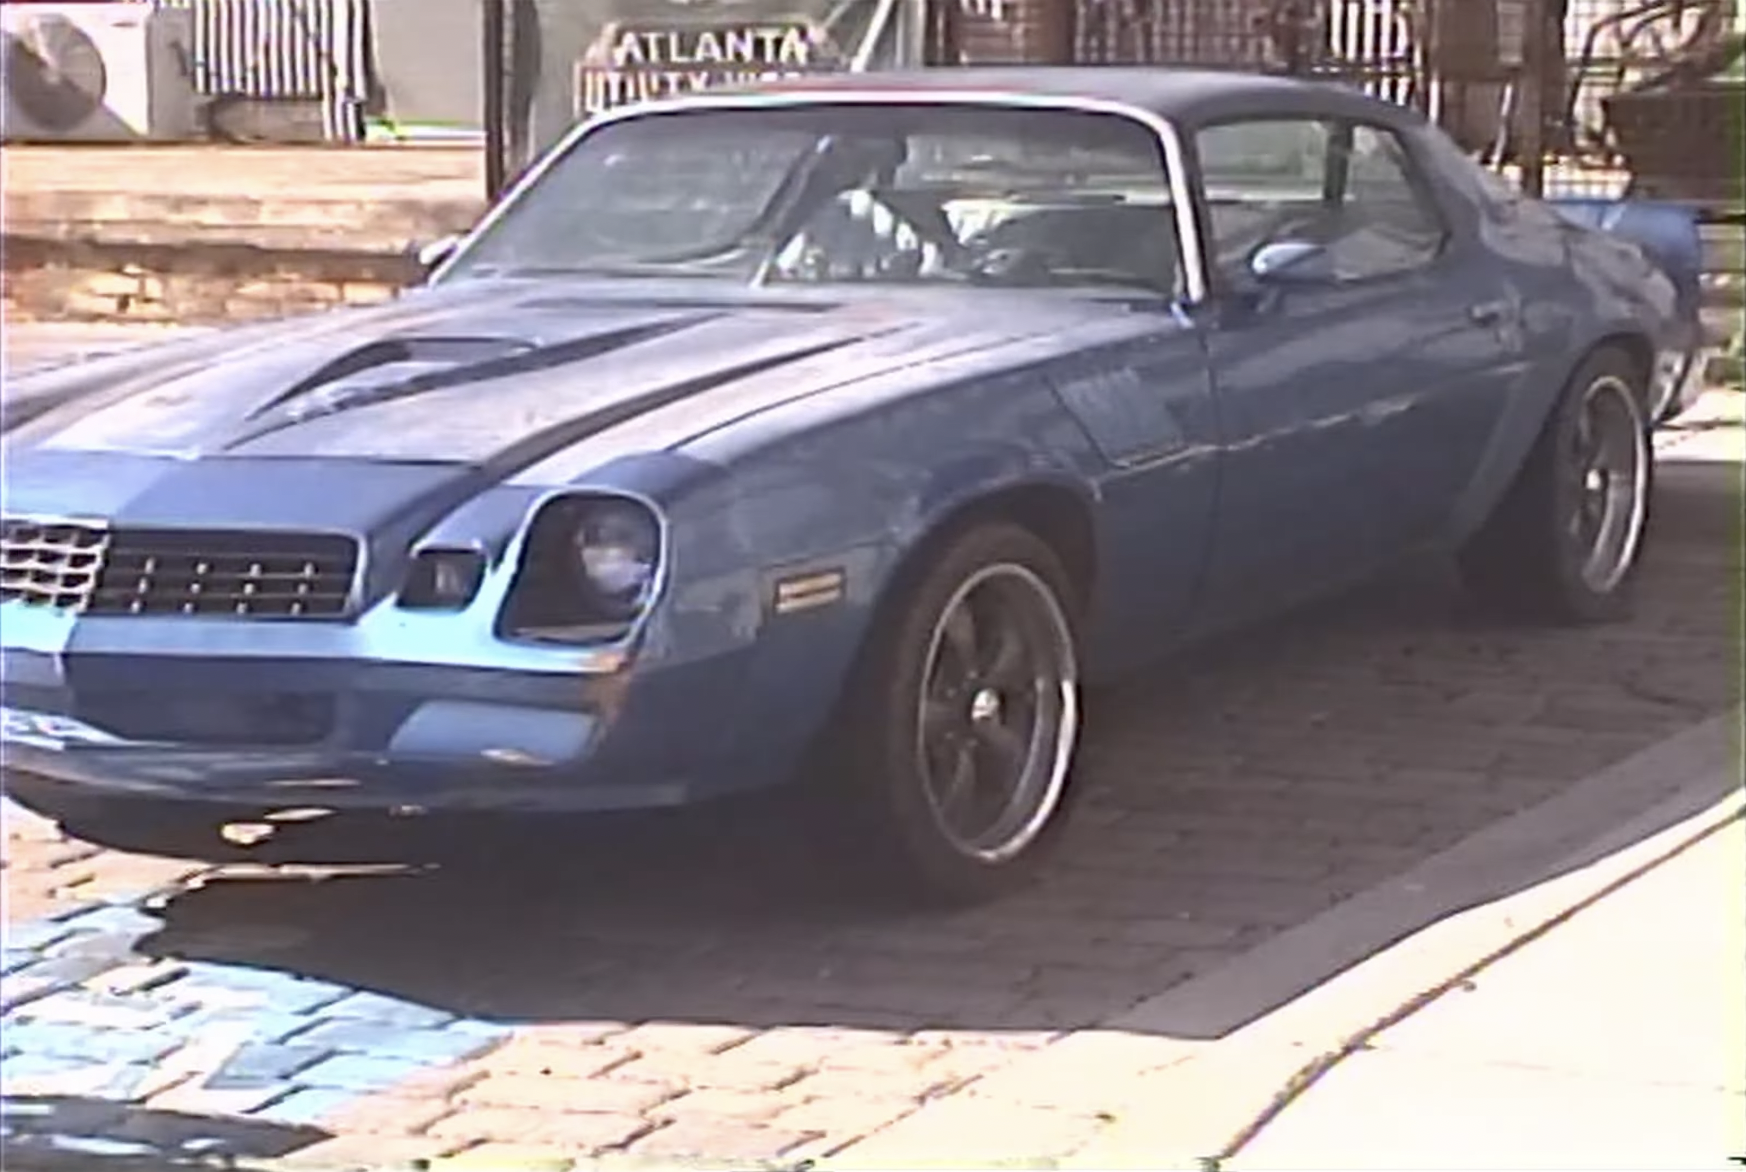
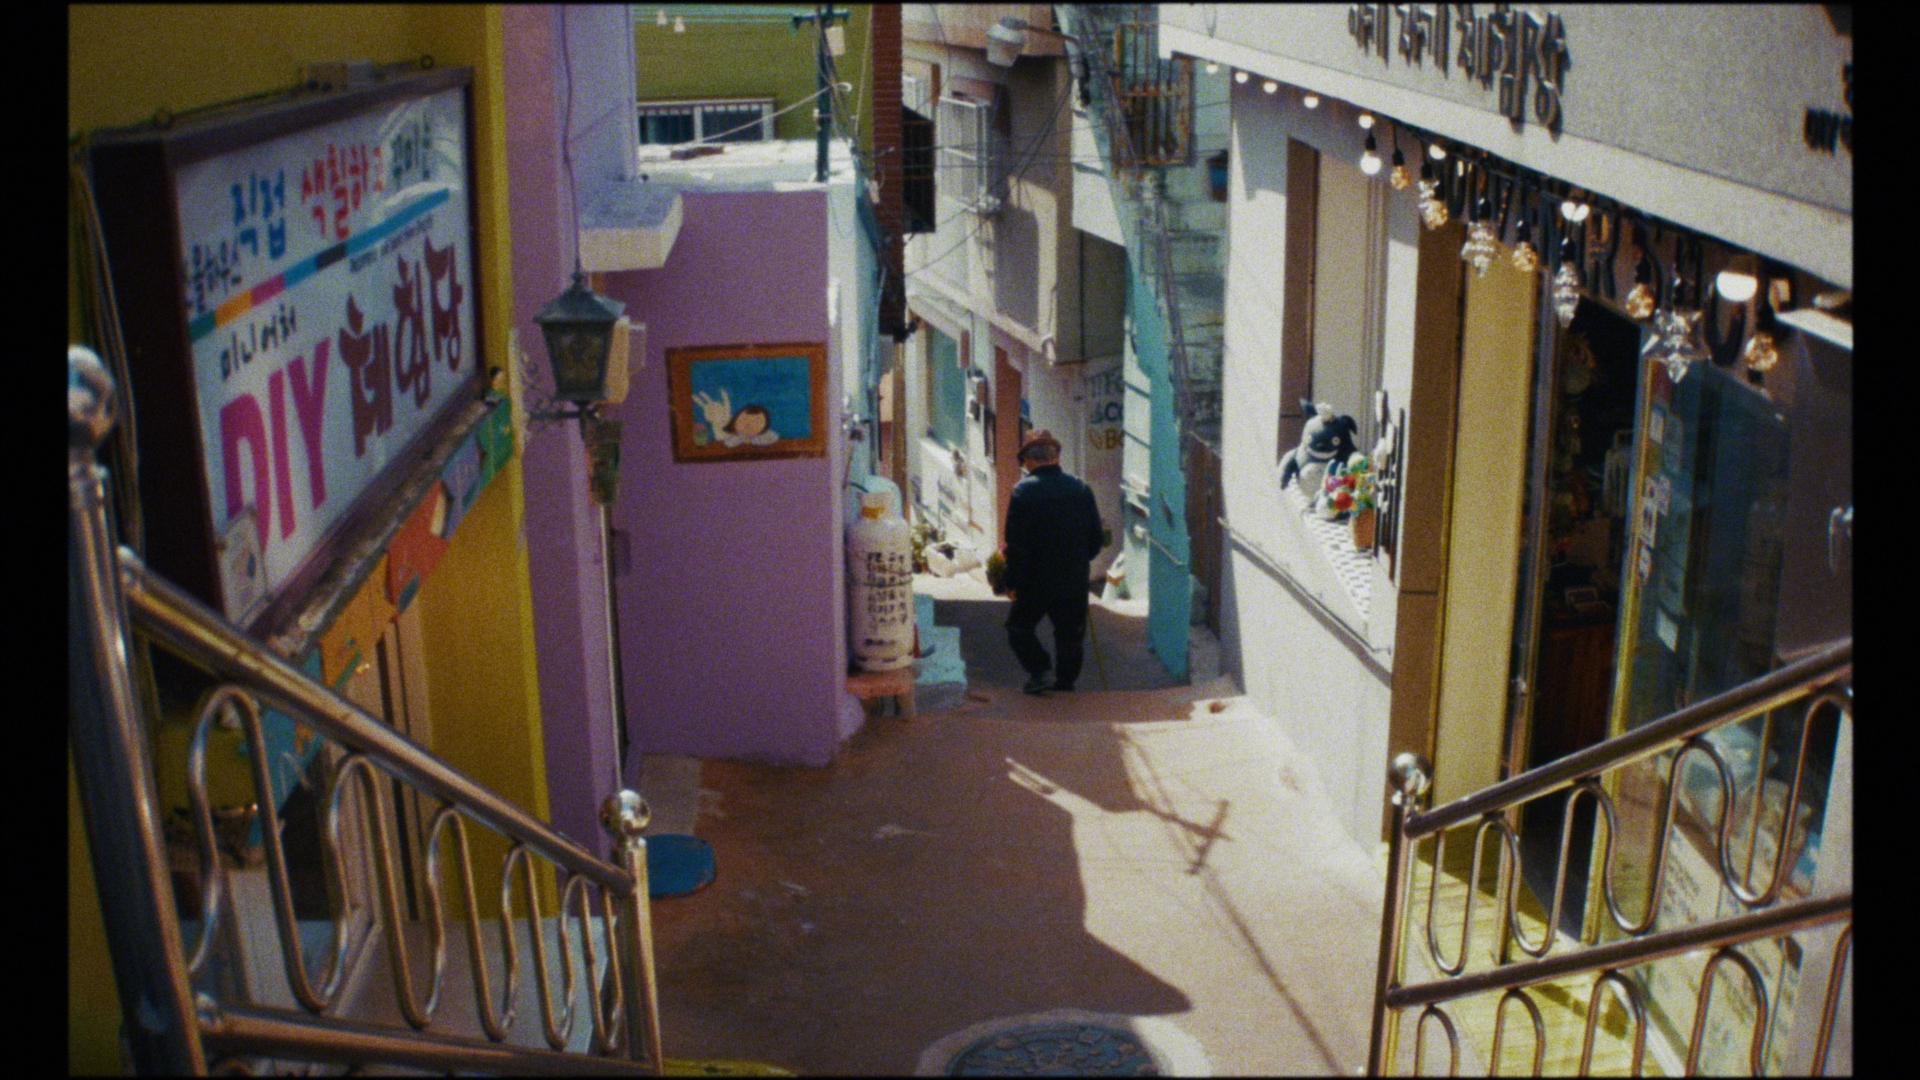
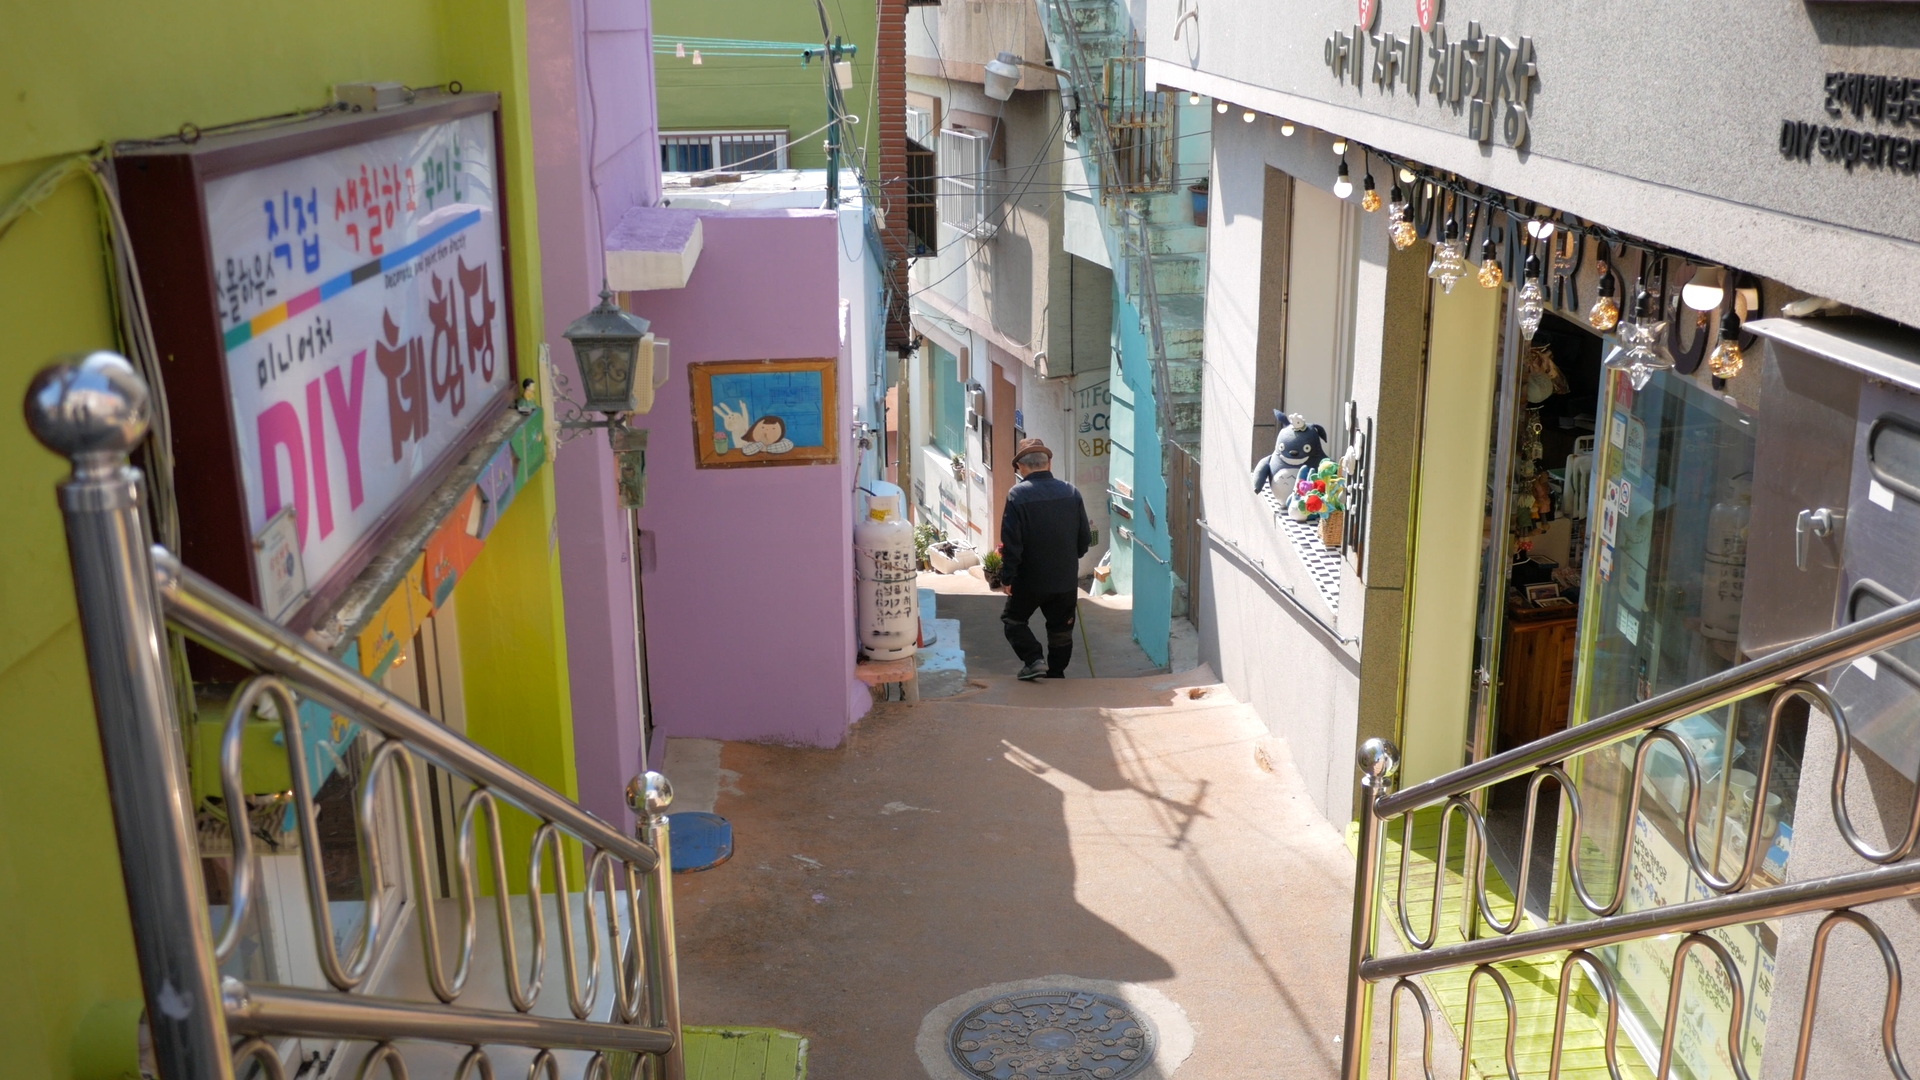
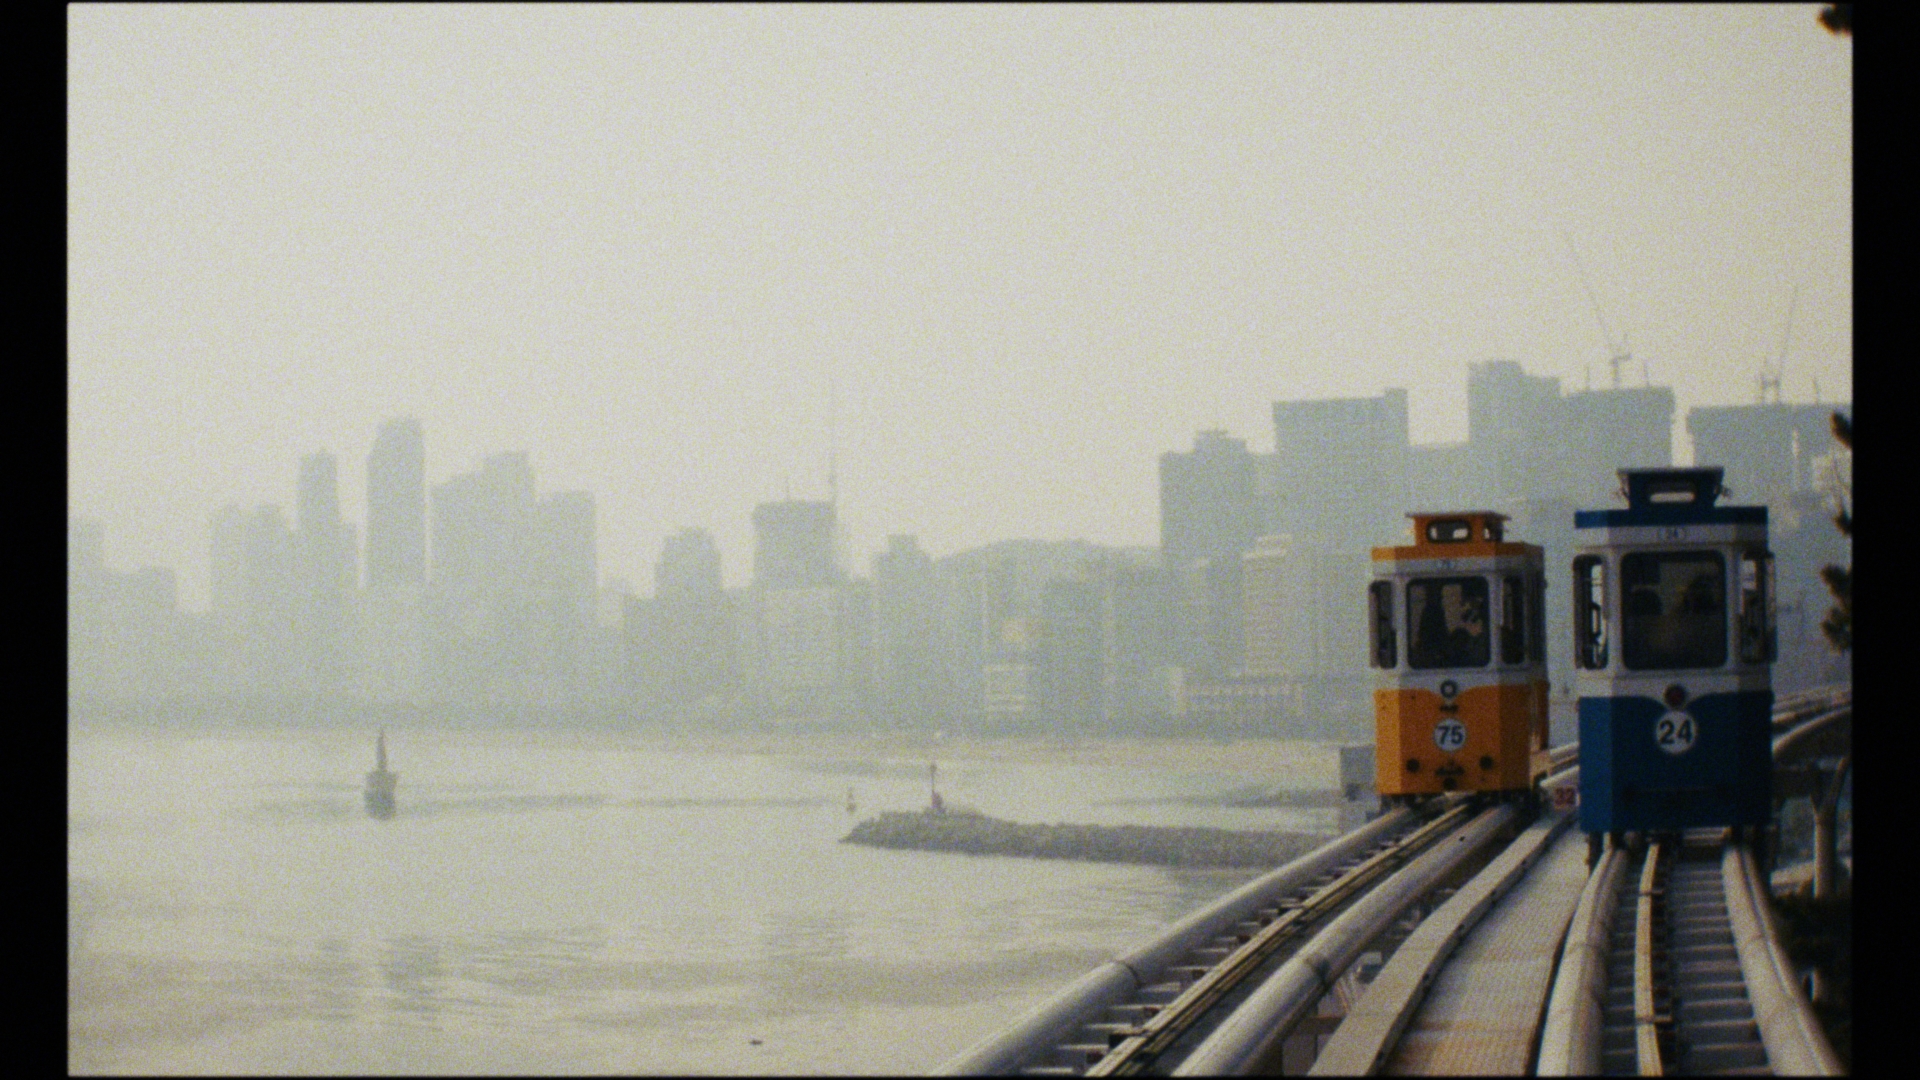
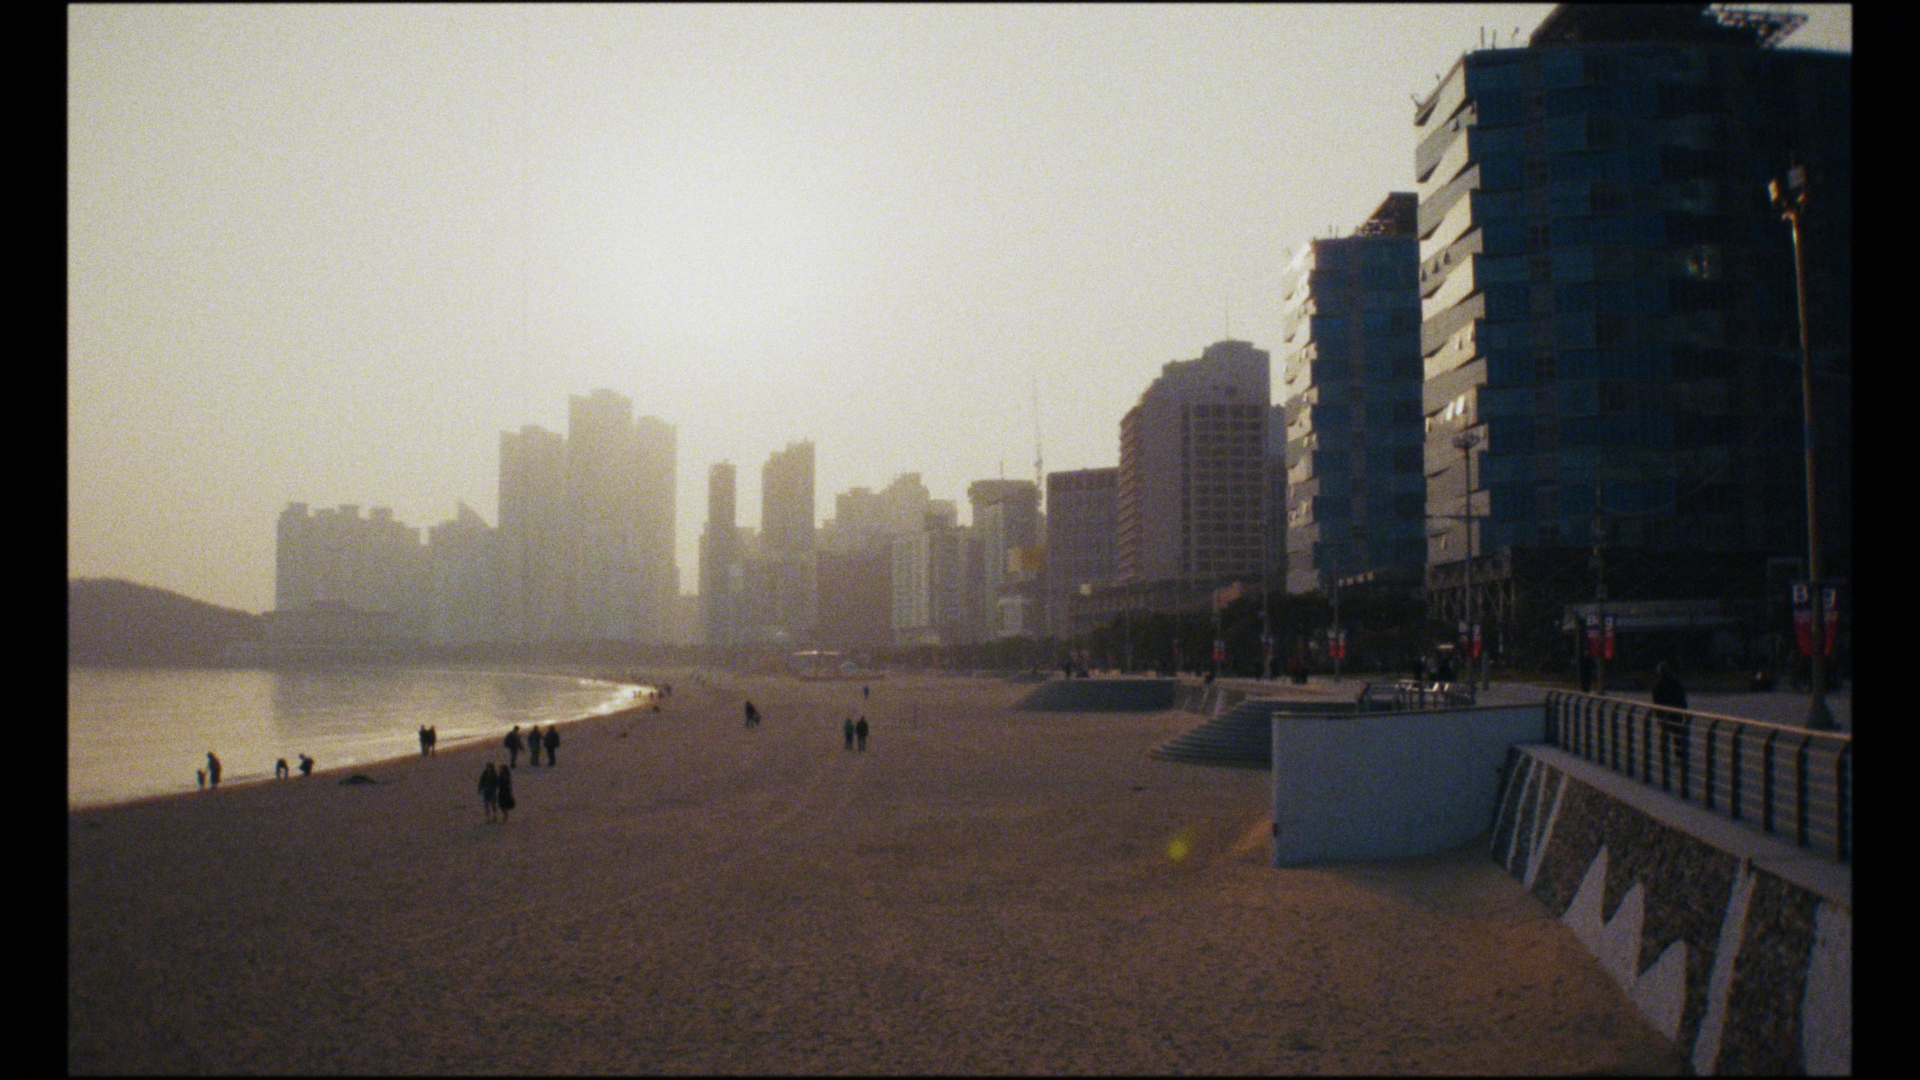
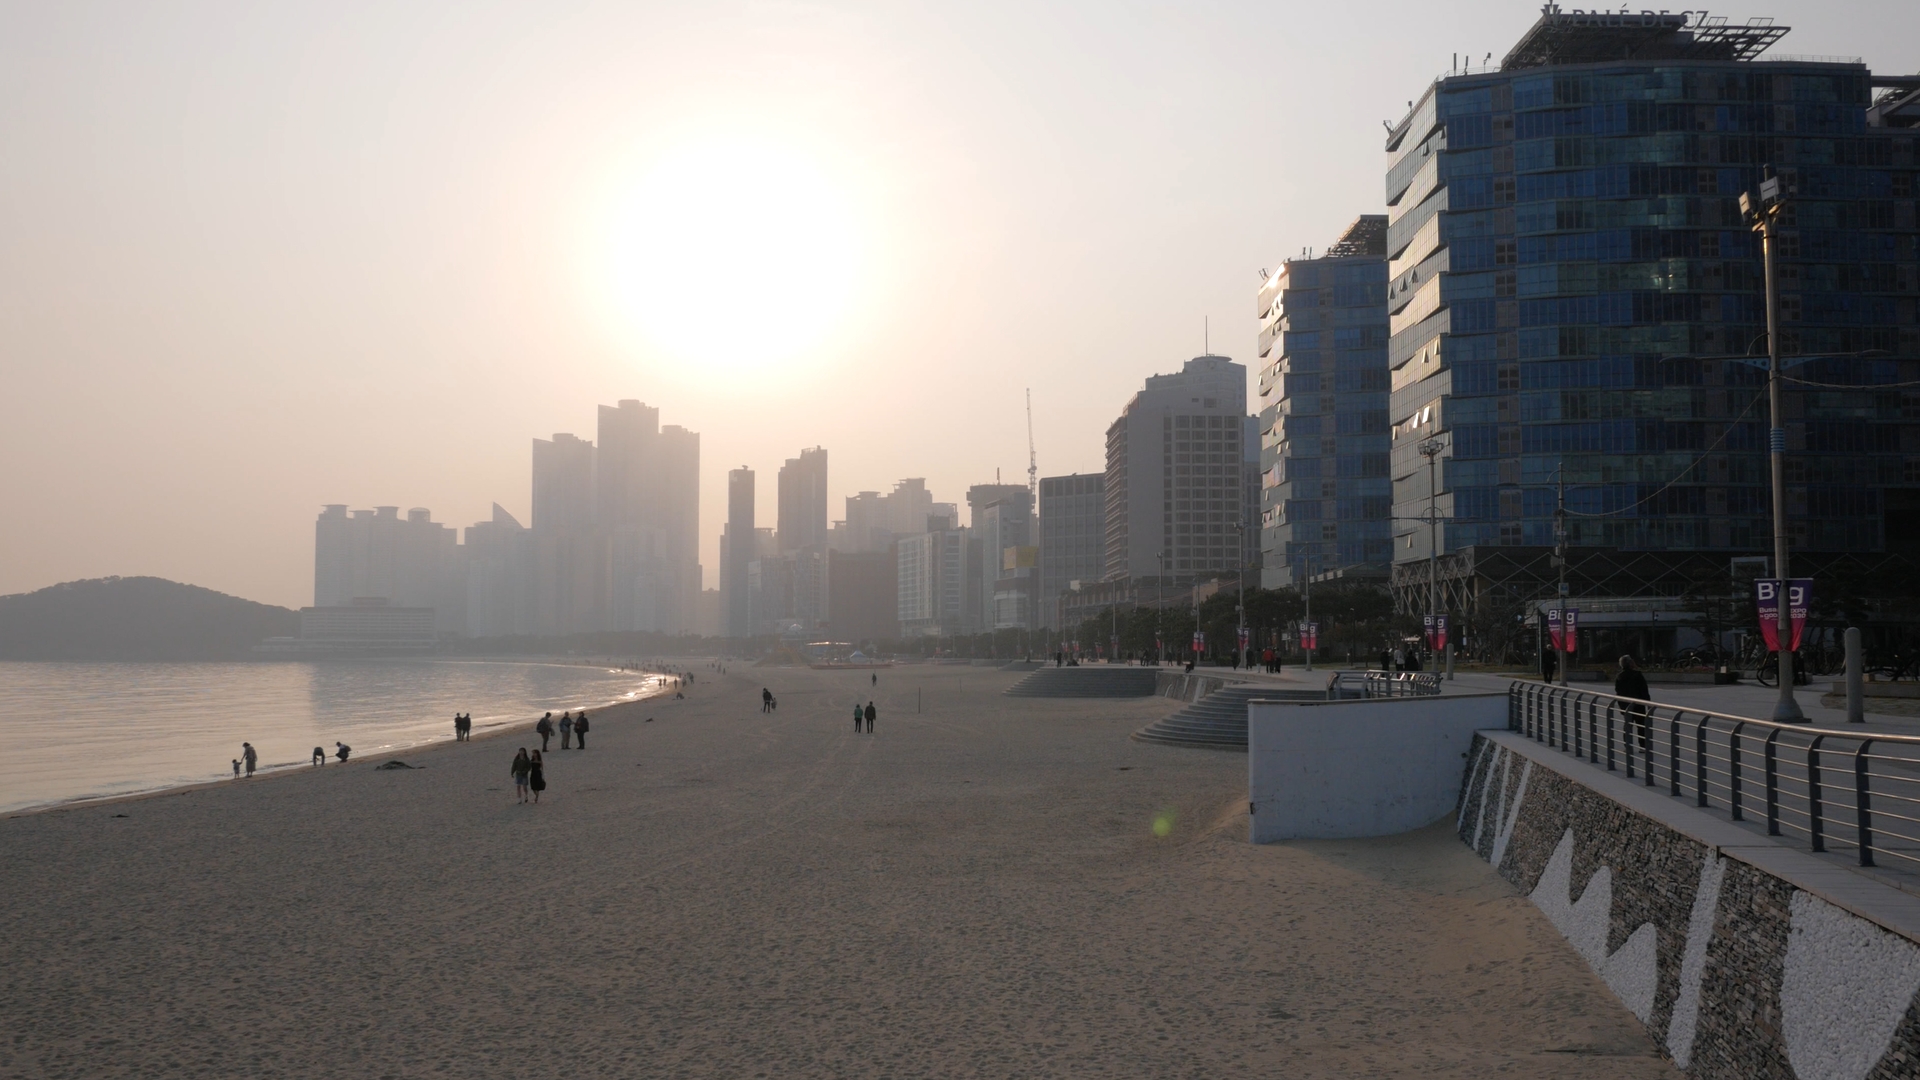
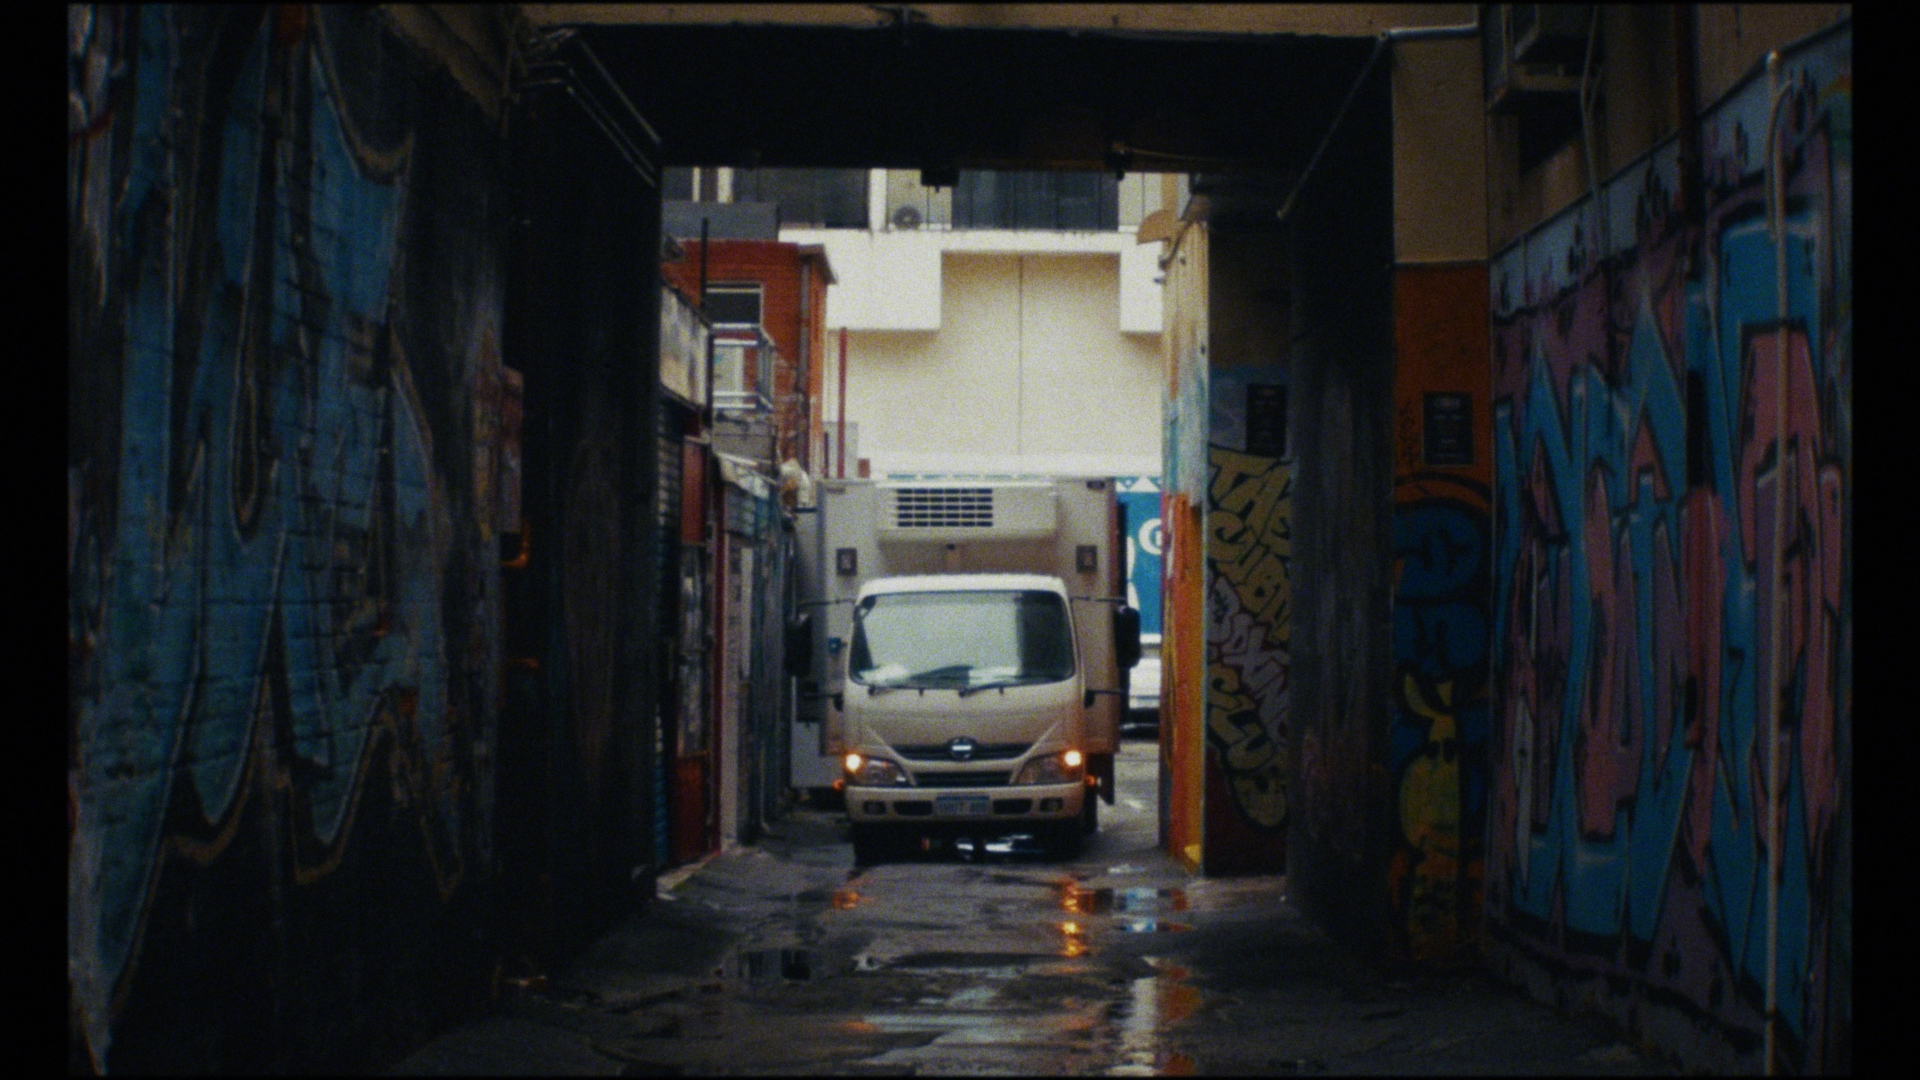
Version 8. Changes are: Added CA Added film dirt and damage Added diffusion Less blur I've also added a bunch of fresh images into the reel, so there's a wider range of situations, including more real-world examples. The ones I grabbed from previous trips are exposed with SS so the motion might be off on some of them, so excuse that aspect of it (although having a slightly blurrier image does make this less visible). I also backed off the stabilisation on the shots from the previous reel as I think it hides the gate weave a little and is more how the rig actually shoots. Here are a few before/after images, to get a sense of what it's working with as input and how far it's taking the image. This is the setup used for (most) of the images in the reel.. It's tiny, actually pocketable, fits in the palm of the hand, and the ergonomics are just right.
-
To me the zoom is the most significant function here. This is meant to be a walk-around film-the-surroundings camera and my experience is that everyone who rigs a camera for this purpose uses a zoom with pretty significant zoom lens. The biggest con of this is the fact it's a gimbal, and therefore stabilises rotation but not position, leading to the dreaded bobbing movement and foreground parallax errors. These might be my candidate for the least cinematic image attribute of all time (linked to timestamp): This is why gimbals need the fourth axis for walking, and why people don't shoot gimbal shots with any foreground in them. By applying less stabilisation you end up with a more stable looking shot because the stabilisation doesn't call so much attention to itself.
-
I look forward to seeing some images.. enjoy, and grab some shots you can share with us!
-
You know, I don't think that what I said above is correct. If they defined their primaries then maybe the software vendors can adjust WB properly and the spectra doesn't need to be disclosed. It also strikes me that if you have the right equipment, measuring the spectral response is a simple exercise. Maybe better to just concentrate on what we point the damned things at... 😄
-
I was just wondering if it would make any difference, doing it before or after, but I think I don't know enough about how the debayering is actually done. I suppose that if manufacturers don't share the spectral responses of the channels then no-one can know what the primaries are, so although they'll know the gamma is Linear they won't know the colour space. Therefore if they want to make the image more warm along the neutral axis, they'll be boosting red and green but won't know the correct proportions to move along the right vector (unless they do some testing to determine this). I guess it's a situation where you have all the usual suspects feeding into it, like corporate secrecy and paranoia (in the guise of "competitive advantage") and poor understanding of transparency and the benefits of open standards, but also poor business management and inability to understand how the customer experiences their products. Industrial espionage is also something that happens and there's a balance between being transparent and making it easy for your competitors to undercut you in the market. I think for ARRI the marketplace might be somewhat different, but perhaps not. Then again, ARRI got sold and not all the Japanese manufacturers needed to be put on the market, so maybe their curmudgeonly ways paid off...
-
Interesting. Makes sense to shoot both so you can review coverage and make decisions on-set rather than waiting days/weeks to see the footage. Of course, their page doesn't get off to the best start..... umm... sure, if you say so!
-
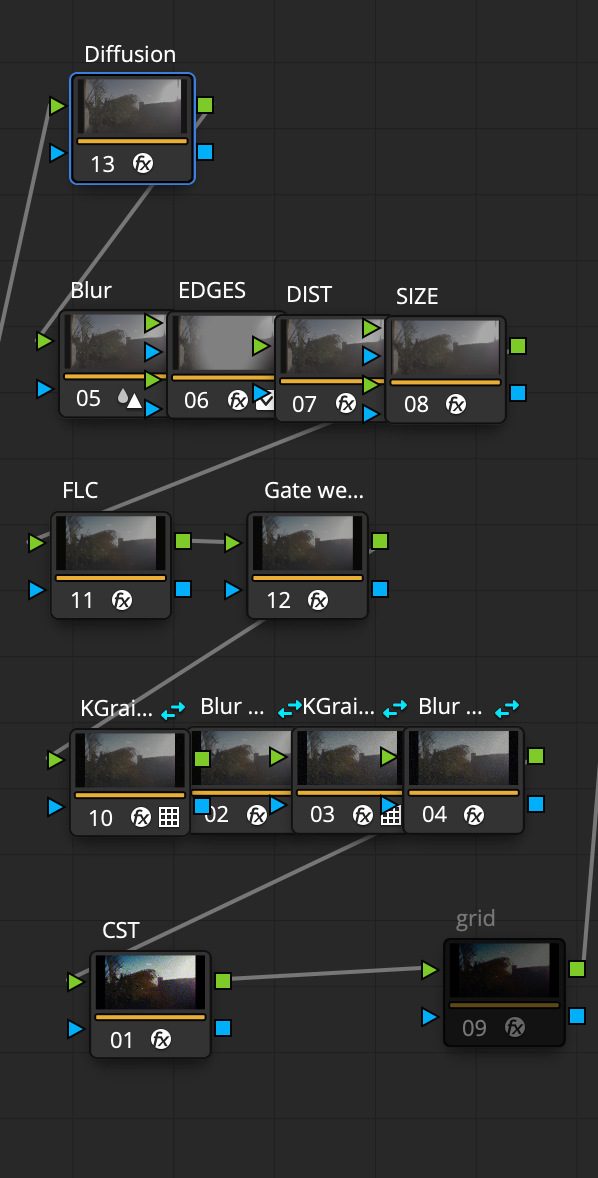
Thanks! My film nerd friend also said that this was basically there, and that after YT compression it would be indistinguishable. I'm actually really stunned as I figured that this project would end with me being happy I got a film look of some kind and everyone else giving up because I was so far away! I'm also sort-of stunned because the FLC and other plugins don't get this close and all I did was write a random noise generator and then a gaussian blur and we're there. My plan is to keep going and emulate as much as I can, including the full image pipeline, so filters / lenses / film / colour grading / etc. The way I've structured the grain is that it's at pixel-level on the timeline so to go from 16mm to 35mm all I have to do is lower the amount of grain and back off the softening, then back off the halation and bloom and gate weave etc, but if it looks good at 16mm it should be fine at 35mm where it's all much more subtle. 8mm is the same, but just turning everything up. Everything is tuneable, so adjusting things isn't that hard once you know which controls are the ones you want. Top row is diffusion, then 4 nodes for the lens emulation, then FLC and gate weave, then 4 nodes for the grain and softening, then CST to 709 output. I've started making a list for v8: Play with diffusion to simulate netting / diffusion filters Add CA to the lens emulation (already done) Lessen the amount of blur (I have some great S16 samples now to compare with) Add film dirt and damage, like scratches etc. There's an OFX plugin for this, so should be straight-forward and I plan to go subtle with it Really analyse my sources, including comparing the 1000Mbps scan my friend gave me to what I see in Resolve, and also comparing the YT samples I've downloaded to the YT version of my emulation (to compare apples-to-apples). I'll also start using better footage 🙂 As everything is tuneable, making a number of variants makes sense, potentially at 8mm / 16mm / 35mm, but also other variations too. Other things that are on my mind are things like bleach bypass, split toning (which Resolve doesn't seem to have a good answer for), and maybe some B&W options too. The FLC can do bleach bypass and potentially the B&W looks, but the split-toning might have to be another custom DCTL. Thanks! Great to get an additional perspective 😄


.jpeg.8b73be52d2a898360db2499c7cbd697f.jpeg)
.jpeg.80f52e2db69a2b1983cda2af3823dd12.jpeg)