
BTM_Pix
-
Posts
6,136 -
Joined
-
Last visited
Content Type
Profiles
Forums
Articles
Everything posted by BTM_Pix
-
FUJI : "People loved the image of the X-T2 but didn't like it having no IBIS and having to record LOG to a separate recorder. They will be very excited at how we've addressed both of those issues when we launch the new camera" Also FUJI :

-
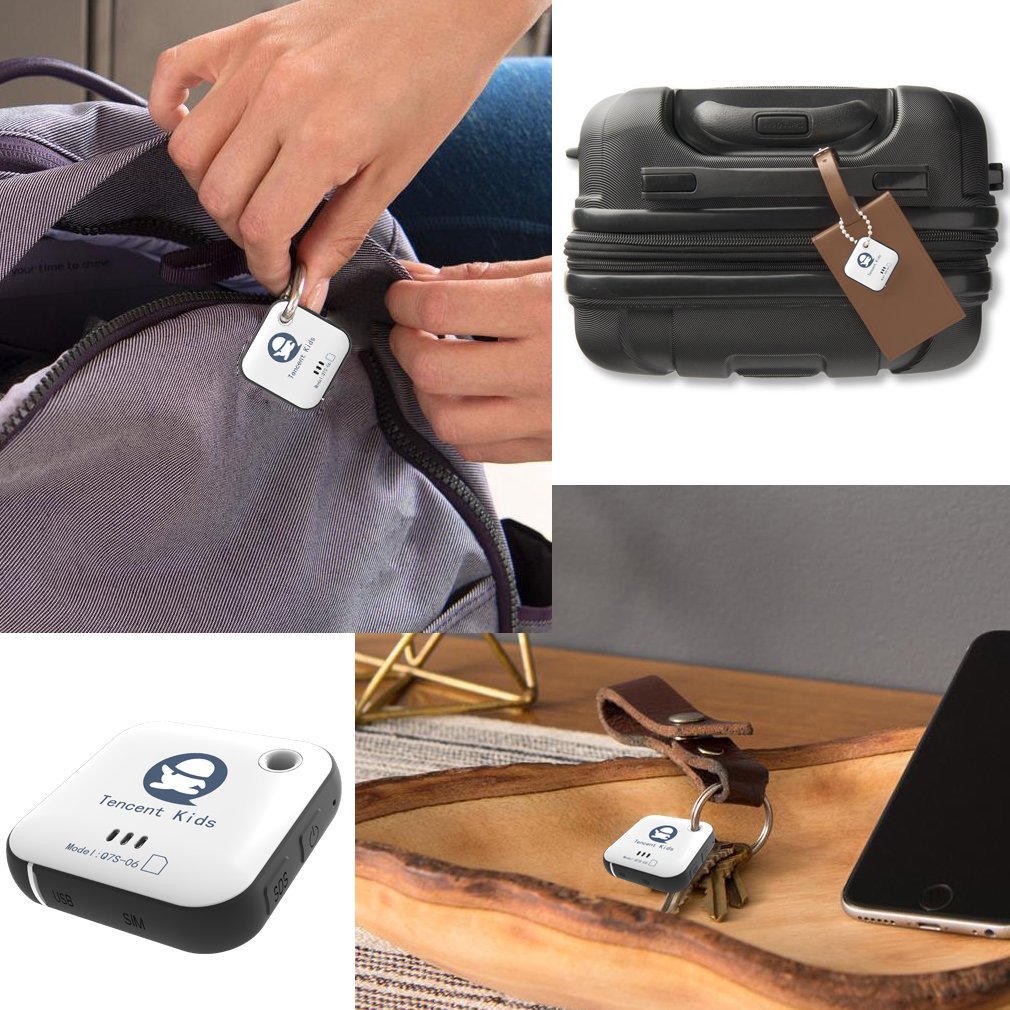
Pop one of these into your camera bag next time you go out on the ale Works on pets, senior citizens and mirrorless cameras. https://www.amazon.co.uk/dp/B075V3QYRF/ref=sspa_dk_detail_0?psc=1
-
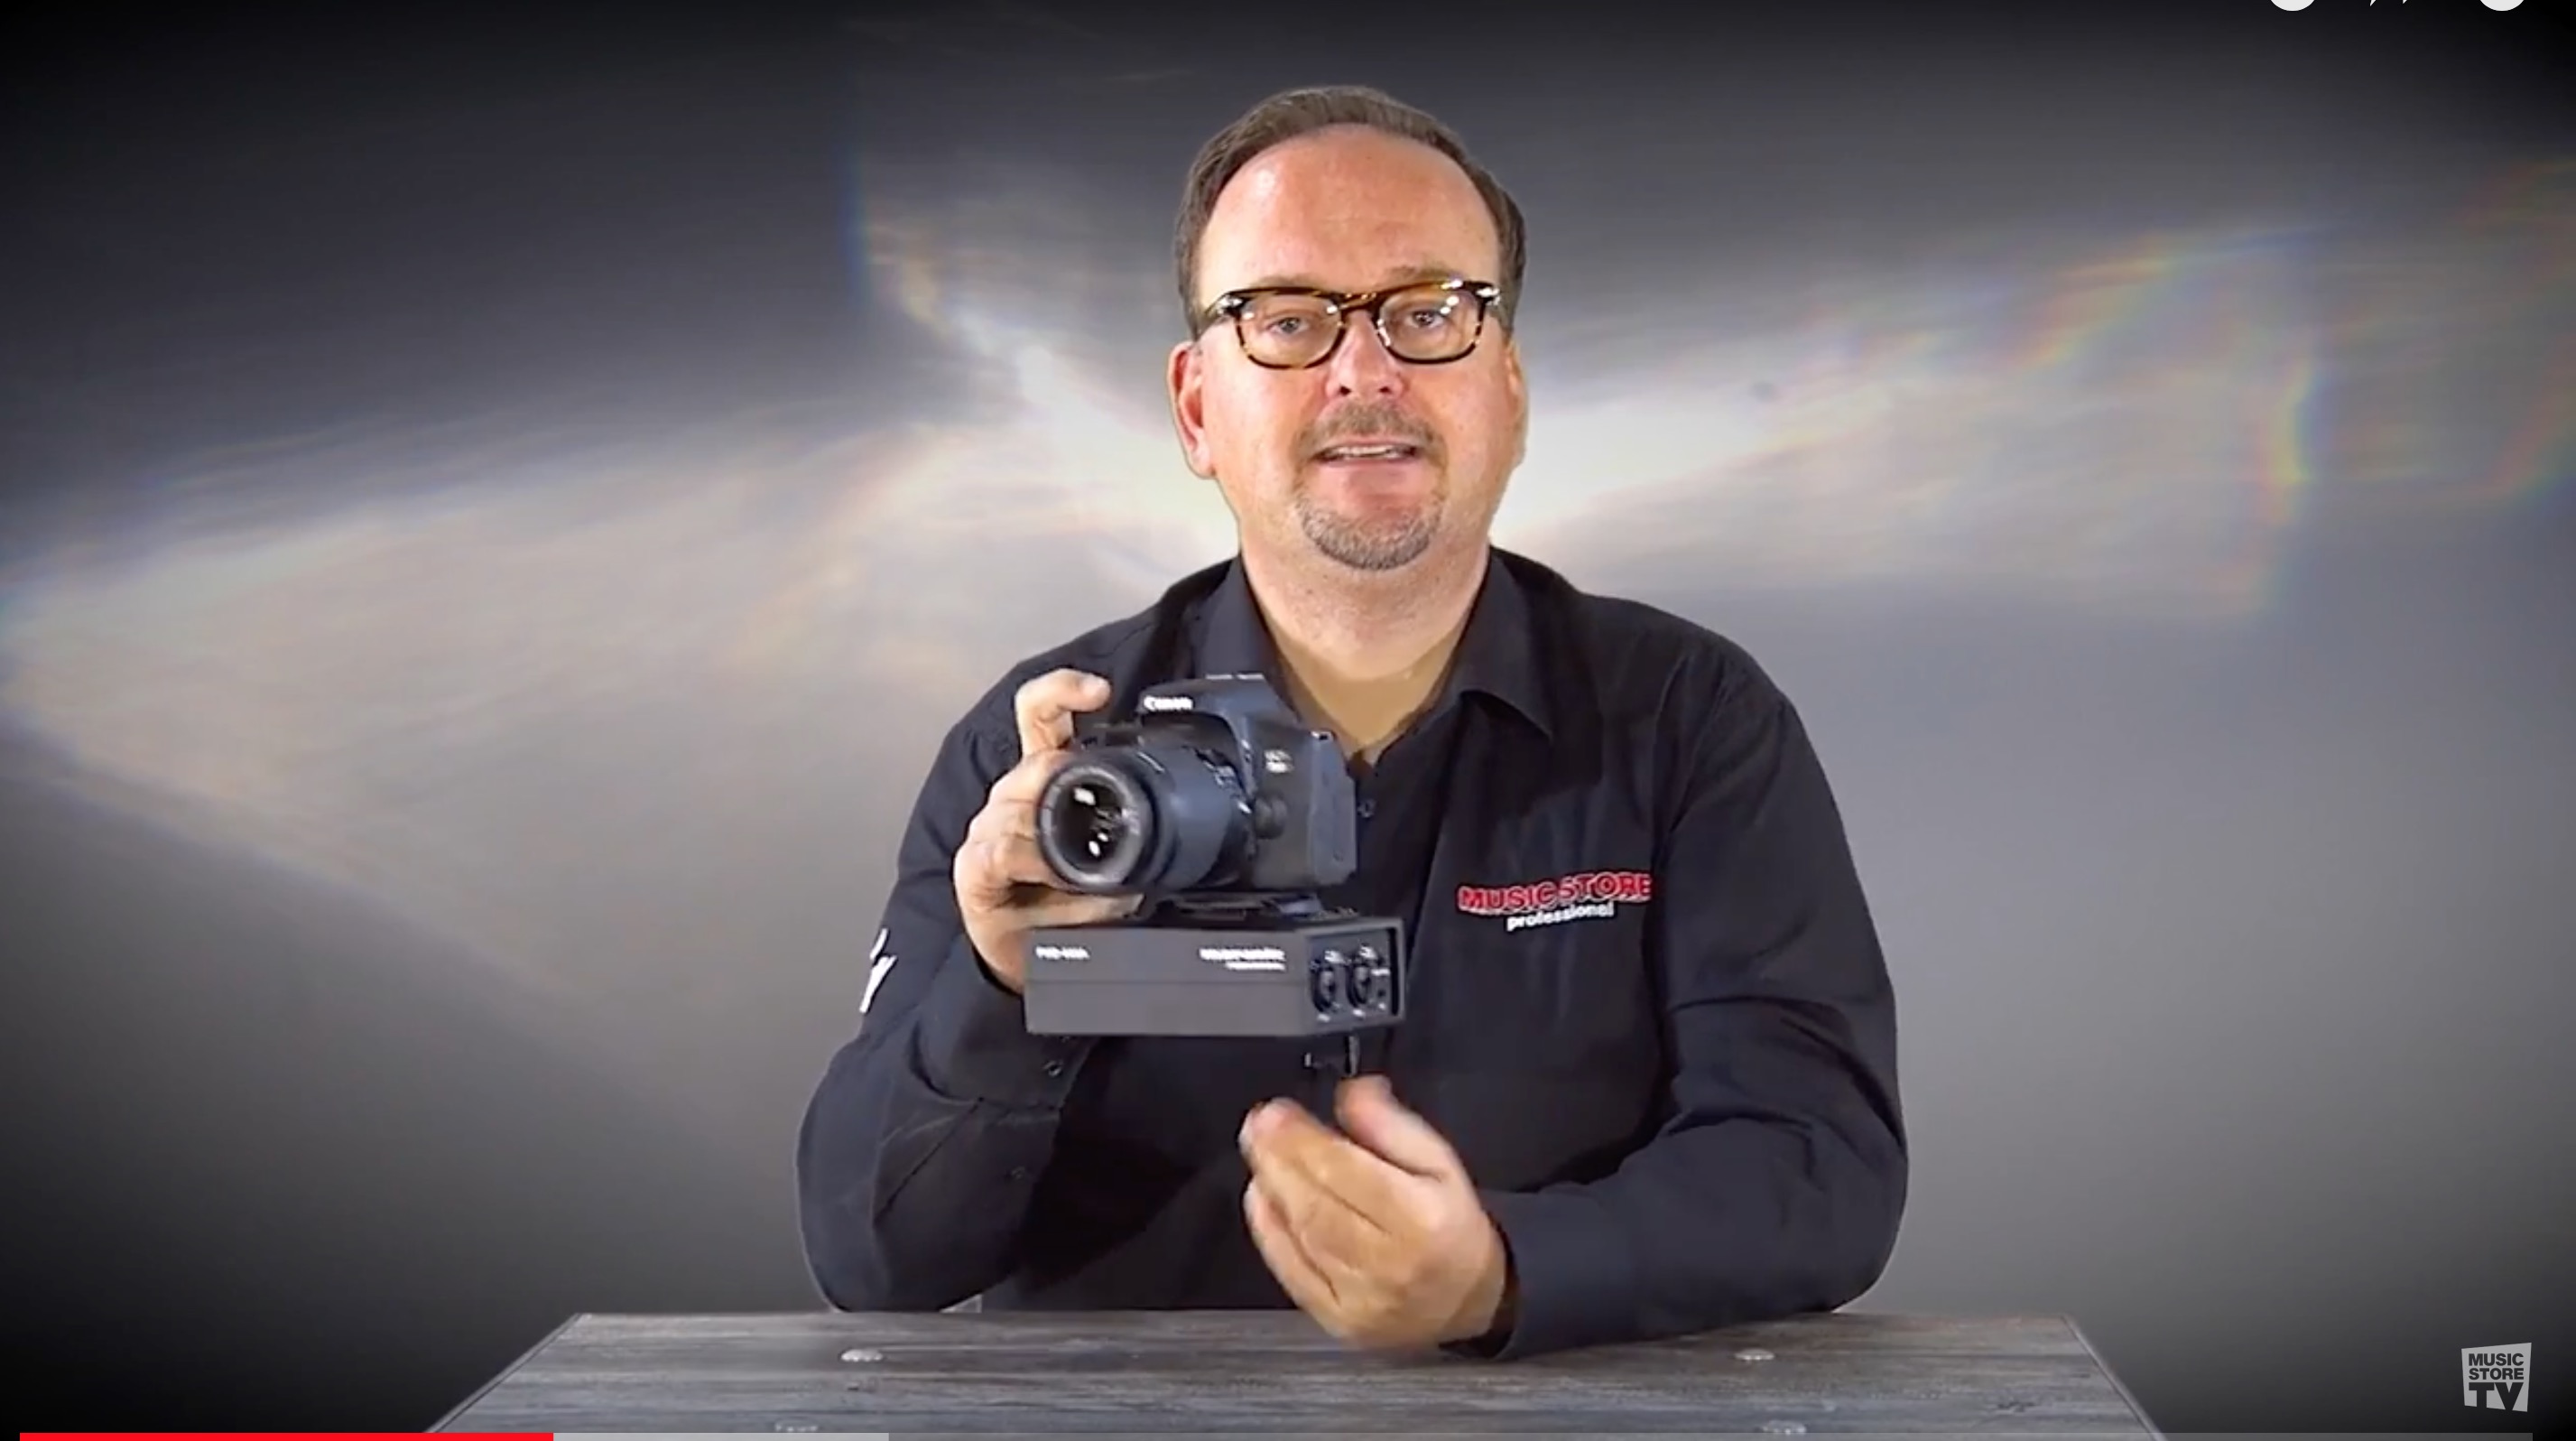
I had to stop watching as I was getting too distracted by his outfit. Found myself singing "Tell me more, tell me more, does it work on Sigmas"
-
There's no question that the technology is enabling a lot of people to make some very pretty looking stuff now. But if you dig into a bit, its debatable whether that actually translates into them being able to produce cohesive work for clients on time and on budget and dealing with all that that entails. You see stuff on Vimeo and YouTube that is pretty amazing but you often note of course that its a passion project about something or someone or somewhere that they have a particular feeling for. How they would fare when they're asked to bring that sort of vision and feeling to a corporate film about solvents is another matter. More people will be be fancying their chances as Its unquestionably easier to make images that look professional but I think its still quite a leap to get to the stage of being able to be produce that sort of level consistently where you can be considered to actually be a professional. Its definitely a case of many are called but few are chosen.
-
Yeah, it was for a very simple live application and for Panasonic FZ2000s so I wasn't fussed about it recording and just wanted something small and cheap so this looked ideal until I actually saw it mounted to a camera. Attaching that to something like the FZ2000 would look a bit, well, you know
-
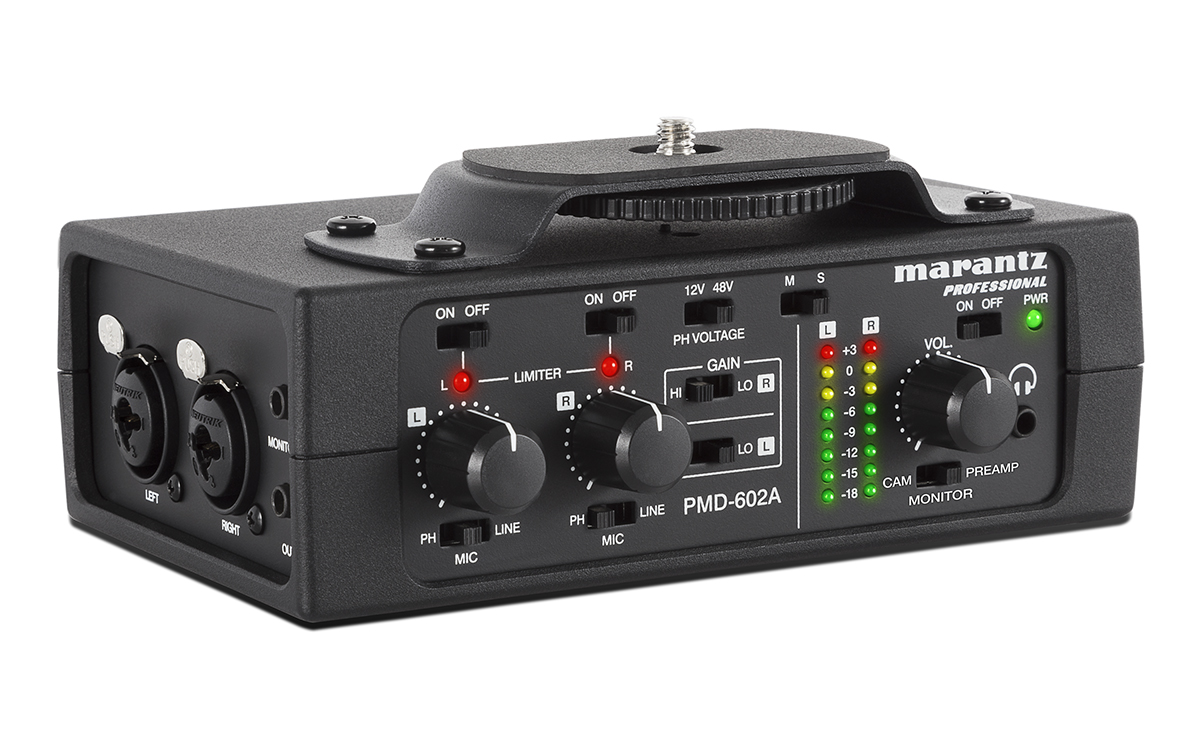
Speaking of Marantz getting their clunk on, I was actually quite interested in their PMD-602a to add XLR inputs to a couple of cameras. It certainly looked a bit nicer on paper than the Saramonic equivalent and at £100 its actually 30% cheaper. And then I saw a demo video of it actually mounted underneath a camera. And not some small mirrorless job either.... I think their marketing department is going to need to adapt on of the honest advertising campaigns that they had in Dudley Moore's film "Crazy People"
-

RED and Foxconn to create range of affordable 8K prosumer cinema cameras
BTM_Pix replied to Andrew - EOSHD's topic in Cameras
Though, ironically, MEGADRIVE sounds exactly like something RED would call a £100 per gig SSD product And DREAMCAST is a fairly accurate description of some of their expected release date announcements. -
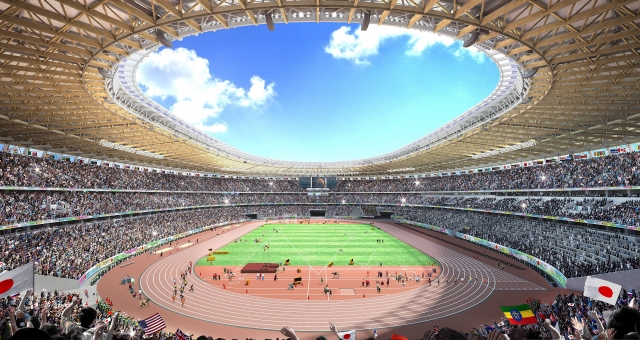
"With the technology, it is possible to capture images at 8K resolution, even in high contrast scenes, such as a field under strong sunlight and shaded spectator seats under a stadium roof." The example Panasonic gave in that line is very likely a hint that it'll be the 24th. of July 2020 as if this render is accurate then they'll need it for the back straight
-
RED and Foxconn to create range of affordable 8K prosumer cinema cameras
BTM_Pix replied to Andrew - EOSHD's topic in Cameras
Well if he's getting into the making shit up business then he's picked the right company to do a joint venture with I think his goal of partnering up with RED and making a very, very affordable imaging system is easily within reach for him. What he'll still have to deal with though is it ending up being stupidly expensive again when RED insist on putting it inside a case forged from some rock that Elon Musk brings back from Mars complete with titanium fins and platinum exhaust pipes. They'll no doubt do two versions with different resolutions called SHOCK and AWE. You have to think that if its going to be truly affordable in the sense that we want it to be then its a collaboration that might not ultimately end up being in a RED branded product. -
Looks like I've come back to the forum at the right time. Is this offer still on as I quite fancy a GH5s. Do I just mail in the receipt or what?
-
This specific one is for the C300ii but I believe the steps are the same.
-
Cheers.
-
Panasonic's nomenclature has bit them on the arse with this I think. All of the previews I'm seeing of it are referencing the GX8 rather than the GX80/85. Its a better GX80/85 for sure but if I'd been holding off buying one of those waiting for this then I'm not sure I wouldn't be at the shop looking for end of line stock and put the £250 saving towards lenses.
-
I'd have been really excited by this announcement last year but my X-T2 experiment has by and large wound down now in terms of it being a viable complete replacement system for my stills work so I'm probably about to walk out of the same door as a lot of people will be walking in with regard to Fuji. And I think this will get a lot more people through their door to be honest. Curious to know whether they'll do an X-H10 version a few months down the track in the X-T1/X-T2 to X-T10/X-T20 tradition. That one would probably get me back in.
-
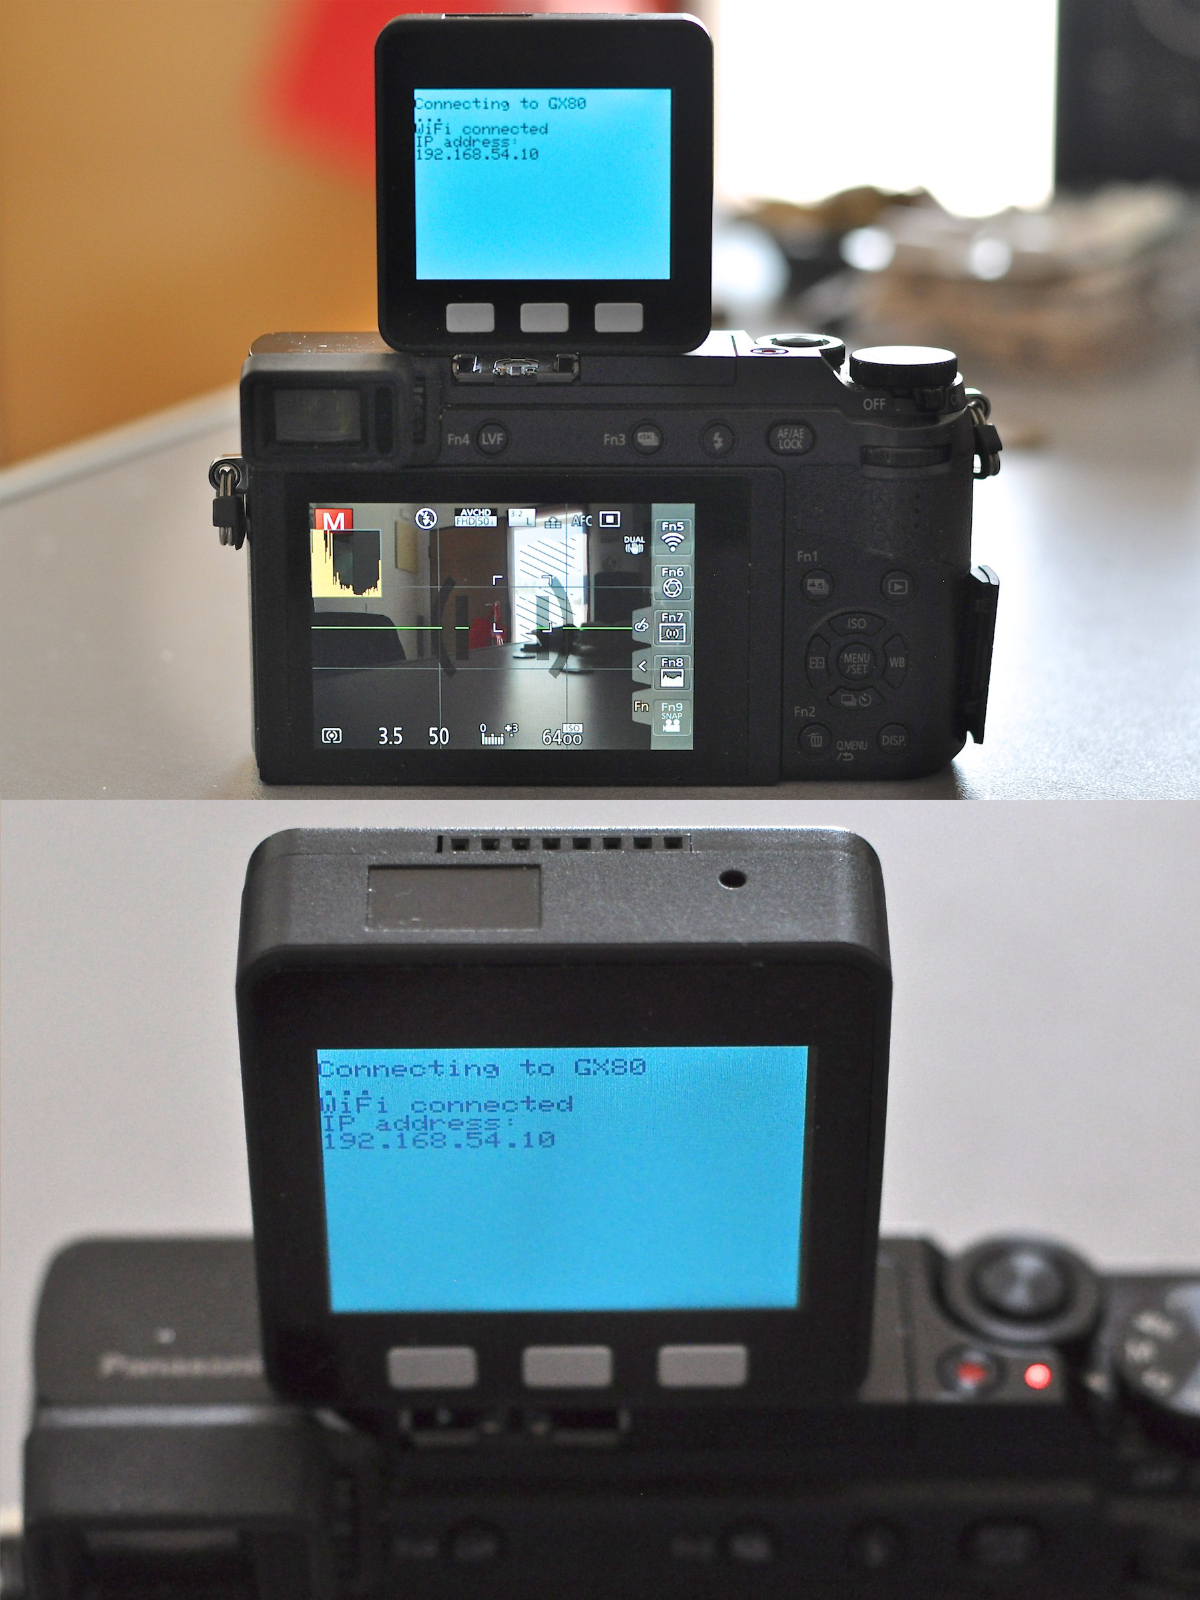
Its the distillation of my hardware Panasonic controller experiments from last year. Self contained, internal battery, pocketable, magnetic base for mounting. It acts as the central interface to the camera so can be used standalone to change settings or as the middleman to pass on commands from more ergonomic controllers for focus and aperture control etc. And it actually sort of kind of works as well.
-
No Cinelike D on it. I'll have to pop into a shop with this and see whether it can be persuaded then eh?
-
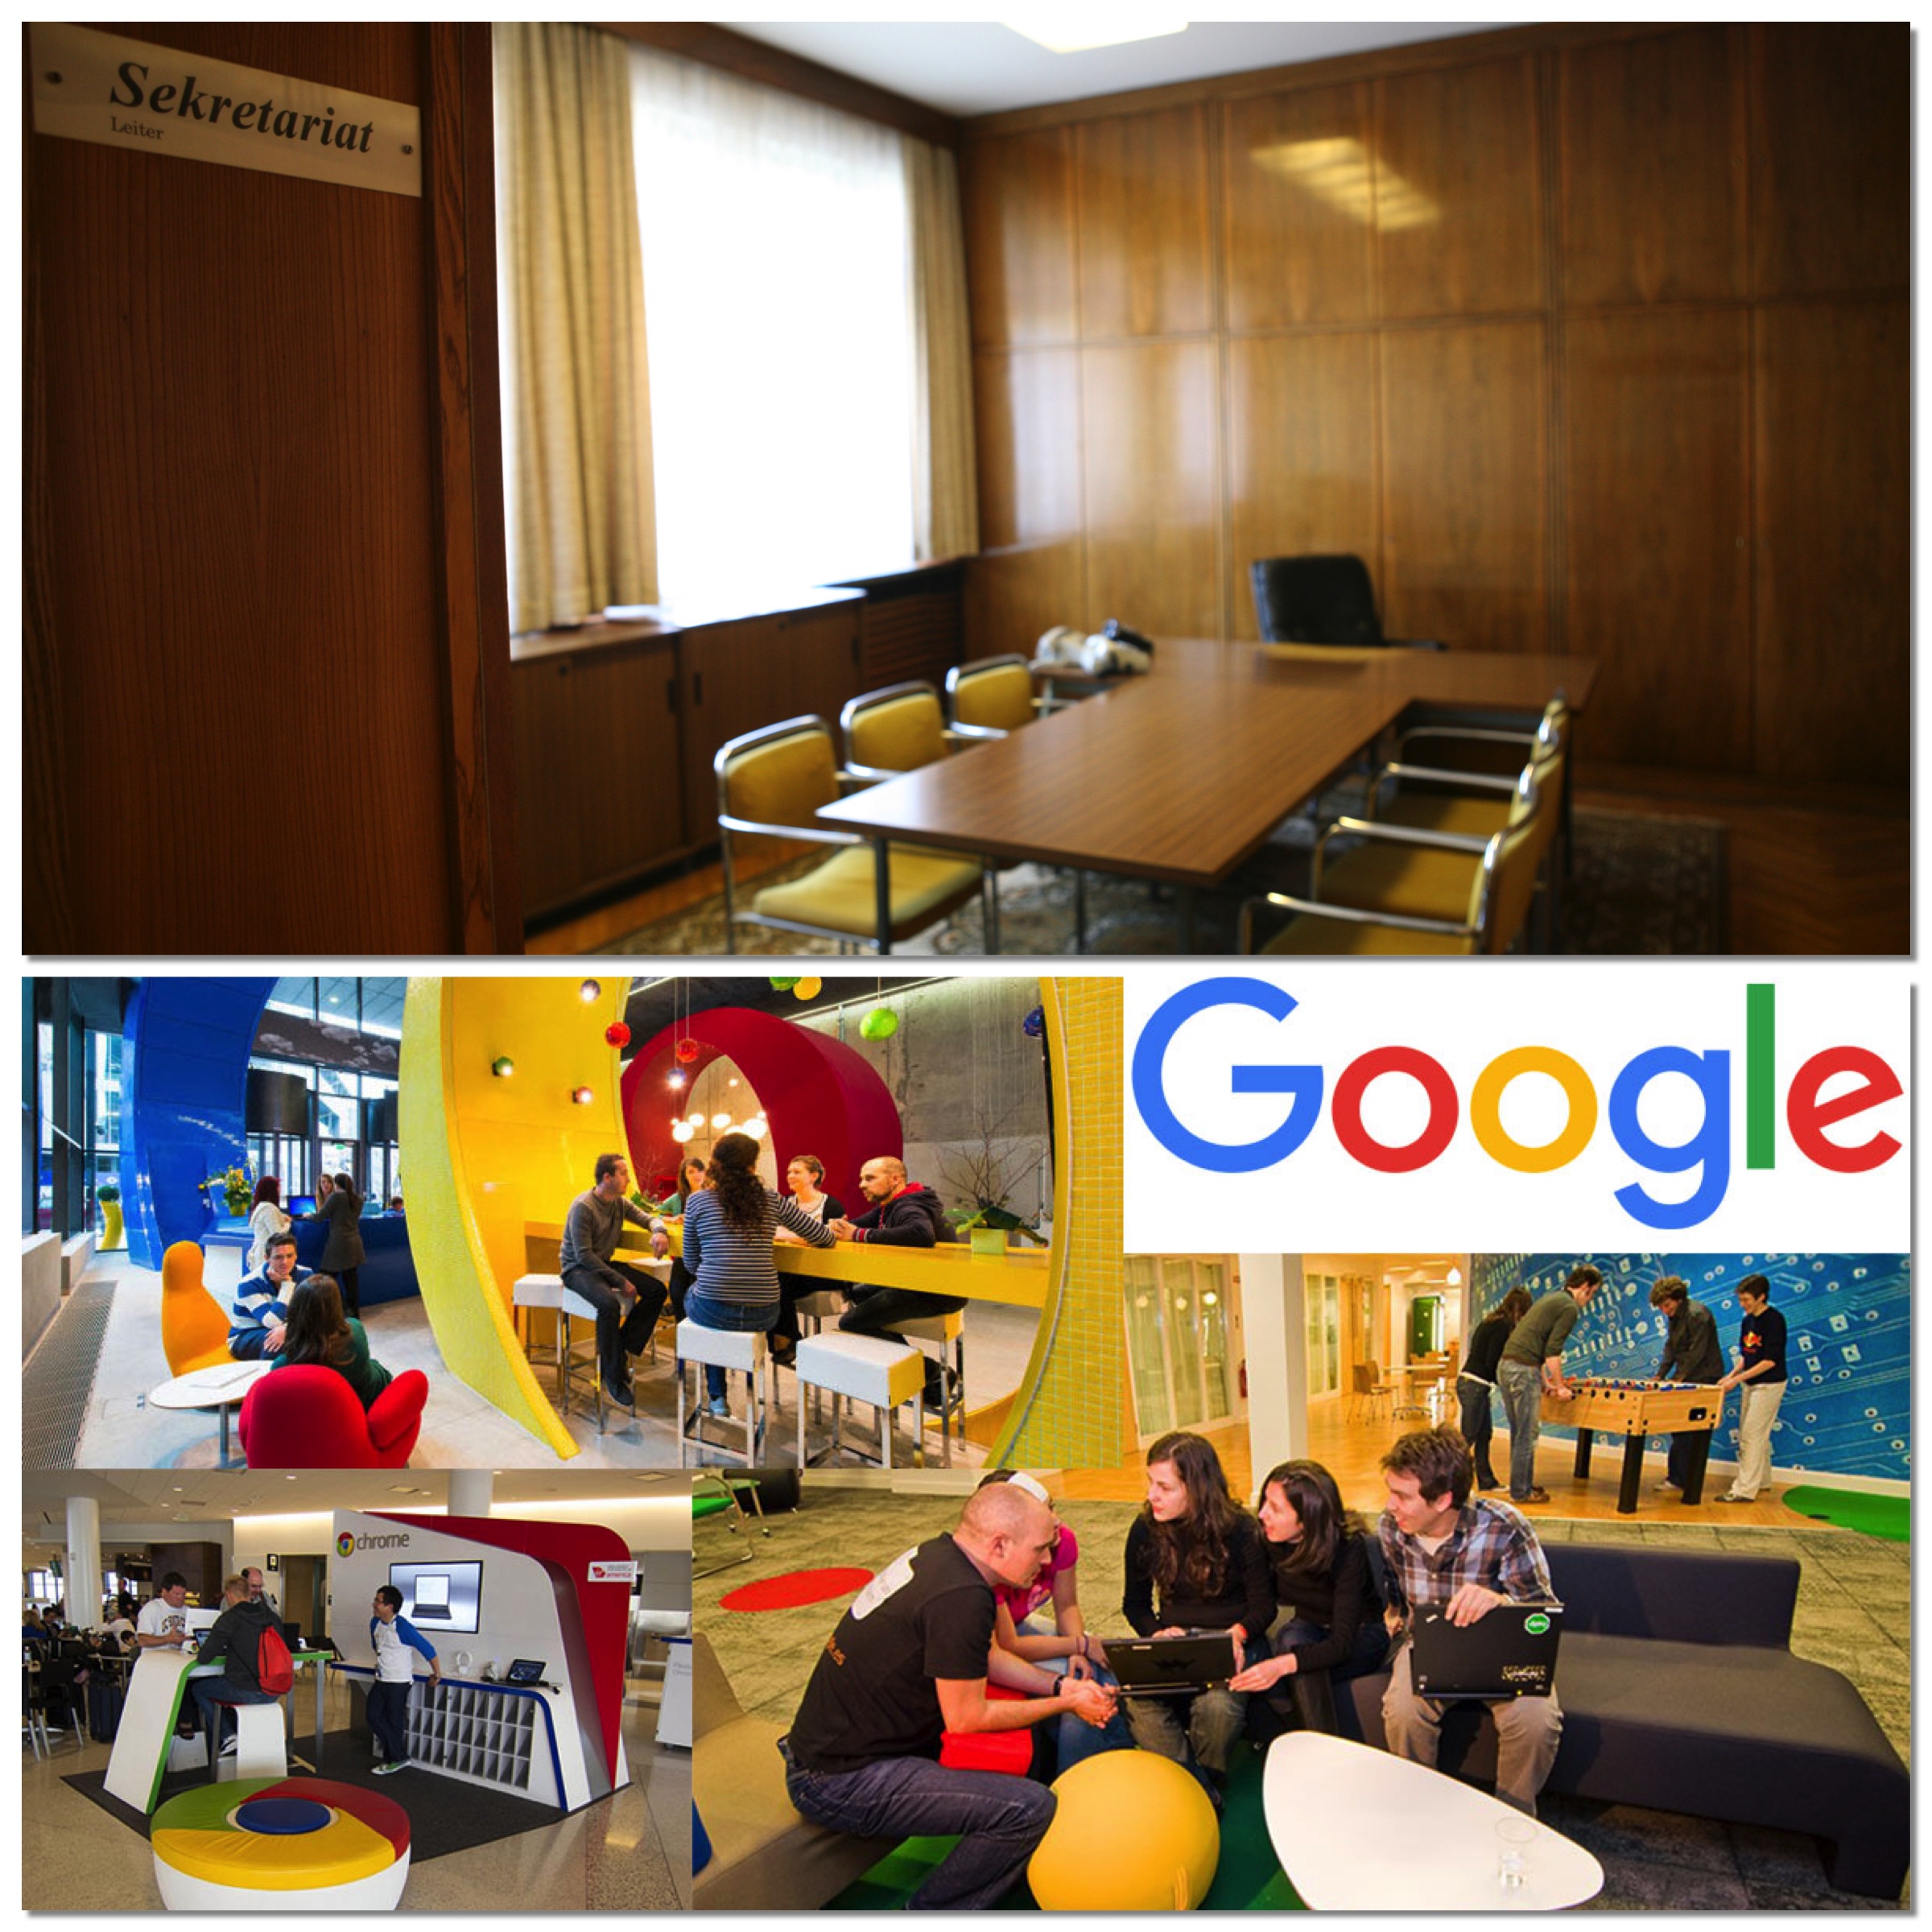
The really sinister bit, of course, is that even if you wrote the story then to get it out there you've got to play along with the very same game. At the end of the day, its fast becoming true that the only difference between the two organisations pictured here is that the Stasi didn't have break out areas and football tables to make it all look fluffy and innocent.
-
The total scale of the focus is 0 to 1024, however focus is driven in increments of 10 (fast) or 1(slow) and depending on the lens there are around 20-25 'zones' for want of a better expression. So if you use the 'fast' control this means you go from closest to furthest possible focus in 20 to 25 commands and if you use the 'slow' command it will be 200 to 250. Lenses on a speedbooster will have much coarser control and can often only be 10 'zones'. Trying to get anything smooth as well as precise requires some tricky stuff Imagine driving your car if it could only go 60 miles an hour or 6 miles an hour. My view is that if you want to do manual control of those lenses then its best to do it completely by wire (as in with an external controller) as its more predictable than interpreting manual moves of the barrel on the lens. I'm wondering if there would be any love for a linear controller that was just on a fader to do that where there was hard stops at either end?
-
The problem with the 'real' (old) media is that instead of standing their ground and weathering the storm against 'new' media and actually upping their standards, they shit themselves and joined in. You only have to look at the websites of traditional newspapers in the UK to see whats happened as they are culling more of their content from social media and trying to sensationalise it. You regularly now see what 20 years ago would have been a disagreement between two anonymous people in a small town elevated to national 'news' because its so easy, cheap - and natural - for the new crop of journalists at these publications to source these stories and amplify them. We now have a situation where there is a generation that hasn't grown up with any real depth or quality to the media that they are exposed to. If 'real' media is now just a randomly compiled, delayed and watered down version of 'new' media then why the hell would anyone pay for it anyway when you can get the other stuff for free? The future of online might actually be semi-offline for many of us as we seek higher quality of everything from journals, to music, to films but we will have to pay for it directly and properly. If we want people who are providing the content to be serious then we have to be too and accept that we'll have to pay for it. I think it is actually doable and the burnout that a large number of people are feeling about the internet could make the timing of it not far off. The great thing about the internet can be that there is no filter between creators and consumers but sometimes we need to accept that that filter sometimes wasn't a bad thing. These days, everyone wants to celebrate that the big corporate monsters of print, broadcast, music and film have been bypassed but to my mind they've now been replaced by corporates that are far, far more sinister.
-
Yeah, that was on a Sigma DP3M which is 75mm equivalent and the 2 does feel a bit too much on that.
-
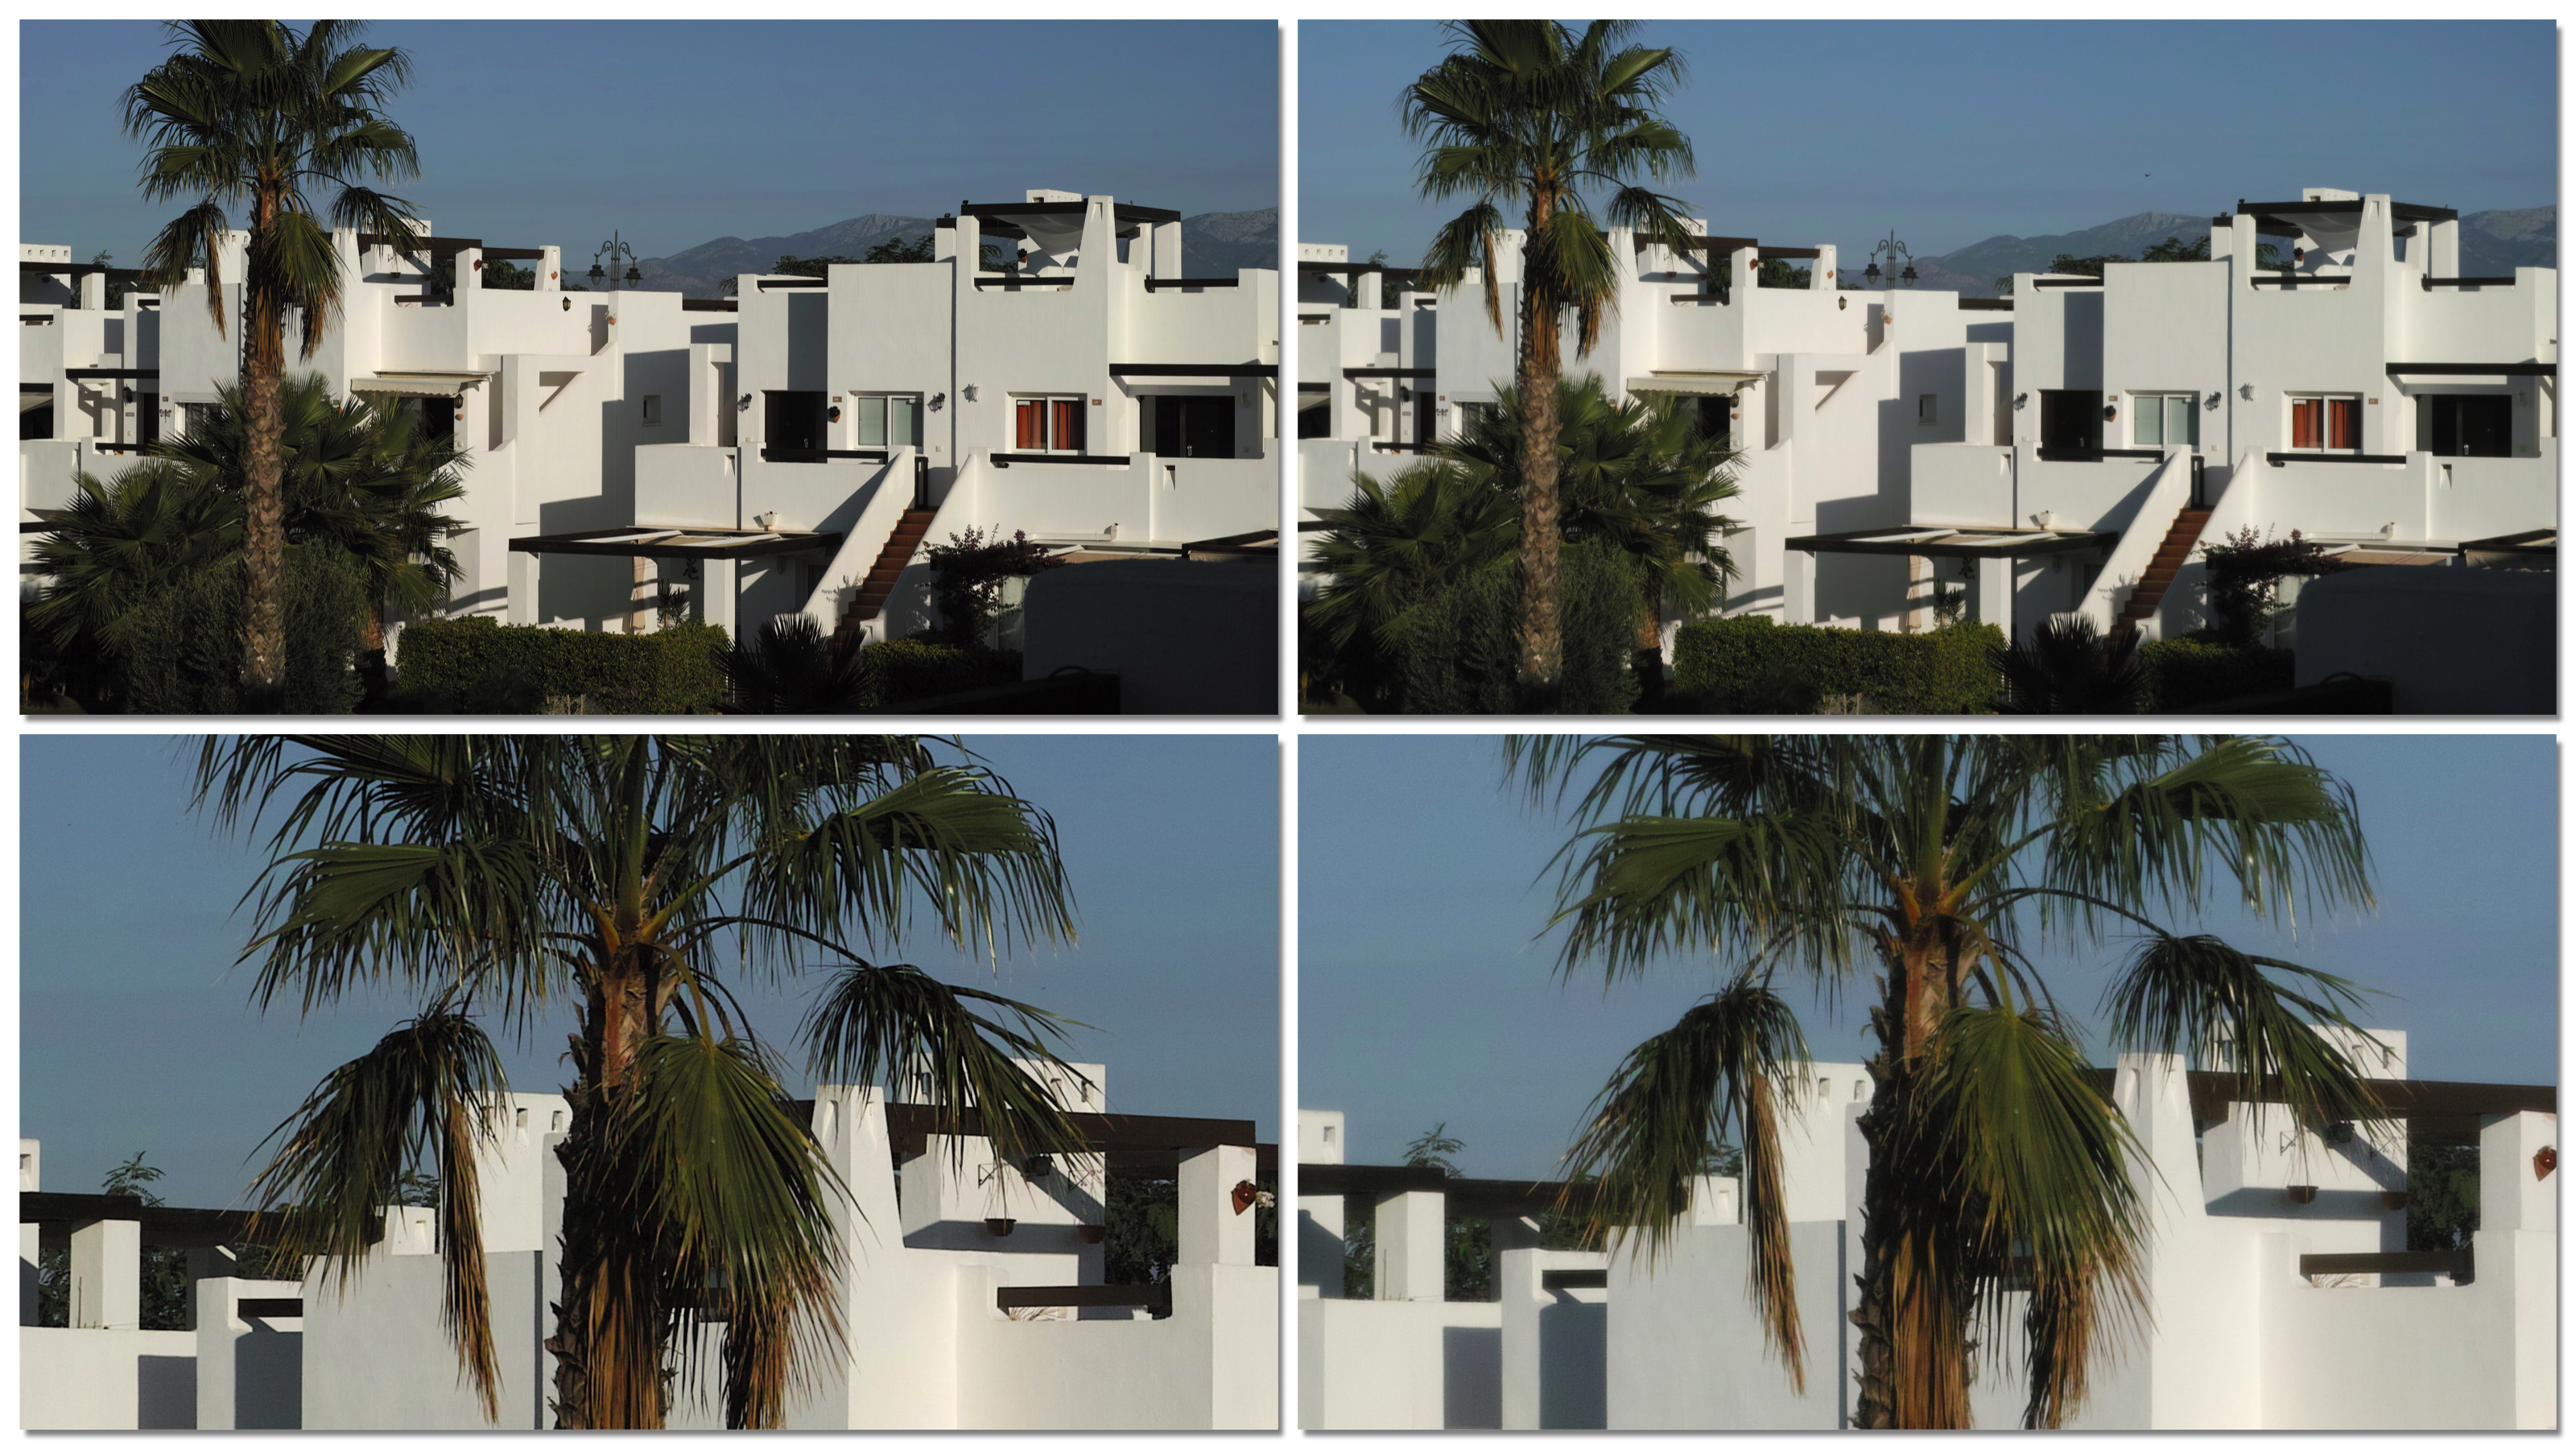
Only on stills but I just did a quick shot for you using the Tiffen Digital Diffusion FX 2 Frame and crop without filter on left side and same with filter on right.
-
When your 'economic model' is more or less stalking then you deserve to have it sabotaged. I would happily pay a subscription fee for an internet service thats free of this intrusive bullshit. Sometimes 'free' is really way too high a price to pay.
-
The extent of my cultured critique of his work at that show was that I wouldn't trust him if I saw him at shop buying a shovel, plastic bags and some lime thats for sure ! I think I remember reading somewhere that he now uses a Phase One system.
-
Did some experiments yesterday using the DP3M and a Tiffen Ultra Contrast 3 to see if it smoothed things out a bit. Contact sheet of some more from yesterday.
-
The GH5 ETC mode is certainly a thing of non-grumpinesss with that lens isn't it?


.jpg.0dd622f7dad7c1da4d84d296a4bfc536.jpg)