

OleB
-
Posts
132 -
Joined
-
Last visited
Content Type
Profiles
Forums
Articles
Posts posted by OleB
-
-
By the way the Ninja uses the LUTs also for the false color prediction. Could it be a solution to have something like a custom LUT which is basically converting the Vgamut to Arri LUT? Load this into the monitor to check exposure and in post apply the way Llaasseerr described?
-
3 hours ago, Llaasseerr said:
I looked up online at the raw to log conversion options available in FCPX in the Info Inspector, and I can see that you can transform to Panasonic V-log/Vgamut which is coincidentally the same default log curve added by the Ninja V to the FP file metadata.
This is similar to Arri LogC, but I created a LUT that transforms from V-log/Vgamut to LogC/AWG (attached) as a next step so that it's more accurate. It is just a slight shift.
Then you can later apply the FCPX built-in Arri to Rec709 LUT, or download the LUT from Arri, or use any LUT that expects LogC/AWG as an input, which is many of them. So it's convenient and helps quickly wrangle the raw footage with predictable results.
This is kind of a workaround for a lack of a managed color workflow in FCPX. You want to break apart the linear to log then log to display transform into separate operations, rather than apply them in the same operation on import in the "Info Inspector", so that you can grade in-between.
https://www.dropbox.com/s/43qwzizvbid79c1/vlog_vgamut_to_logC_AWG.cube?dl=0
Thank you. Highly appreciated! Will take a look on this later.
Maybe the fault is the not so great color management in FCPX. Possibly it would be way easier with Davinci Resolve taking BRAW as base. Do not have such a recording device at hand for testing though.
3 hours ago, Llaasseerr said:It would be good if the Atomos display is actually V-log/Vgamut which is what they are embedding in the file metadata, but I think that is not the case. I think it's more similar to the OFF mode from the camera itself. I'll be interesting to check this if I get a chance.
The native mode is quite similar to something I would expect the V-log to look like. However both black and white points are weird. Black at about 10 IRE and white about 65 IRE. Should they not be at the full scale, so 0-100? The middle grey though is at its correct position for the respective ISO setting as far as I can tell.
-
1 hour ago, Llaasseerr said:
You should get a good predictable starting point just by transcoding raw to Arri LogC and applying the standard Arri log to Rec709 LUT, which has a visually similar highlight rolloff to the default ACES look transform but it's a bit less contrasty. Both are based roughly on the s-curve of a film print. Why make life hard? Everyone talks about Alexa highlight rolloff, but all they are really looking at most of the time is the rolloff of the 709 LUT from the raw sensor data since the sensor itself has no highlight rolloff in the captured image.
Thanks Llaasseerr, will try the way with ACES etc. but I have absolutely no experience with that so far. Sounds mega logical that in reality the Alexa rolloff is based on the LUT plus more headroom stops. If that proves to be even easier, perfect.
5 hours ago, Owlgreen said:I am most impressed. Can you tell us a bit about your process? Thanks.
Of course, this is the reason we are here, no? 🙂
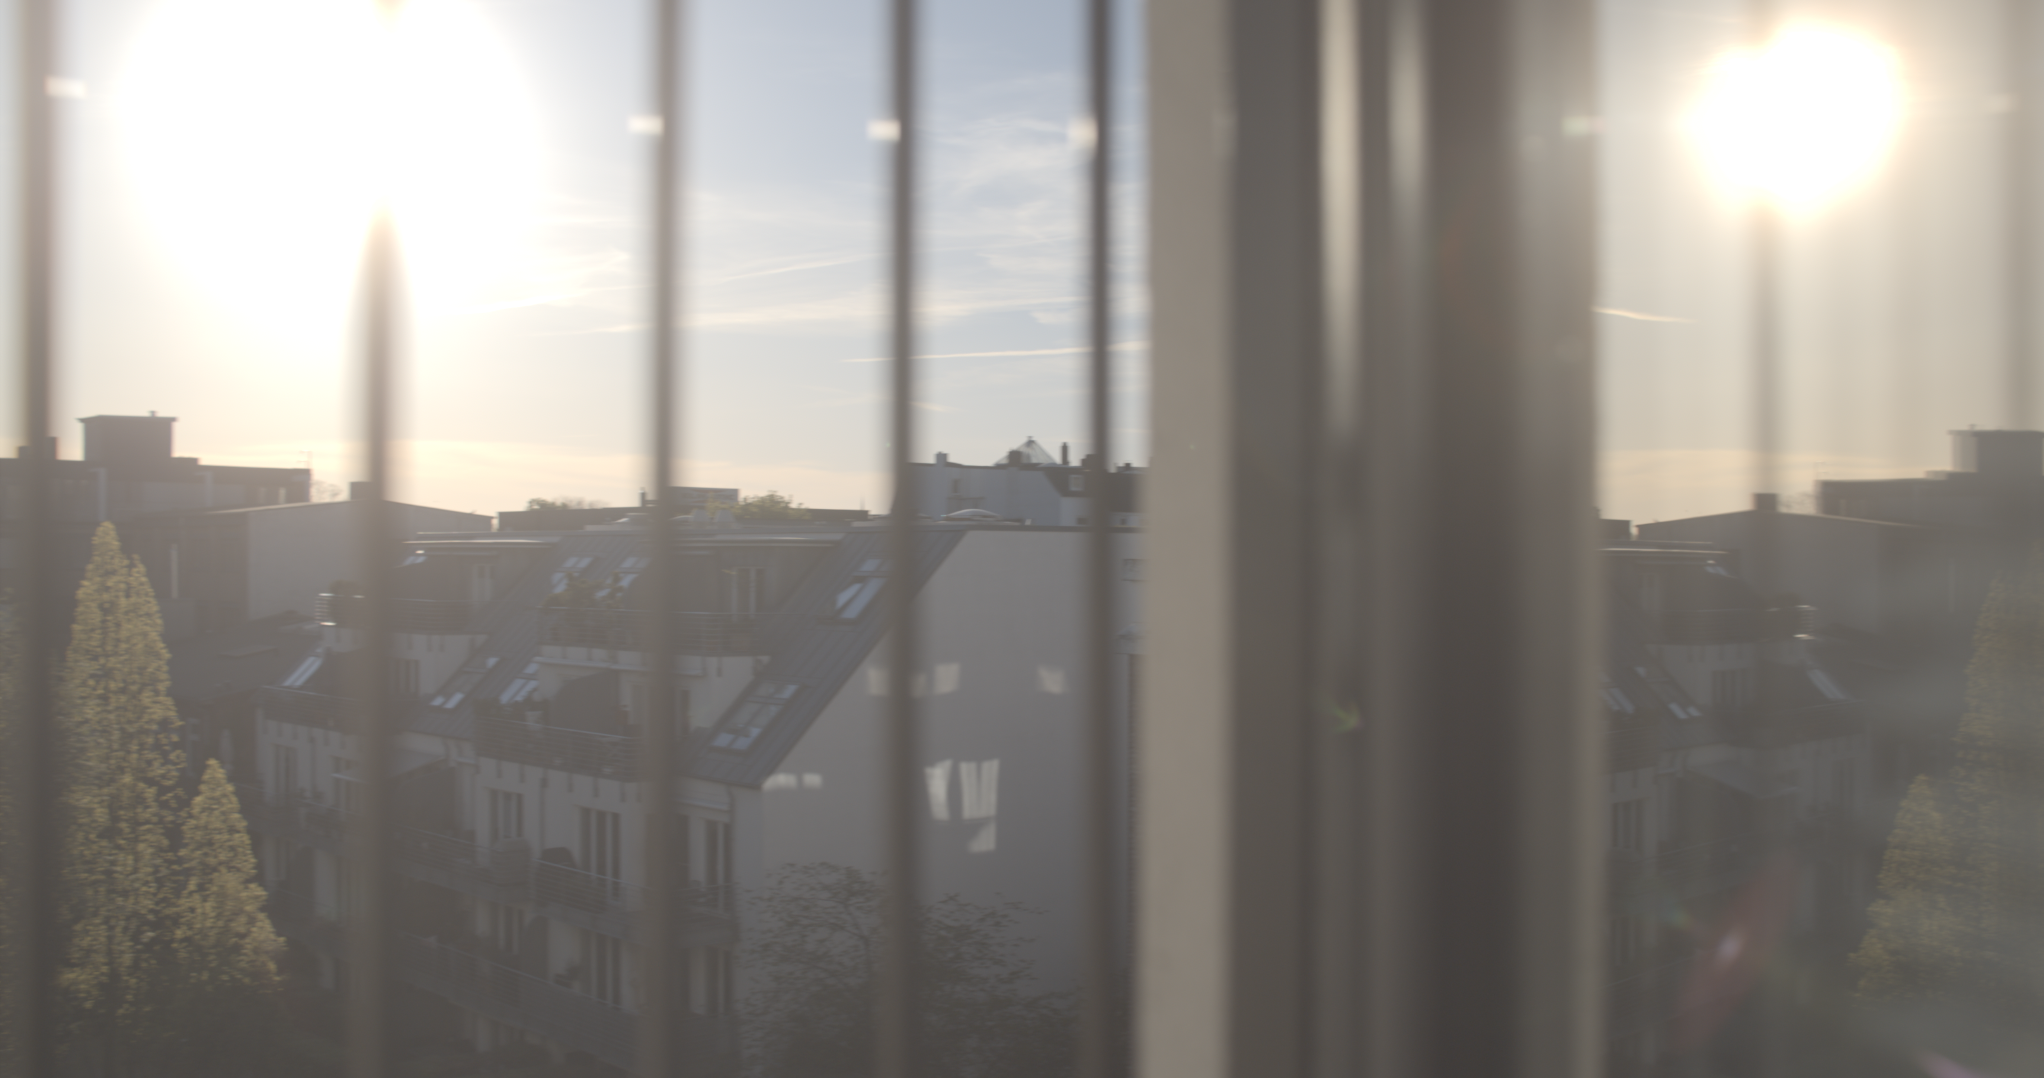
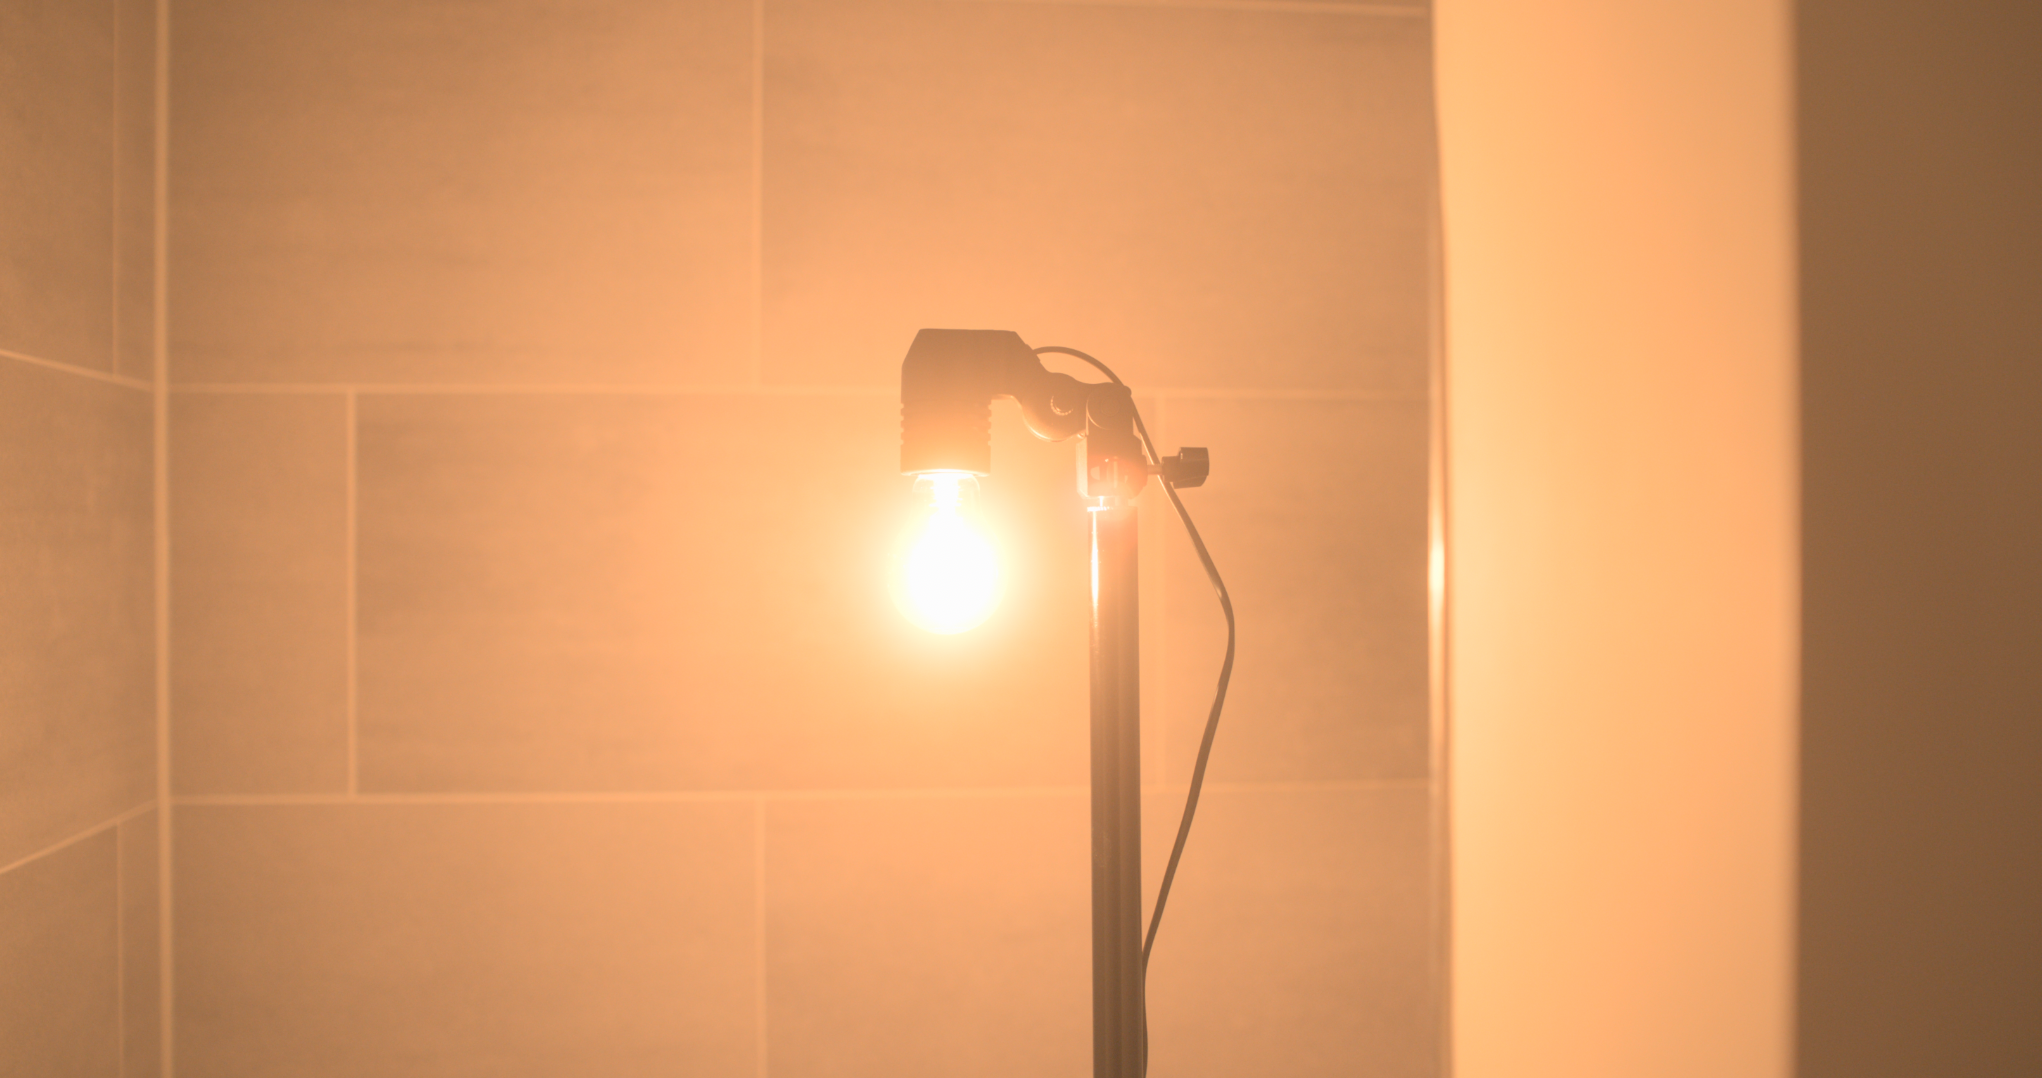
First step is to bring back the exposure in FCPX to where it belongs. Since I am only shifting exposure down to resample the picture at the time I was recording it, don't think I am braking something. That I have already explained in detail with curves above. Now let us take the example with the sun. It has been captured in ISO 800 (which for the Ninja V is base ISO so as per my latest interpretation ISO 250). Additionally I made use of a Black Pro Mist 1/4 for a little more base highlight bloom.
Undoubtly the sun was clipping in the recording. Have read a lot of things about highlight rolloff in film stock to get an idea on how it is supposed to look like. As per my findings you have a soft transition from pure white to other highlight values and additionally the more it reaches the white point, the less saturated the colors become until they reach white.
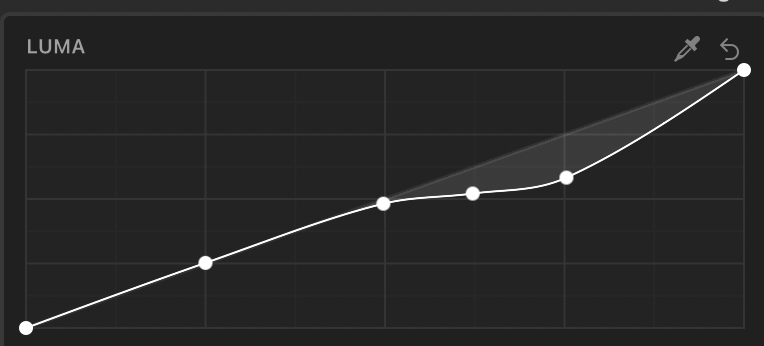
To resample this in FCPX on top of the exposure correction my curves looked like this:
Luma:

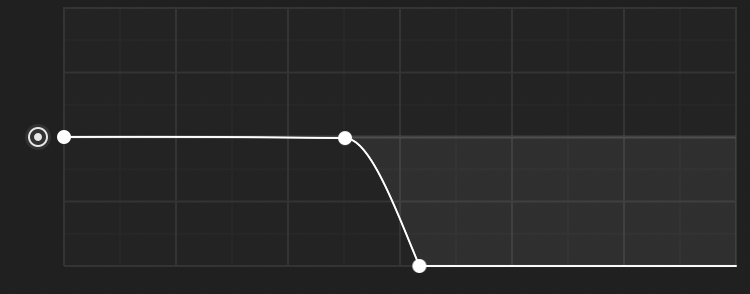
Luma vs. Saturation:
Basically that did the trick for me. Looking at the curves you can clearly tell that something is off with the fp RAW files in FCPX, since the white point should be somewhere else, but so be it.
Hope that helps. 🙂
-
-
Unique indeed, will try that Assimilate Play Pro way, sounds at least like a good idea in regards to what it does.
For me the solution with the curve presets is working fine. Agree that one should not have to fiddle with that kind of things, but anyway. After 1 year and 4 months of trying to get my feet on the ground in regards to using that camera properly and predictable I am somehow happy now.
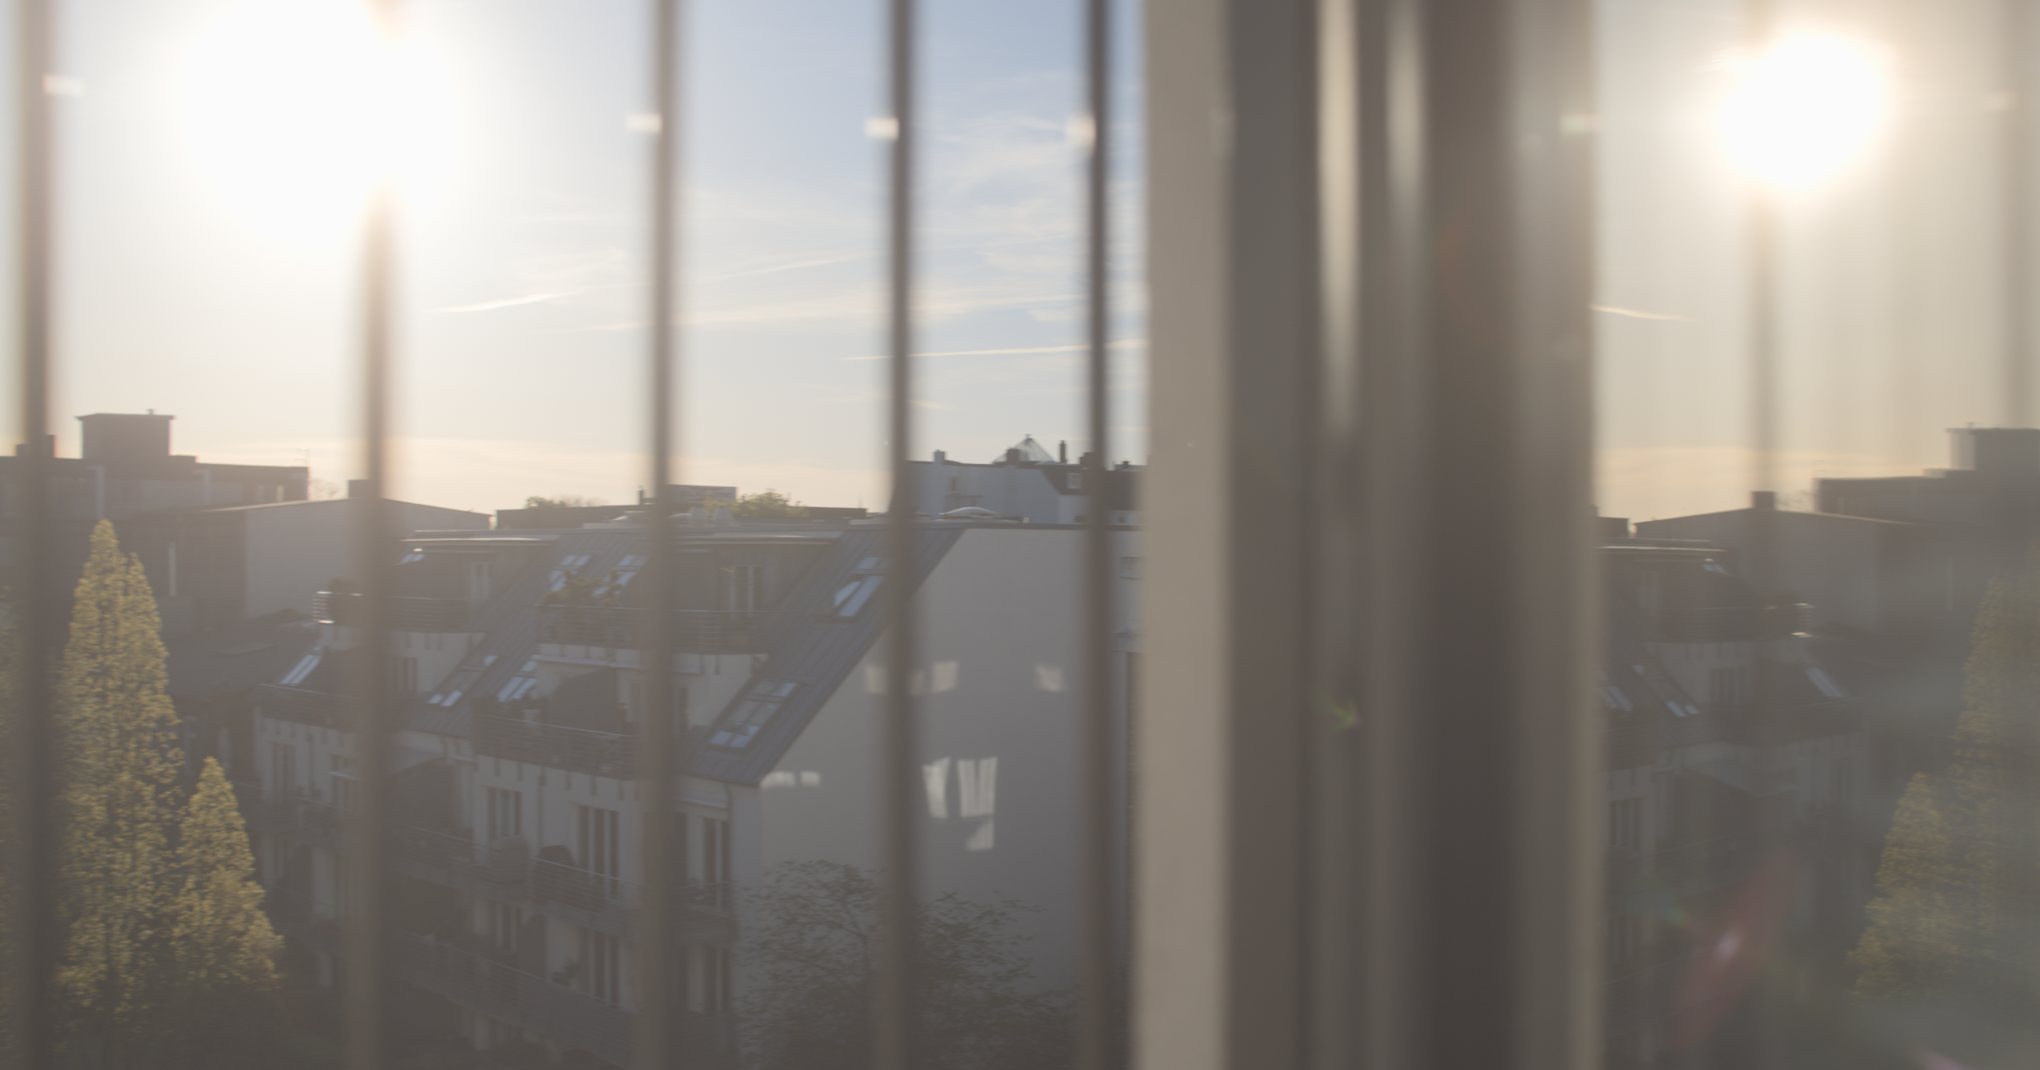
Today I focused on something different finally. Highlight rolloff. Trying to get the sharp edge off a little. Seems to be working quite well. 🙂
SOOC:
Highlight rolloff:
-
3 hours ago, Llaasseerr said:
To me, the way you're describing "native" working is the way ISO changes are meant to work, so I don't get the issue. If it was more of an exposure index approach where it's recording a native ISO with no baked-in ISO change then that would be different.
Native monitoring gives you indeed the correct middle grey value for each ISO value of the camera, but the white point is not at 100 IRE. It is changing for every ISO setting, sometimes white is at 80 IRE, sometimes 65 IRE etc. Additionally the black point is not at 0 IRE, but most of the times at 10-15 IRE.
All in all, despite the latest method I have described, there seems to be no way to see a picture on the Ninja V, which by any means is representing what you get in the file. And that even applies to in camera tools, if you record RAW. And to film something with no tools to visually see what will be is at least nowadays with mirrorless cameras more than just a little cumbersome.
Seems they opened the camera for RAW recording but in the end, that workflow was never fully developed. Since most people tend to use CNDG from what I have heard, and that is running more or less smoothly, guess there is no need for Sigma to address this.
-
3 hours ago, Llaasseerr said:
Maybe just email Atomos support for clarification as to how to use false colors with the Sigma FP raw capture. Also explain that you're monitoring in PQ which I think they don't recommend.
I tried this already twice, never got any reply to my service ticket...
-
2 hours ago, Llaasseerr said:
then import into FCPX and do something simple like transform the raw image to Arri LogC/Arri wide gamut, then apply the default LogC to Rec709 LUT.
That is not possible, or at least I do not know a way to do it, all you can select is RAW to LOG, there is no Arri LogC build into FPCX, and then you can convert the LOG to a LUT. Only there you have the option to go for Arri. So basically they left out the option to convert the Sigma RAW to Arri Log...
-
2 hours ago, Llaasseerr said:
So I don't know if that explains your exposure mismatch which you compensated for by opening the aperture by +3 stops. I'm totally guessing at this point, having not used it.
Sorry, seems I wasn't clear. There was no exposure mismatch. Have correctly tuned the exposure to represent middle grey, however I could overexpose the image by 3 stops, picture in the camera looked totally blown, but the data was still there. So the sensor wasn't clipping. You remember that YouTube video you saw weeks ago, where that guy described that you have to open up the aperture further for best quality.
So that was just the confirmation that the internal false colors are not representing RAW data, they are just a better visual overlay for the same Rec709 conversion which the camera shows. So ISO 800 is still ISO 100 in regards to clipping internally pushed 3 stops to appear brighter.
-
Internal false colors are not measuring the RAW data...
Exposed ISO 800 with the correct patch for middle grey as per internal false colors. Switched on the Ninja and pressed record. And while recording I opened up the aperture 3 stops. In FCPX all data is still there if you pull down the exposure. So cannot be RAW data monitoring I suppose.
-
51 minutes ago, Llaasseerr said:
Like, does it change the false color mode between Rec709 and PQ? It needs to do that.
thank you, good points to check. Will evaluate the internal false colors first, afterwards middle grey for PQ. However the false color mode does not change between Rec709 and PQ. It only does so if you switch to native, but there you have the issue that every ISO value has a different clipping point and middle grey is as well always in a different position.
The only time you get a matching result is if you view the file in a PQ HDR project. However the IRE values I have to evaluate.
Update on the false colors to follow.
-
8 hours ago, Llaasseerr said:
You shouldn't do any direct color correction directly to the image to get it to match between devices, because the underlying linear raw image already matches and so you are making it not match. It's just the non-destructive display color pipeline that needs to be figured out. Although like you say with lots of unknown steps, it's not clear.
Alright, will have a look on the false colors of the camera, but I assume that they are just showing the internal preview of the camera in false colors, so not RAW data. Will revert back on that.
in regards to FCPX and the files I have tried something now which I didn't do so far. Created a new project in Rec2020 PQ setting. If I import the files now at least the visual presentation is the same as what I have seen on the Ninja. Without the need to touch files in any way. Will investigate how the waveforms of the Ninja are matching to the ones in FCPX. Guess that makes sense, because RAW means the camera is basically transferring its full dynamic range to the recorder at anytime. And therefore RAW can technically always considered as being a HDR medium(?).
What if the hidden culprit is a correct missing RAW to Rec2020/Rec709 conversion for the fp? You rightly said all data is there (in the recording) and linear. It just does not fall into Rec709 or Rec2020 without a conversion in regards to dynamic range.
Seems what I have done by manipulating the curve is to squeeze the dynamic range of the original file into Rec709. Basically a similar approach to these HDR tools which are built in into FCPX. They by the way give some sort of okayish result, but not as good as the curve I have created. Does that make sense?
-
39 minutes ago, Llaasseerr said:
Maybe try the internal false color and see if you can get that working, then go back to the Ninja knowing what your baseline is. Also try disabling PQ. Just cut out all the variables first.
Internal false colors are not working if you have the Ninja attached. You have to unplug it and restart the camera, but then I am not sure they are measuring the RAW output...Disabled PQ already, selecting native or Rec709 mode on the Ninja does not make a difference in how the picture is represented in FCPX. Only the ISO value makes a difference. So if you select Rec709, I have to go back to ISO 100 in camera to get a clear picture. Still false colors won't change between 100-800.
I have no idea what the Ninja is applying as a baseline adjustment, all I can say is that considering the latest research result I was never closer to have all three things matching than as I do now. (Ninja false colors, light meter and FCPX)
Before I dialed down the highlights slider, sometimes that was working, but sometimes it did not, especially if there weren't much highlights in the recording at all.
Agree though that a managed color pipeline should have been provided by Sigma, Atomos and FCPX. Seems that one party was not able to provide the necessary.
-
2 hours ago, Llaasseerr said:
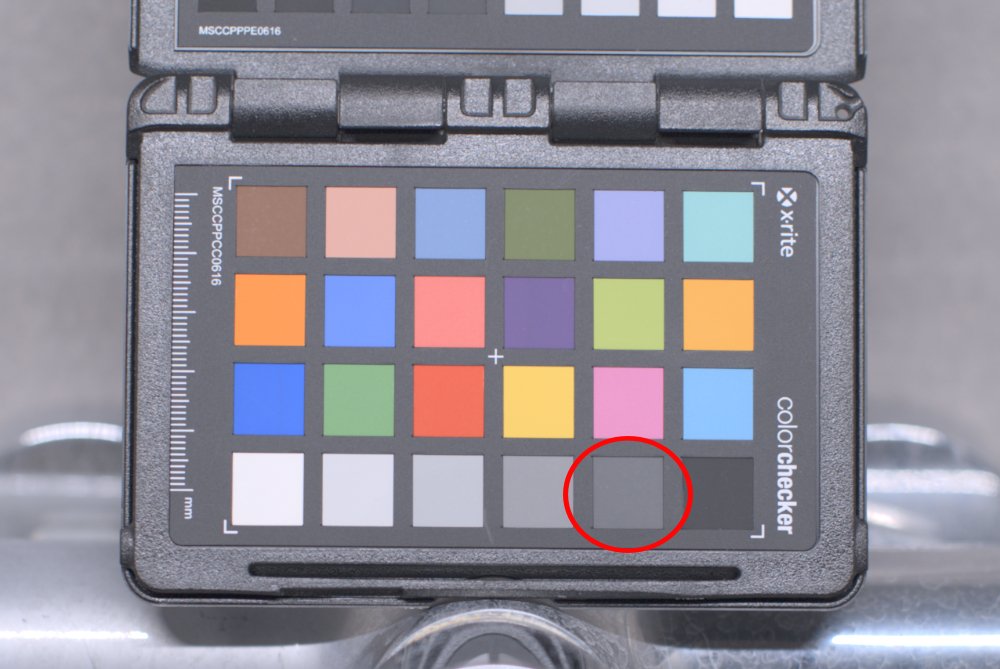
Just a few quick notes here. First of all, the middle grey patch (0.18) is the third from right, so it's the lighter one immediately to the left of the patch you're using right now.
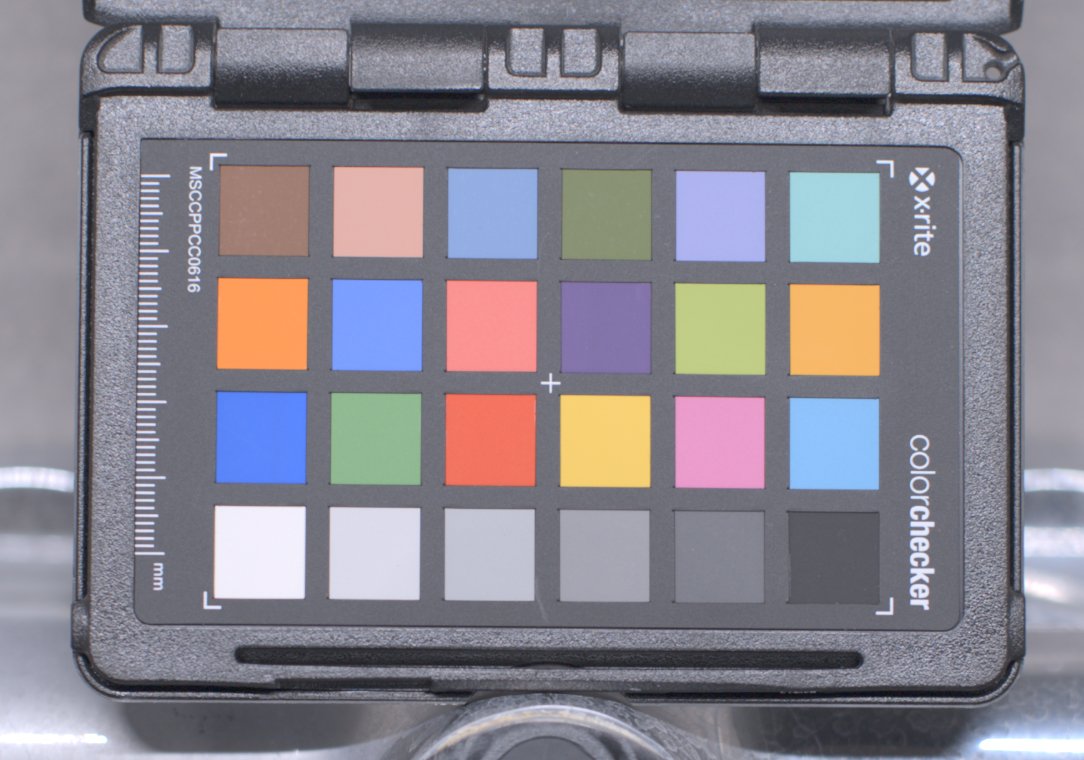
Have taken two photos with the false color scale. If I expose for the third one from right as middle grey, there is not even white...So this cannot be the case, at least not in the way the Ninja interprets the brightness.
My middle grey approach:
Exposed according to your middle grey choice:
It is impossible to get the patches look the same for both the Ninja and FCPX by adjusting exposure/iso only. Don't ask me why. Maybe something (Gain?) is transferring incorrectly, or a different sort of gamma curve. Which it seems you cannot change in FCPX.
Would be great if someone with a Blackmagic Assist could record BRAW and see if with DaVinci Resolve there is a better chance to get things how they should be...
-
Took the public holiday today to investigate further, results before were not good enough.
You can disregard my tables. Dead end street...
Llaasseerr you were right, if I underexpose middle grey the post production is a becoming a big headache.
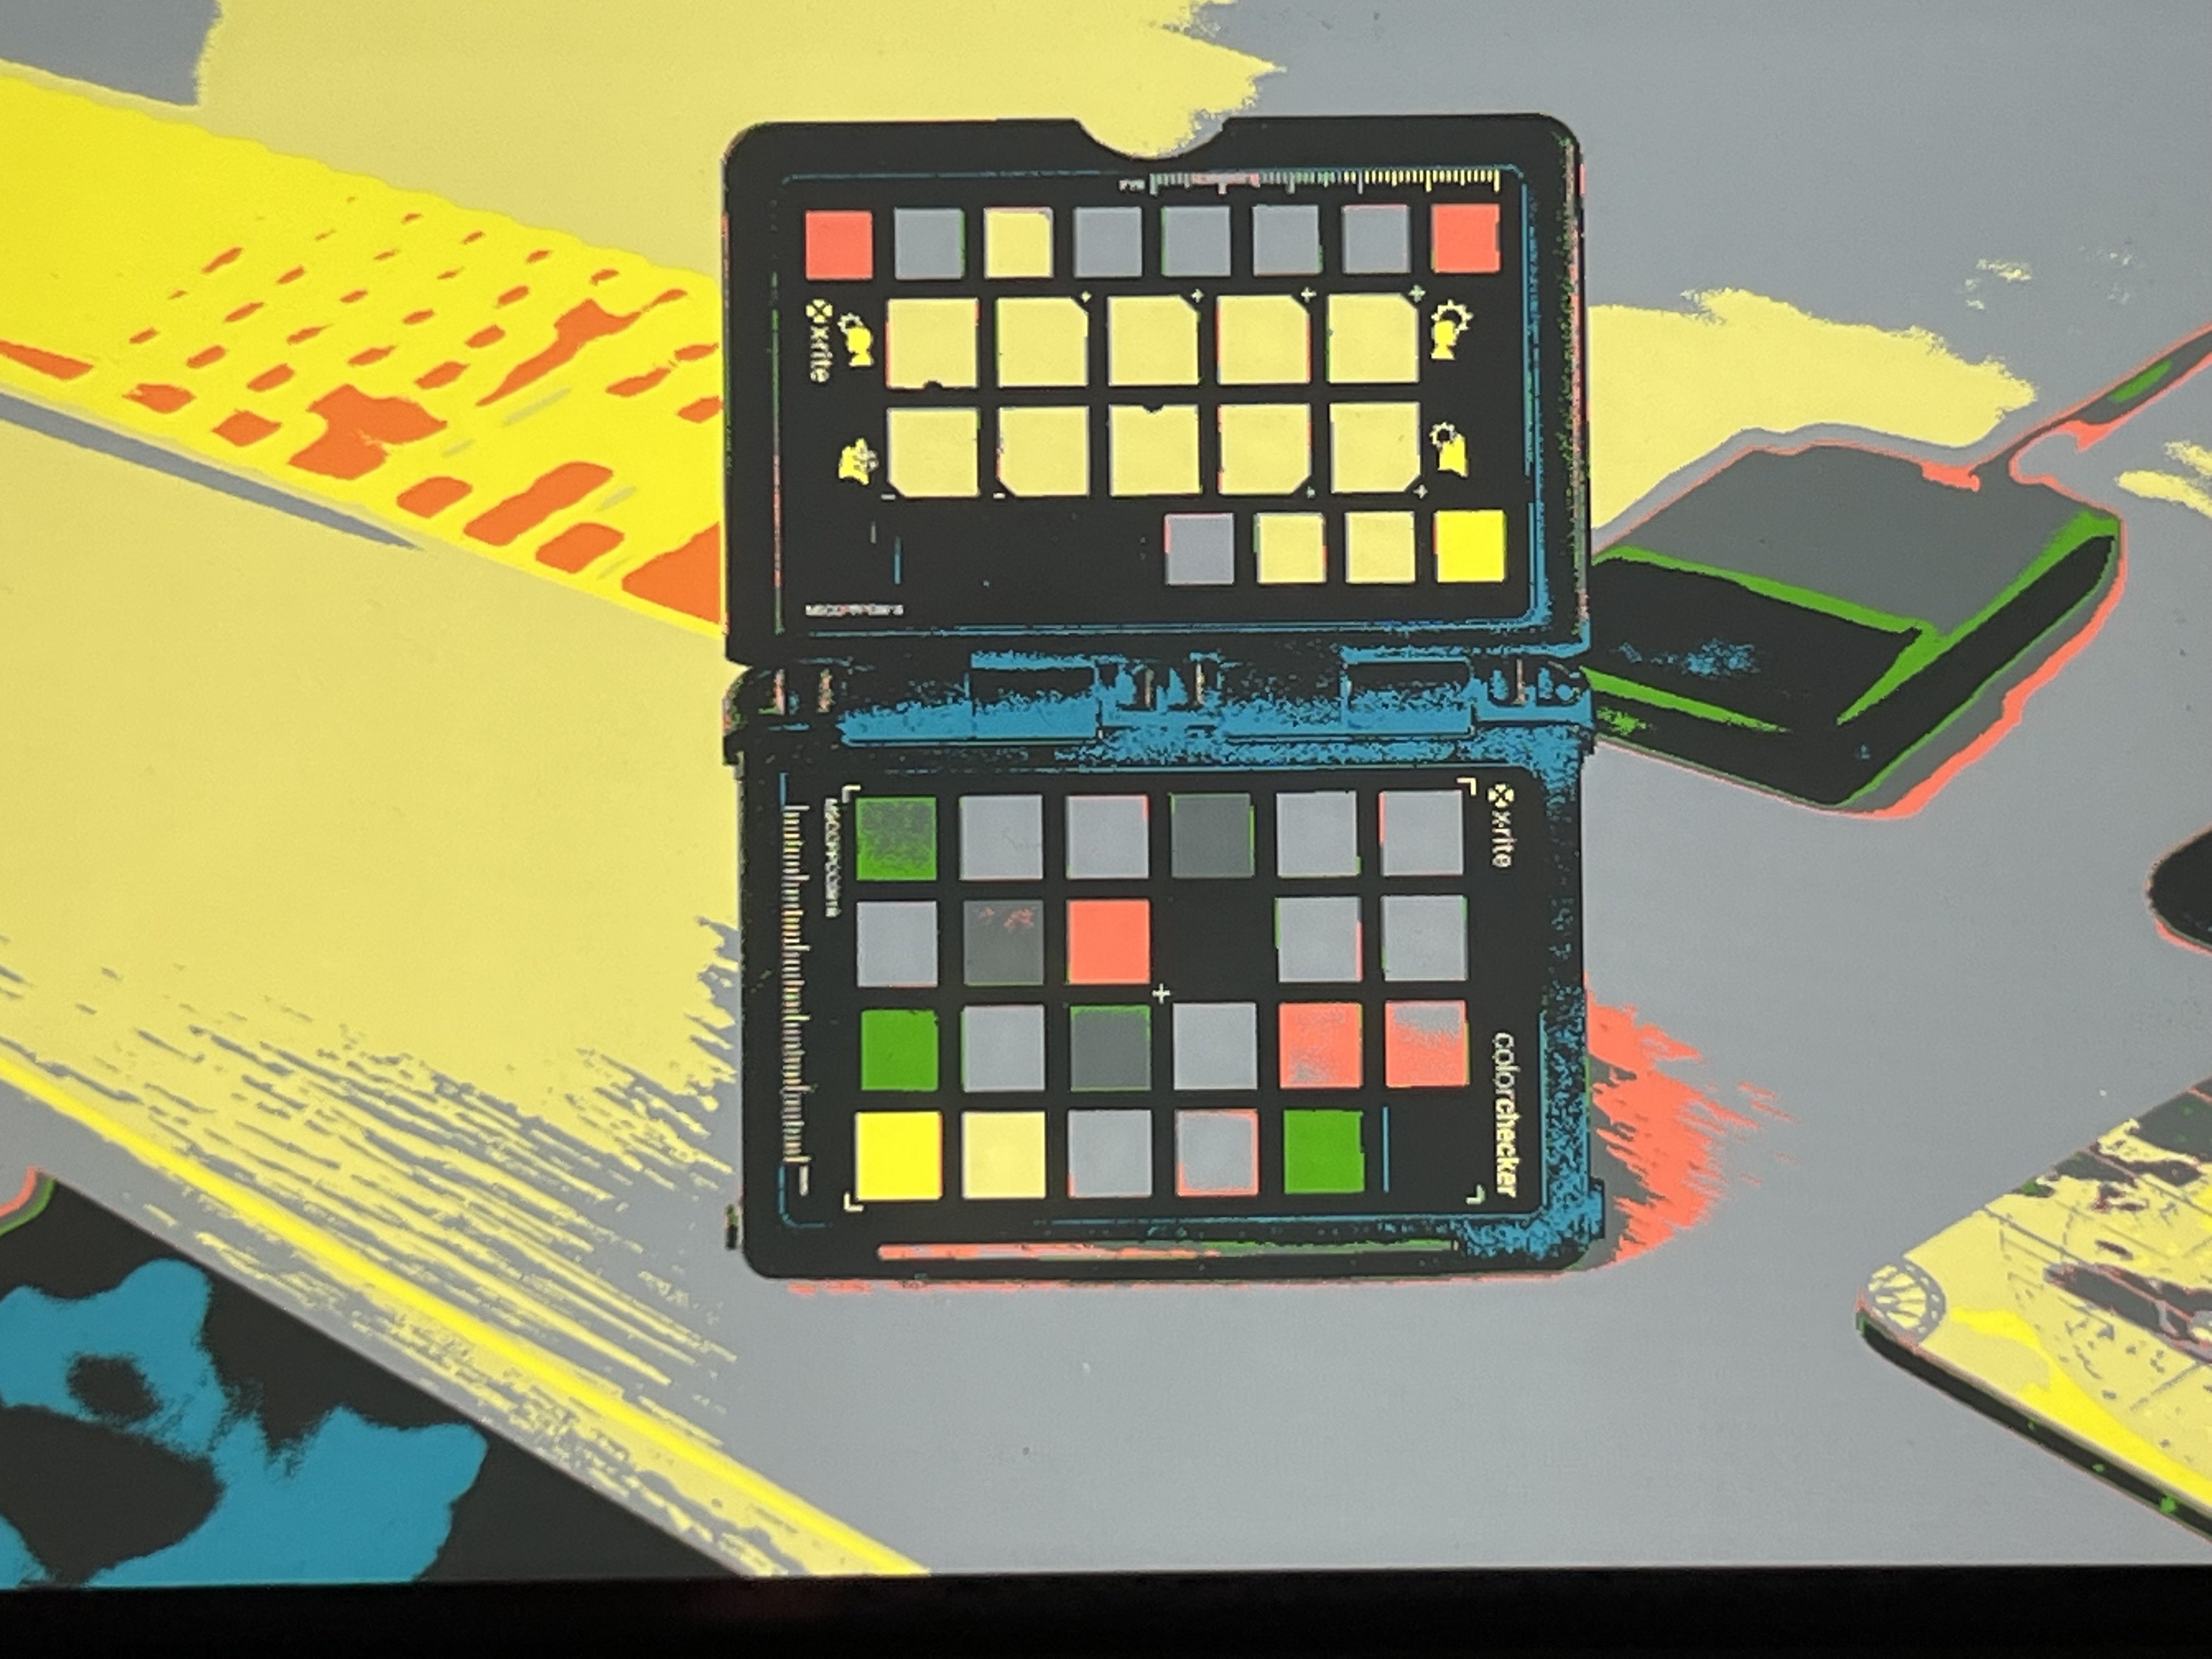
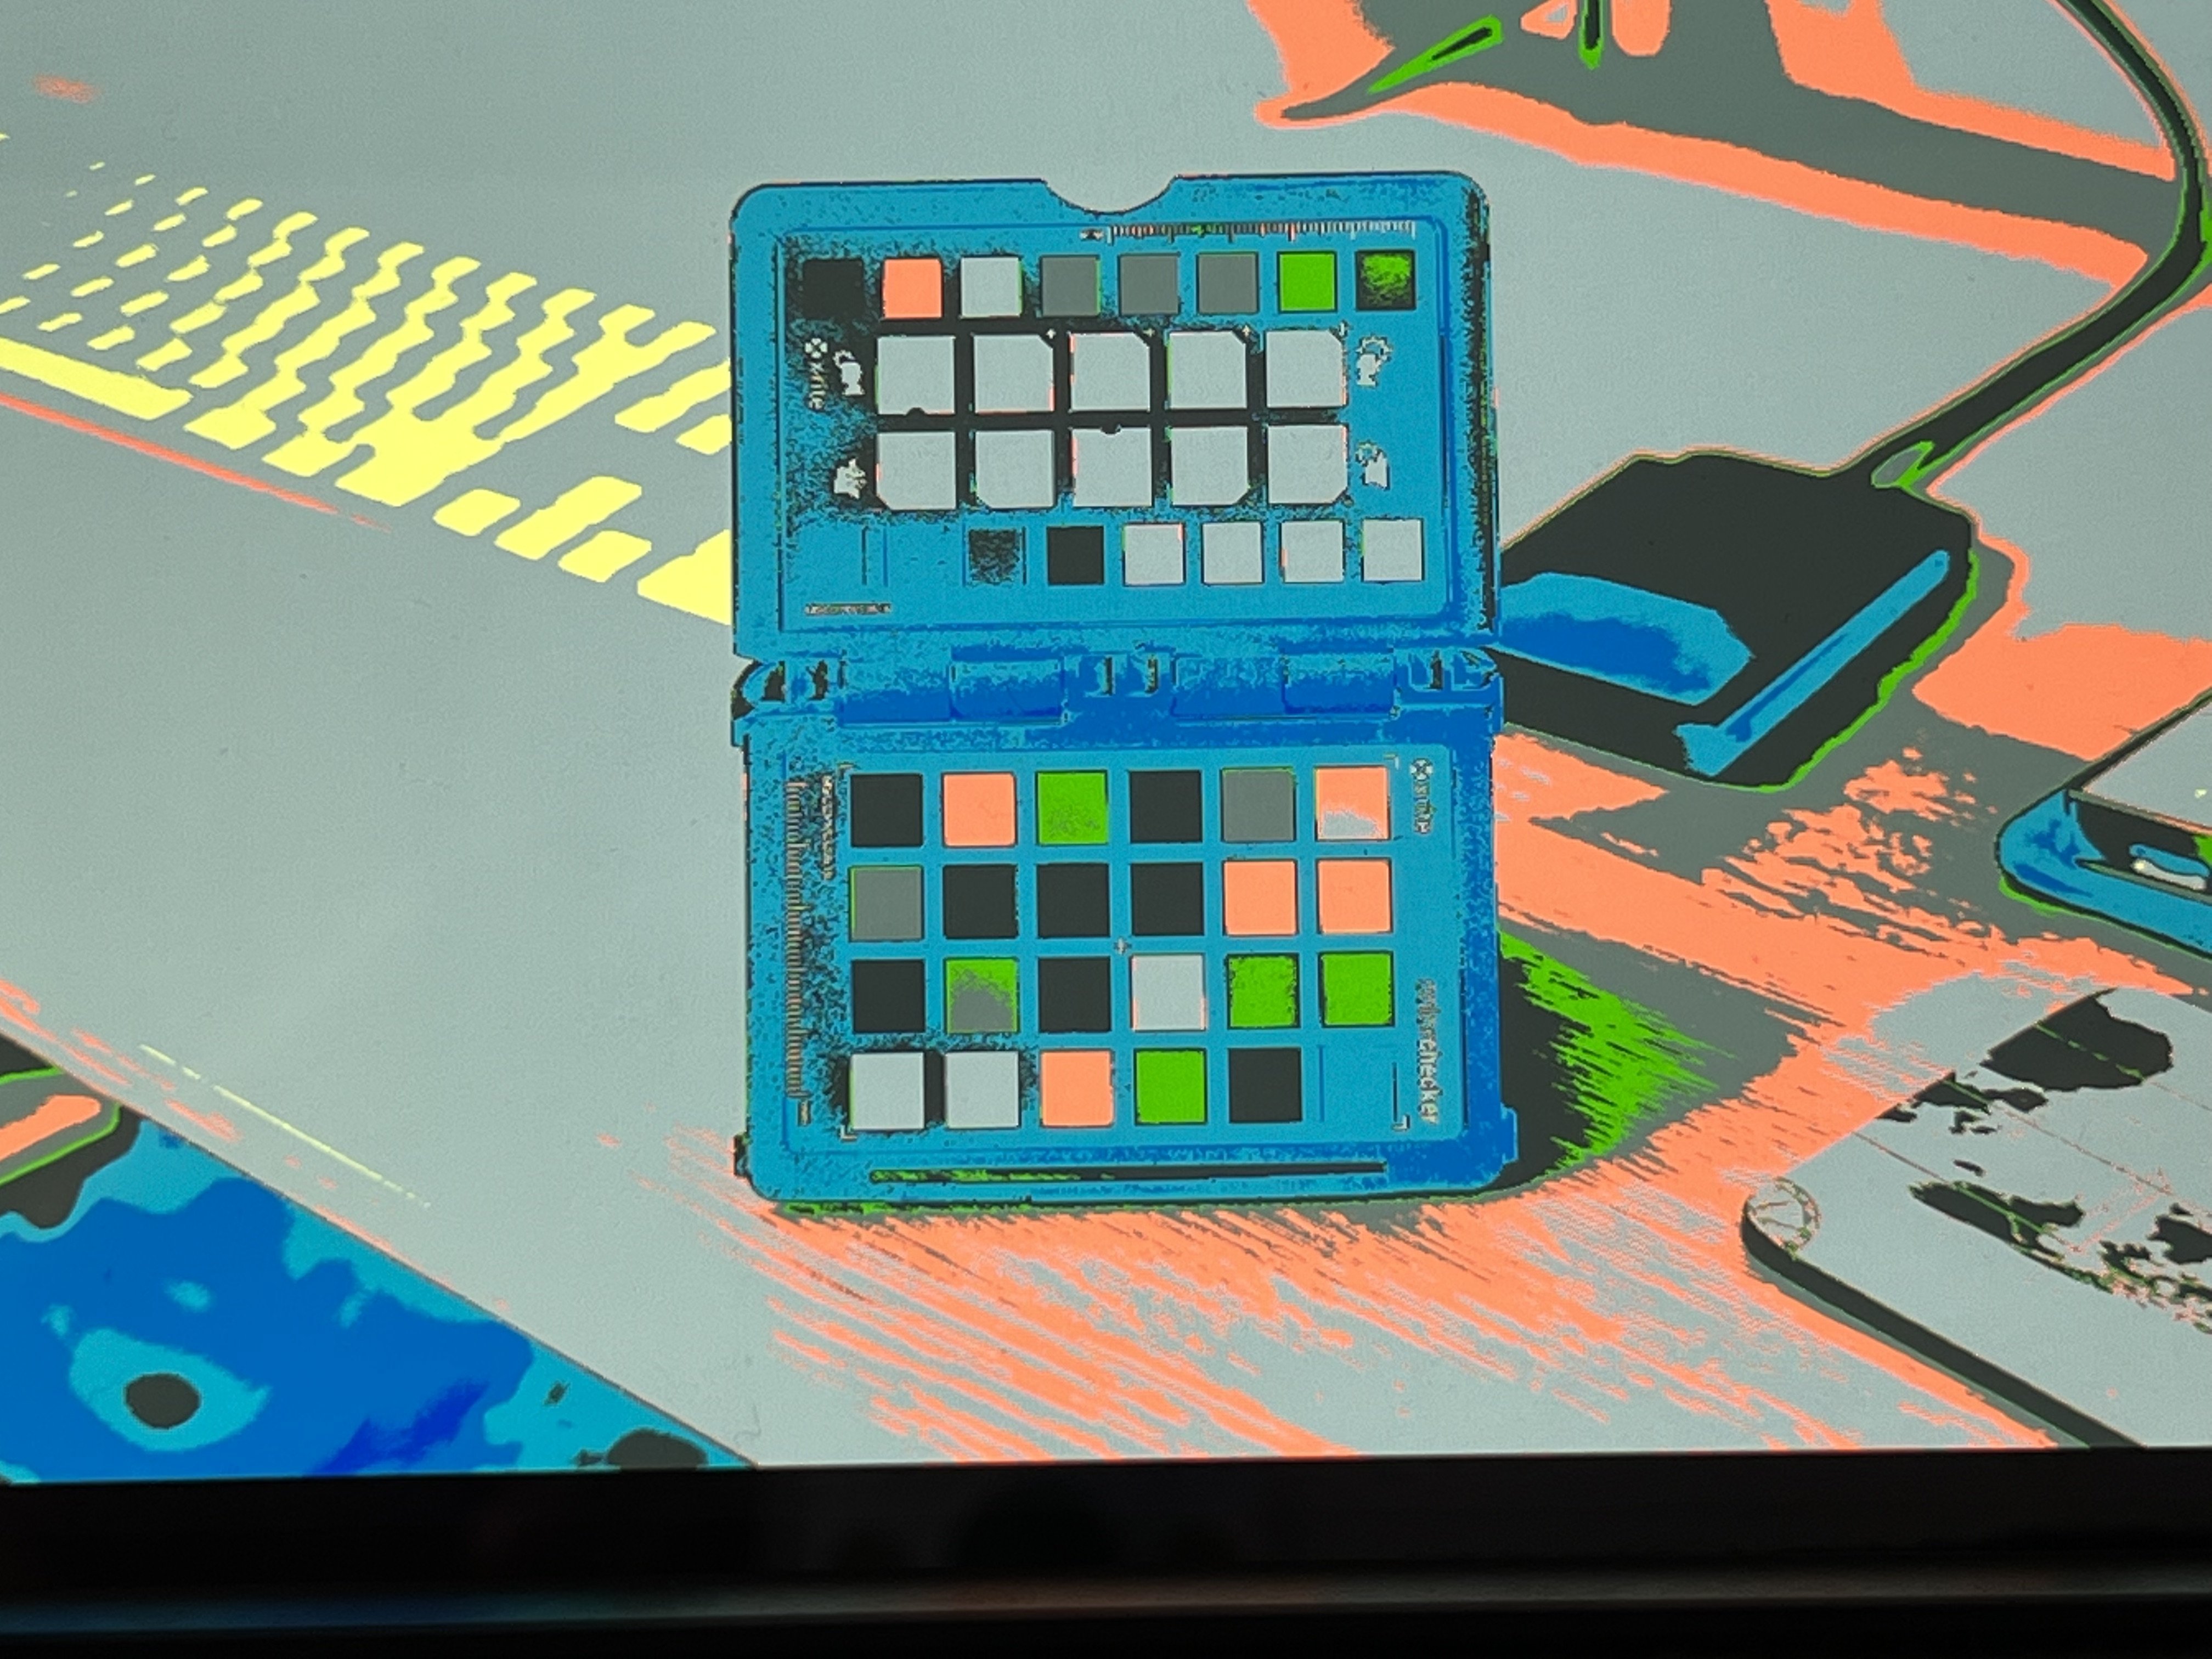
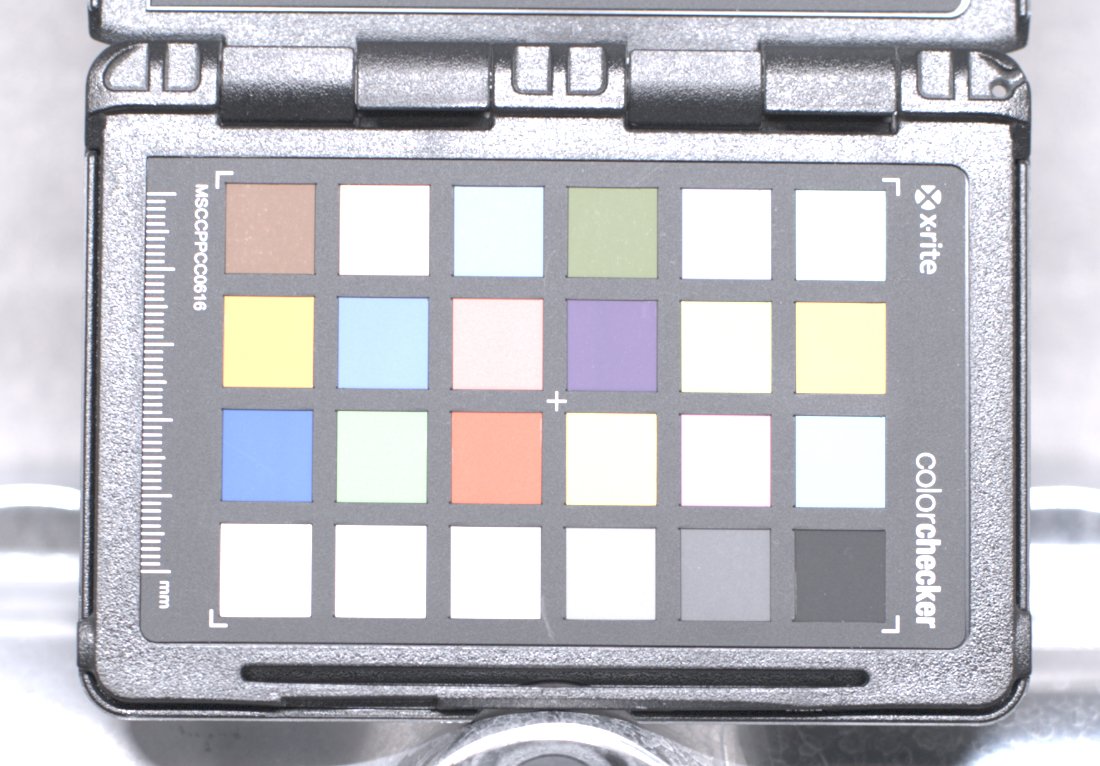
Now what I did today is set up lighting (camera ISO 800) and my color checker passport. Turned on false colors and tuned the lighting so that the patch which is representing middle grey was green (44 - 47 IRE) in the Atomos. (the one marked in the picture)
False color screen showed the following values for those patches, starting with white...
93 IRE, 84 IRE, 75 IRE, 59 IRE, 46 IRE, 26 IRE
Loaded the file into FCPX, but instead of pulling the highlights down as usual I did something different this time. On import the file looks totally over...
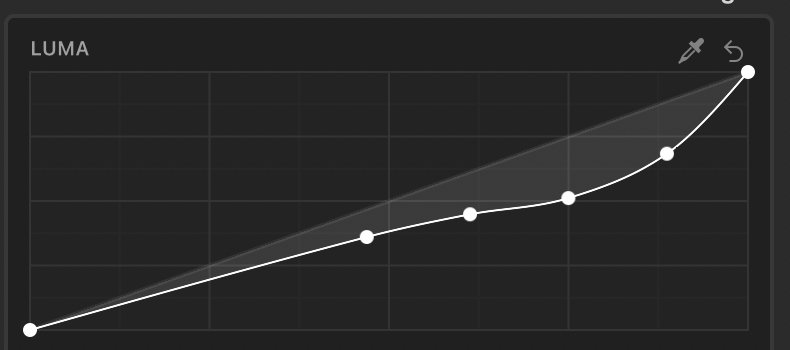
The new idea was to create a curve to bring down the patches to their appropriate brightness.
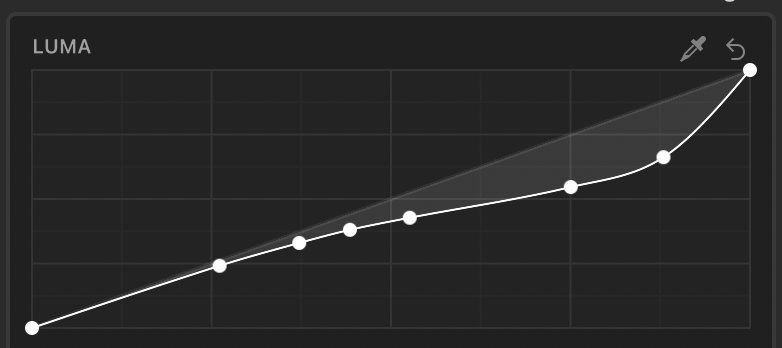
The curve, as smooth as I could get it, looks like this for all ISO values expect for ISO 3200.
ISO 800:
ISO 3200:
Last but not least I now had to search for the correct light meter values to get the exposure matching with my middle grey patch of the color checker.
Camera - light meter
ISO 800 - 250
ISO 1600 - 640
ISO 3200 - 2000
ISO 6400 - 2500
ISO 12800 - 5000
ISO 25600 - 10000
That's it 🙂 I am happy now. Can use the false colors now correctly and even take a meter reading which is matching the Ninja. Since I have saved my curves as a preset it is now a one double clic action to get the file in FCPX exactly matching what I saw when recording.
Basically it seems I have created my own brightness calibration file. Might take a further investigation in regards to colors, but for now the result seems pleasing. Obviously I have tested it with various of my previous recordings and it is just so much better.
Maybe this could be of help 🙂
-
For what it is worth. FCPX indeed is interpreting the fp RAW files as V-LOG, but is not applying the RAW to LOG conversion and not LOG to V-LOG LUT.
But if you select both options to Panasonic V-LOG the picture will look identical to both options off. That is great, because you can proceed to edit with ARRI Log C as LUT if you like. Gives the colors a little more pop.
-
Ok so I went back to the drawing board.
If you monitor regular ProRes 4:2:2 8 Bit (non RAW) with the Ninja V, the ISO values and meter tools seem to work absolutely correct. Clipping occurs at 100 IRE and false colors.
The change is happening with the switch to external RAW. If you monitor "native" the clipping points are as follows (approximately, have noted them down from the Ninja V waveform). Picture is very flat and log like. Black point for all ISO is at approx. 10 IRE.
ISO 100 - 65 IRE
ISO 200 - 75 IRE
ISO 400 - 80 IRE
ISO 800 - 90 IRE
ISO 1600 - 90 IRE
ISO 3200 - 85 IRE
ISO 6400 - 90 IRE
ISO 12800 - 90 IRE
ISO25600 - 90 IRE
False colors will show the ranges accordingly to those max values, but not scaled. So ISO 100 leaves you with white being in grey (59-77 range).
Rec709 mode and PQ modes meter as from ISO 800 and upwards as like I have described earlier.
Have read a little more about ProRes RAW. What I found out is that RAW is always linear HDR, no matter how you monitor it. So basically when you bring it in a Rec709 timeline you have to bring back the overshooting dynamic range. At least FCPX is not applying any conversation, it is importing it as linear RAW. You can however transform the very same into LOG (different manufacturer options) and then from that LOG to a certain LUT you like to use.
Maybe that is the explanation why it is best to monitor that linear RAW best in an HDR mode, as this will show you as much information as the monitor can show will reviewing.
What I do not get however is why the ISO range is acting strangely in RAW mode when monitored PQ. That could be a bug no body liked to address at Sigma/Atomos, or it is because they had to do it like this for their internal RAW recording. I do not know.
-
15 hours ago, Llaasseerr said:
How about you try metering based on the Atomos rating? In that case then theoretically it should be 3 stops overexposed instead of 2.5, but maybe just see how it goes at 3 since that is what they are rating it as with their different ISO numbers compared to internal.
What do you mean with the Atomos rating? I am metering to match the false colors. however that is hard to do.
i.e. the white patch of the color checker has to be between 90-100 IRE. Middle grey 40-50 IRE and black at max 10 IRE.
Did another round and tried as follows. Set the min ISO where the false colors are working so ISO 800 and opened up the lens completely. Tuned the light so that the white patch in the false color screen was just below orange so 93 IRE.
To get an exact match for the t stop with the light meter I needed it to be on ISO 125. Now I left the light setting identical and increased ISO and compensated this by closing the aperture. In the light meter I increased the ISO setting until I got the same aperture reading. For 1600 that was ISO 400.So far so good but bringing these files in FCPX I could only bring white and middle gray into the correct range by pulling down the highlights. If I bring down exposure overall all middle grey is off.
Have created presets now for every full ISO step which gives quite good results however I totally understand that people will be confused by this procedure. So am I…
Do not understand what is so difficult in the firmware to match camera and meter ISO values and the info which is send to the Ninja V exposure metering tools… -
Files are uploading.
Have started with a Sekonic measurement of T2.1 on ISO 200 (ISO 1600 in camera). Increases in full ISO steps in camera afterwards, measurements in the light meter as per the table.
However importing in FCPX needs further adjustments. ISO 200 i.e. needs an exposure compensation of +1...
The more I measure, the more it is confusing to be honest.
-
On 5/17/2022 at 12:11 AM, Llaasseerr said:
So my conclusions right now based on the PRR footage are:
ISO 6400/800 has less noise than ISO 100 +3 stops in post. So depending on how you're shooting, there may be an advantage there.
ISO 3200/640 has 2/3 stop less in the highlights. However it seems to me that if the exposure is bumped up +1 stop in post to match a 6400/800 clip, that the noise floor is the same but the highlights clip 1/4 of a stop higher (11.68 vs 9.34). I'm guessing that this may be because the higher base ISO has a slightly cleaner noise floor - not as dramatic as we have come to expect with other cameras, but maybe something.
Great! Thank you for this in depth analysis. My last idea in regards to testing would be to take my color checker chart, a good and soft light source plus my Sekonic light meter and expose the camera as per what the meter says for the correct ISO. Maybe that would solve the question were middle grey is for the given ISO values?
In reality to match my shots I usually take the false color screen only and dial in exposure on how I would like the scene to look like afterwards get my talent into the shot and check in which IRE range the skin falls. If I know change angles I leave everything as it is.
-
3 minutes ago, Llaasseerr said:
Your last round of test files was instructive in that I still found the clipping point in each clip, and it was uniform across all clips within a small level of variance. So I'm expecting with exposure differences in a new data set, that the clipping point will also remain uniform. Still, it's always helpful to have another tranche of test clips to play with, so bring it on!
I don't want to push it, but it would be interesting to have similar tests with internal DNG footage if you're up for it.
Files are uploading just now in the same dropbox. 🙂
The idea of the second test was to show what can be brought back and what is lost. Because with the clipping monitoring of the false colors in Ninja V, this should be already extremely close to real clipping. Which after my experience is the case.
For internal DNG things will get more confusing, like described also in the video you have found on YouTube, there the real clipping points will be all over the place. Have none of this material available currently, but might try this a little later as well.
-
6 hours ago, Llaasseerr said:
I realise that you are stopping down the lens when changing the ISO level to compensate (I can see the iris change), which is really helpful in this case, so that means given the highlights still clip in the same place, the noise level is the only variable.
Indeed, I have at first used a vario ND to keep exposure identical and as this wasn't sufficient anymore I stopped down.
From my testings I will use the ISO 800 settings (so real 100), ISO 3200 (640) if I need more light, but I also felt comfortable to go to 6400 or even 12800. Any higher the noise would need more treatment in post than I like to do.
Next round of test files I will upload will be about increasing ISO without adjusting exposure. So you can see when the camera will clip ultimately so nothing can be recovered.
I have found that if I expose with the false colors and set the highlights to be at orange and avoid red, there is about 1 stop which can be recovered.
-
6 hours ago, TomTheDP said:
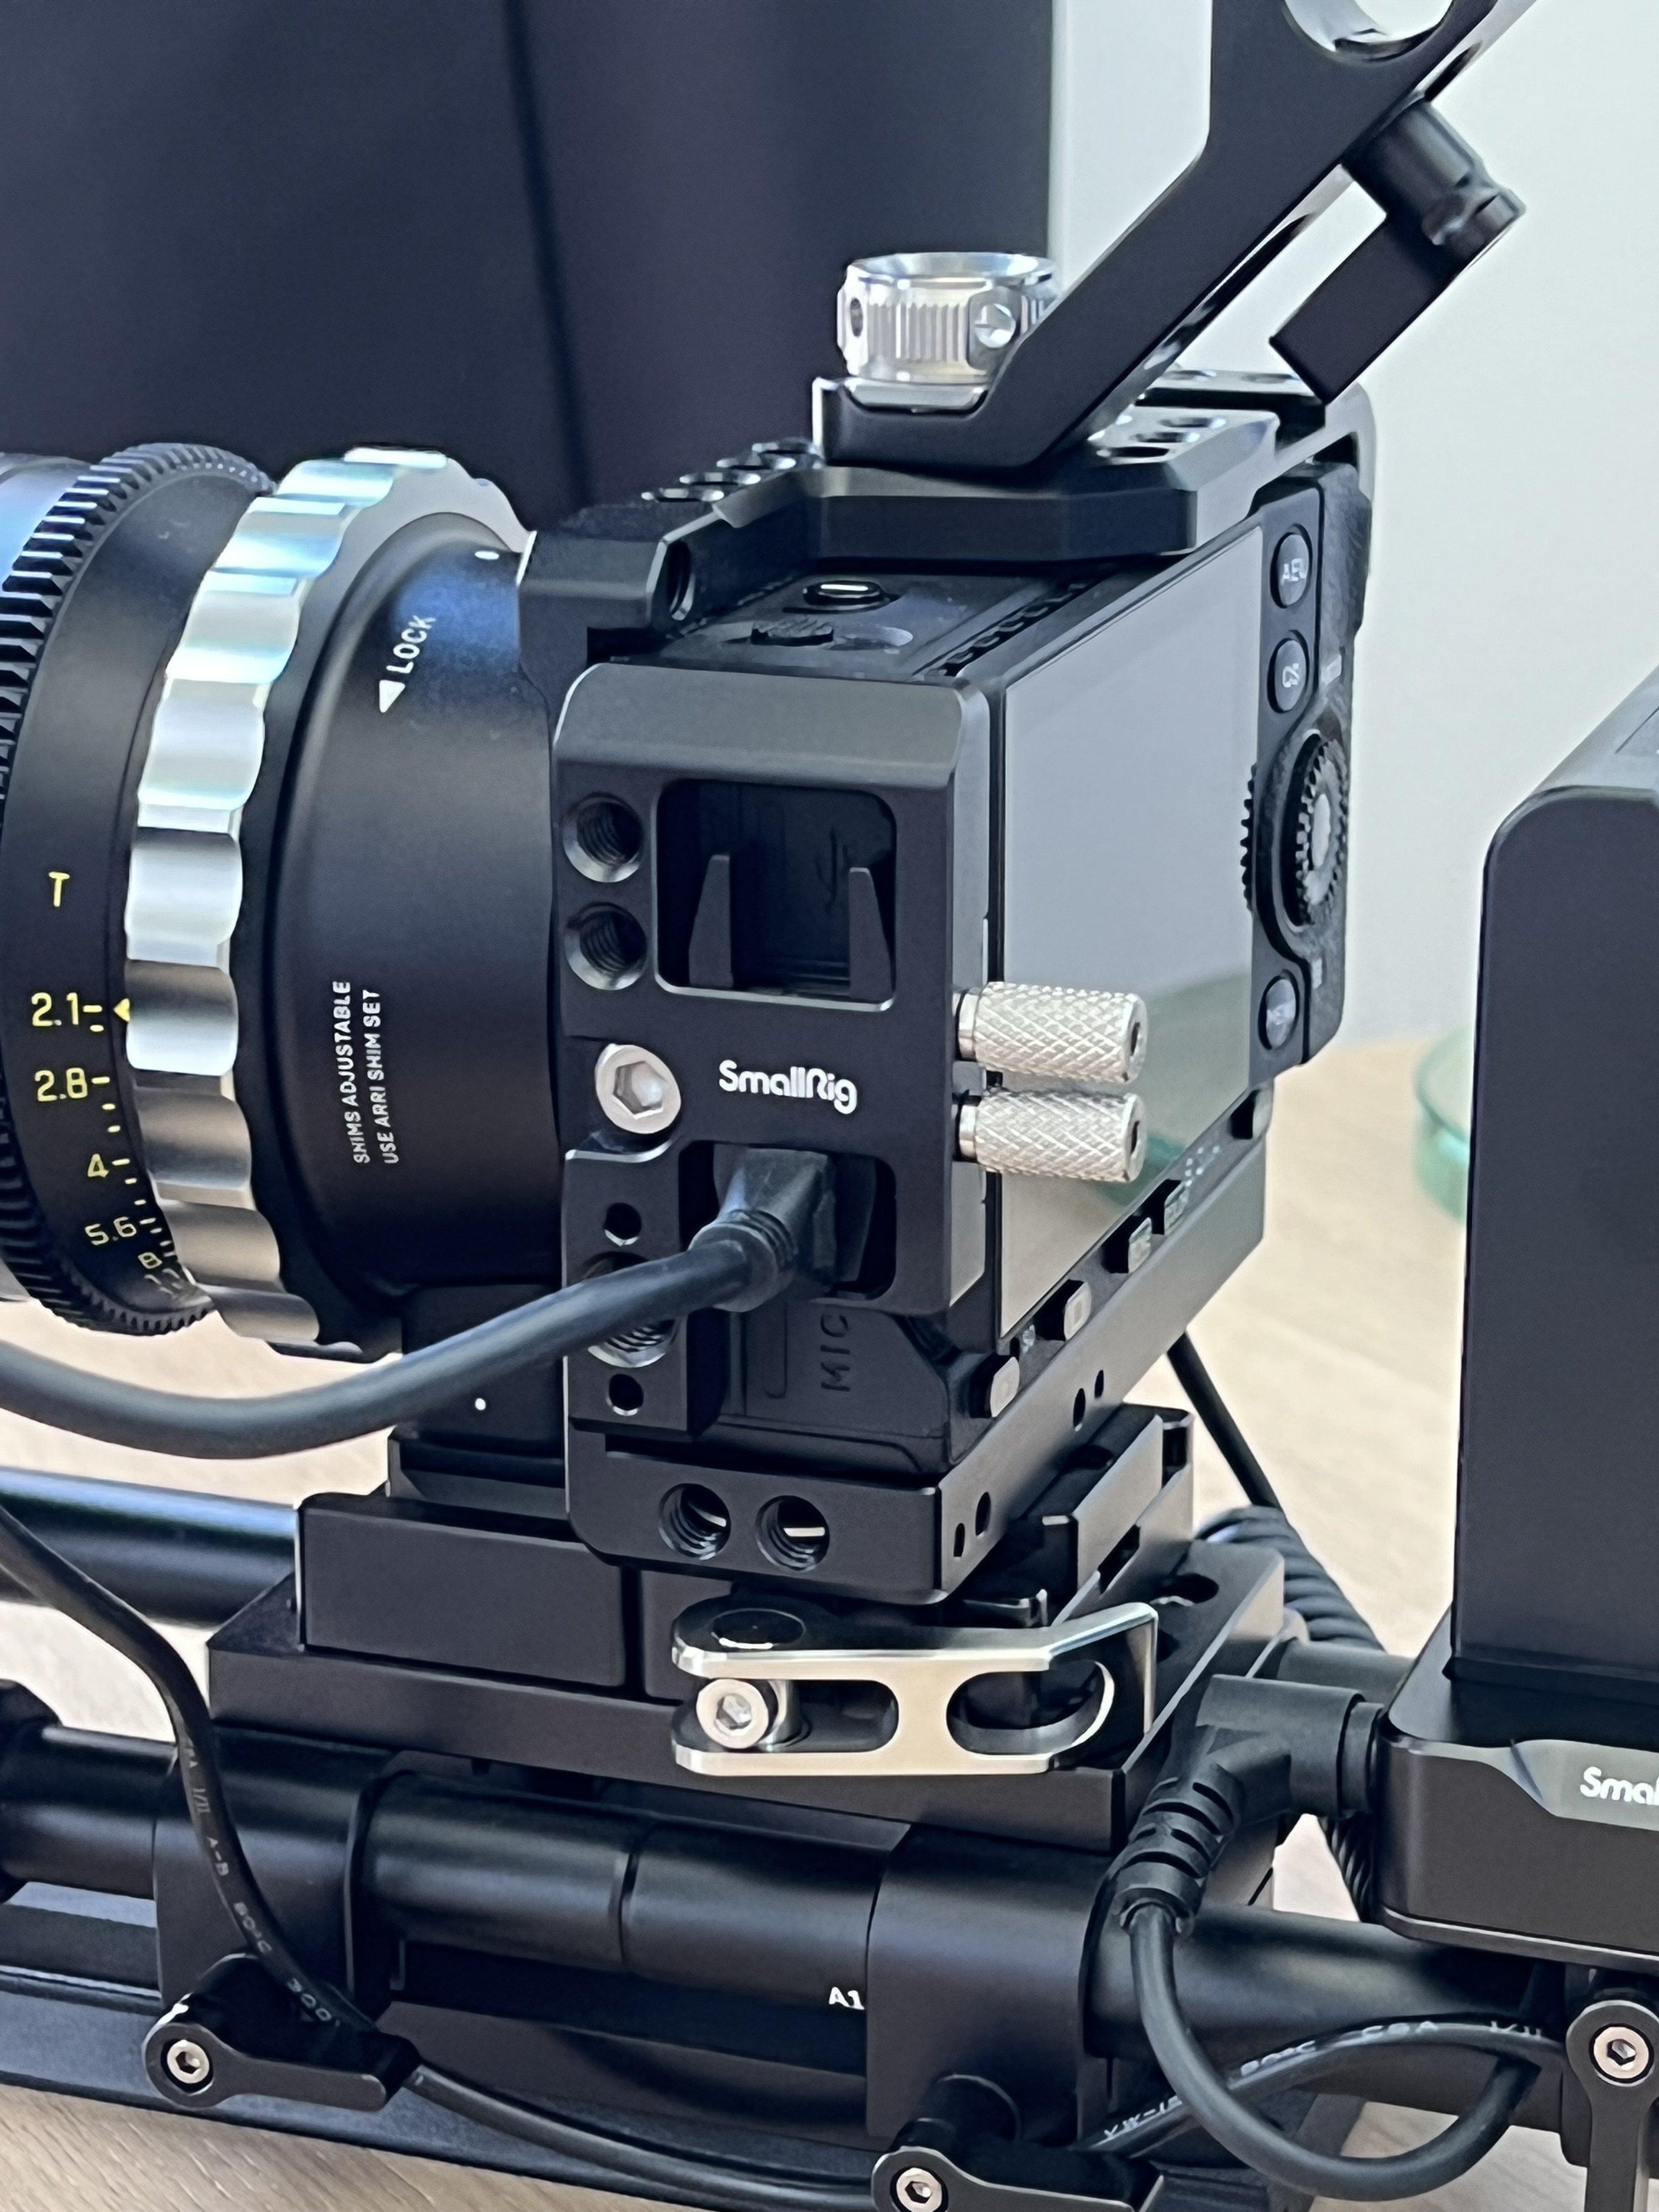
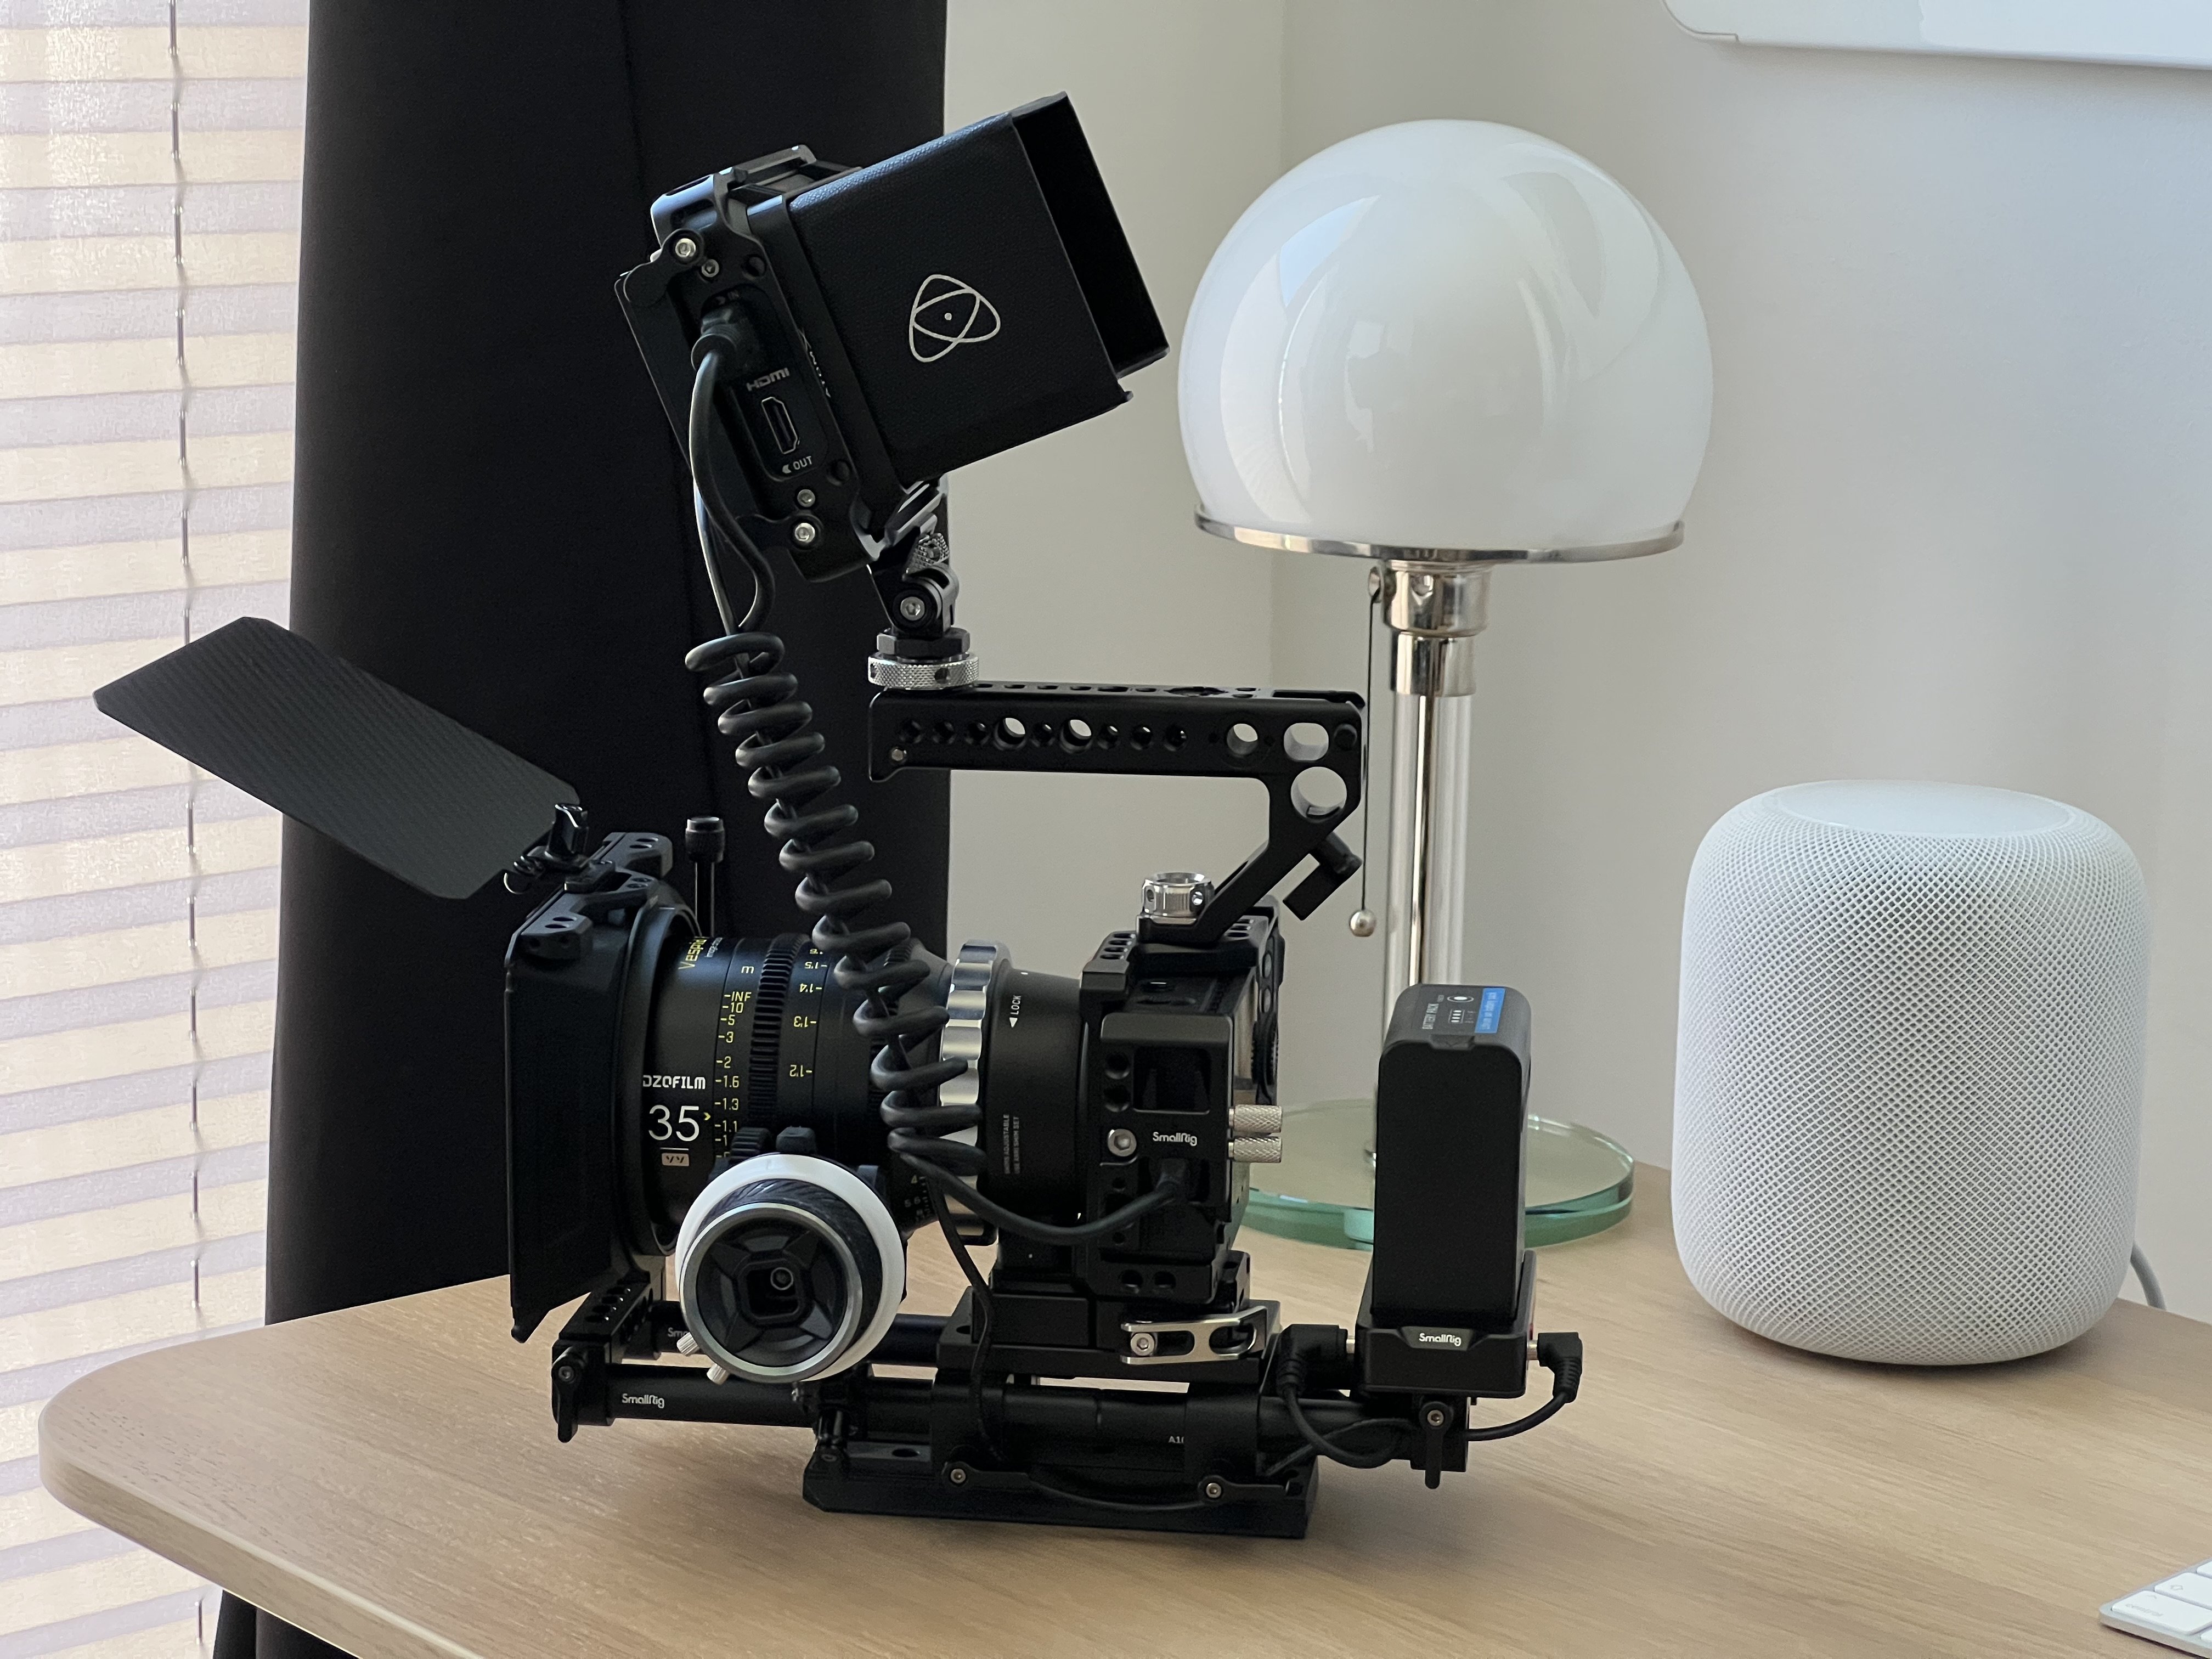
Also I hope that Micro hdmi holds up, using the onboard LCD in sunlight is close to impossible.
SmallRig has a nice cage for the fp and additionally a part for the side with the HDMI connector which includes a lock. That gave me back some confidence.
-
6 hours ago, Llaasseerr said:
Also, thanks for the note about the metadata. So for whatever reason, Atomos decided to rate it 3 stops over. Can I assume that the higher base ISO is kicking in at 3200 (25600 in Atomos metadata)?
I do not think that Atomos decided to rate the camera differently. My assumption is that the gain levels are not correctly transferred. Because if they would, also the Rec709 screen should correlate with the false colors, no?
Bottom line for what I do, as said before measure the real sensor clipping via false colors in the Ninja V set to PQ for max DR it can show. For instance ISO 100 shot on ISO 100 gives you exactly the clipping point as when you switch to ISO 800. The false color screen looks identical and due to PQ mode you can still see a somewhat correct preview picture. If you in post turn the ISO 800 back to ISO 100 it will look exactly the same as the one directly captured in ISO 100. This is, because you are not changing the light falling on the sensor with my method.
Afterwards I have increased the ISO values in full stops, so ISO 1600, 3200 etc. Camera switches to second native ISO when you go to ISO 3200 that is correct. However the real value behind is ISO 640. Take my table and try for yourself 🙂 By the way I have turned down the exposure a little to keep more details in the lightbulb. The false colors and the sensor can go up to super white, clipping point is at about 105 IRE.
Interestingly it can be assumed that the fp shares the same sensor as also the Lumix B1SH there Panasonic states ISO 100 and 640 as native values...and Sigma does it too, but only for their photo mode in the manual some pages above.
- Llaasseerr and Zeng
-
 1
1
-
 1
1

SIGMA FP with ProRes RAW and BRAW !
In: Cameras
Posted
Not too sure about this one. Sensor clipping appears to be in 108 IRE in the Ninja. So possibly Davinci could be using the info of what is above 100 IRE and use this for their highlight recovery tool? Suppose in FCPX you can shift down this information back into the range manually and have the same result.