kye
-
Posts
8,071 -
Joined
-
Last visited
Content Type
Profiles
Forums
Articles
Everything posted by kye
-
Please point to the one that NEEDED 4K. or 6K. or 8K. or 12K. Lots of talk about cameras around here, and lots of talk about cameras needing more resolution. Meanwhile I'm watching the content that is the best of the best and barely seeing a frame where the minuscule amount of detail 4K provides wasn't completely overwhelmed by the lens properties, either physical or virtual. The desire for finer detailed images from non-cinema cameras is opposed to having emotional images, and comes at the cost of things that would actually make a difference The people who talk about more resolution being better fall into two camps: those who are making images like the above and feel that a bump in resolution might be slightly advantageous, or the people who don't understand that images like the above exist and talk about resolution like its an end-goal in itself.
-
Interesting. I would have thought that the silica gel would have made the container too dry, but apparently not. Seems like a good solution, and worth trying if humidity is a problem. I wonder if silica gel can be dried and reused? Maybe by putting it out in the sun on a hot day, or something similar?
-
The people you're talking about are cinematographers telling a story. They're not talking about lens resolution, 8K, or cropping in post. Every time a new camera comes out there is the same challenge.... People that are seeing cameras get more expensive, have more pixels (that they don't need or want), and seeing that the colour or features aren't any better. Then there are the videographers who want as much resolution as possible, want as clinically sharp lenses as possible, don't know or care about truly great colour science, and will swallow the ever-increasing cost of the new cameras. The former seem to be happy to acknowledge that the latter wants more resolution (along with VFX departments and VR), the latter seem unable to acknowledge that the formers needs are valid, or even make any sense. This is the source of the conflict. This is how videographers shoot. They want to be able to extract many compositions from a single angle. They want to be able to get zoom-lens functionality from a single prime. It could be because they're running multiple cameras at once, or operating in a small space without room for many cameras, or the logistics of pumping out videos at break-neck pace dominate. The ability to re-frame in post requires resolution and it requires having the sharpest most neutral/bland lenses possible, otherwise things look funny if you're zooming into the frame near an edge and getting asymmetrical lens distortions. They want the image to be as flexible in post as they can, so the image SOOC needs to have the least amount of character possible. I wish. Too heavy, too expensive, and too large for how/where I shoot. There is a problem in the camera market. Essentially, there are no modern, DSLR-sized cameras with great colour (for which I set the standard of the Alexa from a decade ago): if you eliminate modern, you get the OG BMPCC BMMCC if you eliminate DSLR-sized, you get cinema cameras (Komodo, ALEXA Mini, UMP12K, etc) if you eliminate great colour, you get the modern mirrorless cameras (P4K, P6K, R5, C70, A7S3, S1H, XT-4, etc) The problem is that we had the OG BM cameras, but they abandoned the colour of the Fairlight sensor. Notice that price wasn't a variable in the above? There is literally no small, modern camera with great colour - even if you were willing to pay $20K for one. I think that the manufacturers are actively prejudiced against non-narrative smaller productions. They reserve the great image quality for people that can use a rigged-up cinema camera (slow and picky to work with) or if you're not in that upper echelon of high-art then screw you, you get the modest colour science of Canon from 10 years ago that used to be special then and everyone has now.
-
Yes, I suspect I'll end up with one of those travel screens, as Andrew reviewed. In fact the one that Andrew reviewed looked great, except I think I'd prefer one that's smaller. That's why this thread - to see if others have feedback. Technically you're right, that I'd have to carry a calibration device, which I have and could do. The challenge is that the rigours don't stop there. You need to calibrate it to each environment, but you need to have colour calibrated ambient light of a specific brightness, lest you not interpret contrast correctly. So I'd have to travel with several calibrated lights, and then I'd have to position them to achieve the correct ambient brightness. Luckily, my work is just personal and for YT so near enough is good enough. Having a portable calibrated display isn't really the issue, really I'm just looking for a decently sized screen to view the video on. In that sense it's actually more for editing than it is for colour grading. I have a 13" MBP, but you can only make the viewer so large by adjusting the size of the menus etc. I have the BM Speed Editor controller, and you can edit with it in full-screen mode, but it's tough to not be able to see the timeline or any menus or controls at all, so that doesn't work so well in many of the stages of editing. As I said, colour isn't that critical for me. I asked about calibration on the colourist forums and there was an interesting reply saying "I find an i1 display pro using xrite software gets my GUI monitor pretty close to my Flanders broadcast monitor. So for hobbyist work it will be fine." I figure that if a pro said "pretty close" when talking about a normal monitor managed through the GUI then a reasonable quality normal monitor that is calibrated should be enough for me! Also, I only work on 1080p timelines, and the BM UltraStudio I have is limited to 1080p, so I only need a 1080p monitor. I do this not only because 4K doesn't really matter, but also to reduce the load on my machine for editing. Once again, I'm using 1080p to avoid a cost of 4K that no-one here will even acknowledge exists.. 🙂
-
It's a videographer vs cinematographer thing. The videographers priority is to work with consumers/brands to create clean/modern looking videos that make them money. The cinematographers priority is to work with imperfections to create emotion that supports a story. That's why videographers talk about specs, and cinematographers are talking about the look of the image. This might help:
-
I was referring to the original Alexa. The one that's 10 years old and is barely breaking five-figures second hand now. Rather odd that you think you know which videos I'm looking at, but that's besides the point. I've graded Canon Log footage from a few of the Canon cine cameras, Prores from a few Alexa models both current and legacy, and Prores from my BM OG BMPCC and BMMCC. The footage from the BM cameras feels similar in the grade to the Alexa in a way that the Canon footage did not. REDRAW has the same feeling of the ARRIs. There is an effortless quality to the colours and a predictability to the image, like all the sliders are working properly. In contrast, the highest quality footage from the GH5 and many other similar cameras from other brands makes the controls feel like something has been knocked out of alignment. Like the adjustments aren't what you asked for, and the footage is fragile rather than robust. You take skintones and push the WB and they fall apart, looking fake and somehow corrupted, rather than simply looking warmer or cooler. Strange casts appear and you fight with the footage rather than create with it. The Canon footage was somewhere in-between. Obviously not nearly as poor as the pro-sumer cameras, but it had a tinge to it that was definitely noticeable. It's an emotional thing. My brain wasn't unhappy grading the Canon cinema camera footage, but grading the other footage is an emotional process where the results are joyous in some way, but the Canon falls flat. This is why I've mentioned previously, potentially in another thread, that BM gave us magic in 2012 and Canon still isn't giving it to us a decade later.
-
The catastrophe isn't getting RAW, it's forgetting how good cameras used to look. A decade on, and cameras have 16x as many pixels, but worse colour science. Like @Andrew Reid said "Nothing unique at all about the images, could have been shot on just about anything else.". This is why I said that "the expectation of cameras to even have that level of colour is gone". You look at the images from that camera and think "looks great - yay Canon colour science" but many others think "blah.. another generic look". ARRI created the 65 and improved their colour science from the original Alexa models. Canon hasn't even closed the gap between them and the original Alexa.
-
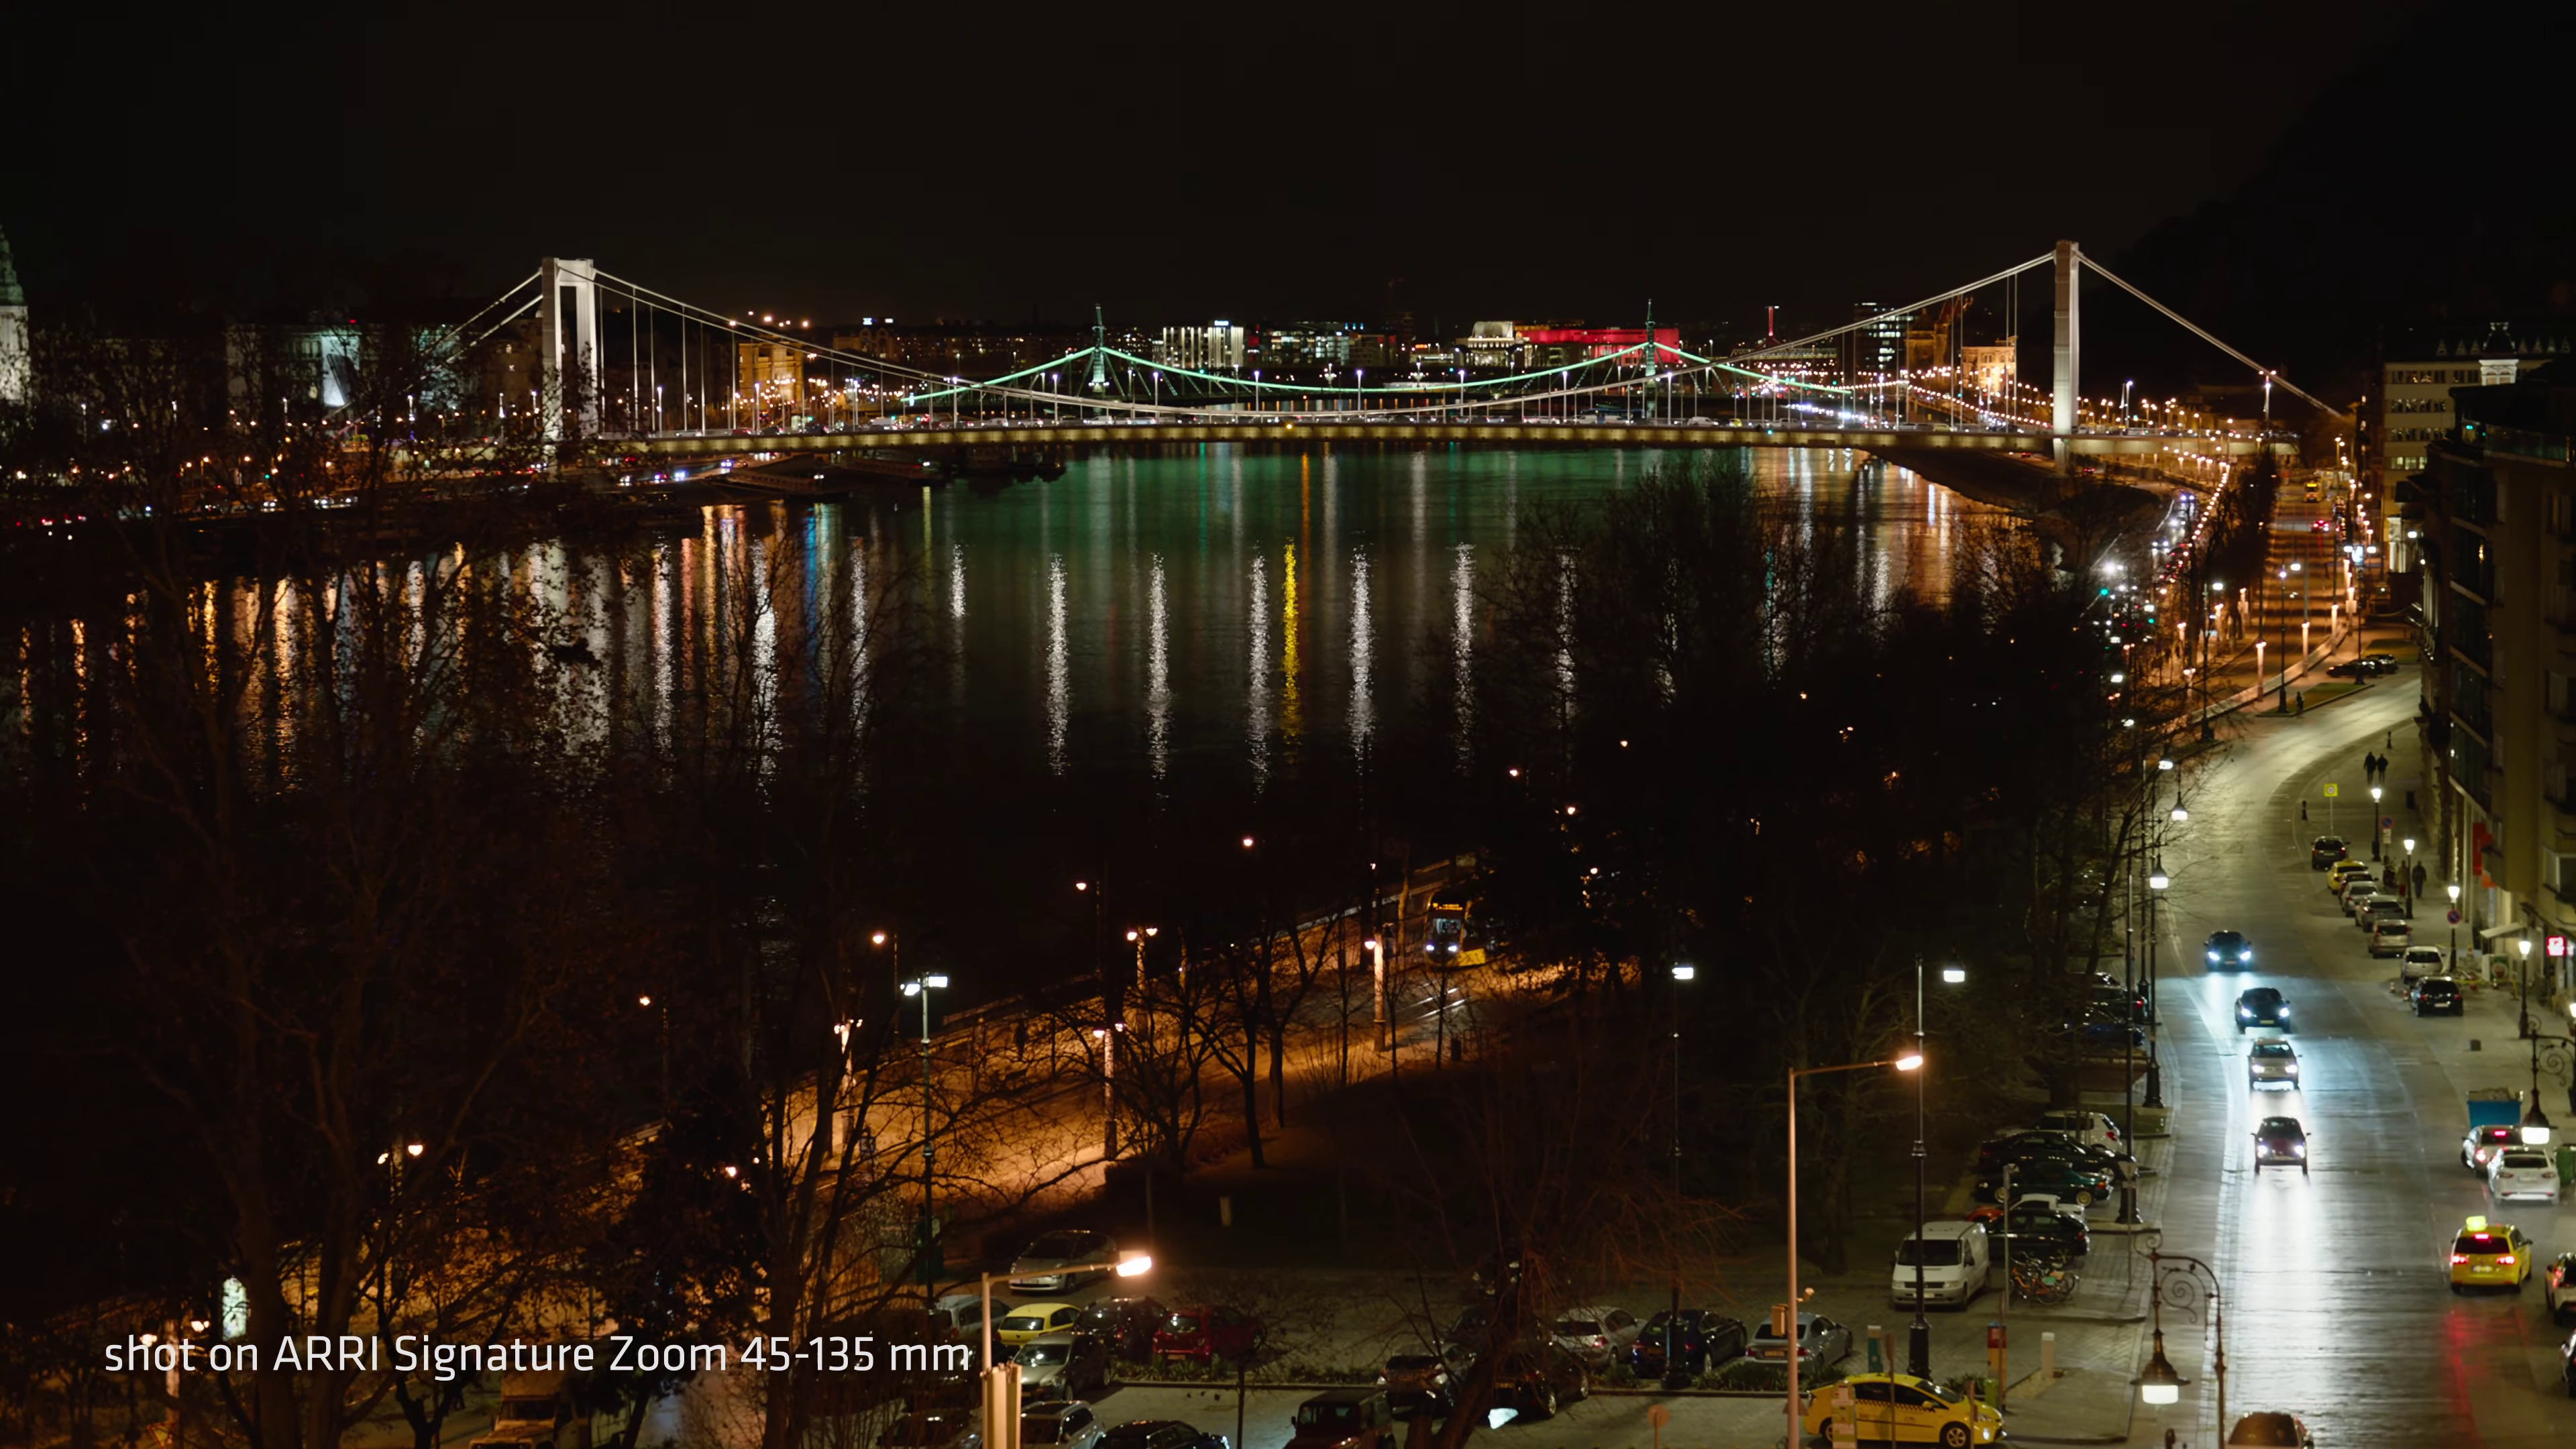
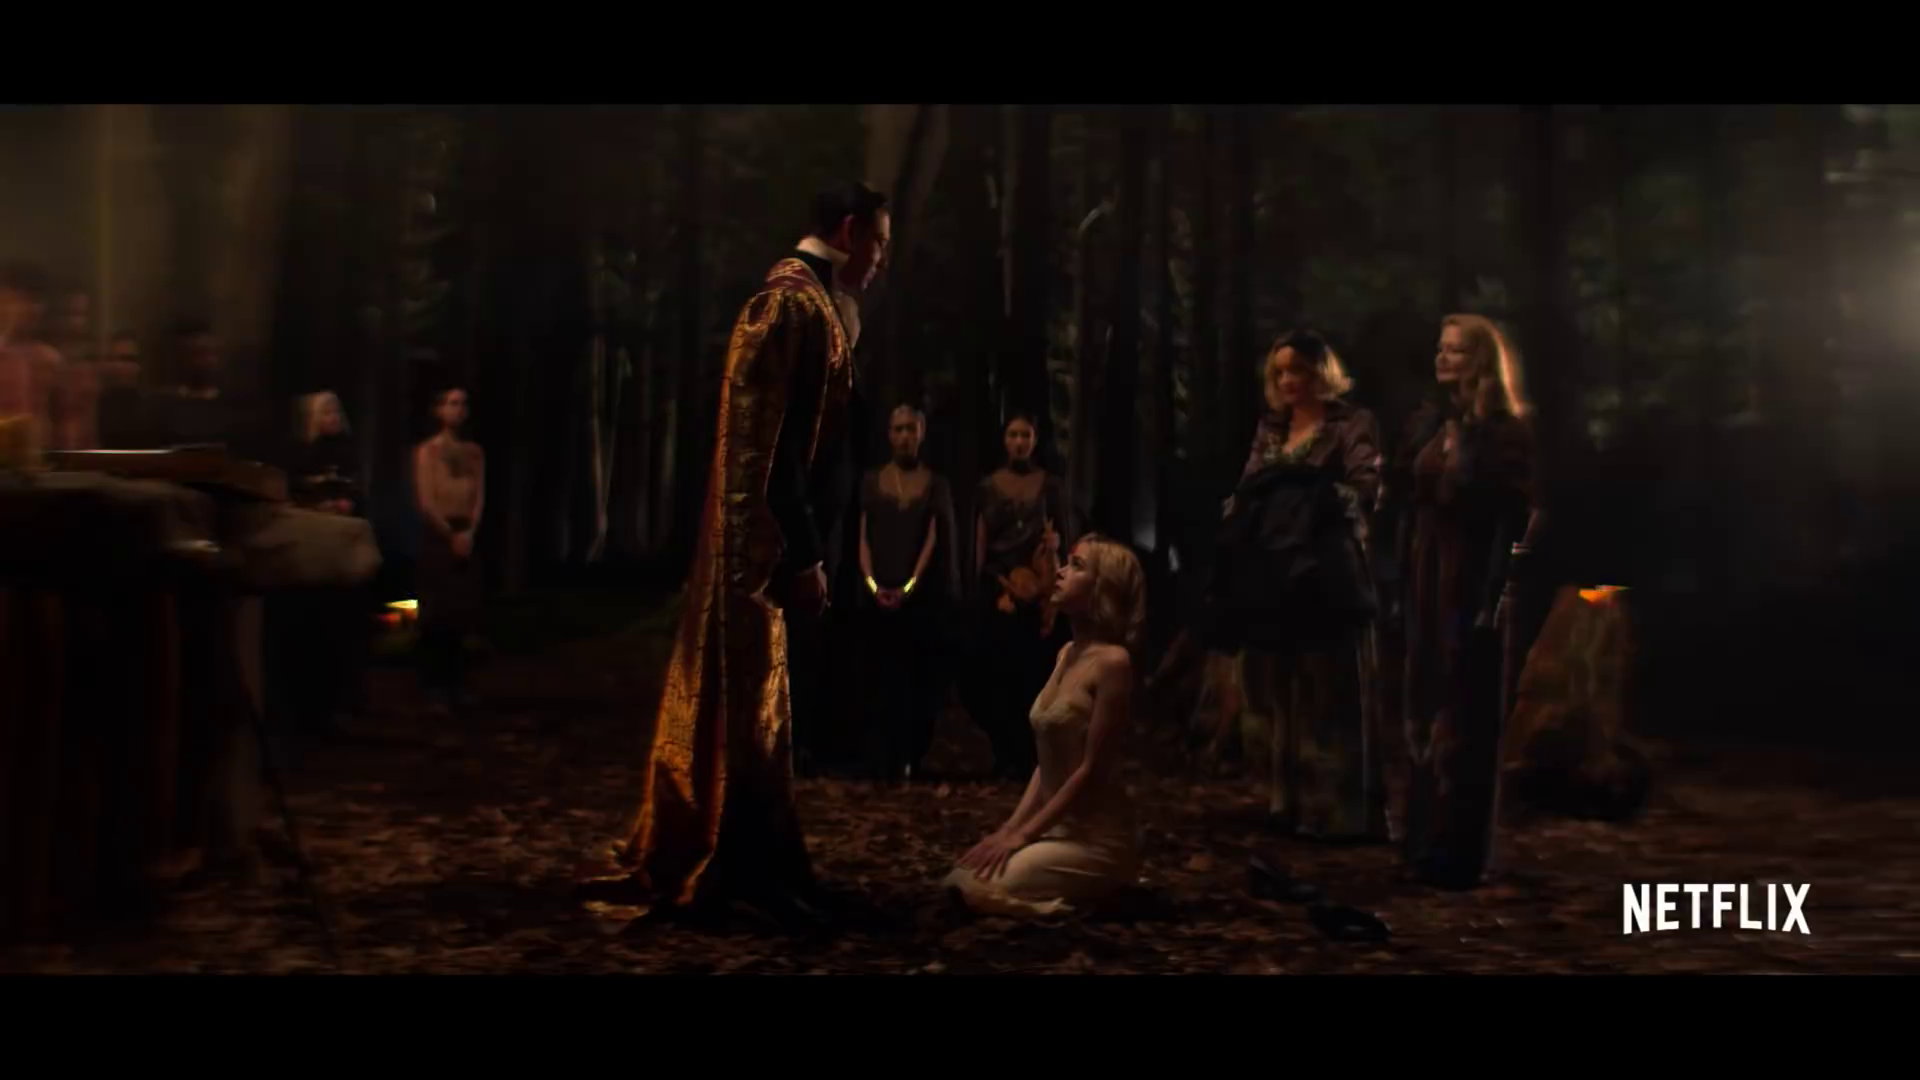
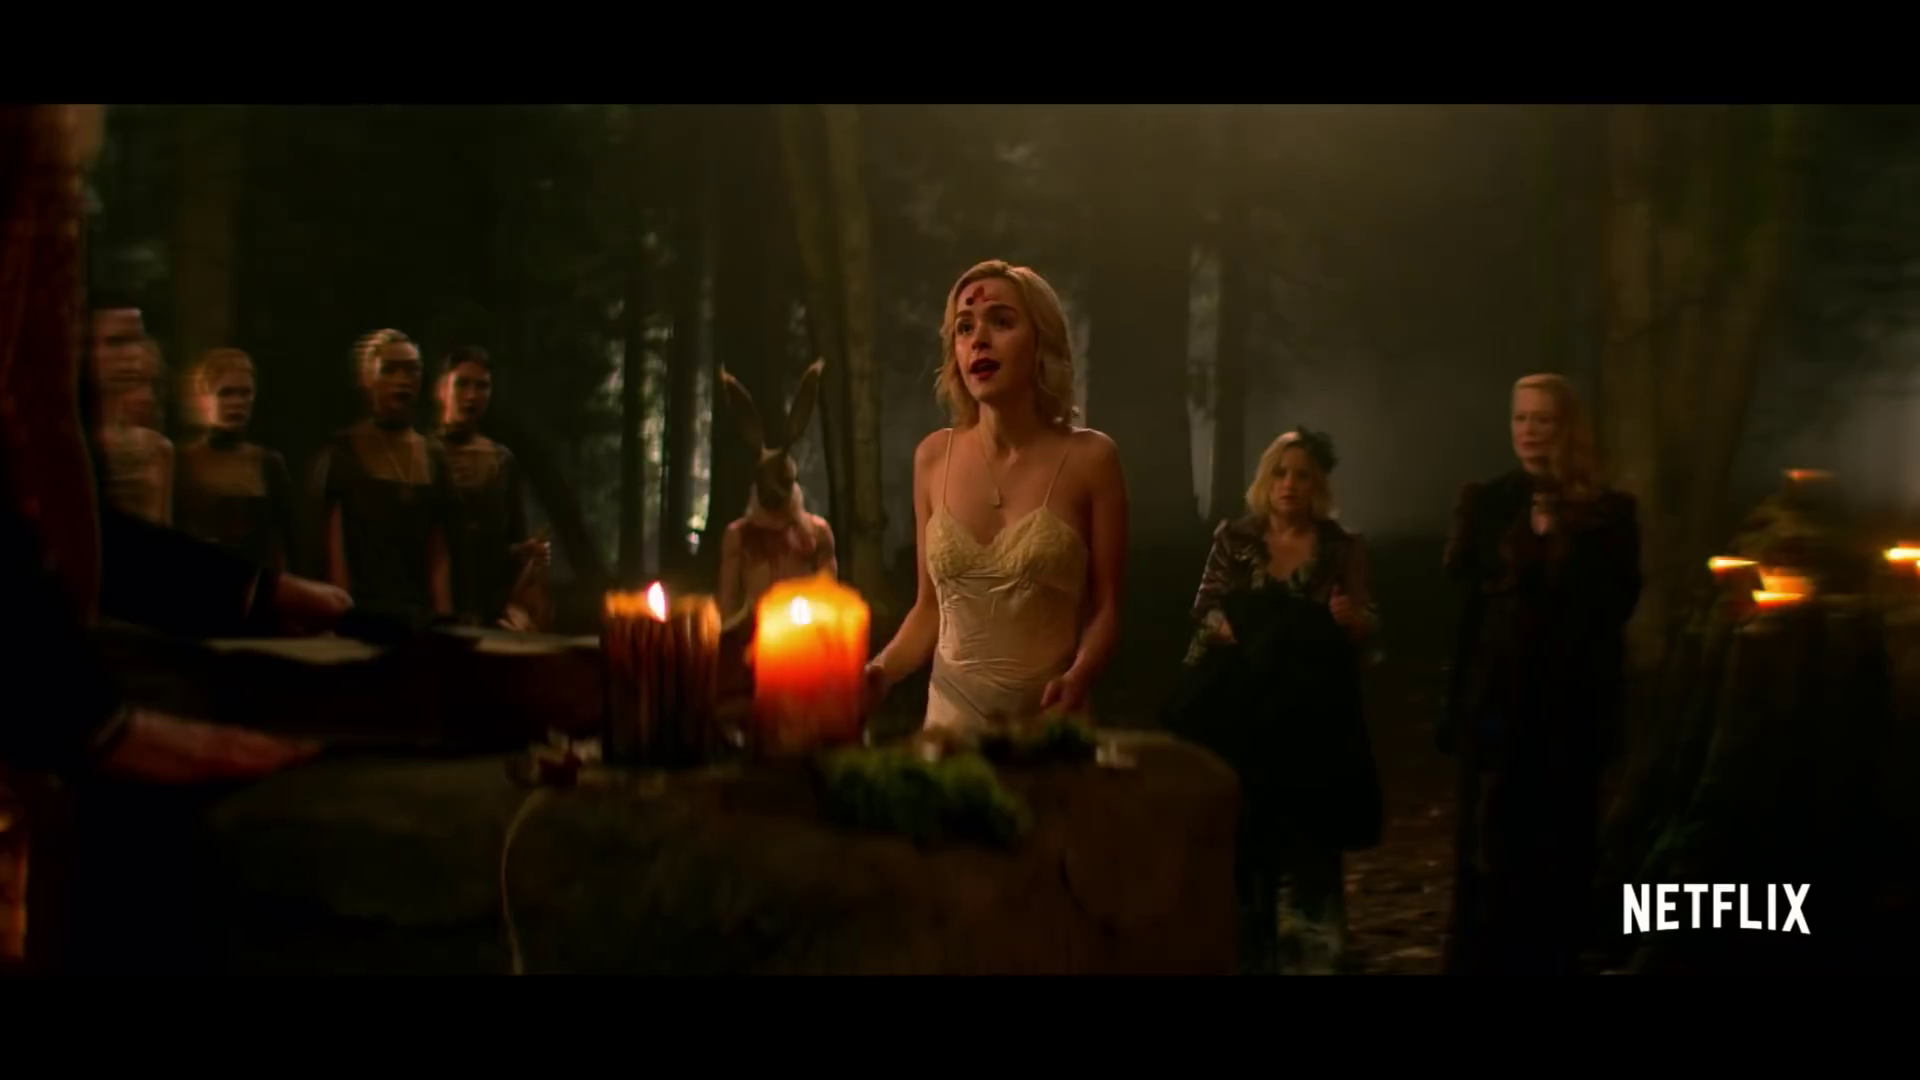
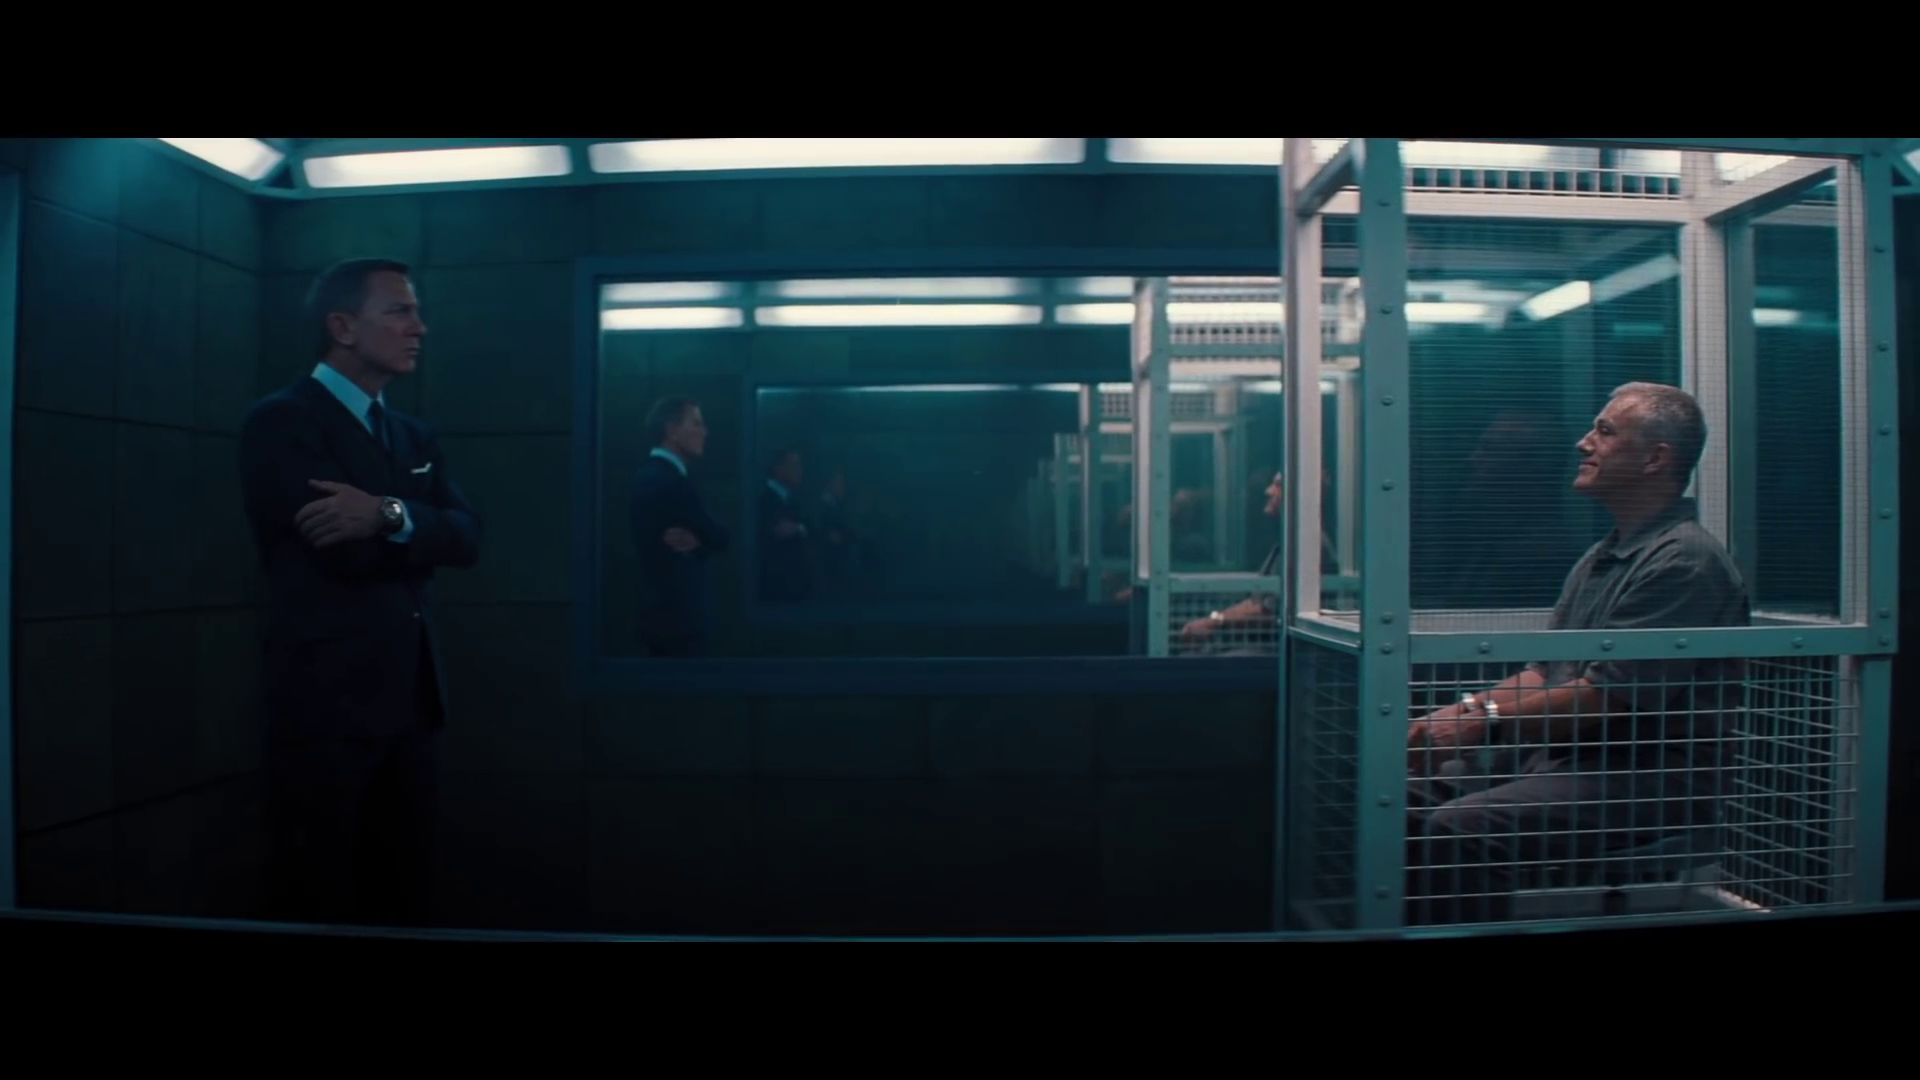
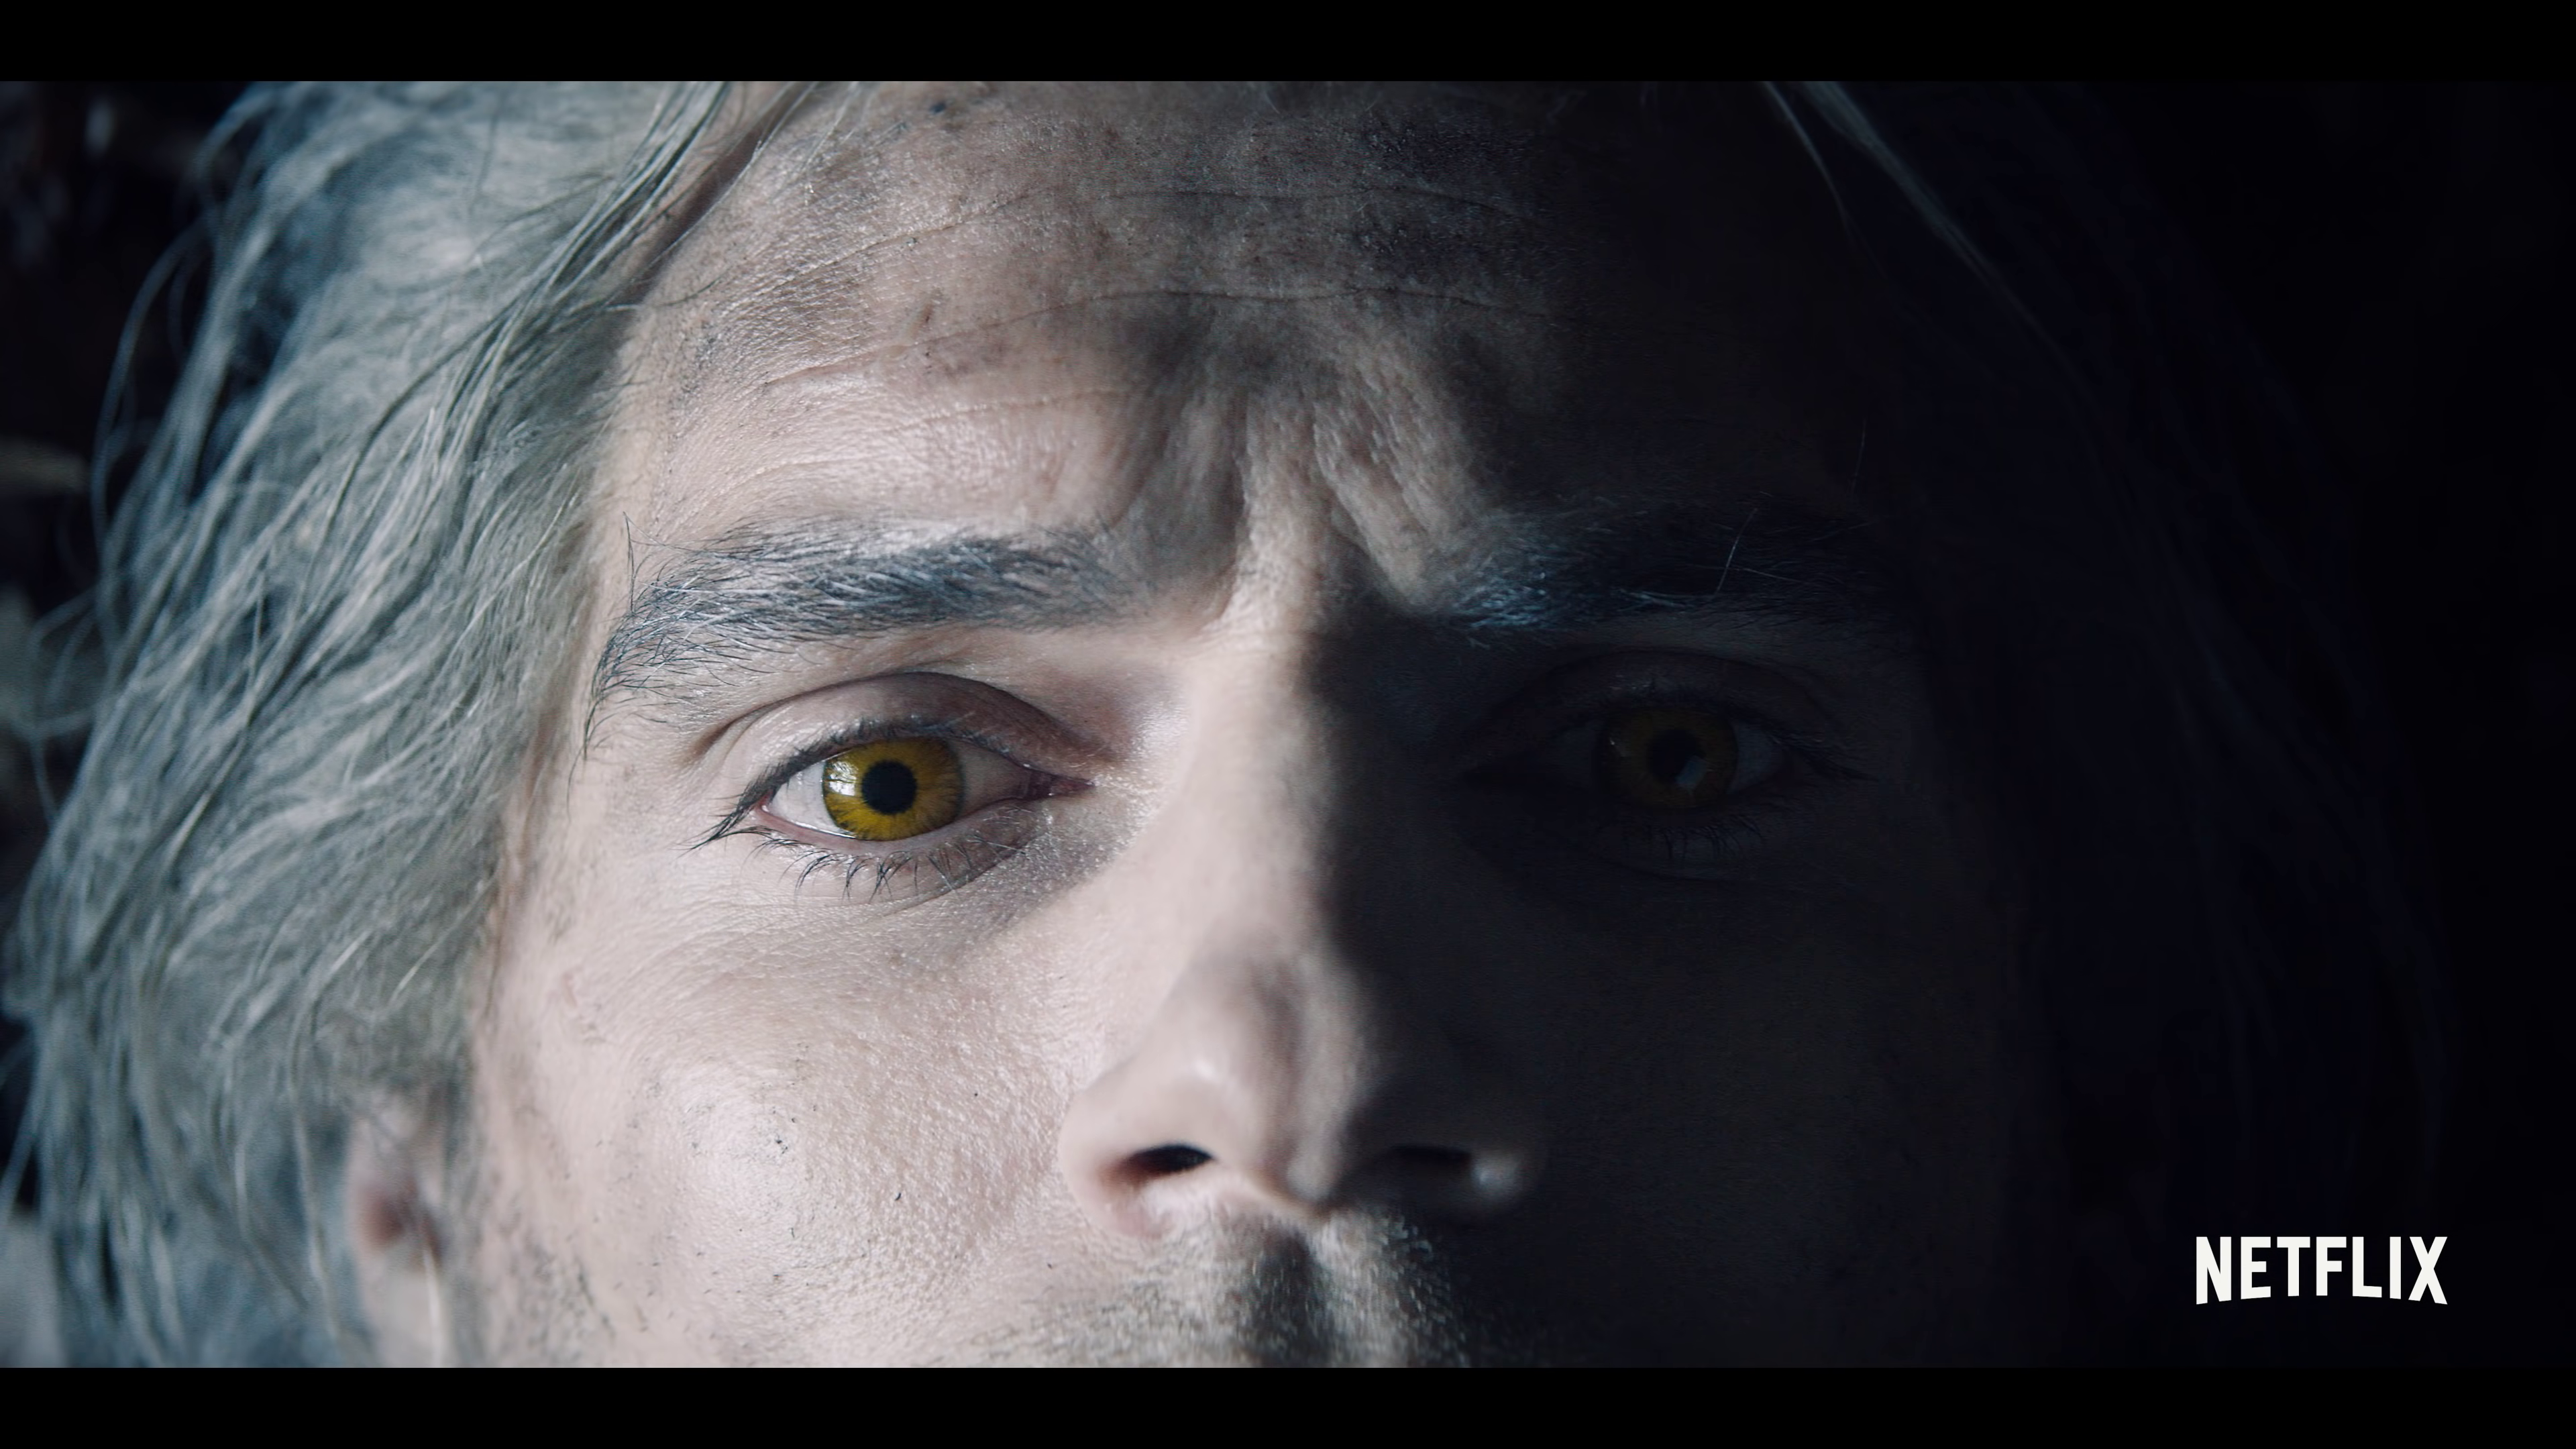
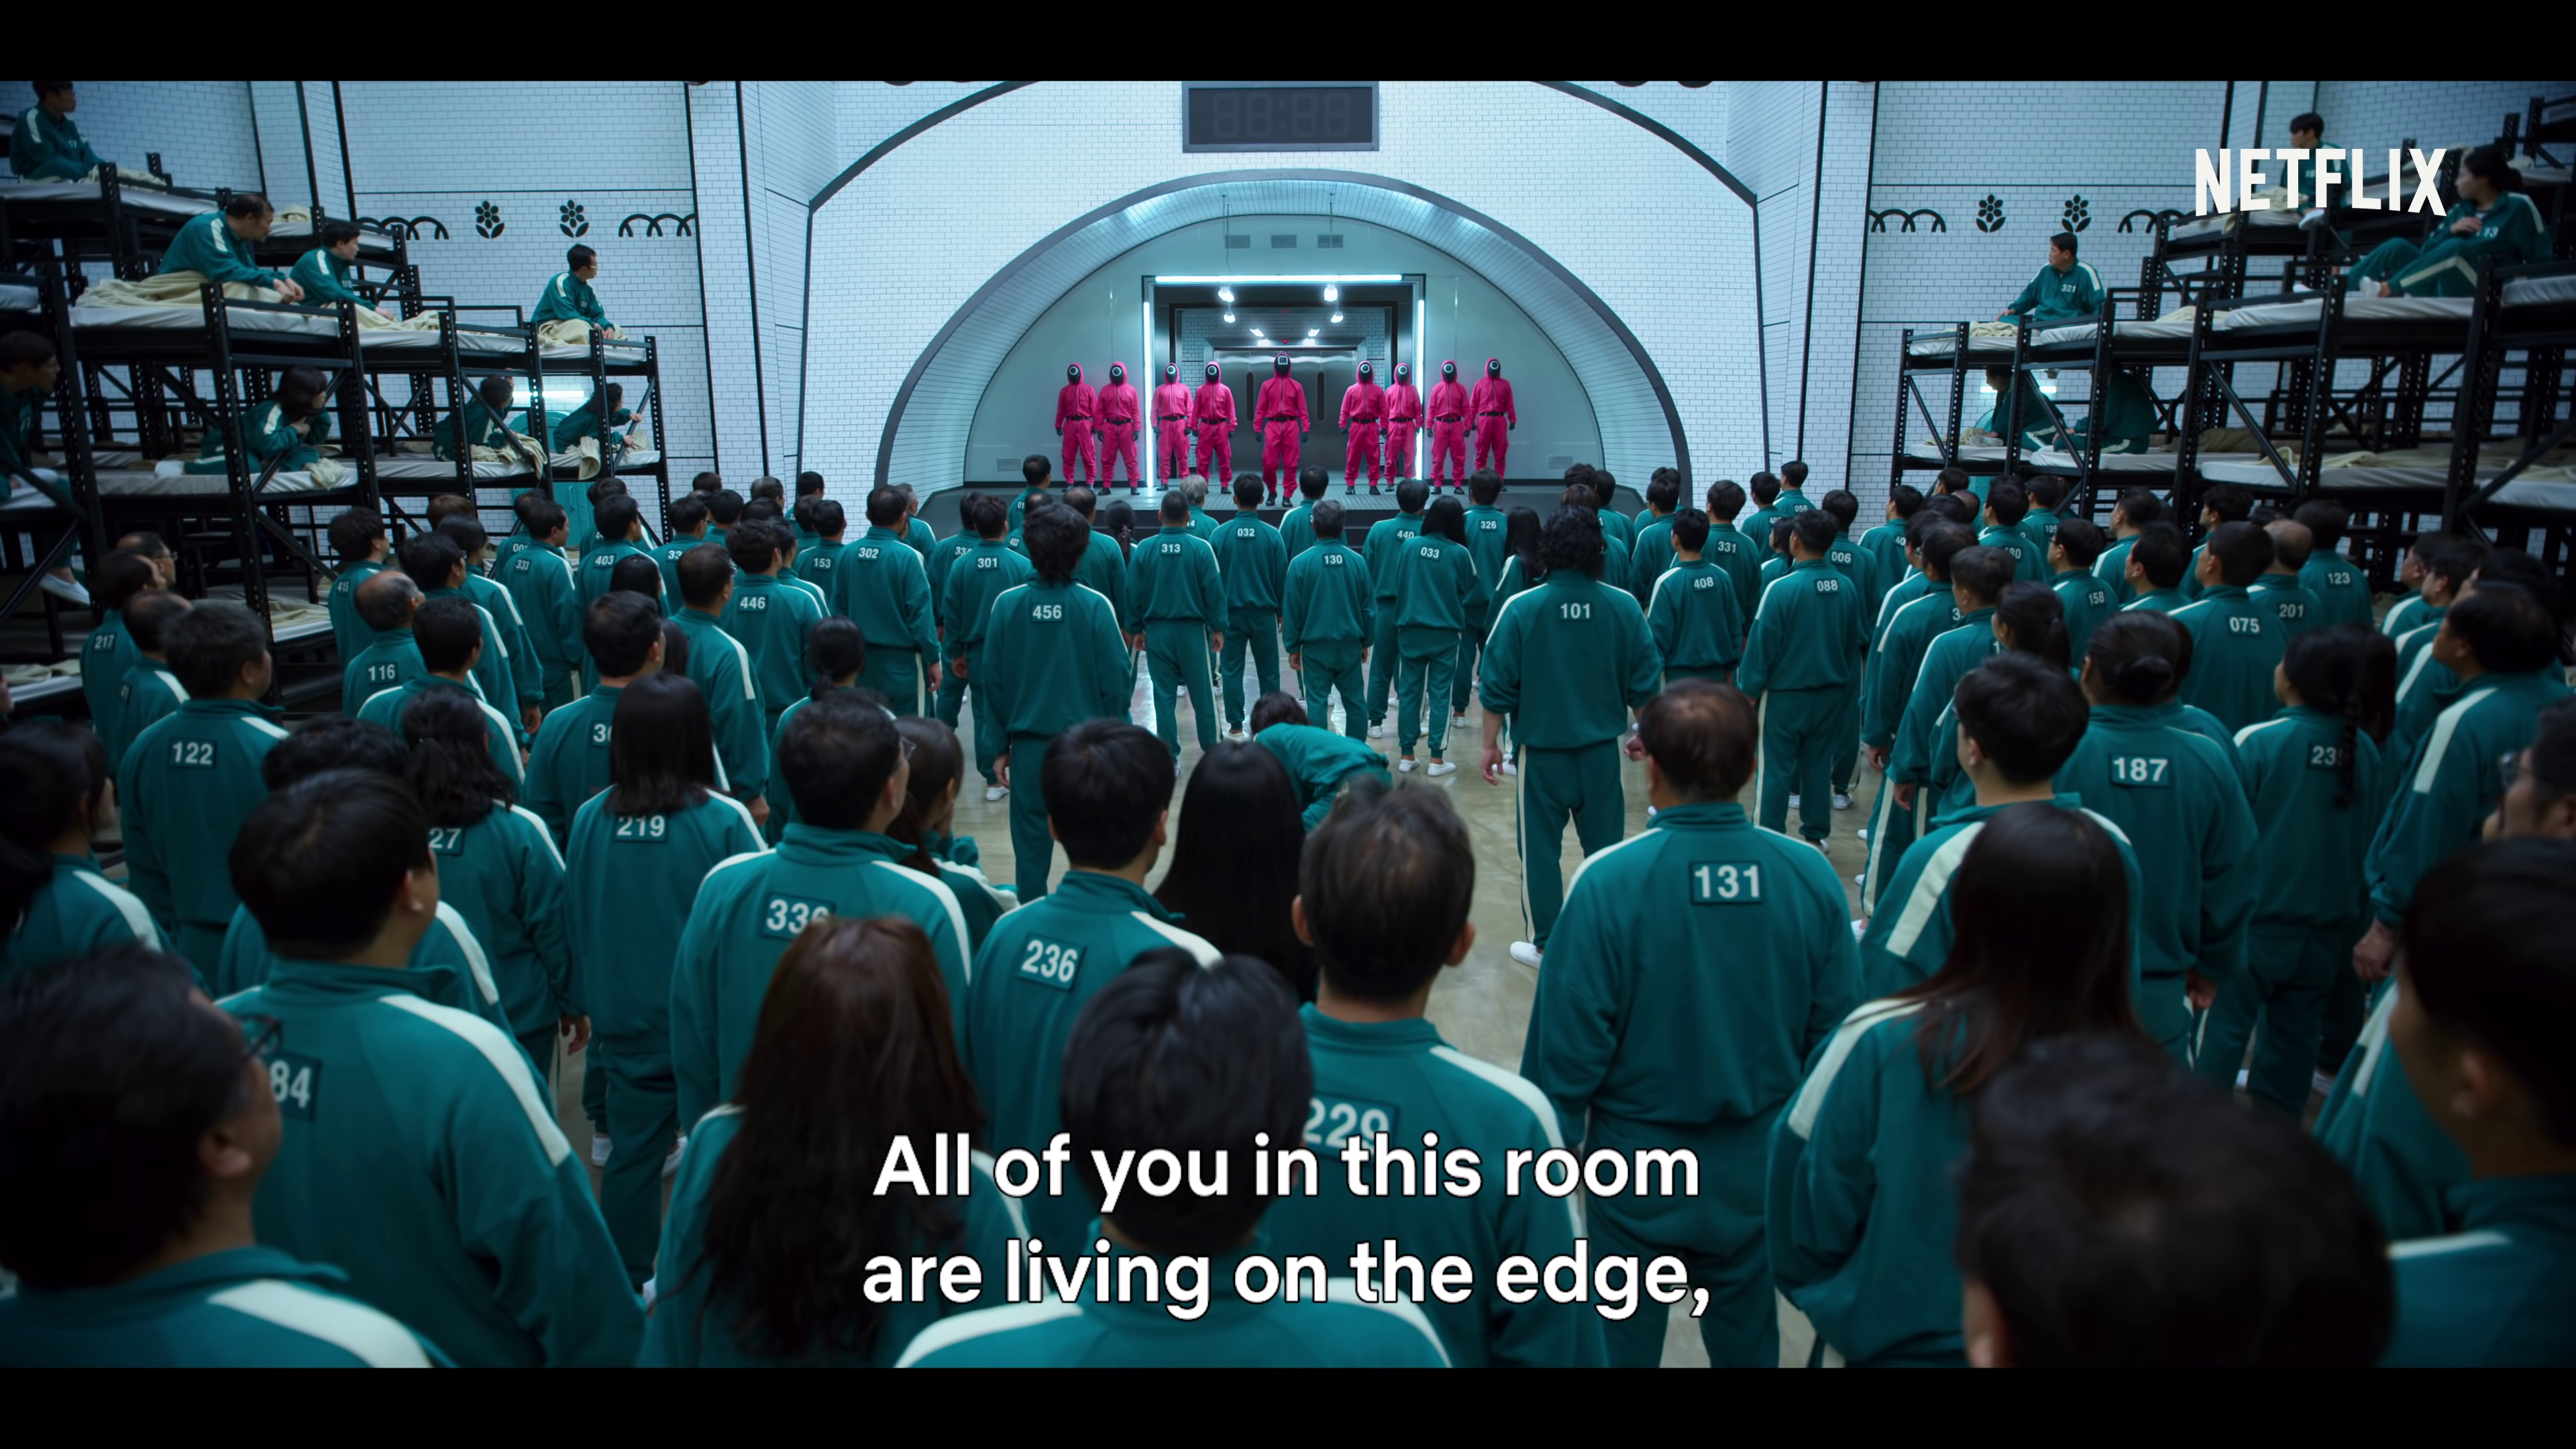
We're all talking about aesthetics. We're talking about aesthetics when we talk about the "look", but we're talking about it when we talk about specifications too. A debate rages about what is "enough" resolution, "enough" sharpness, "nicer" bokeh... what is "cinematic"... what is "visible"... what is "practical". This thread is a reality check against the warped concepts that stills photographers and their camera-club specifications-obsessions have given us. Because, for the most part, better objective measurements are mostly worse subjectively. It's our imperfections that creates our humanity, and it's analog imperfection that creates emotional images. Baseline First, let's establish a baseline. Here are some test images from ARRI that are designed to showcase the technology, not a creative aesthetic. Note the super-clean image, lack of almost all lens-distortions (except wide angle distortion on the wide lens, which is actually super-wide at 12mm). If you were there, this might be what it actually looked like. Those were grabs from a 4K YouTube upload, but lots of trailers aren't uploaded in 4K, so here is a still from 1080p Youtube video that ARRI uploaded in 2010. Now, without further ado.... The Aesthetic - The Chilling Adventures of Sabrina These are obviously very distorted, and I chose frames that were especially so. This should instantly disavow you of the idea that somehow Netflix demands "pristine" images - these are filthy as hell, but this is appropriate to the subject matter, which is about witchcraft, the occult, demons, and literally, hell. Whenever I hear someone say "oh I can't believe how terrible that lens is - look at the edge softness" I just laugh. The person may as well be saying "not only don't I have a clue about film-making, but my eyes also don't work either.. please ignore everything else I say from now on". The Aesthetic - Sex Education A show with a deliberately vintage vibe, the look is suitably vintage, with some pretty wicked CA. One thing that's interesting is the last shot, which was either a drone with a vintage lens on it, or it was doctored in post, because it has pretty severe CA - look at the bottom right of the frame above the Netflix logo. Also note how nothing looks sharp - the first image should have had something in-focus, but softness of this level is deliberate because once again, the last shot is a deep-focus shot with a stopped-down aperture and should be super-sharp but isn't. The Aesthetic - No Time To Die Some shots are softer than others, but note the amazing barrel distortion and edge softness on the middle two shots. In case you missed it, here's the star of this $400M movie in a pivotal scene from the movie: Are there lenses that could have made this shot more "accurate"? Sure - just scroll up to the ARRI shots which look pristine (and they're ZOOMS!). This was deliberate and is consistent with the emotion and narrative. The Aesthetic. The Aesthetic - The Witcher Sharp when it wants to be, oversharp too - see the second image, but with anamorphic bokeh for the look. Ironically, a fantasy story of witchcraft and monsters, using cleaner more modern looking glass. The complete opposite approach of Sabrina. Note on the second-last image the vertical anamorphic bokeh, and then look at the last image and note the "swirl" in the bokeh. I doubt this was accidental. The Aesthetic - You Sharp and clean when it wants to be, and other times, really not. Appropriate for the subject matter. The Aesthetic - Squid Game Clean, sharp but not too sharp, neutral colour palette, but note the vertical lines on the edges of the frame aren't straight? Subtle, and perhaps not deliberate, but picture it in your mind if they didn't flare out.. it makes a difference, deliberate or not. The Aesthetic - Bridgerton Clean, spherical, basically distortion free, but sharp? No. Go look at that Witcher closeup again for some contrast. The Aesthetic - The Crown Clean and relatively distortion free, but lots of diffusion, haze, and low-contrast when required. The Crown is a masterpiece of the visuals matching the emotional narrative of the story, which is made extra difficult as the story is set in reality, and the emotional tone is so muted that had lesser people been involved in making it any subtleties may well have simply been bland rather than subtle but deep. The Aesthetic - Mindhunter Perhaps the most interesting example here. After looking at the previous images the above might seem completely unremarkable, except that this look was created in post. and I mean, completely in post: More here: https://filmmakermagazine.com/103768-dp-erik-messerschmidt-on-shooting-netflixs-mindhunter-with-a-custom-red-xenograph/#.YftoaC8RrOQ and here: https://thefincheranalyst.com/tag/red-xenomorph/ (there's a great video outlining the lens emulations in post in this one). That's enough for now. Hopefully now you can appreciate that "perfectly clean" optically is actually only perfect for "perfectly clean" moments in your videos. Sure, if you're out there doing corporate day in and day out then it might seem like "clean" is the right way, or if you're in advertising or travel where neutral reigns, but when it comes to emotion, it's about choosing the best imperfections to suit the desired aesthetic.

-
It's even worse when it slows down at the end and then speeds up again. Some careful EQ could help with the noise when it's moving but all bets are off at the ends. It does seem like that might just be how it is though, rather than being faulty. One trick I've used in the past in hifi tweaking is to stick blu-tak to various surfaces to see if that helps. If something is vibrating then it will damp it, and it's easily removed and doesn't do any damage, so is quick and easy to use to diagnose what might be happening. Just be careful not to put it in the way of something that is moving, although if it does hit something then it deforms relatively easily so is a forgiving material. If you find surfaces that are vibrating then there are other solutions like adhering sheets of foam rubber and other absorbent materials. Anything that doesn't move can often just be damped by putting blu-tak around it, as long as it doesn't get hot then it should be fine.
-
I'm gradually building my portable editing and grading setup, and have just bought the BM UltraStudio Monitor 3G, which is a Resolve-controlled thunderbolt-in / HDMI-out device the size of a large matchbox. This necessitates using an external monitor. The question is, what is the right physical size? Does anyone use a portable monitor as an external reference monitor for editing / colour grading? I'm thinking that a normal 5" or 7" monitor designed for on-camera duties is probably too small, as you can't see enough detail in the image (for colouring at least) and wouldn't be larger than the Viewer window on the UI anyway, but a 15" reference monitor would likely be cumbersome to travel with.
-
I agree, mostly. I think that increased dynamic range is actually a good thing, as film clips really nicely and it takes more DR to emulate that in digital than it did in chemistry, but it seems to have come at the expense of colour science, rather than supporting it, as I think it has the potential to do. IIRC, film is mostly linear in the middle sections, with large rolloffs at each end. A camera that took its 14 stops of DR and applied a contrast curve like this, and applied nice colour saturation and tonality, and output that as a 709-style 10-bit profile in-camera would be great. Such a profile could apply the normal orange/teal colour separation and cool-shadows / warm-highlights that is the basis for almost all colour profiles. This would give the camera a very usable SOOC file that would have more analog highlight and shadow rolloffs, potentially with some adjustment in-camera of the overall contrast and the black-levels perhaps. Such a profile wouldn't clip anything, and would have the benefit that if you wanted to colour grade in post, there would be more bits in the middle levels where the skintones etc are. A camera that took its 14 stops of DR, applied nice colour, and applied a completely perfect log curve and output that as a log-style 10-bit profile in-camera would also be great. This would allow a completely neutral encoding that would enable the maximum flexibility of files in post for adjustments that severely push the image in terms of exposure and grading. This would make the camera a very usable and flexible camera for grading in post. These things are completely possible, just not done. Mores the pity.
-
I think it's actually worse than this. On the one hand we have people saying that 8K is more visible than 4K, when 4K isn't particularly visible over 2K even when the screen is cinema sized, and on the other hand, more and more people are watching videos on their portable devices, which have absolutely TINY screens with 4K or less resolution. Soon we'll have people saying that 24K is absolutely mandatory and in the same sentence saying that everyone is watching videos on a postage stamp. The cognitive dissonance is palpable. (unlike the aesthetic of the image because the camera and lenses are all pristine, and therefore, soul-less!)
-
I would be curious to see data on this. Did you link to something previously? I keep hearing people say that Netflix has these amazing requirements, but then I keep hearing about shows they've purchased after they were made that didn't meet the criteria but were purchased anyway, and then I hear that much/most? of what is on Netflix is purchased after the fact, rather than made for Netflix in the first place. I think it's easy to get a misleading view of what is actually on Netflix because it's always promoting its own content and the higher budget shows they've bought. I find that if you search for random words then you find entire universes of content that you'd never know was there. Often they reveal swathes of content that wasn't made specifically for them, and is actually very low budget. Actually, the driver for increased resolution cinema cameras is coming from the VFX department that is involved in more and more productions these days. It's a continuing debate that has been around since cameras started going above 2K. This video shows the dynamic, which is still relevant today, but note that this video was from 2014! You're right that it's horses-for-courses. I think the unfortunate thing is that spec-obsessed videographers fail to understand the aesthetic catastrophe that has occurred during the last decade of camera development. This is now partially offset by the proliferation of RAW, but that comes with "hidden" costs. I put "hidden" in quotations, because the costs are staggering and completely obvious, it's just that proponents of specifications fail to see them, and do so not only willingly, but deliberately. The cost is literally 10's of thousands of dollars. This is true but is perhaps the most useless and misleading statement, because it misses an entire section of film-makers. In a debate over specs there are often two camps - the "specs are good, give me more" camp, and the "we don't need more, we need better" camp. The former is normally commercial videographers who only care about selling modern-looking images to uneducated clients. The latter is people who are chasing the aesthetic of cinema, part of which is a softness of image that is life-like and human, rather than artificially clean and modern. The premise that your statement makes is that the only people in the second group who are winning awards are allowed to express an opinion. This is simply untrue. There are a number of people on these forums, and I count myself as one of them, who are interested in an aesthetic other than "clean/modern". An interest in vintage lenses is a sign of this desire, an interest in older cameras is a sign of this desire, there are others too. There are multiple FB groups full of people who make fun of the borderline worship of the Sigma 18-35 lens, BM P4K and P6K cameras, and the whole "it's good because <insert specification here" argument. The sad thing, and I think the thing that causes so much conflict, is that the specification-driven clean/modern aesthetic videographer folks don't understand they're only one audience in a sea of other people with deeply different needs, and so tend to shut down others as if anything other than their-style of film-making isn't a valid style of film-making (unless you're winning an Oscar....) Completely agree. In fact, the manufacturers not only managed to convince us that more resolution is better, they managed to convince us that spectacular images are not expected. In the years after the OG BMPCC and BMMCC were created, people loved the colour and took that level of image to be a new standard. Now, a decade on, not only do the multi-thousand dollar cameras not meet that level of colour science, but the expectation of cameras to even have that level of colour is gone.
-
Ironically, I see him as being on the more useful side of the spectrum... He's consistent His motivations and commercial relationships are pretty obvious He is well aligned with his audience He is knowledgable about equipment and normally mentions when he has or hasn't used / tested the equipment he's talking about He shows the equipment warts-and-all and his skills in using it warts-and-all (this is exceptionally useful compared to the PR people that heavily edit and don't show equipment failing) He doesn't talk outside his experience (he doesn't, for example, claim to know what a professional cinematographer would want, or a wedding / corporate videographer, etc etc.. this is the trap lots of camera YT falls into) He's entertaining I'd suggest that if you're not a fan then it's probably because either: You're not his target audience You don't like his style / humour ....and if so, that's fine. But don't confuse that with being a bad reviewer.
-
This video might be of interest if you haven't already seen it. But I'm not sure how large you want to rig your camera though, which is Matteo's main stabilisation strategy IIRC.
-
That was a long time ago, but IIRC I cleaned all the lenses that really needed it, and all the lenses are in tact, so.. I think so? 🙂 With that in mind, I bought an inexpensive but highly-rated hygrometer. The maximum humidity over the last 24 hours or so is 47%. I'll keep an eye on it but perhaps a dry cabinet is not necessary here. This is my approach. I cleaned the lenses that had stuff in the optical path (fungus, dirt, grease, whatever) and then just made sure that any remaining fungus wouldn't continue to grow. One thing that comes to mind as a cheaper solution is to make a DIY "dry-ish cabinet". Simply get a container / cupboard / something that mostly seals and then put something into it that will keep the humidity in it lower than the threshold. I was thinking that perhaps rice might be a good material to act as a de-humidifier. If you put a few kg's in a cloth bag, or an oven baking tray, etc, then you could put it in the bottom of the cabinet where it will gradually absorb the humidity in the cabinet. Once it saturates, you could dry it out again by putting it near a heat source for a few hours to re-charge it. Maybe an oven on the lowest setting (many ovens will go down to below boiling point). Of course you'd have to keep an eye on the humidity every few days etc. I very much doubt that the long fuzz was something else - how would it have gotten into the lens? Small particles might have gotten there from hundreds of focus adjustments and the lens being rotated this was and then that way, but something that was pressed into the shape of the lens wouldn't have fallen or been blown into the mechanism, especially if it was being pressed against the sides of the chamber it was in. Good to hear that you cleaned it and got it back together, and bummer to hear about the other lens that you didn't manage to. Many of the lenses that I bought didn't have any videos / articles available on how to tear down, and some of them I didn't fully dismantle. Often you could pull a group out of the lens and the group would be fine, so no point in taking that apart unless there was stuff inside it. For those I'd clean the outer elements and if it looked OK I'd just put it back. When you see teardowns from people that really know what they're doing you might notice that they take detailed records when disassembling, will put marks on parts to show the rotation and orientation of various parts, etc. I tried to do that, and occasionally had to refer back to reference something or other. There's definitely an art to it. I mostly avoided removing aperture mechanisms, and on some lenses I put them back together again and had parts left over. They all worked fine afterwards though, which was a bit surprising! Those aperture mechanisms sure are complicated and extremely fiddly.
-
I haven't played with this side of Resolve, but I'd say it's likely. MIDI is a very standardised protocol, and one of the most used and longest running standards around I think, so it's likely that most MIDI controllers will provide a significant benefit.
-
I think a few are doing "education" and the rest are on the wrong side of "infotainment" and sliding into confirmation-bias and hear-say. I think there's a broader challenge with this stuff, which is that there needs to be a balance between information and entertainment. Take books for example, a pulp fiction novel provides entertainment but no information and a textbook contains all information and no entertainment, but sadly the textbook also provides no benefit unless there is enough motivation provided to make the person actually read and understand it. I have many dense books that I haven't read due to lack of motivation, unfortunately. It's harder than you'd think. It requires: critical thinking an understanding about matching variables familiarity with lens design and history capability, capacity, and motivation to prepare and plan the video a willingness to go out of their comfort zone motivation to do anything except whatever half-baked thought happens to occur to them at that moment (or is provided to them by a vendor, a forum, or some other flaky information source....)
-
If you really want to go down the rabbit hole, I'd suggest searching in scientific resources that deal with the biology of fungus itself. It may well be too complicated a topic, based on the vast array of fungus varieties/species/strains?? and how they're likely to be very different, but it's worthwhile going to the right sources. I figured that the key was making sure the humidity was low enough to stop it from growing, and then just to remove any clumps that were visible (IIRC none were visible in the images) so it was more for piece of mind. My fungus lenses were all cheap eBay ones, so I just pulled them apart and cleaned them as best as I could, using some dish soap, some distilled water, and some cotton tips and a blower. I'm absolutely not an expert, far from it, but this thread of mine might be useful.. if even just to make you feel better 🙂 I posted a number of pics in there from my lenses. I'd imagine they're worse than yours, but funnily enough were still optically fine.
-
I think the internet has gone through a number of phases at this point: Who is going digital? Can it ever be as good as film? Digital is great - now it's even sharper than 35mm film! GIVE ME THE SHARPEST LENSES IN THE WORLD!!!! Wow, all this resolution and sharp lenses look kind of clinical and dead. Hmmm. Digital needs to be tamed by vintage lenses. It's all about CZ, FD, Takumars, Leica R, and the Soviet lenses. These are the ones worth talking about. Mirrorless is great, now I can adapt any lens I like. Plus, those CZ and Leica Rs are so ridiculously expensive. Weren't there other brands too? I vaguely remember some other brands..... We're in the latter one now, basically. There are people in the vintage lens groups pulling Konica sets together and cine-modding them, but they're not so common. Vintage zooms are amongst the worst quality lenses ever made, optically at least, so they're the least likely to get any attention.
-
Another thing worth noting, there's this line of logic that somehow "fungus is infectious". You hear this thinking when people talk about "getting rid of" the fungus, "keep the lens isolated", "prevent it from spreading". This is false. The Zeiss page I linked to earlier said that fungus is everywhere. They were downplaying it. Source: https://www.uni-mainz.de/presse/13180_ENG_HTML.php Fungus is already in your lens. Lenses are probably assembled in a clean room, but any part of the lens that isn't completely sealed will soon get fungus into it. Lots of lenses expand when focusing, which pulls in air. If there's 1000 spores in every cubic meter of air then even one focus motion will pull multiple spores into your lens. The reason it's not a problem most of the time is because it's not growing.
-
Reminds me of a book I just read - In the Weeds: Around the World and Behind the Scenes with Anthony Bourdain by Tom Vitale. Some crazy crazy stories in there. Great book.
-
Yeah, when I first started buying vintage lenses (and I was buying the suuuuper cheap eBay ones) I shone a light through a lens for the first time and just about had a heart attack. It wasn't until I shone a light through some other lenses that were fine that I realised that basically all lenses look like a garbage dump when looked at with that kind of scrutiny, but probably give images that are fine. Interesting about the little spiderweb illusions from bright light, I think I have seen these before too. I suspect it's something to do with the water in your eyes? I remember blinking and that having an effect on them, but maybe I'm mis-remembering. Only a few days? That's incredibly fast! The first thing I'd suggest that anyone buy is a combo thermometer / hygrometer so you can see temp and humidity. In my case where I live is very dry so I was fine and I just store lenses normally in a drawer or on a shelf, so no cause for extra equipment. You also want to make sure you don't under-humidify them, as the articles are very specific about that being bad for the lenses. I think things start to dry out in the lens? But it's best to be able to see what you're doing so you don't go too far one way or the other.
-
Sorry to hear it. There is so much misinformation about fungus online that it's practically impossible to get good information. I caution you against the, likely inevitable, wrong replies you will receive in this thread. To that end, don't listen to what I have to say either - get information from trusted sources. I'd suggest this page from Zeiss: https://www.zeiss.com/consumer-products/us/service/content/fungus-on-lenses.html Here are some interesting bits from that page, which I've highlighted in bold: Fungus is everywhere. Humidity is normally the issue. The Sony page is also useful: https://www.sony.com/electronics/support/articles/00062800 I've bought and cleaned a number of vintage lenses, some with fungus and some without. Depending on how long the fungus has been in your lenses, there might still be minimal damage. At first they just grow on the surface, which doesn't really do any harm at all. Left longer they can damage coatings, which wouldn't have a huge optical effect, especially if on elements further away from the sensor (which are much more out of focus). Eventually they eat into the glass, which is the most severe, but this may very well take years or decades. I would suggest evaluating each lens by stopping it all the way down and taking pictures of a blank surface (like a wall or ceiling) and seeing if there are any spots visible. You'd be amazed at how disgusting a lens can appear but yet how unaffected the images from it can be.
-
I'm having devious thoughts for a separate thread, but it will require some filming, so might take a bit. I think one key aspect of the computational stuff is having a depth map, which can be used to generate realistic anamorphic bokeh, which currently I don't think there are good simulations of really. Certainly this is one aspect where the stupendous resolutions will help - doing 3D edge detection on an 8K image is likely to generate a much better result than at native 2K or similar. The sheer weight and scale of the image from the 65 in that ARRI video is just wonderful. No doubt whatsoever. What was interesting to me was how "imperfect" the lens is on the edges, with smear and vignetting etc. It makes a wonderful look, but normally the high-end optics are as clean as they can make them, but not clinical. Sure, the 65 sensor is larger, but if you're making custom glass then I still don't see why you can't just scale everything in a lens design up proportionately and get a larger image circle. Maybe there's something I'm missing there though - optical design is definitely outside my expertise.