

Juan Melara
-
Posts
23 -
Joined
-
Last visited
Content Type
Profiles
Forums
Articles
Everything posted by Juan Melara
-
I can't compare it directly to the P4K as I don't regularly shoot with one. But it compares quite well with the P6K and the Alexa. As I said elsewhere the P6K has 1.3 stops more range in the highlights at IOS800 when highlight recovery is enabled. But the Komodo has nicer finer grained noise with no CMOS smear. I'm getting pretty much the same image from both. The P6K requires a Rawlite OLPF filter though. Usability wise the P6K is maybe a bit nicer. So much quicker to shoot with assignable buttons, 2 sec startup time.
-
Got my hands on Red Komodo to test for a few days. I'm impressed. A few more images can be seen here: https://imgur.com/a/HAWFShe
-
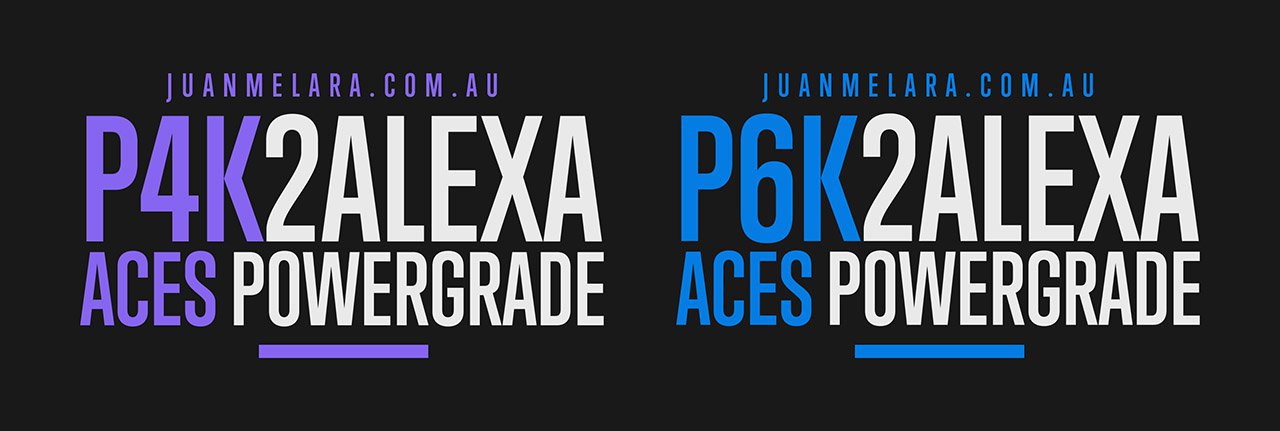
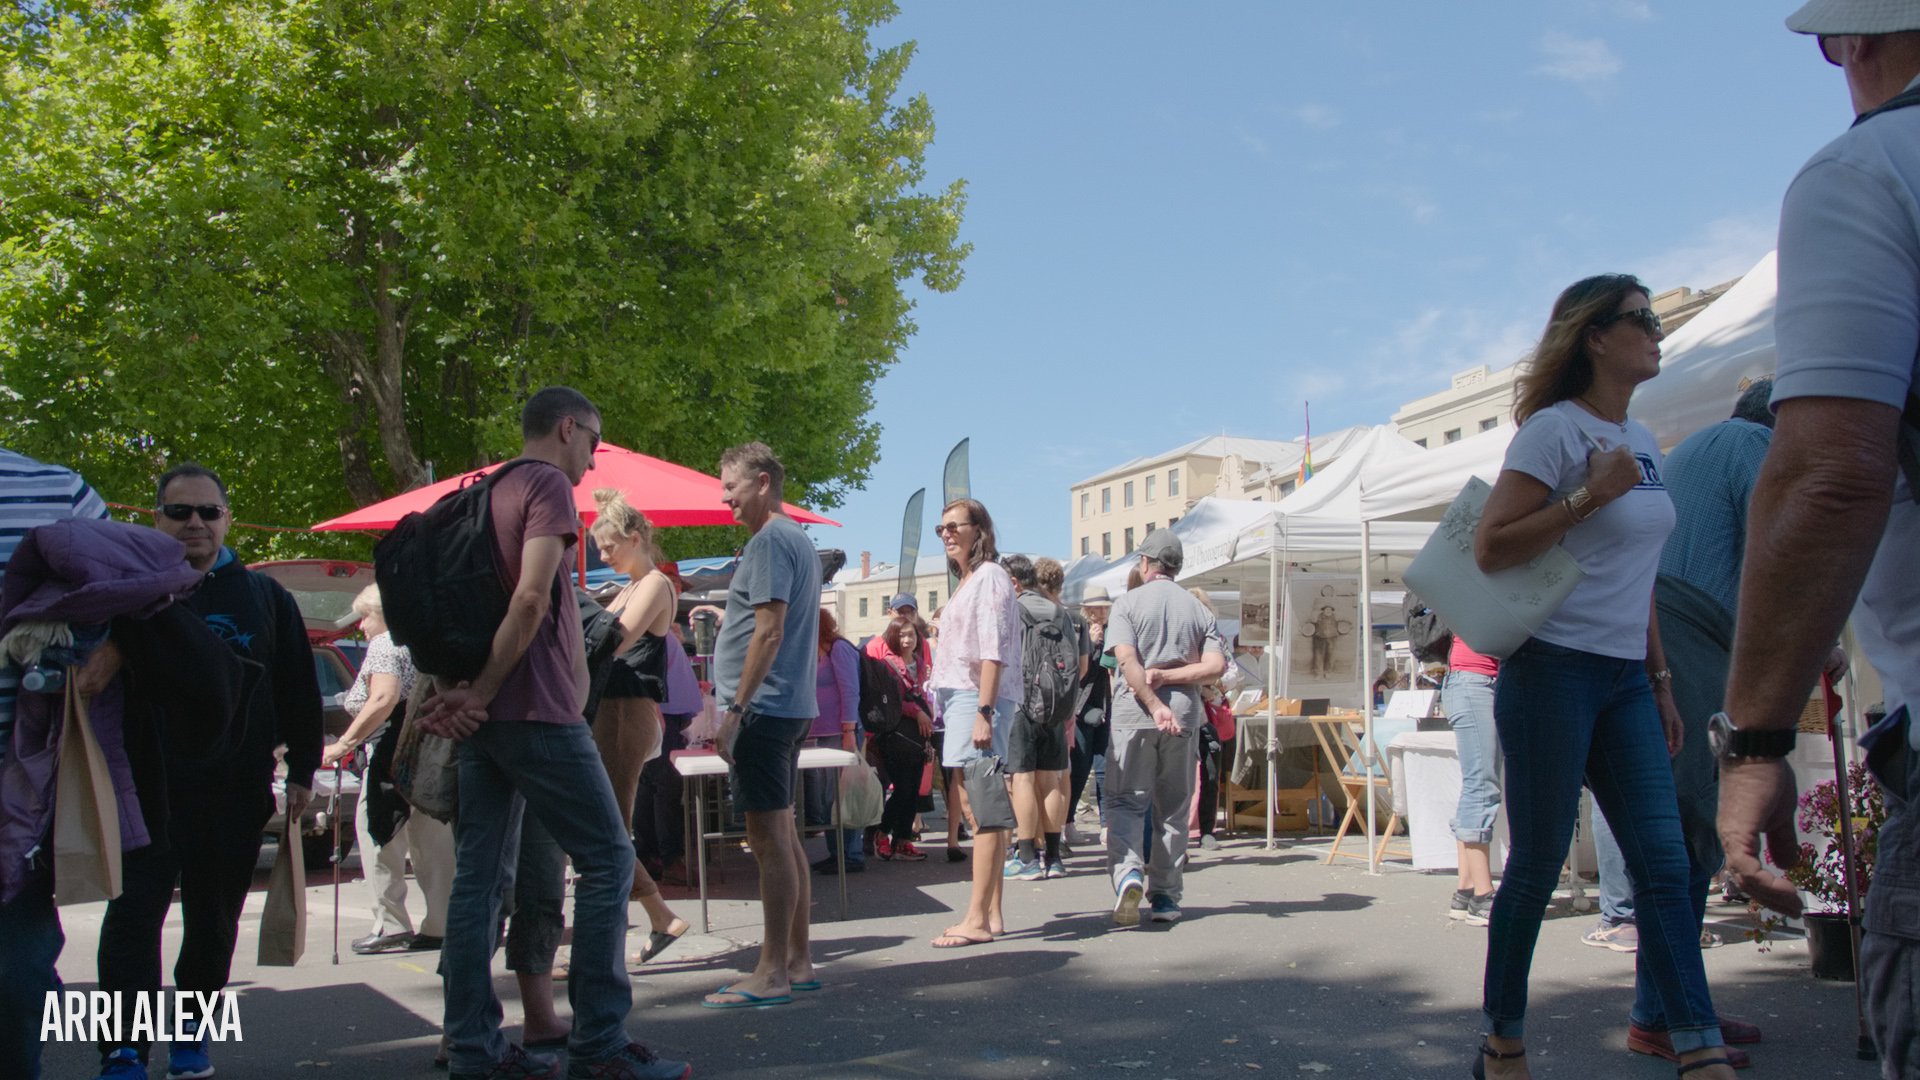
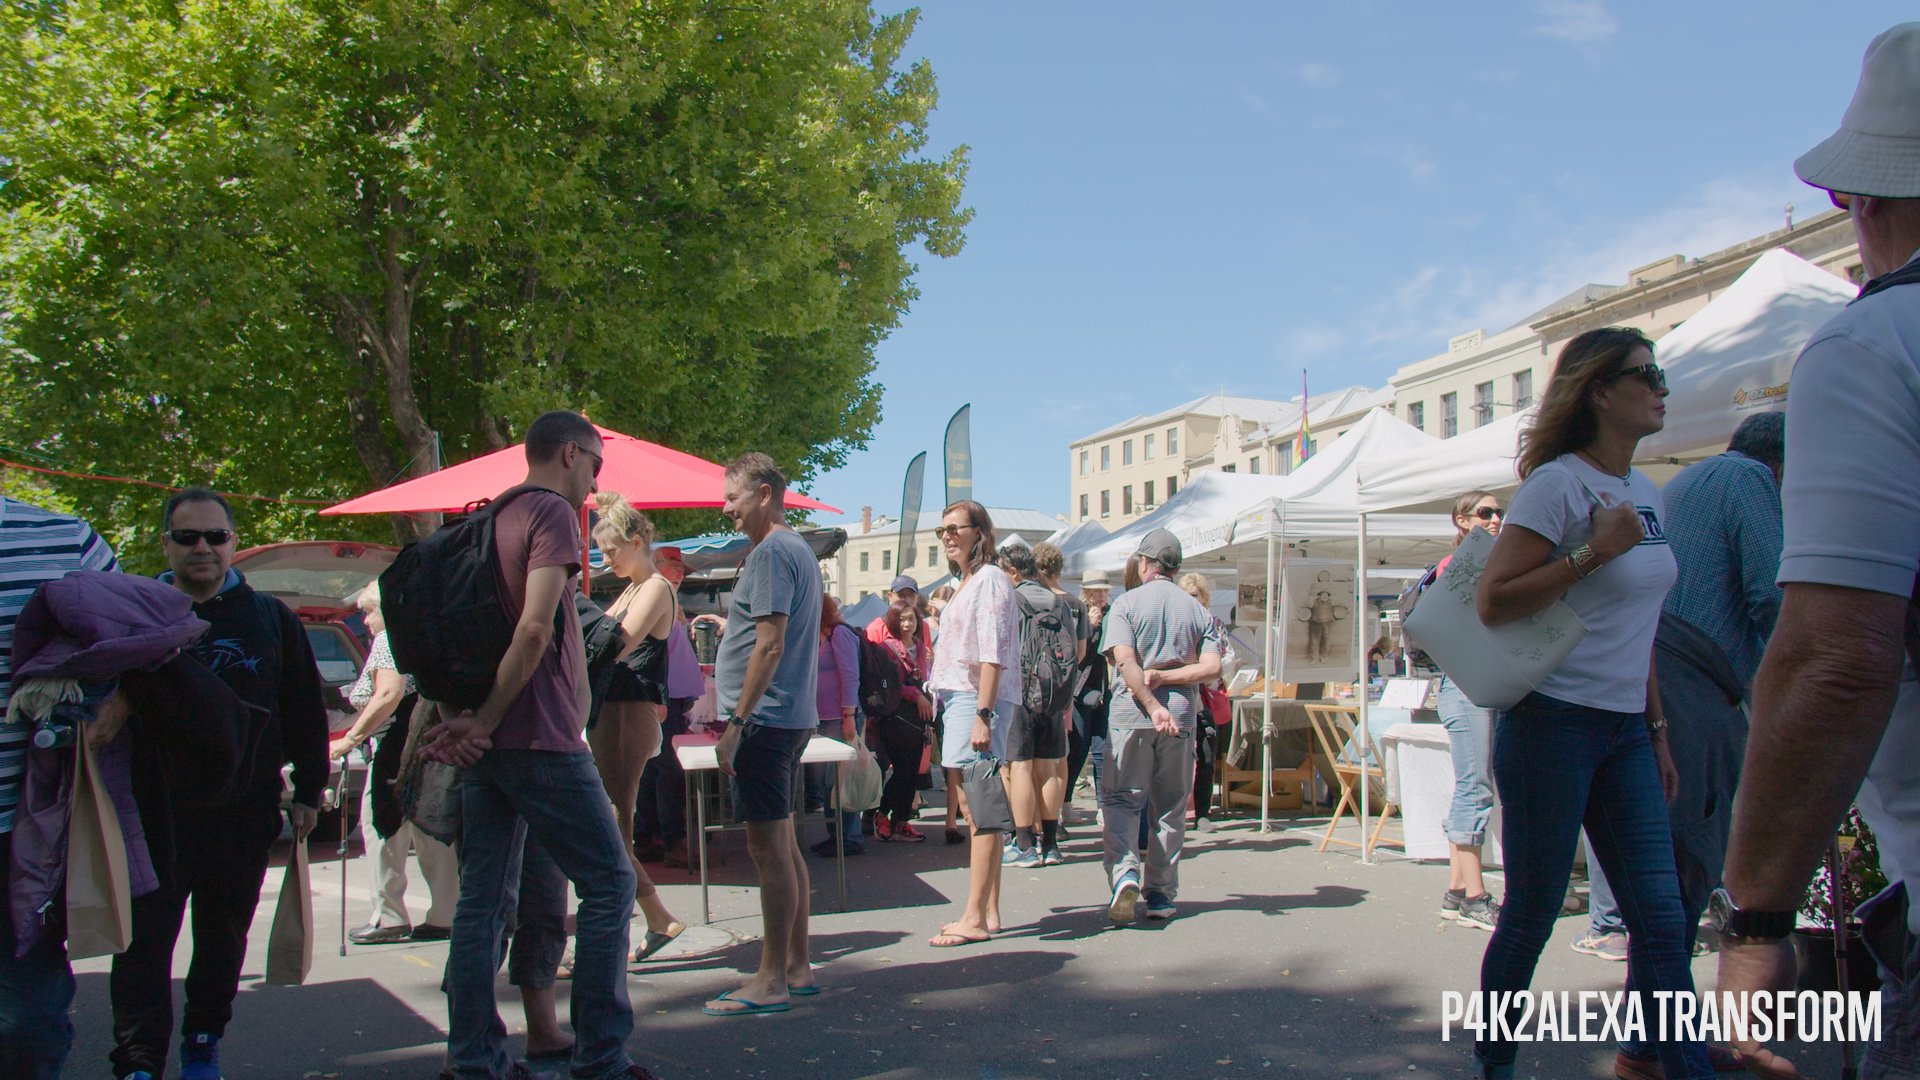
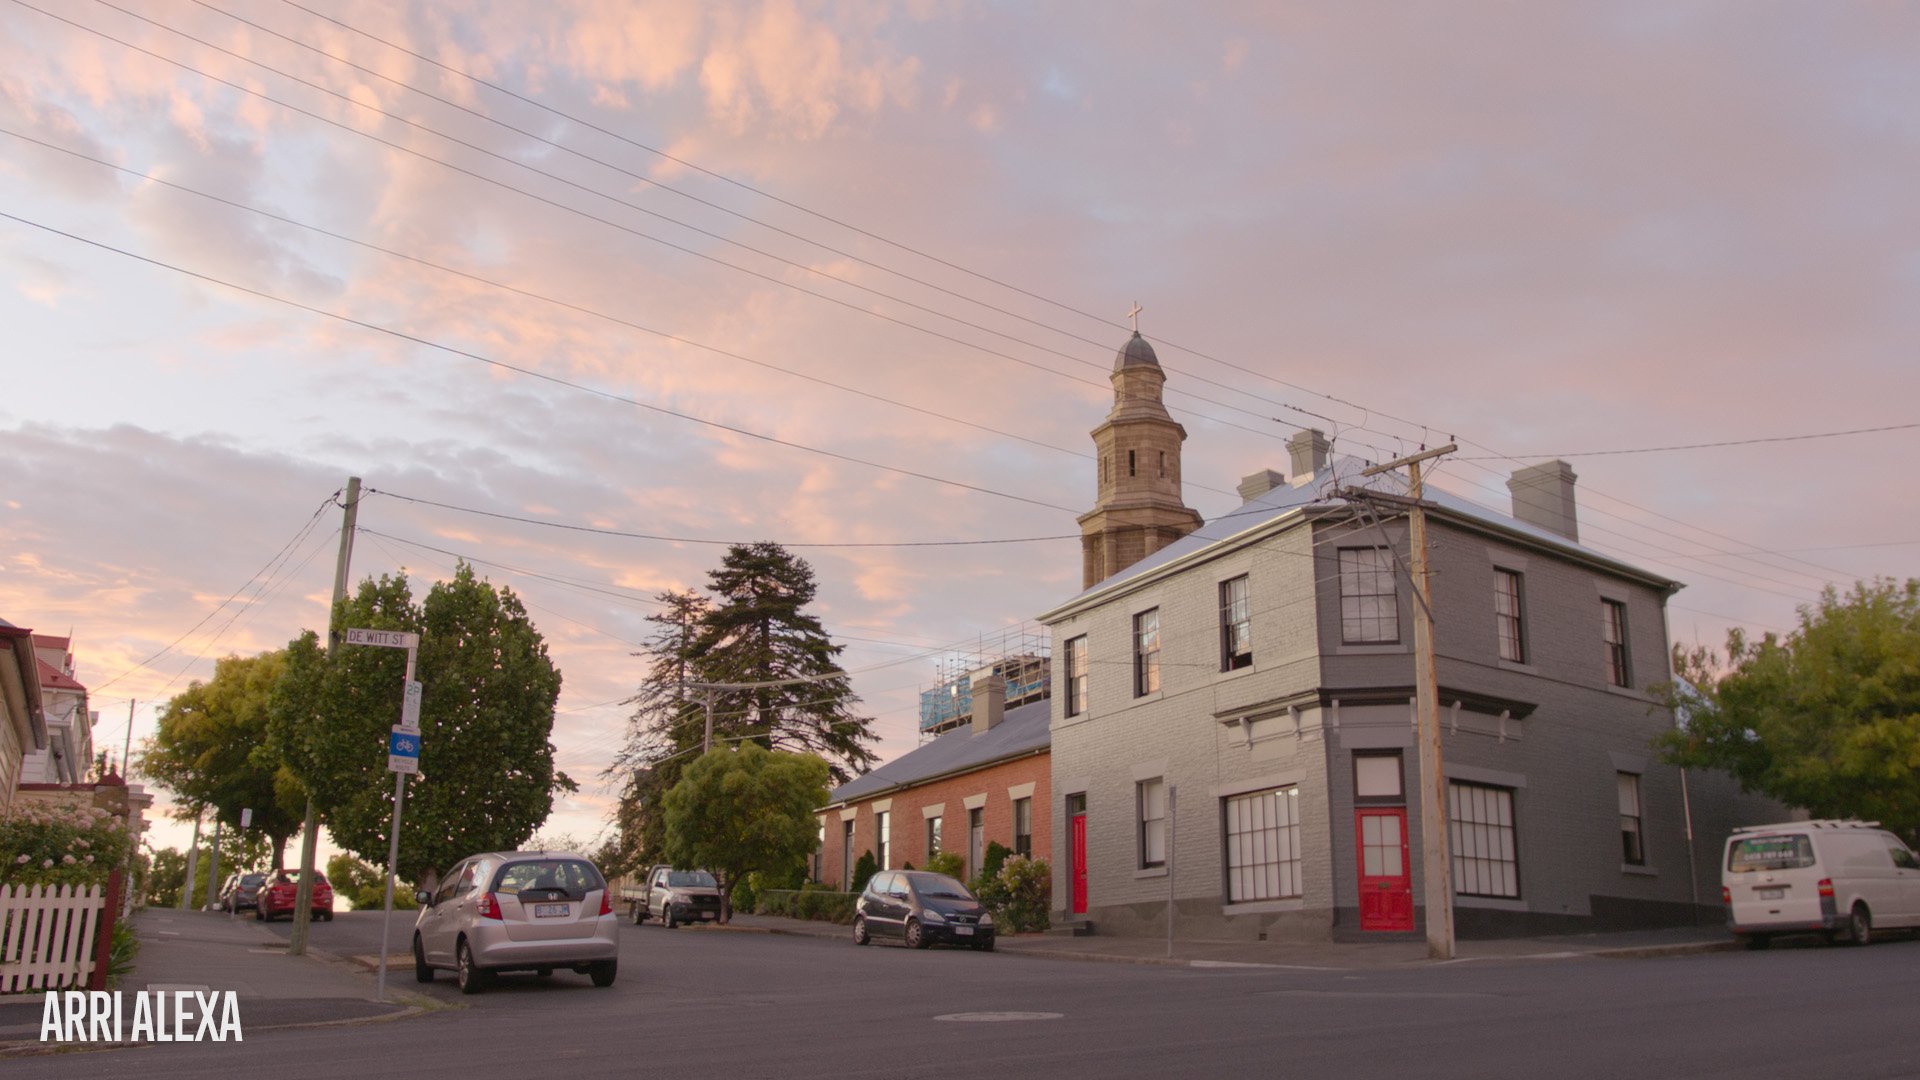
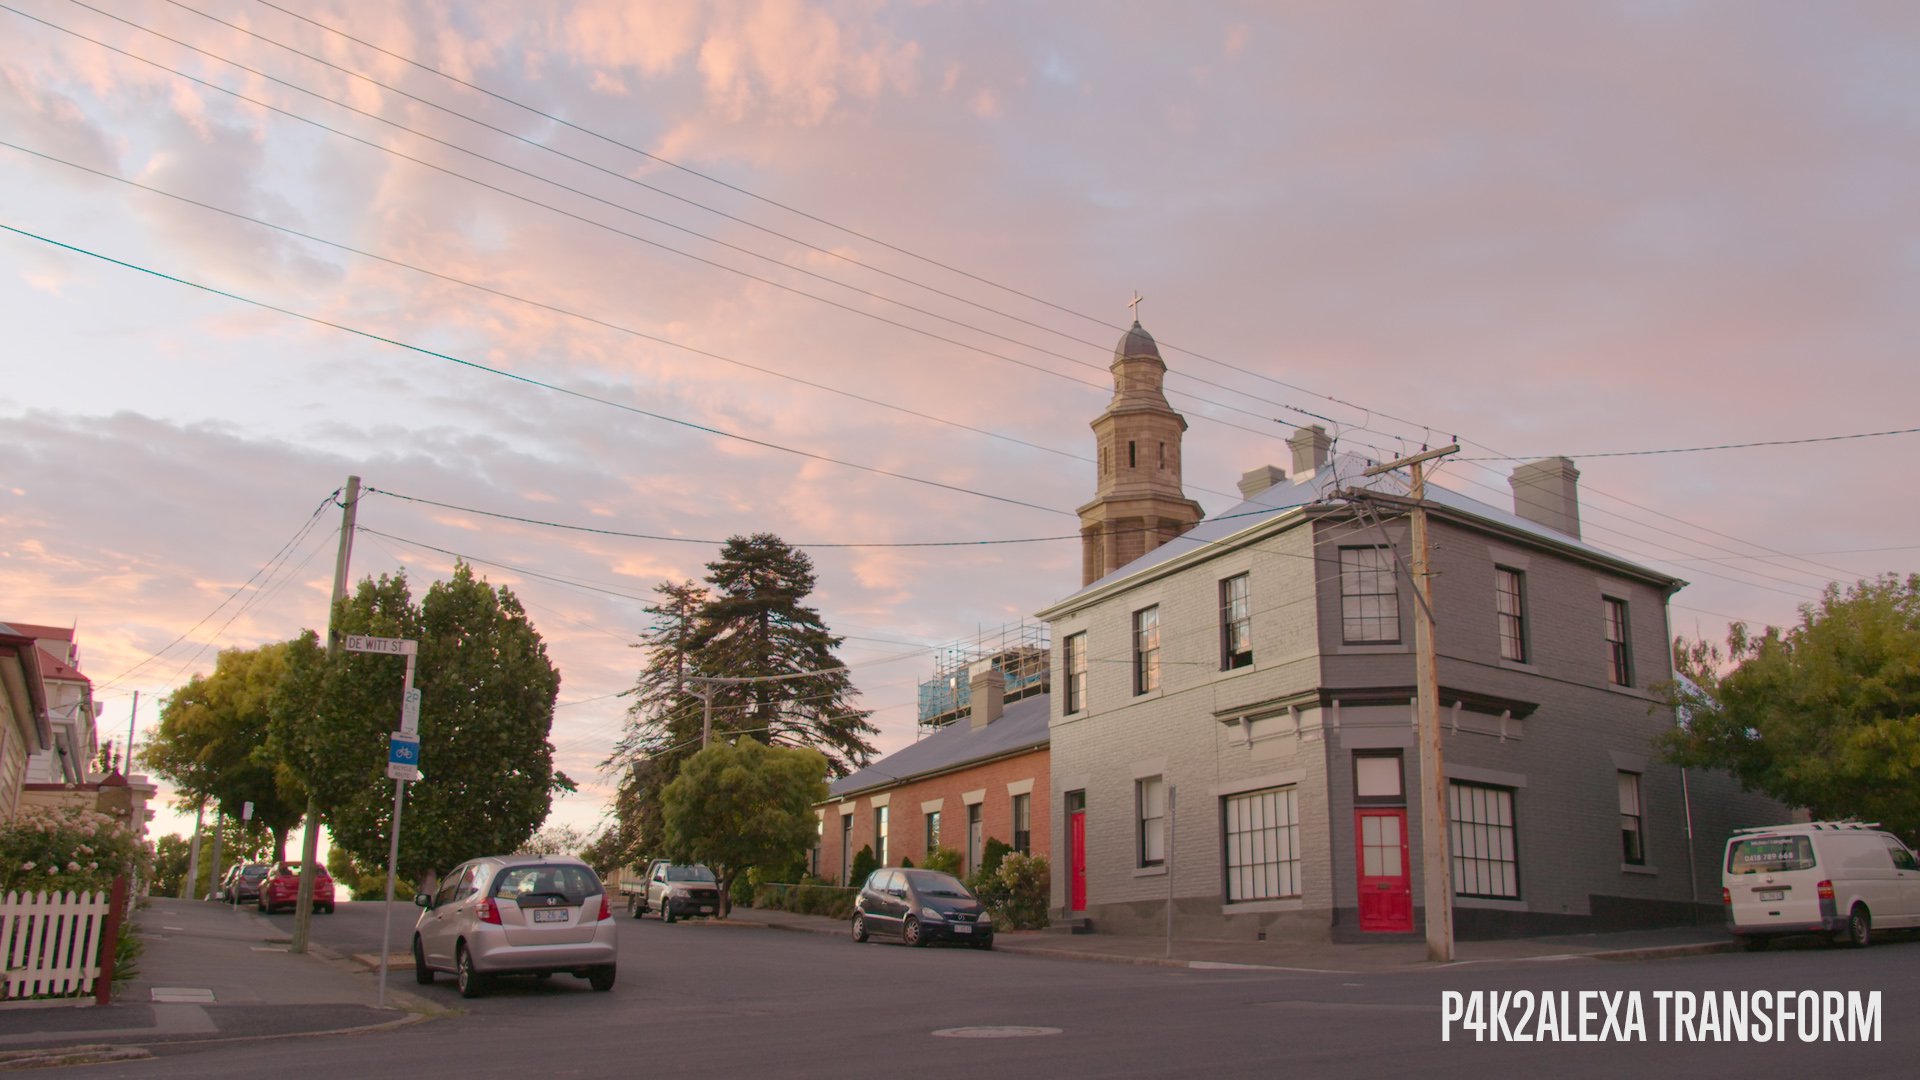
Hi all, after several requests I've now updated the P4K2Alexa and P6K2Alexa PowerGrades with new ACES versions. This allows you to match the Alexa when working in Resolve's ACES colour science. It's a free upgrade, get in touch if you never received your update email.

-
That's going to be tough if not impossible to correct completely. If it's a short video I would look at qualifying and using shapes to isolate and correct as much as possible. If it's long, I would probably see how far the first methods I suggested could get you. Followed by making it B&W. And if that isn't acceptable I would look at reshooting.
-
It could be pretty difficult to correct. I would start by shooting an outside scene with and without those filters. Use shutter speed to compensate for the lack of ND on the unfiltered shot. Take both into Resolve and use temp and tint to get as close as possible to the unfiltered version. Then use the RGB curves to correct any non linear differences. And depending on how bad it is you might need to use hue v hue, or even qualify and correct specific colours.
-
Beyond charts, I didn't put them side by side. But in real world testing the difference in highlight range is hard to notice in most situations. At ISO800 theres 6.5 stops above middle gray for the P4K, 6.9 on the P6K, 7.8 on the Alexa. On charts the differences are easy to see. In the real world with correct exposure anything above about 6-7 stops is into extreme highlight territory, which doesn't actually occur often in outdoor scenes. In all the P4K/Alexa sample images in this post it's only the lights in the dusk shot that are beyond 7 stops. So for most shots the extra ~0.4 stop is hard to notice. Where it would be noticeable is if you place anything important up in that range and try and bring it back, like those tests you linked to.
-
Here you go: Visit the Vimeo link to download a full res 3840x1080 Prores 422HQ file.
-
I would say it's because the Alexa is already doing highlight recovery as part of it's dual gain architecture. ARRIRAW or Prores recording, It's on by default. You can set to tint to whatever makes your image look good. 0 is just the suggested value as that creates the most neutral response across the entire luminance range for most scenarios. Apart from general colour, the two main areas the Alexa excels at is dynamic range and handling mixed temperature or off temp light sources. The PowerGrade can't change dynamic range so it doesn't help there. But the way you expose on set and the ISO you rate the camera, can close the gap. For mixed temp sources, as long as you are prepared to adjust the white balance and tint, you can get pretty close.
-
The sensors are different enough that I wouldn't even think they are part of the same family. I actually wasn't expecting that. It required a bit of work to even out the non linear quirks. As long as you process the footage at 0 tint, P4K2Alexa will sort out the red channel, well all channels actually.
-
It's not easy is it! To make it easier, the best workflow is to linearise the GH5, make the corrections, then return it back to log. That means shooting in a gamma that can be converted to linear via a CST, or via something like Lattice. If you don't linearise, you'll be forever chasing your tail. A correction at 0EXP will throw something out at 2EXP, fix it at 2EXP and you've just thrown it back out at 0EXP. When you linearise you remove the variability of the log curve, which can make it so much easier.
-
I was going to send it to you for free, but then you wouldn't appear on the customer list, so you wouldn't get any free updates. Flick me an email and I'll get you a full refund or figure something out. You definitely want this version as the sensors are quite different. I could make one. Just need to see what the demand is like and then would need to source the cameras. Yeah there's a good stop and a half extra on the Alexa. Highlight recovery brings that down to maybe a stop difference. I'm glad you didn't mention the Alexa's "highlight roll-off." The Alexa doesn't have a highlight roll-off! It's completely linear up there.
-
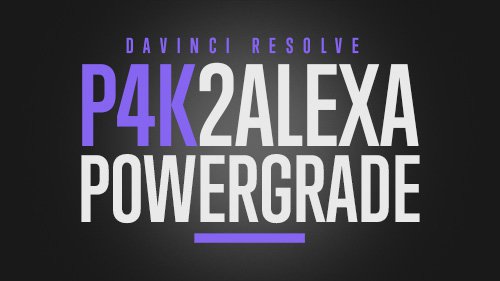
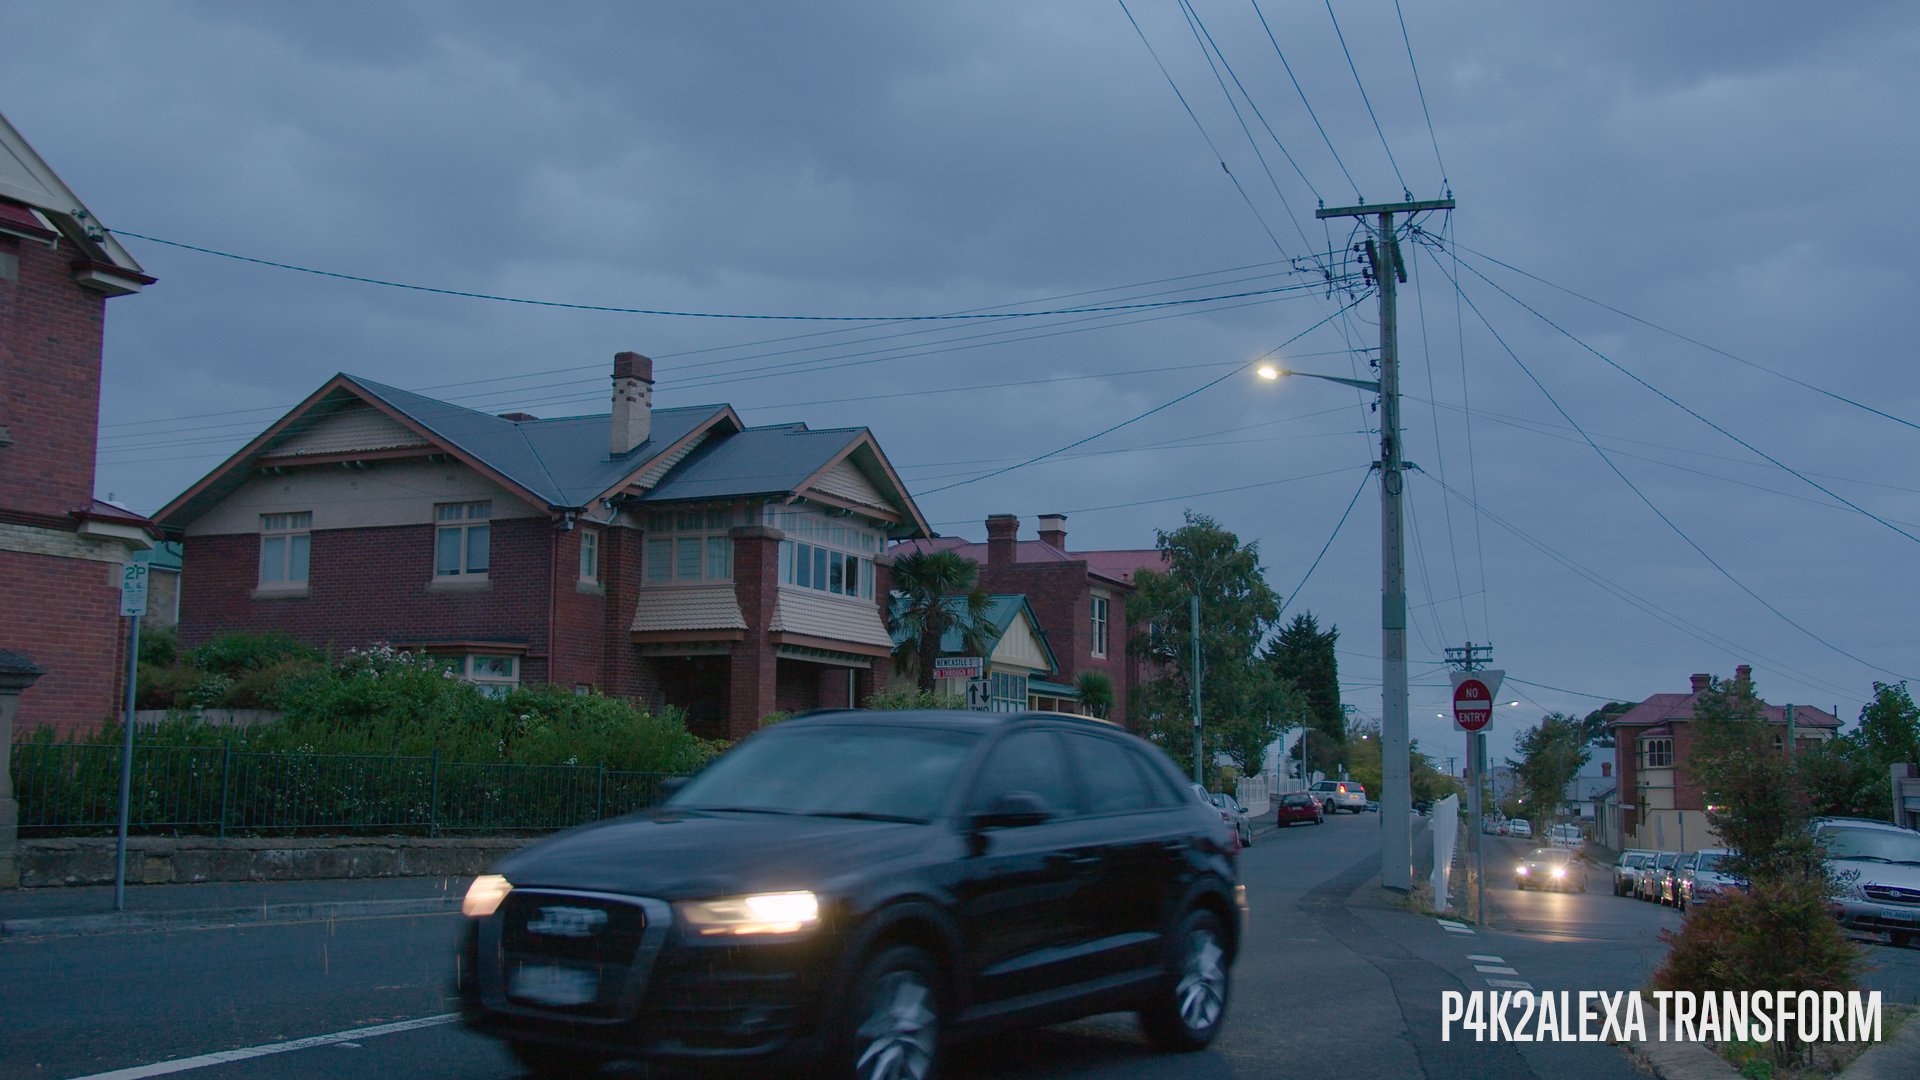
P4K2Alexa is out. Accurately match BMPCC 4K footage to the ARRI Alexa via a clean, non destructive 3x3 matrix. With none of the downsides of using a LUT. Fully editable, no clipping, no clamping, no snake oil. https://juanmelara.com.au/products/bmpcc-4k-to-alexa-powergrade-and-luts
-
After many requests, P4K2Alexa PowerGrade + LUTs coming in the next day or two. Dawn to dusk, one PowerGrade, no adjustments to the transform.
-
The Cinema 5D guys measured at ISO400. Rating and exposing at ISO800 shifts the mid point, allocating one stop extra to the highlights. It also lifts the shadows, revealing one more stop down the bottom. That last stop will be slightly noisy. And thats what can make measuring DR tricky, as each tester will have a different tolerance to what is an acceptable level noise and whether the bottom stops actually count towards usable dynamic range. And if you're Red, just count everything and say it's 17+ stops. Here is another image to show you the bottom stops of both cameras The previous example didn't have deep enough shadows to crop into. The exposure is matched on the day with false colour, this time I reckon they're identical. No noise reduction. Shot BRAW 5:1 / Prores 444 on the Alexa, which would be compressing out a bit of noise. Remember that the P6K has actually been cropped in to match the FOV of the Alexa, as I shot a 25mm on P6K and a 35mm on the Alexa. The crop is 1.32, so I'm actually only using a 4.6K portion of sensor. It would be less noise if I used the full sensor and scaled down.
-
Yeah that info was gone on the Alexa. The Alexa was shooting Prores 444, but there is no difference in dynamic range between Prores 444 and ARRIRAW. And there is no highlight recovery on ARRIRAW either, so there would be no chance of bringing it back.
-
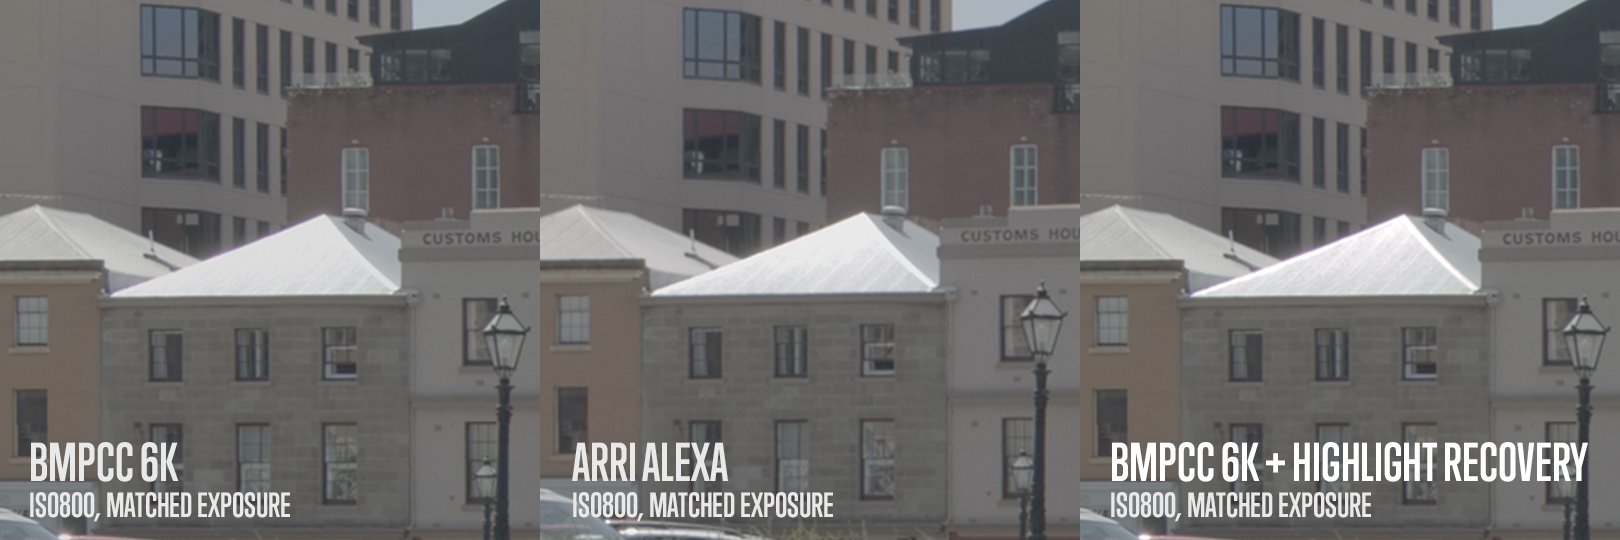
Yeah you're correct, but I already had a library of those charts from various sensors and stocks, so it made sense to keep adding to it. Plus it's also actually quite helpful to have so many samples within the colour space, rather than just a few samples right at the edges. Thanks mate! Much appreciated. Another interesting thing I found in testing is how much dynamic range the P6K actually has. According to the charts published by BMD and ARRI, when both cameras are exposed at ISO800, the Alexa has 1 stop extra range in the highlights, but approximately the same amount of stops in the shadows. In testing I found this to be pretty much spot on. I found I could expose one of the charts exactly one stop higher on the Alexa before it touched the clip point. The interesting thing is how that actually translates in real world scenarios, and what that difference looks like. Here are some crops of a scene shot on both cameras. In LogC, so the differences are visible. I matched exposure on the day using false colour, they're as close as I could get them. Probably less than 1/20th of a stop of difference in exposure. The left image is the P6K. When comparing it to the Alexa image in the middle, thats exactly what 1 stop difference in the highlights looks like in a real world situation. It's interesting to see what happens to that 1 stop difference when highlight recovery is enabled – the P6K actually retains more highlight detail. Obviously you would never actually place important image information in that range (not that you would ever do that with the Alexa either). But if you need it create a smoother roll-off in anything neutral in colour like specular highlights, clouds etc, it is possible to outperform the Alexa in highlight dynamic range... sometimes.
-
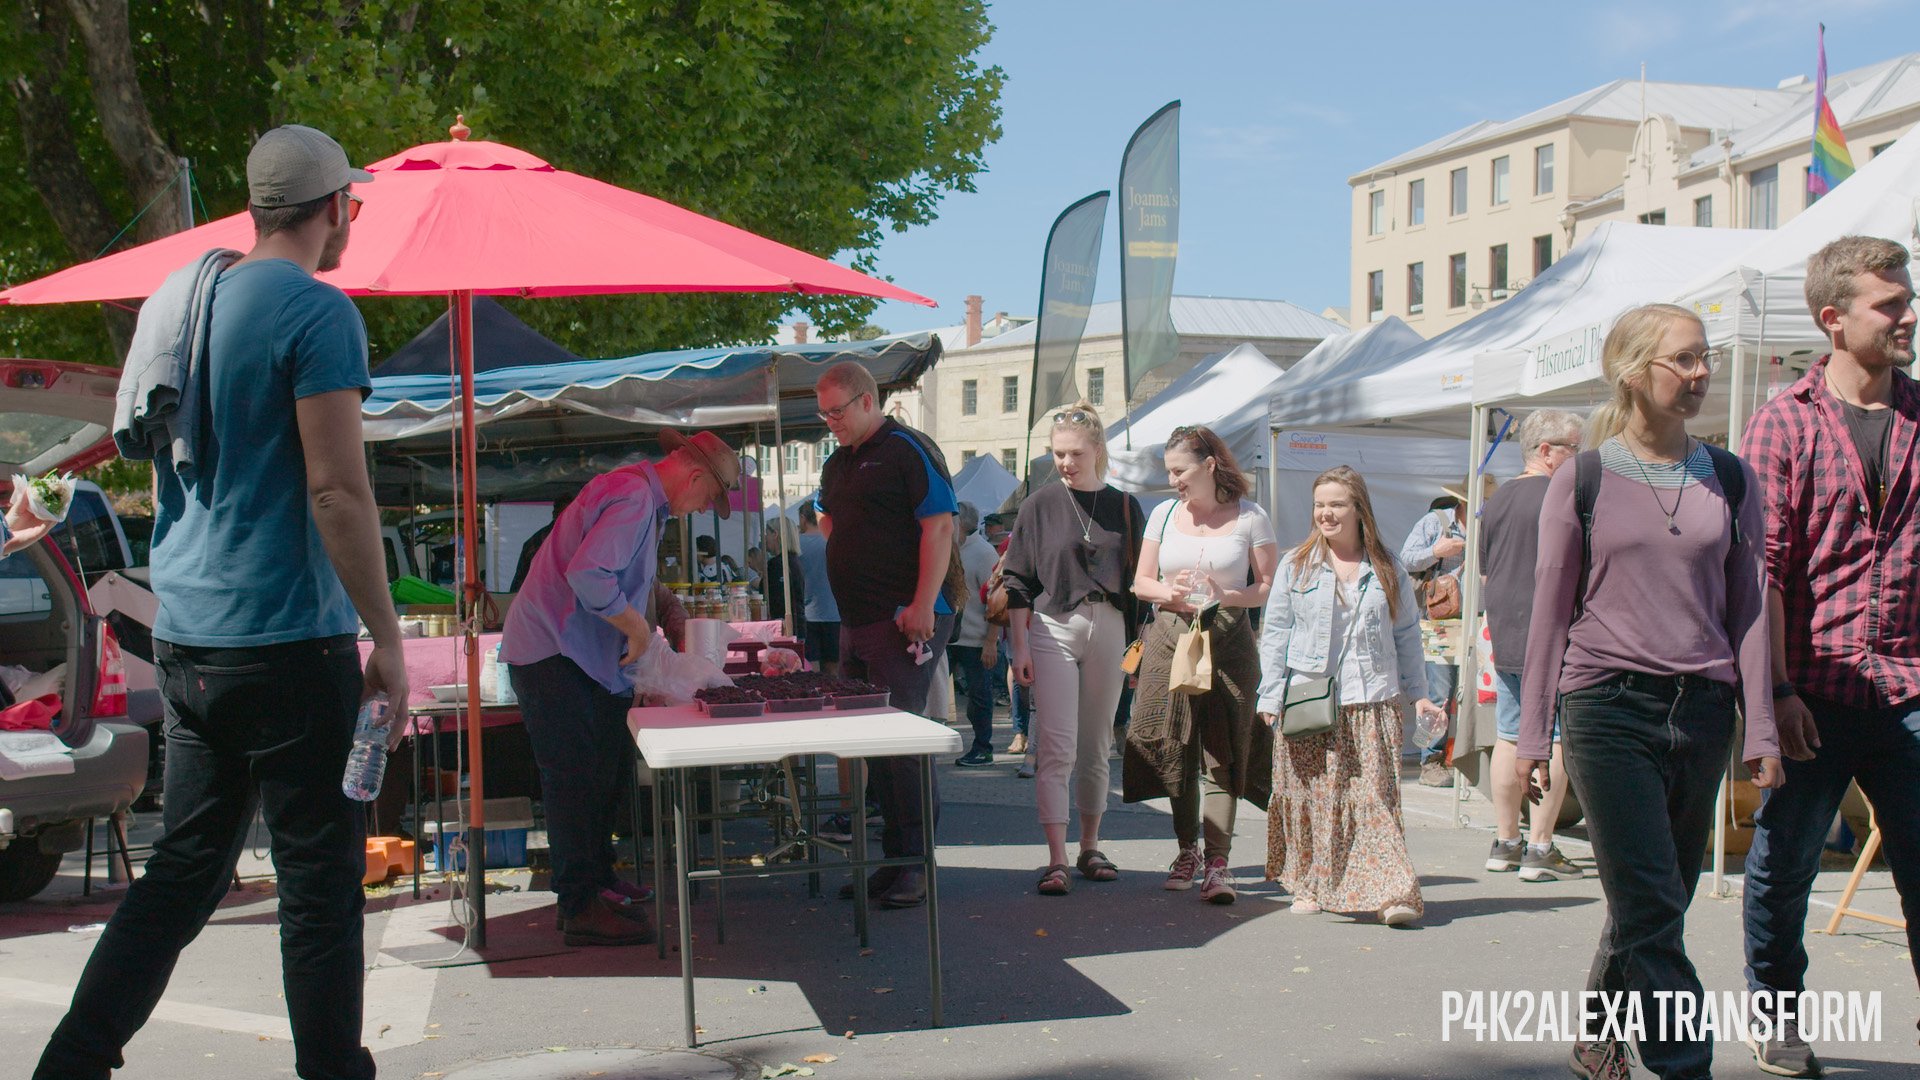
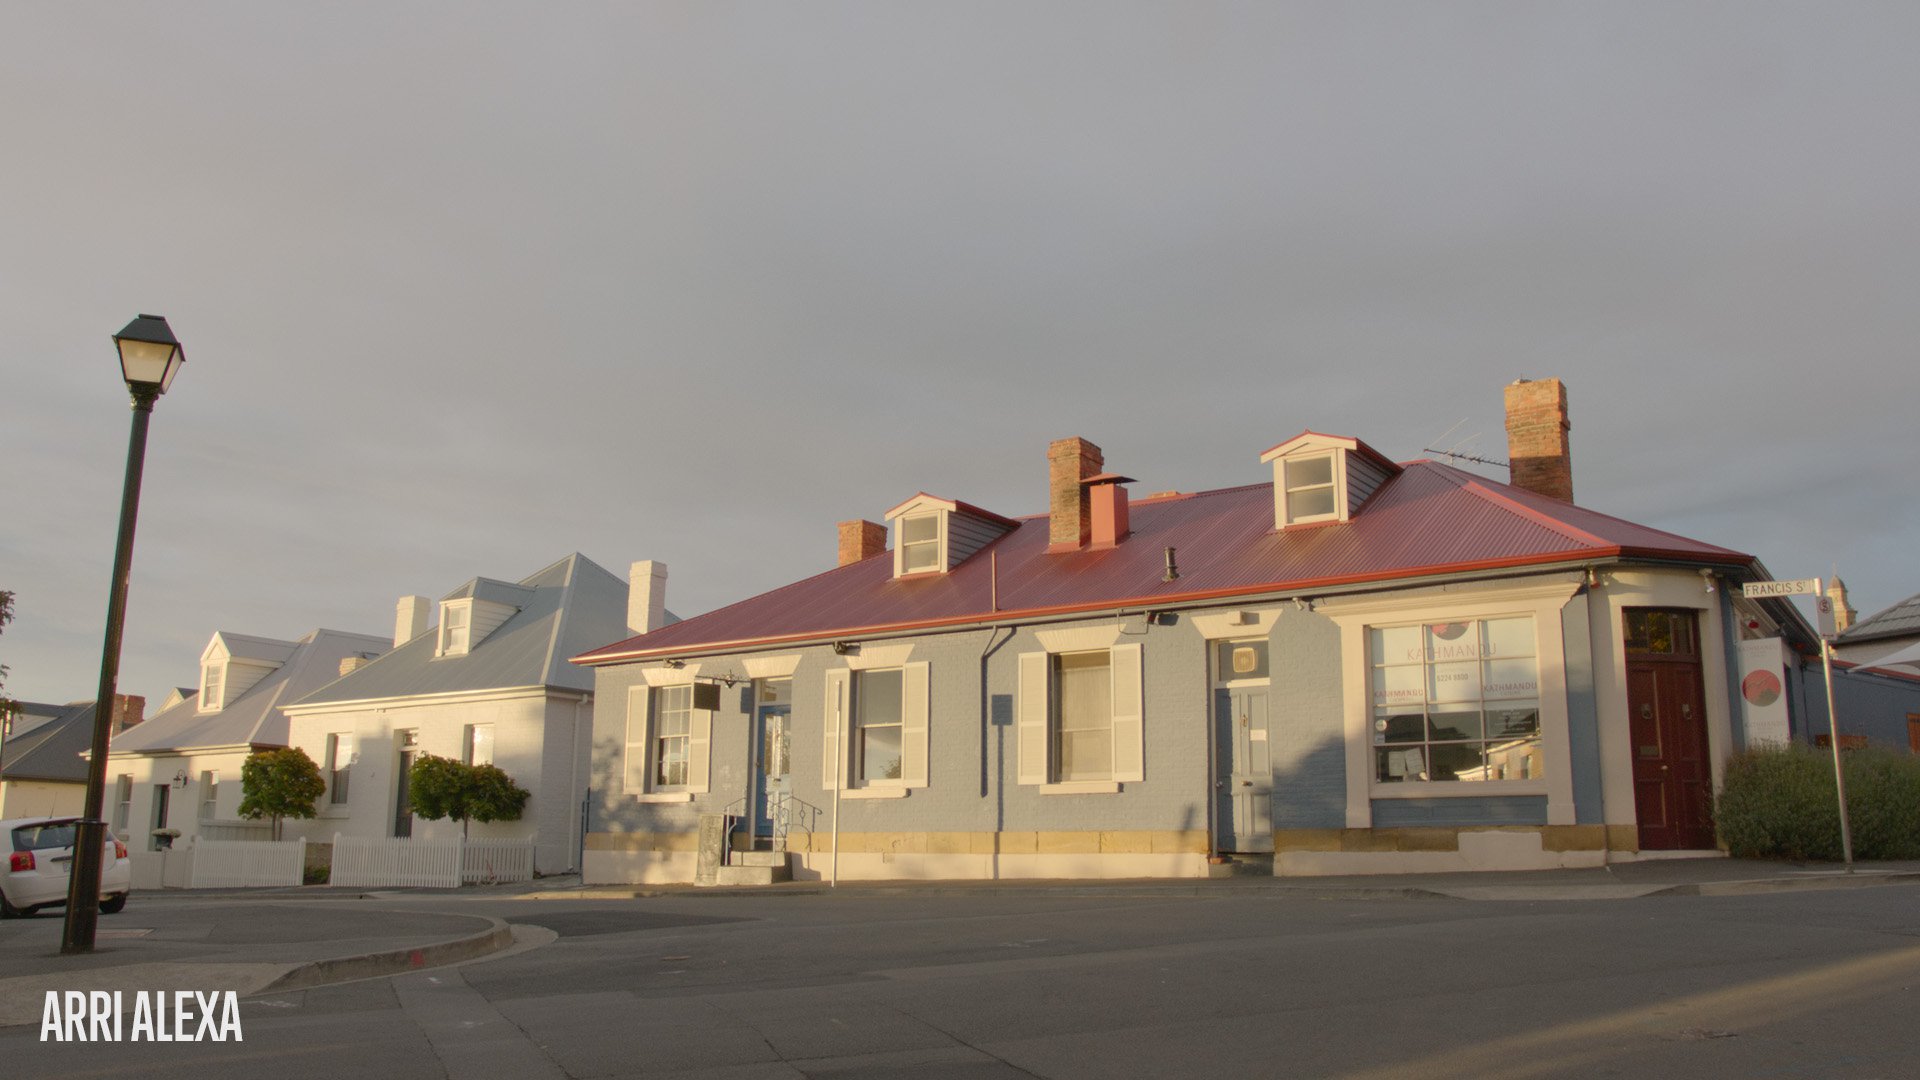
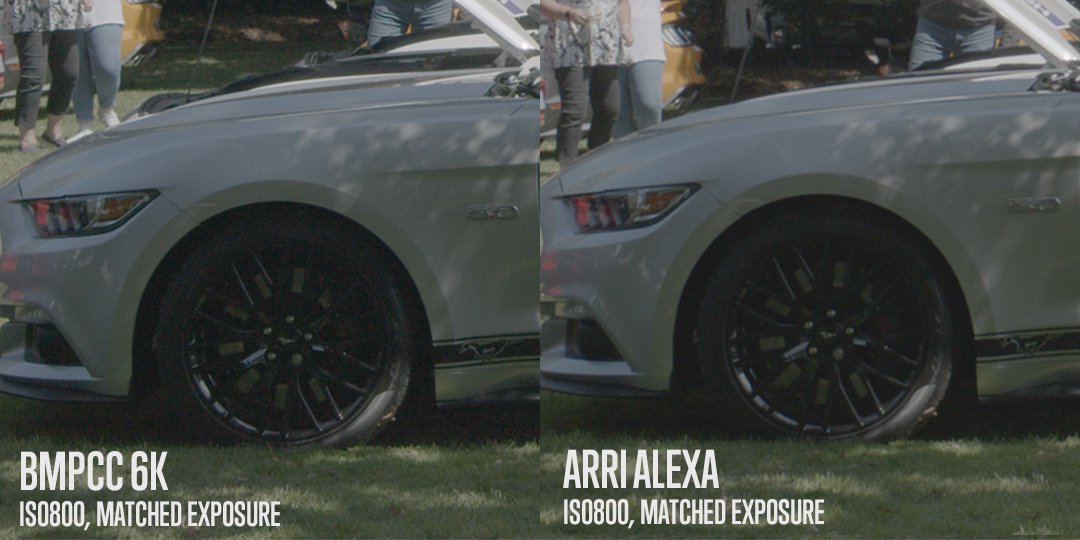
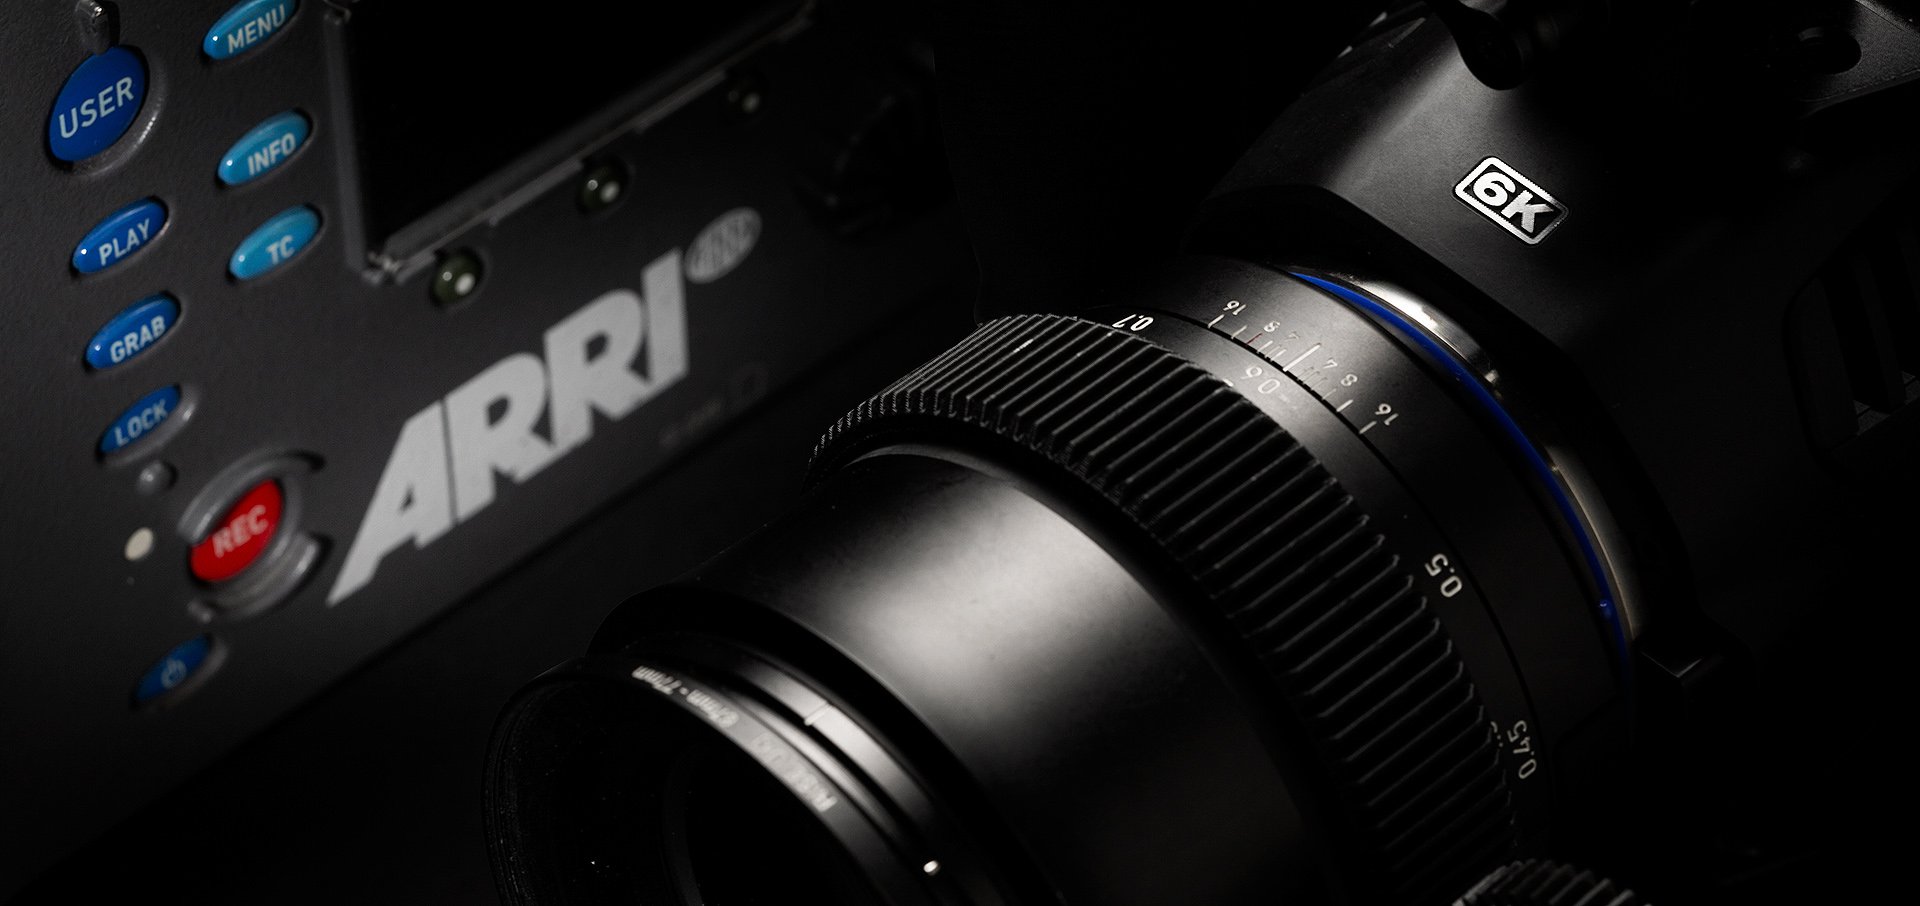
Hey guys, late last year I bought a P6K to work alongside the Alexa I normally shoot with. The goal was to have smaller, lighter camera that would live on a gimbal or could be used in situations where a full size Alexa wouldn't work. Knowing that both cameras would need to intercut seamlessly, I set about profiling the P6K using the same process I had previously used to profile the Alexa sensor and various negative film stocks. This process generates approximately 14,000 data points per camera. I then took the visual form of this data into Resolve and created a PowerGrade that accurately matches the P6K to the Alexa. After several requests, I've now packaged up the PowerGrade and added it to my store. You can check it out here: https://juanmelara.com.au/products/bmpcc-6k-to-alexa-powergrade-and-luts The PowerGrade At the heart of a PowerGrade is a custom 3x3 matrix that aligns the P6K's colours with the Alexa's. Because this is done through a matrix in linear space, the result is actually closer to a technical transform. The benefits this brings over a LUT is that it's non destructive, there's no danger of clipping or clamping data. And if you really wanted to, you could fully reverse the transform with zero loss in quality. This is because it doesn't break Resolve's 32bit float space like LUTs do. Probably one of the best features of a PowerGrade is that is fully editable and customisable. But since editing a 3x3 matrix isn't the easiest thing in the world, I've also included a Hue vs Hue/Hue vs Sat curve approximation of the matrix which is far easier to customise. And because it's a PowerGrade you can see exactly what is being done by each node, which means that I'm not able to hide snake oil like you can with a LUT. The LUTs Speaking of LUTs, knowing that a lot of people actually prefer to work with LUTs, I also created a LUT version. It's the exact same transform but in LUT form. One of the biggest limitations with most LUTs is that they clip any information that exceeds the top of the waveform, so basically any value above 1.0. This is a big issue with BMPCC footage as enabling Highlight Recovery or working with any ISO above 400 pushes valuable information above 1.0, where it is permanently clipped. With this BMPCC specific requirement in mind, I developed the LUTs to accept and work with values exceeding 1.0. So no matter if you enable Highlight Recovery or push the ISO to 6400, the LUT is able access and process all the information extending above 1.0. Anyway, check it out and let me know if you have any questions or comments. I'm keen to get feedback from any users to see what can be improved or expanded on. Comparisons Here are a few comparison images shot with the P6K mounted on the Alexa's top handle. The Alexa was using a Zeiss Milvus 35mm, the P6K was using a Zeiss Milvus 25mm, then cropped in post to match the FOV. The Alexa images are untouched, the P6K images feature minor exposure adjustments only. Check the store link for more images.
- 45 replies
-
- 20
-

-

-
How many of you guys have actually rigged up and used an Alexa in single operator mode? It actually works really really well. Everything I see online points to how its a crew camera, not made for single op use, you NEED a 1st and 2nd AC etc. This usually comes from people who have either only shot it this way, or it's repeated by people who have not even shot with it. There is nothing unique to the Alexa that makes it require a crew any more than any other camera. In fact, because of how ridiculously simple it is to use and it's great ergonomics, it's more single op friendly than a lot of other camera's I've used. The trick is setting it up to make it single op friendly. This is the basic setup for a shoot I DP'd last week. 6 hours, 5 locations, all shot shoulder mount (obviously missing the front handgrips, motor controller/cables and shoulder pad). Focus is through an RT Motion 3.1 setup, controlled from the thumbwheel mounted on the right handgrip. The thumbwheel also has run/stop control. The EVF is setup with focus peaking, which works really well. Out of the 100 or so takes I did, only 2 were not usable due to buzzed focus. I'm using EF Zeiss Milvus lenses which only have electronic iris control. Iris is controlled on the operator side directly on the Optitek EF lens mount - super easy. The setup is powered by IDX 185wh batteries. Each battery powers the entire setup for just over 2h. They weigh 50g less than Anton Bauer's 90wh batteries and half a kilo less than their 190wh batteries. Power for the Optitek mount is drawn directly from a ribbon cable inside the mount, so no external cables. Power for the RT motion setup is drawn from Alexa's 12v output on the operator side, so no DTAP cables running back to the battery - super clean. This makes switching batteries fast and easy as there are no DTAP cables to switch over. I've got a hot swap battery mount arriving next week, so there will be no need to power down. I'm using screw-on Firecrest ND filters which are completely neutral even at higher strengths, so no need to touch white balance or tint as I increase or decrease ND. In the EVF I have control of FPS, shutter speed and white balance/tint all controlled via buttons on the EVF, all without removing your eye. The buttons on the operator side below the Alexa logo are user configurable. At the moment they trigger the Rec709 LUT on and off, false colour and fullscreen view inside the EVF. No need to take the camera off your shoulder... Once you setup your project and format your cards on the operator side at the start of the day, there is no need to return to that side as the important functions are all available inside the EVF. I load in 2 x 128gb SxS cards at the start of the day, which record around 2h of Prores 4444. So theres usually no need to swap them out during the shoot. From here I'm adding a Movcam MM4 lightweight mattebox. It has Arri rosettes on each side which allow you to attach handgrips directly onto the mattebox. This will shave some weight and further streamline the setup as I no longer need the BP-12 bridge plate, 19mm rods and the handle bridge. Still unsure if 15mm rods are too lightweight for this task, we'll see... I need a new mattebox anyway. I'm also going to add 2 Dynacore 310wh batteries which will power the setup for around 3.5h each. And they're still 200g lighter than AB's 190wh batteries. Is it as nimble as an A7 or GH5 setup? No. But from my experience, when shooting Alexa shoulder mount I'm moving just as quick as someone shooting mirrorless. Except if I've done my job right on the day, I can then grade that footage to match pretty much any feature shot on the Alexa. I can't really do that with mirrorless cam footage...
-
This is actually really impressive. Top work! How does the GH5 footage feel to grade once converted? I presume it wouldn't handle quite as nice as actual Alexa footage?
-
Once you've setup the node graph, grab a still of it. Then you can middle mouse click the still in the gallery to apply it to the selected clip.
-
Looks good Alpicat. Very filmic.
-
I haven't tried it with 5D3 CinemaDNGs, but all other DNGs I've tried have benefited from the workflow. So it's worth a shot!
-
Hey all, I've just finished up a new grading tutorial especially for any of you shooting CinemaDNGs. It actually works with any CinemaDNG, not just limited to Blackmagic cameras. In the tutorial I show you how get access to the full dynamic range, richer colours throughout the full range, and all in a curve thats a lot nicer to grade than BMD Film. Feel free to leave any feedback or questions and I'll do my best to help you out!
- 15 replies
-
- 10
-
-


Crop.jpg.cfe1c928caf46dfa77e071c75d2f8f58.jpg)
Crop.jpg.8eeb5b6867cd36d30b746f1e64dd868e.jpg)