Hangs4Fun
-
Posts
131 -
Joined
-
Last visited
Content Type
Profiles
Forums
Articles
Everything posted by Hangs4Fun
-

Need help figuring out the camera setup in this video
Hangs4Fun replied to Trek of Joy's topic in Cameras
Maybe its the mountain roads I tend to find myself on, but I haven t used a Gumball yet that could keep my camera level around those corners. After the first part of an S turn, all turns after that it gets out of wack and struggles to get back to level. Now, Im talking smaller gimbals. Like RX100 and small gimbals capacities. I haven t tried my Ronin S with a full frame yet, so maybe that would resolve the problem im seeing with gimbals. But the G5, G6, Crane M, Cosmo Mobile, etc. They all secummed to corners. It wasn't until I tried the Cosmo Action that I got footage like you see in that video you shared (I would assume a GoPro 8 would do the same). In testing I turned it on several times in my commute home from Atlanta and it was smooth as silk (I use ND filters btw). Only thing i was trying to perfect with that was how it dealt with exposure. As driving into the after work and passing under bridges it would create a couple of frames that were to bright. But from a smooth standpoint was very pleased with either. This isn't due to DJI, I think the equivalent model of it would work too. But my Sony RX0 Mark II would not do well, because its gyro data got skewed when subjected to corners. Thats when I drew the conclusion that in camera horizon based stabilization would be the best for vehicles (not vlogs or other cases, but driving situations where there might be some lateral G forces back and forth, which seem to affect gimbals and gyros (at least the smaller ones) Good luck -
Need help figuring out the camera setup in this video
Hangs4Fun replied to Trek of Joy's topic in Cameras
In my experiences with driving footage both video and time lapse based using gimbals or using digital and/or gyro based stabilization. Is that gimbals are fine until you get some curves and if curvy enough can really mess them up. Ive even used motorized panning while capturing audio. My guess is this is using a horizon based in body stabilization like a gopro or Cosmo action with a good suction cup attachment system. Of the suction cup arms I tried i found the Joby one to never let go and was seven strong enough to hold either a Genie or Edelkrone headone with a Sony RX0, Osmo action, or gopro. When attaching to the front of the car (on paint instead of glass), be sure to pick the glassiest smoothest surface and clean it well first. To achieve a higher quality version of this would require at least a two person team and rigging to support stronger gimbals and bigger cameras. -
Right now, I have only had luck recording ProRes RAW HQ to my Ninja V. But when I bring it into Premiere it os severely over exposed, even though it looks perfect on the Ninja V. To do this i installed the Apple ProRes RAW windows driver and then imported into Premiere , both at the latest versions. Someone else mentioned that I need to transcode it first and then import into Premiere. But what really sucks right now is that using my Sony XLR-K3M to do 4 channels of audio first, does not let me output 4 channels to the Ninja V whether ProRes RAW or regular ProRes HQ. And even using internal codecs only works if I go straight into Premiere, thrn I can see 1-4 channels properly. But if I wanted to go to catalyst browse first to use gyro based stabilization, even Sonys own Catalyst Browse doesn't have the 4 channels, which I'm hearing is the case in other places too. So will have to wait for each to add proper support for the new PCLM 4 channel audio. Obviously, Da Vinci Resolve doesn't support ProRes RAW (since they have BRAW which competes now against ProRes RAW... kind of)
-
I have Resolve 16 and the ProRes RAW HQ or ProRes RAW doesn't seem to work at all there. What you are saying makes a lot of sense though. If I can just find a place to convert it to S-Log3 or something first. Was really preferring to do the color grades in Resolve, and then edit in Premiere (until I wean myself off of Premiere, lol). I will look at Nuke and Scratch, maybe they can handle this new RAW or maybe eventually Resolve will handle it and I can separately grade and export my files to edit with. Obviously for a cleaner workflow, it would be nice to grade and edit in the same place without a middle rendering. One thing I wonder is if I could bring these into Media Encoder and perform a transform there to S-Log3 first. And heck with that being said, If that works, then I could also potentially create an injest preset to use as default injests in Premiere like I already do for auto generating proxies. Will have to play around with that (though I was trying to wean myself over to Resolve).
-
One thing that is going to be a downside on this camera is that we can't disable the noise reduction which usually do for my astro photos and time lapses (I don't shoot nearly as much video when it comes to astro) I tend to lean on quality fast optics versus ISO when shooting astro (stills). I used my 16-35GM until the 24GM came out. At f/1.4 and hands down the best anti-sagital flaring I've ever seen in a lens, it one of the best IMHO. Only downside is I typical shoot between 16 and 18mm on astro. But what I've been having a lot of luck with is doing 2 or 3 shot pano's in portrait orientation. Since you are talking RAW, I assume you are wanting someone to try video of astro? I just happen to be camping with my A7SIII and my Ninja V, i would be happy to try it tonight. Only issue is Im under major canopy closer to Atlanta than I will be by Sunday. By Sunday I should be more in the open and up around Blood mountain in the North Georgia Mountains. Will definitely try that for you then, as I was already going to test astro photos and motion time lapses. Won't be much of a stretch to test RAW video. BTW... When ETTR'ing at 94+ (for the corrective LUT's I use), the RAW output looks beautiful on the Ninja V using the corrective LUT as a display assist. But when I bring it into Premiere the highlights and whites are significantly over exposed. No clue yet why, trying to work with each of the pieces of the puzzle to resolve, Adobe, Apple, and LUT maker via support tickets and passing along findings. So today I setup a color checker test and did regular output (ETTR 94+), RAW (94+), RAW underexposed 1 stop, 2 stops, and 3 stops from ETTR 94+. I don't have my SSD to USB cable with me, so I don't know which one is best yet once you get it into Premiere past the Apple ProRes RAW drivers. It looks perfect in the Ninja V when ETTR'ed at 94+ with the corrective LUT, so until I can get the footage into Premiere I won't know. My wife is sending me that adapter, so I should be able to see by tomorrow night and will share my findings. I mention this, because it will affect how you expose RAW on the A7SIII Have a great day, and be safe out there 🙂
-
Thanks for that. Im new to RAW and 10bit 4:2:2 All Intra. But not new to Sony mirrorless and low light. I had success with a7R2 and a7R3 with low light, and even with my trusty ole a6500 paired with an f/1.4. Many times it seems like I need to do shooting around campfires, and late night astro photos. My experiences doing paid video have only started this year and it is nerve racking to say the least. So far with the a7S3 I have shot up to 100k ISO, but what im struggling with is how to turn off internal noise handling. I prefer to handle all sharpening and dealing with noise in post, but it is looking like we can only turn off sharpening on the a7S3. I will be trying to do testing in low light with RAW to see if Sony is mucking with the noise any or if its truly a RAW output. I did take some test video shots last night around the camp fire. I won't be back home until Thursday night and will share that footage then. There were some darker embers that weren't getting radiant light cast on them so between them and the obvious highlight and white levels from the fire itself, i think that is a good test of dynamic range. Just looking through that amazing EVF it looks impressive, but I font know until im back at my desk (plus im still a noob at this level of colors and dynamic range). As for my settings at this stage, im ETTR'ing at 94+ with S-Log3 and S-Gamut.Cine with Focus nailed. I try to shoot at 180 degrees and wide open, reducing the ISO level needed. Once I feel I have perfected that, I will then start closing down the aperture and increasingly ISO. Right now in the corrective grade, the Leeming LUTs are leading to needed adjustments to magenta and cyan (and a touch green). What surprised me from my OktoberKest footage is that just starting with the S-Log3 straight out of camera lead to only a sight adjustment to magenta and tiny tweak of cyan. Versus applying the Leeming LUT added extra color adjustments. Most of that shoot was a dark and this was time I had tried using those corrective LUTs with higher ISO levels and/or the practicals caused issues not sure. I took regular shots of my colorchecker and my 18%Grey card to keep an eye on WB, so thinking Leeming has some adjustments to make for the a7S3. Please let me know if I shouldn't mention who makes the corrective LUTs I've been testing with. I can just say corrective LUTs if that is more appropriate, im just trying to be accurate Im most excited to try low light and RA with this camera. In fact I have my Ninja V in backpack and will be testing low light in RAW tonight. Just know there is something VERY odd happening with RAW right now. I ETTR at 94+% and it looks really good on my Ninja V, but once I bring it into my computer (I have the latest Apple ProRes RAW drivers) and then bring them into Premiere (also latest version), it has very blown out highlights. No clue why yet. I suspect I need to scrap what I have been doing for S-Log3 internal and experiment what exposes the best. Kind of sucks because the footage is so good looking on the NinjaV, which makes me think there is an issue with either the ProRes RAw windows drivers or Premiere or both with respects to RAW footage from the a7S3. So I hesitate to resort to exposing RAW differently since my workflow was going to include 1 copy going to internal and one out as RAW. The internal was fine but the RAW blown out. I submitted support "tickets" to both Adobe and Apple, this was a week ago.
-
I hope so, but if not I understand. Im feeling like such a schmuck. Seemed harmless at the time, but now I see that eoshd is a real community with people who watch out for and protect that community. And THAT is a real rarity online and one that I want to be a part of and make things right with. I will do what ever is asked to repair and make amends for what I did. I really appreciate the offer of forgiveness, that means a lot.
-
You are absolutely correct. My apologies I was trying to address the rules that I broke and focusing on that. I should have lead with a sincere apology first. Im ashamed and truly sorry. Im used to dealing with people in person much more so than online. Not an excuse. I really want to work through this shame and prove over time I am a good person and eventually will have things of value to share. The integrity comment really hit me hard, and am reflecting on what I have done. I got wrapped up in the "unanimosity" and lost my sense of person and how my actions affect the group of people I am connecting with. I can only promise it will never happen again. But if you choose to ban me or what ever it is called, I completely understand. My deepest and sincerest apologies to everyone here.
-
No products or services to sell. I only mentioned Leeming LUTs because I thought they were considered neutral corrective LUTs. I don't care what LUTs people use, but do want to communicate what I have chosen to start with. I shared a Vimeo link because its better quality than YouTube and no commercials. I just want to share what I could on a camera I've been waiting a long time for and learn and work through the new options. Its hard starting out on these bigger forums and getting any feedback. If you look back over my posts, I think you will see how much I've shared what ever I could find and put a lot of time into it. Right now I'm trying to work through my new A7S3 so I can get the most out of it. Im new to 10bit and RAW, so was hoping to get these new workflows dialed in. Along the way I was planning to share what I learned. Sony agent? Now that made me chuckle. I do have a Sony PRO Support account and try to get info from them to share here, and have. Even taking questions from here and getting accurate answers from Support. I do have mostly Sony gear, kind of stuck now, too much glass and time with the system. In the past I just made hammocking videos and published to my tiny YT channel, named after my trailname Hang4Fun).. But this year I am starting to do paid shoots. Been trying to learn the ropes and share as I go.
-
Hey John, here is the updated video with the 5 different video settings in camera (as it should have been the first time, lol) https://vimeo.com/464041748
-
I gotta stop using my cell phone and use my studio setup more, when publishing stuff... smh. I just had Premiere publish it straight after the export, since I was rushing out the door. Then I checked it quick on the road with my phone, and it looked fine. It wasn't until someone mentioned the blacks and the AUTO option, and I checked it as soon as I was back in studio and was about horrified, lol. I've never used AUTO before and didn't know what damage it could do, but I also didn't want to do my own interpretive grade. I think if you naturally focus on the brighter area's there was quite a bit of white and highlight detail, maybe they were also on cell phones. No clue, I'm just glad we caught it. I'm still looking for the most neutral corrective grade beyond the Leeming corrective (since just doing that produces a dark image). Any suggestions? Something repeatable that most would agree is as neutral and plain of a starting point as possible.
-
Ironically, I am shooting at a brewery today, lol. Doing an OktoberFest, plus some B Roll for an upcoming commercial and interview series. I'm scrambling, I think my capture is good, just have a lot of work to do with the 10bit footage in post (I have not worked with much 10bit 4:2:2 before now). The A7SIII is performing great, I just need to step up my game now 😉 I think your image looks great btw, checked it out on my big screen and on my studio monitors (pair of BenQ SW320 which I calibrate weekly for my large scale printing). Now if only I drank beer, I could have all the free beer I wanted tonight. Just never liked the smell so I never tasted it (plus my dad drank enough growing up for the two of our lifetimes, so..)
-
funny you ask, was already working on it and put that 1 minute clip on vimeo. Again, I am JUST trying to arrive at a neutral starting point that is ready to grade in any direction (camera match, creative grade, etc), so this is not what I would consider graded. Let's just call it a "corrected, straight out of camera" 😉 https://vimeo.com/user122394328/review/464521609/7b8f73ae37
-
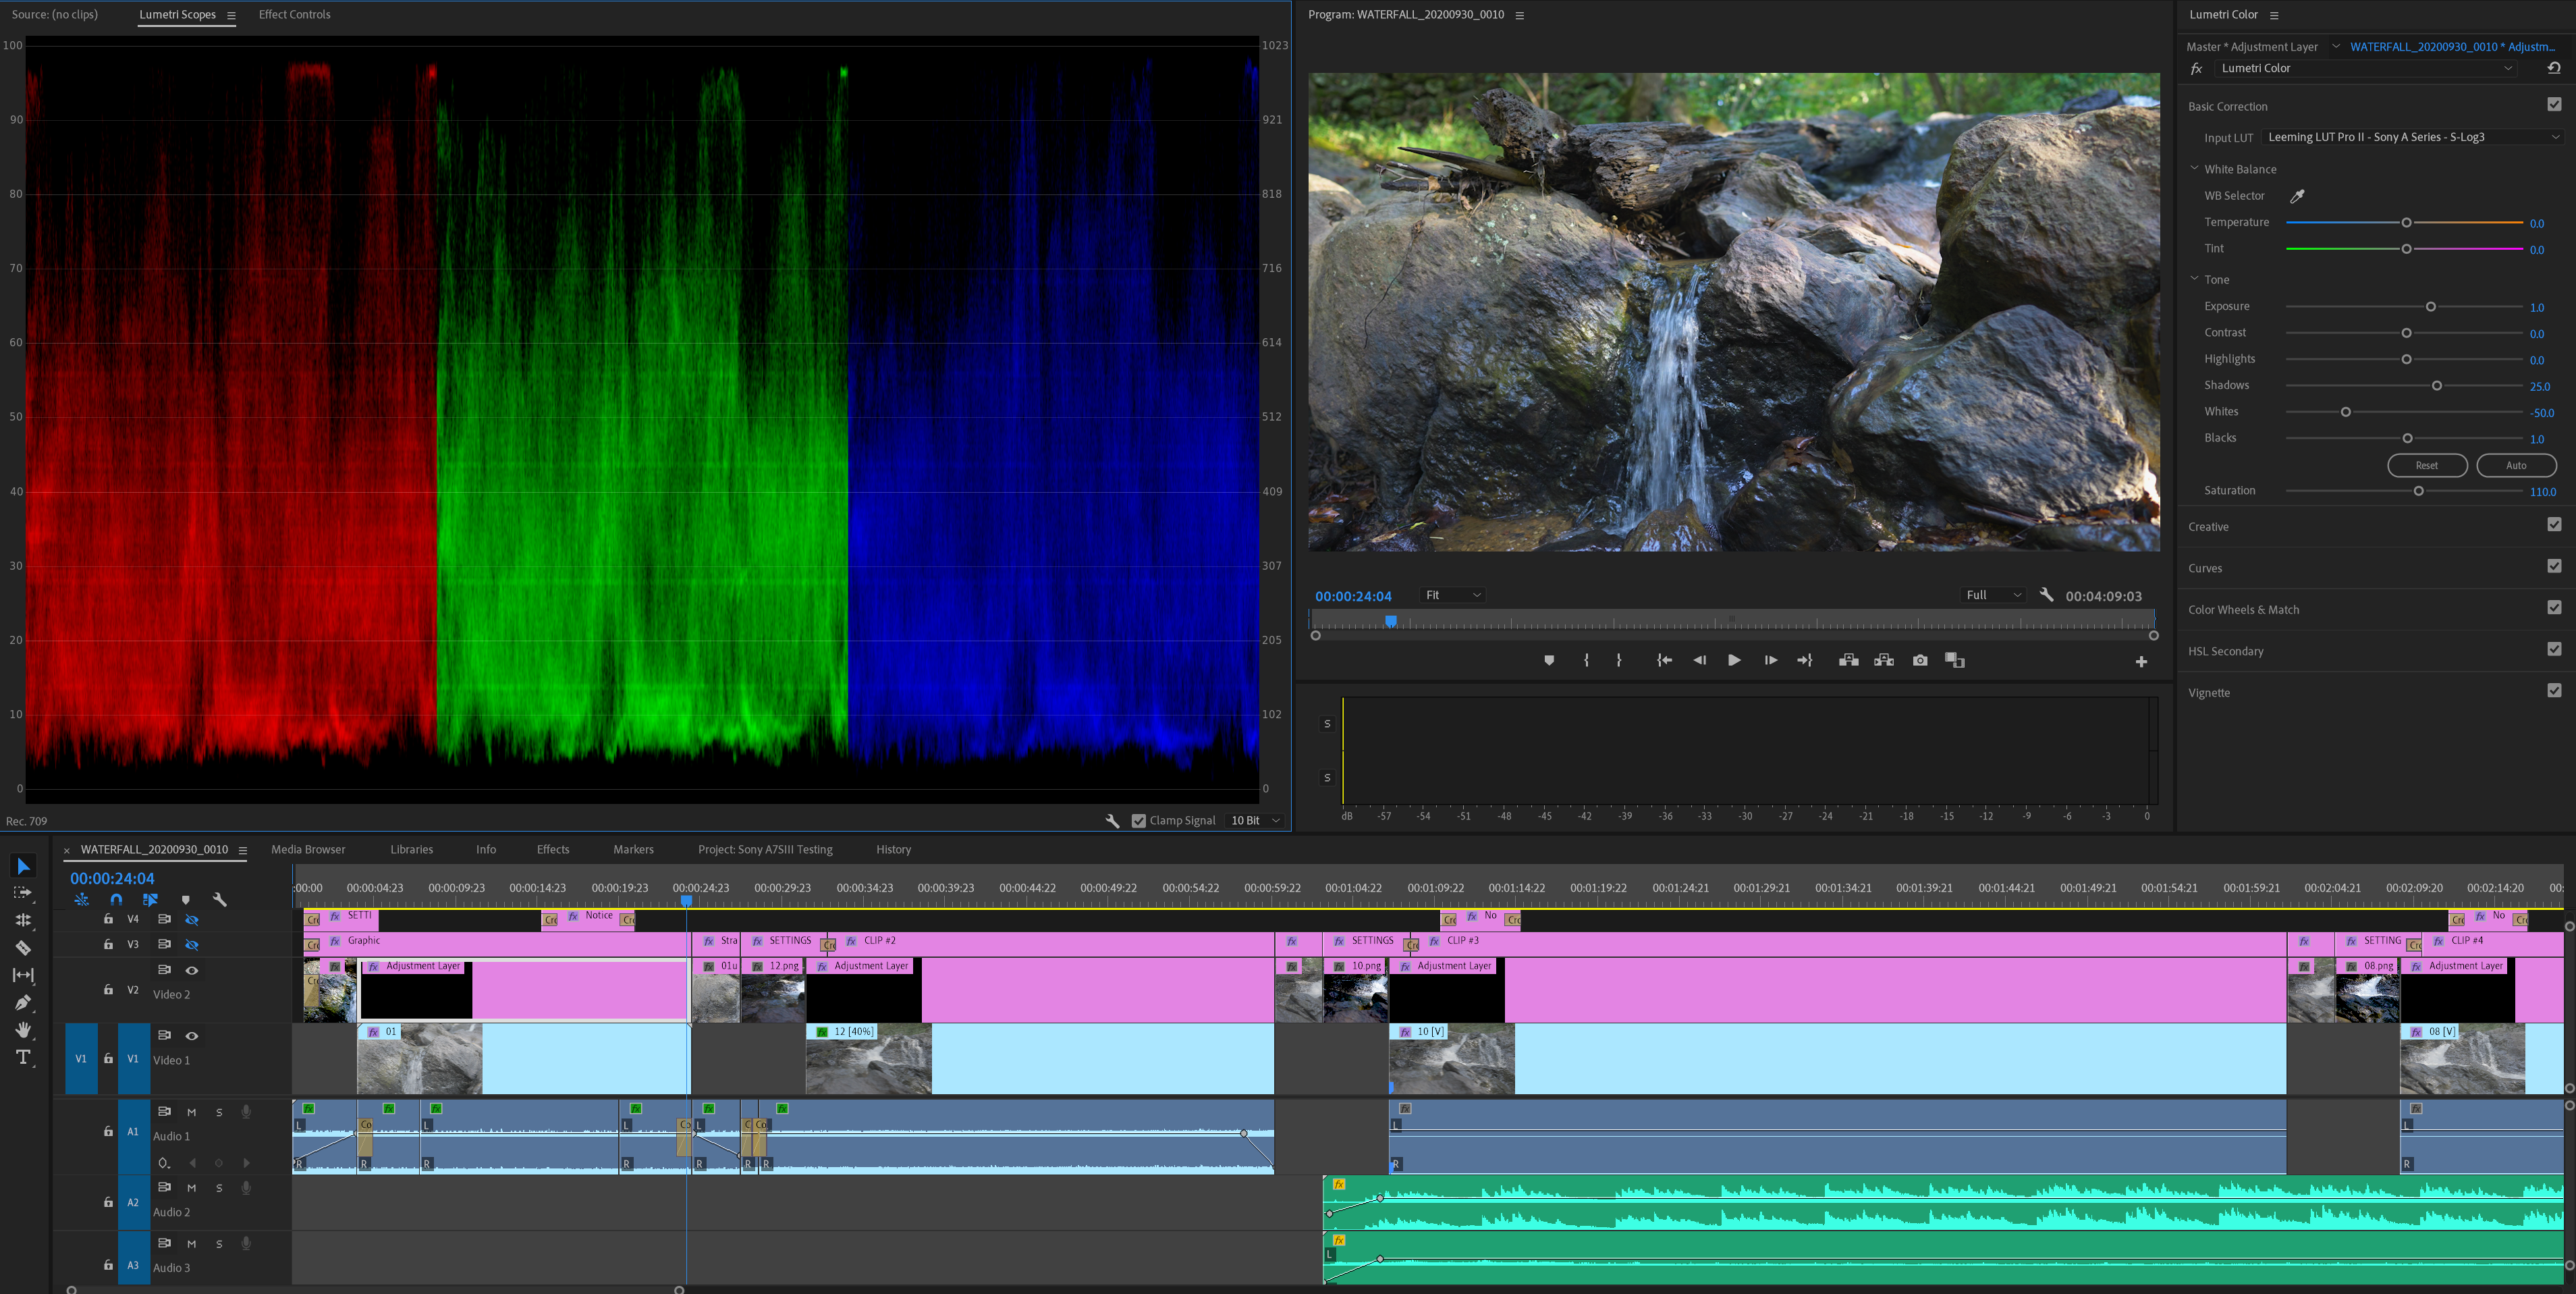
OK, I reset everything and now just looking to apply the corrective LUT and some level of a neutral starting grade. Here is just 24 second clip of one of the first clip. Just goes to show, I was so focused on the highlights, I completely ignored my blacks and shadows. I think from here, a decent creative grade could be done, with plenty of room to push it. https://vimeo.com/user122394328/review/464516430/65a7a1eb4d Below is my workspace AFTER removing the damage from AUTO, and doing what I was trying to avoid (basic grade that might have my interpretations in it, but oh well). And here is the cringy BEFORE, where I hit AUTO on my video layer and later when I went to see what it did on my adjustment layer, it looked to be no changes, when in fact it was. Notice just how crushed the blacks were with the auto button and it just goes to show you, not to focus on any one aspect. I would really appreciate feedback on what is considered a good neutral starting point after ETTR to 94+ and then applying the Leeming corrective LUT for S-Log3. I'm looking for some good starting point that you could then take and apply a creative LUT to match another camera or do a custom grade to taste. Any suggestions would be greatly appreciated.

-
I figured out what happened. I use Adjustment layers in Premiere, and normally work on it. I applied the corrective LUT first to the layer, and then went and did more edits. At some point the "AUTO" was done on the video itself, and I went on and did other things. Then when I checked the first time, I went to the Adjustment layer and it looked like AUTO didn't do anything, so it was just the Leeming corrective LUT. When back on each video clip was the mess that AUTO had done.. SMH What I was hoping to achieve was a neutral display of the various codecs and options with movement and challenging light. Your process commented above, is more of a full grade. Any suggestions on how to keep this as neutral of a test as possible, yet still get the footage past the typical dark starting point of the Leeming corrective LUT? I'm looking for a very repeatable process that will take us right to the point, anyone would start with that corrected footage and apply creative adjustments from there. Also, it sounds like you have your RGB Parade in 8bit, since you mentioned 16-235 (on a 0-255 scale or 8bit). Mine is set on 10bit which obviously is showing 0-1023. Since I am publishing this Vimeo that supports 10bit, I was thinking I should be in the 10bit color space. What are your thoughts on that?
-
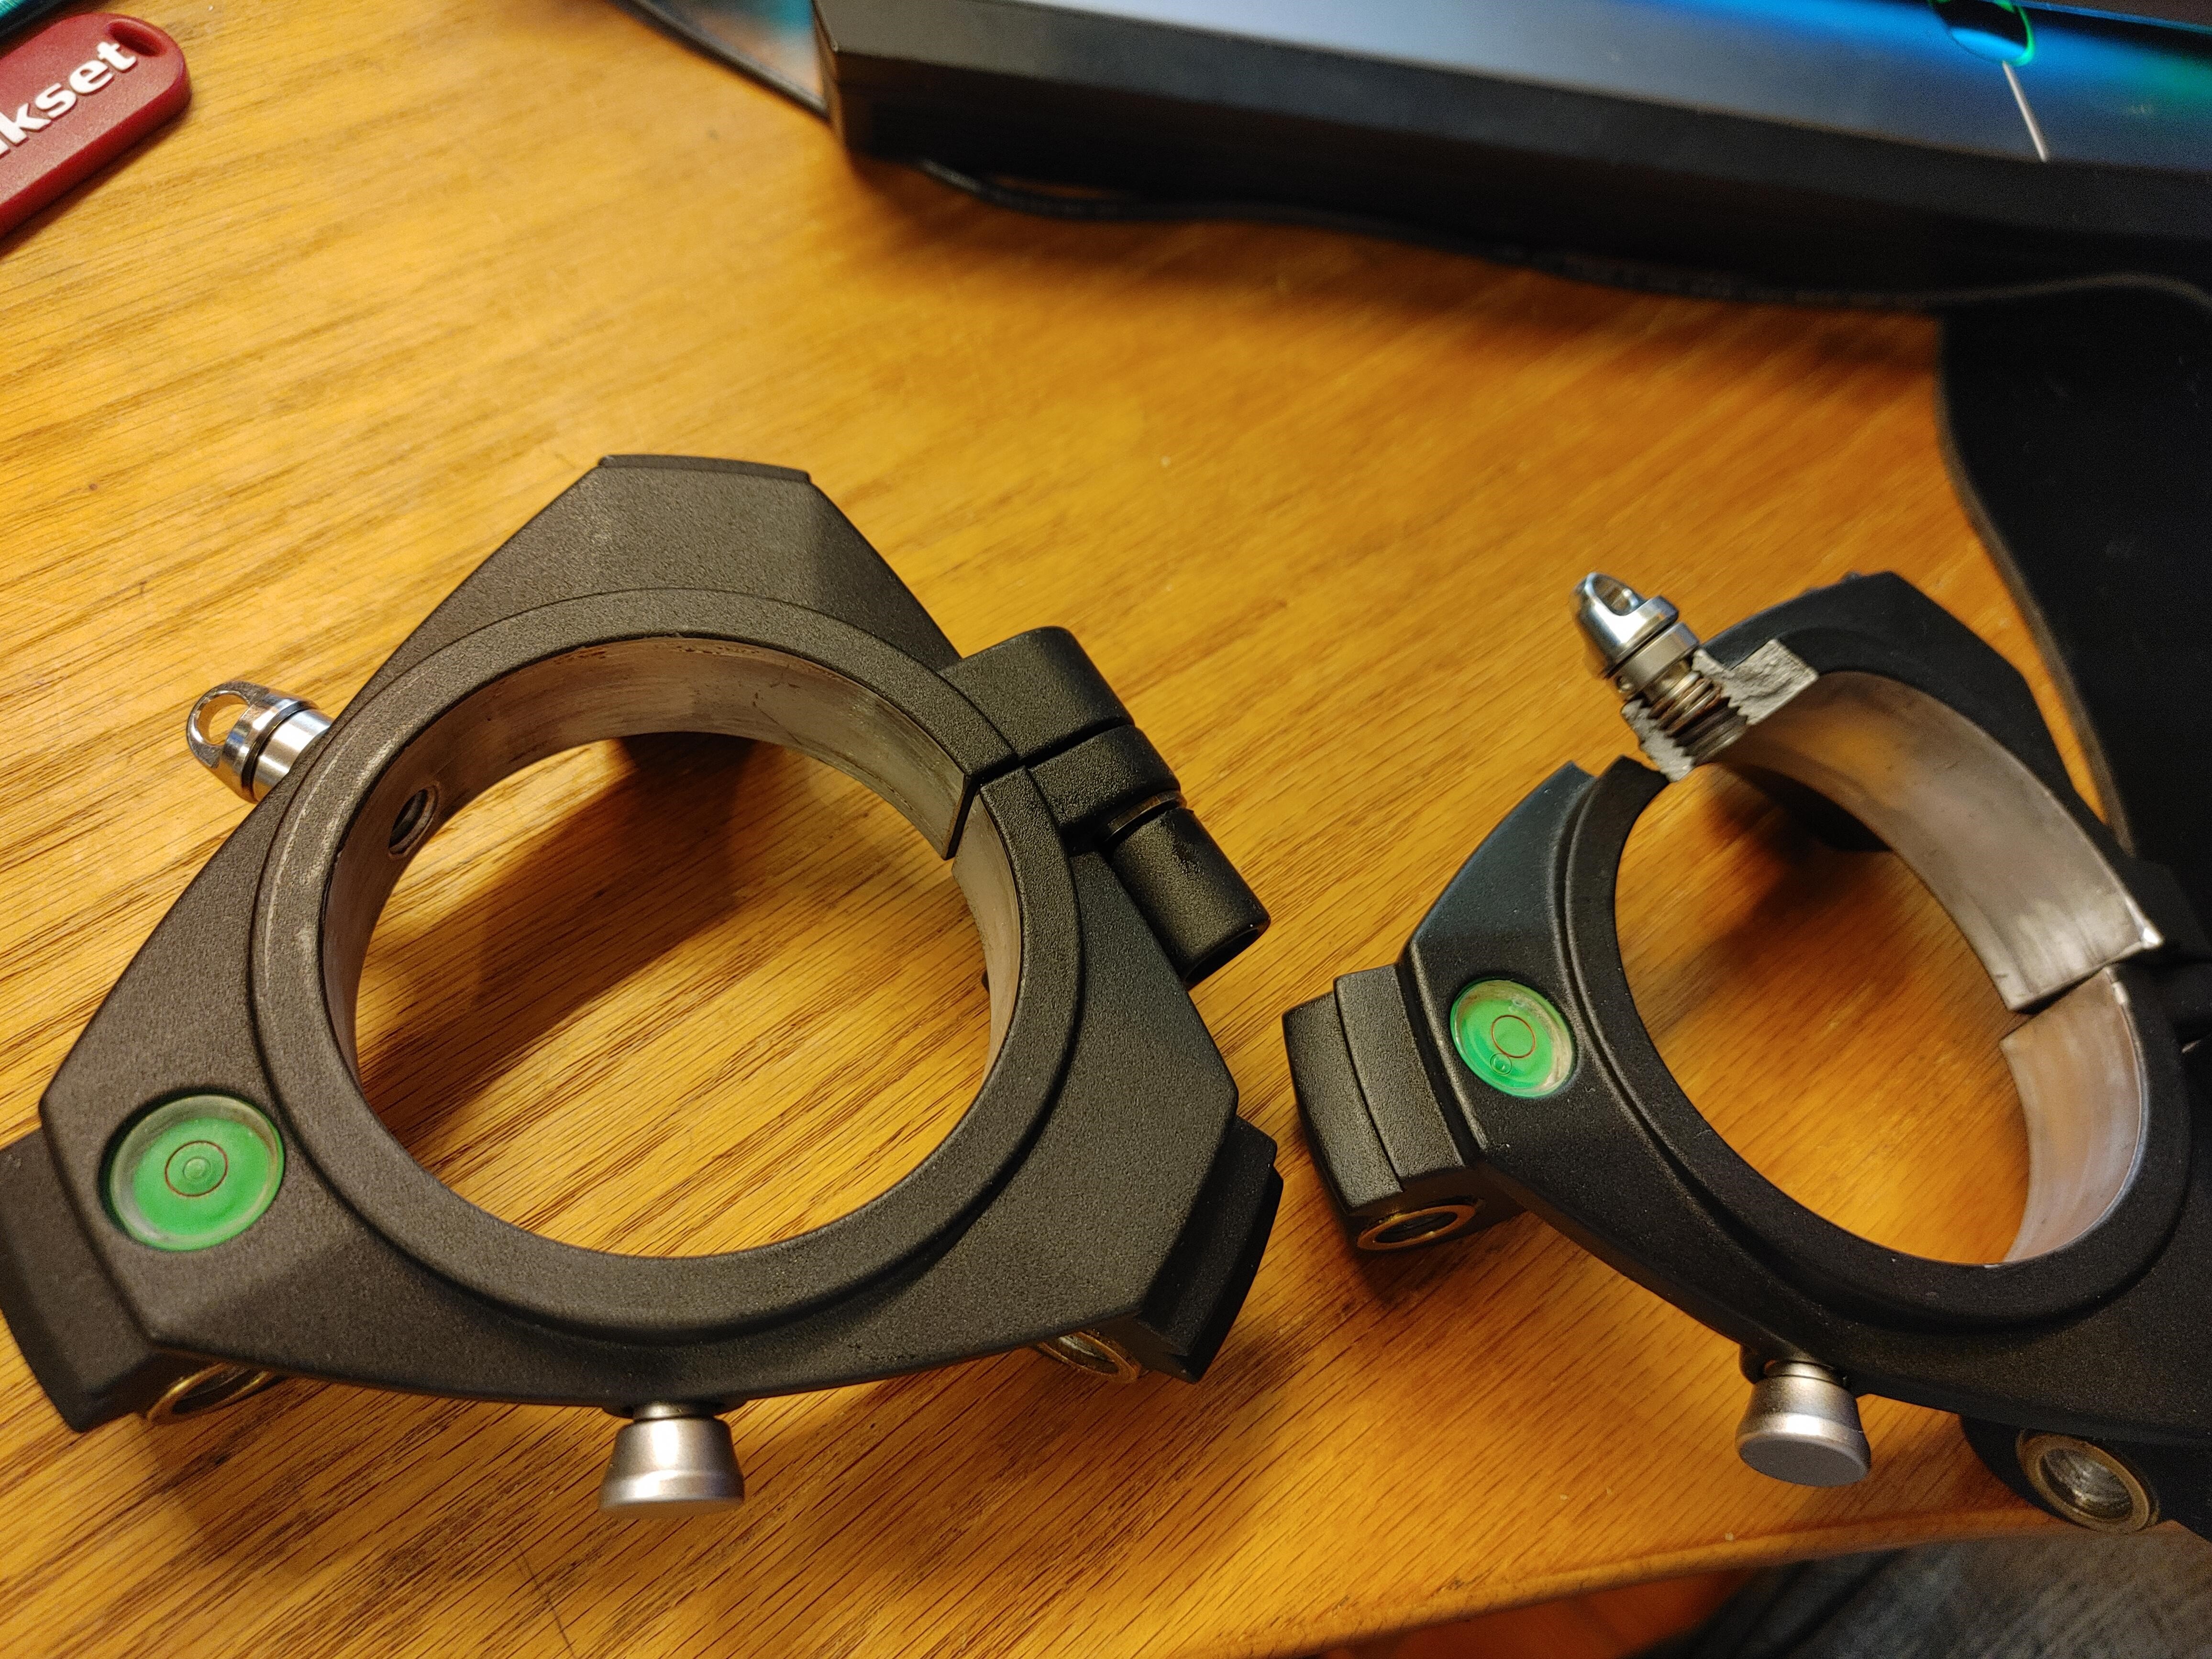
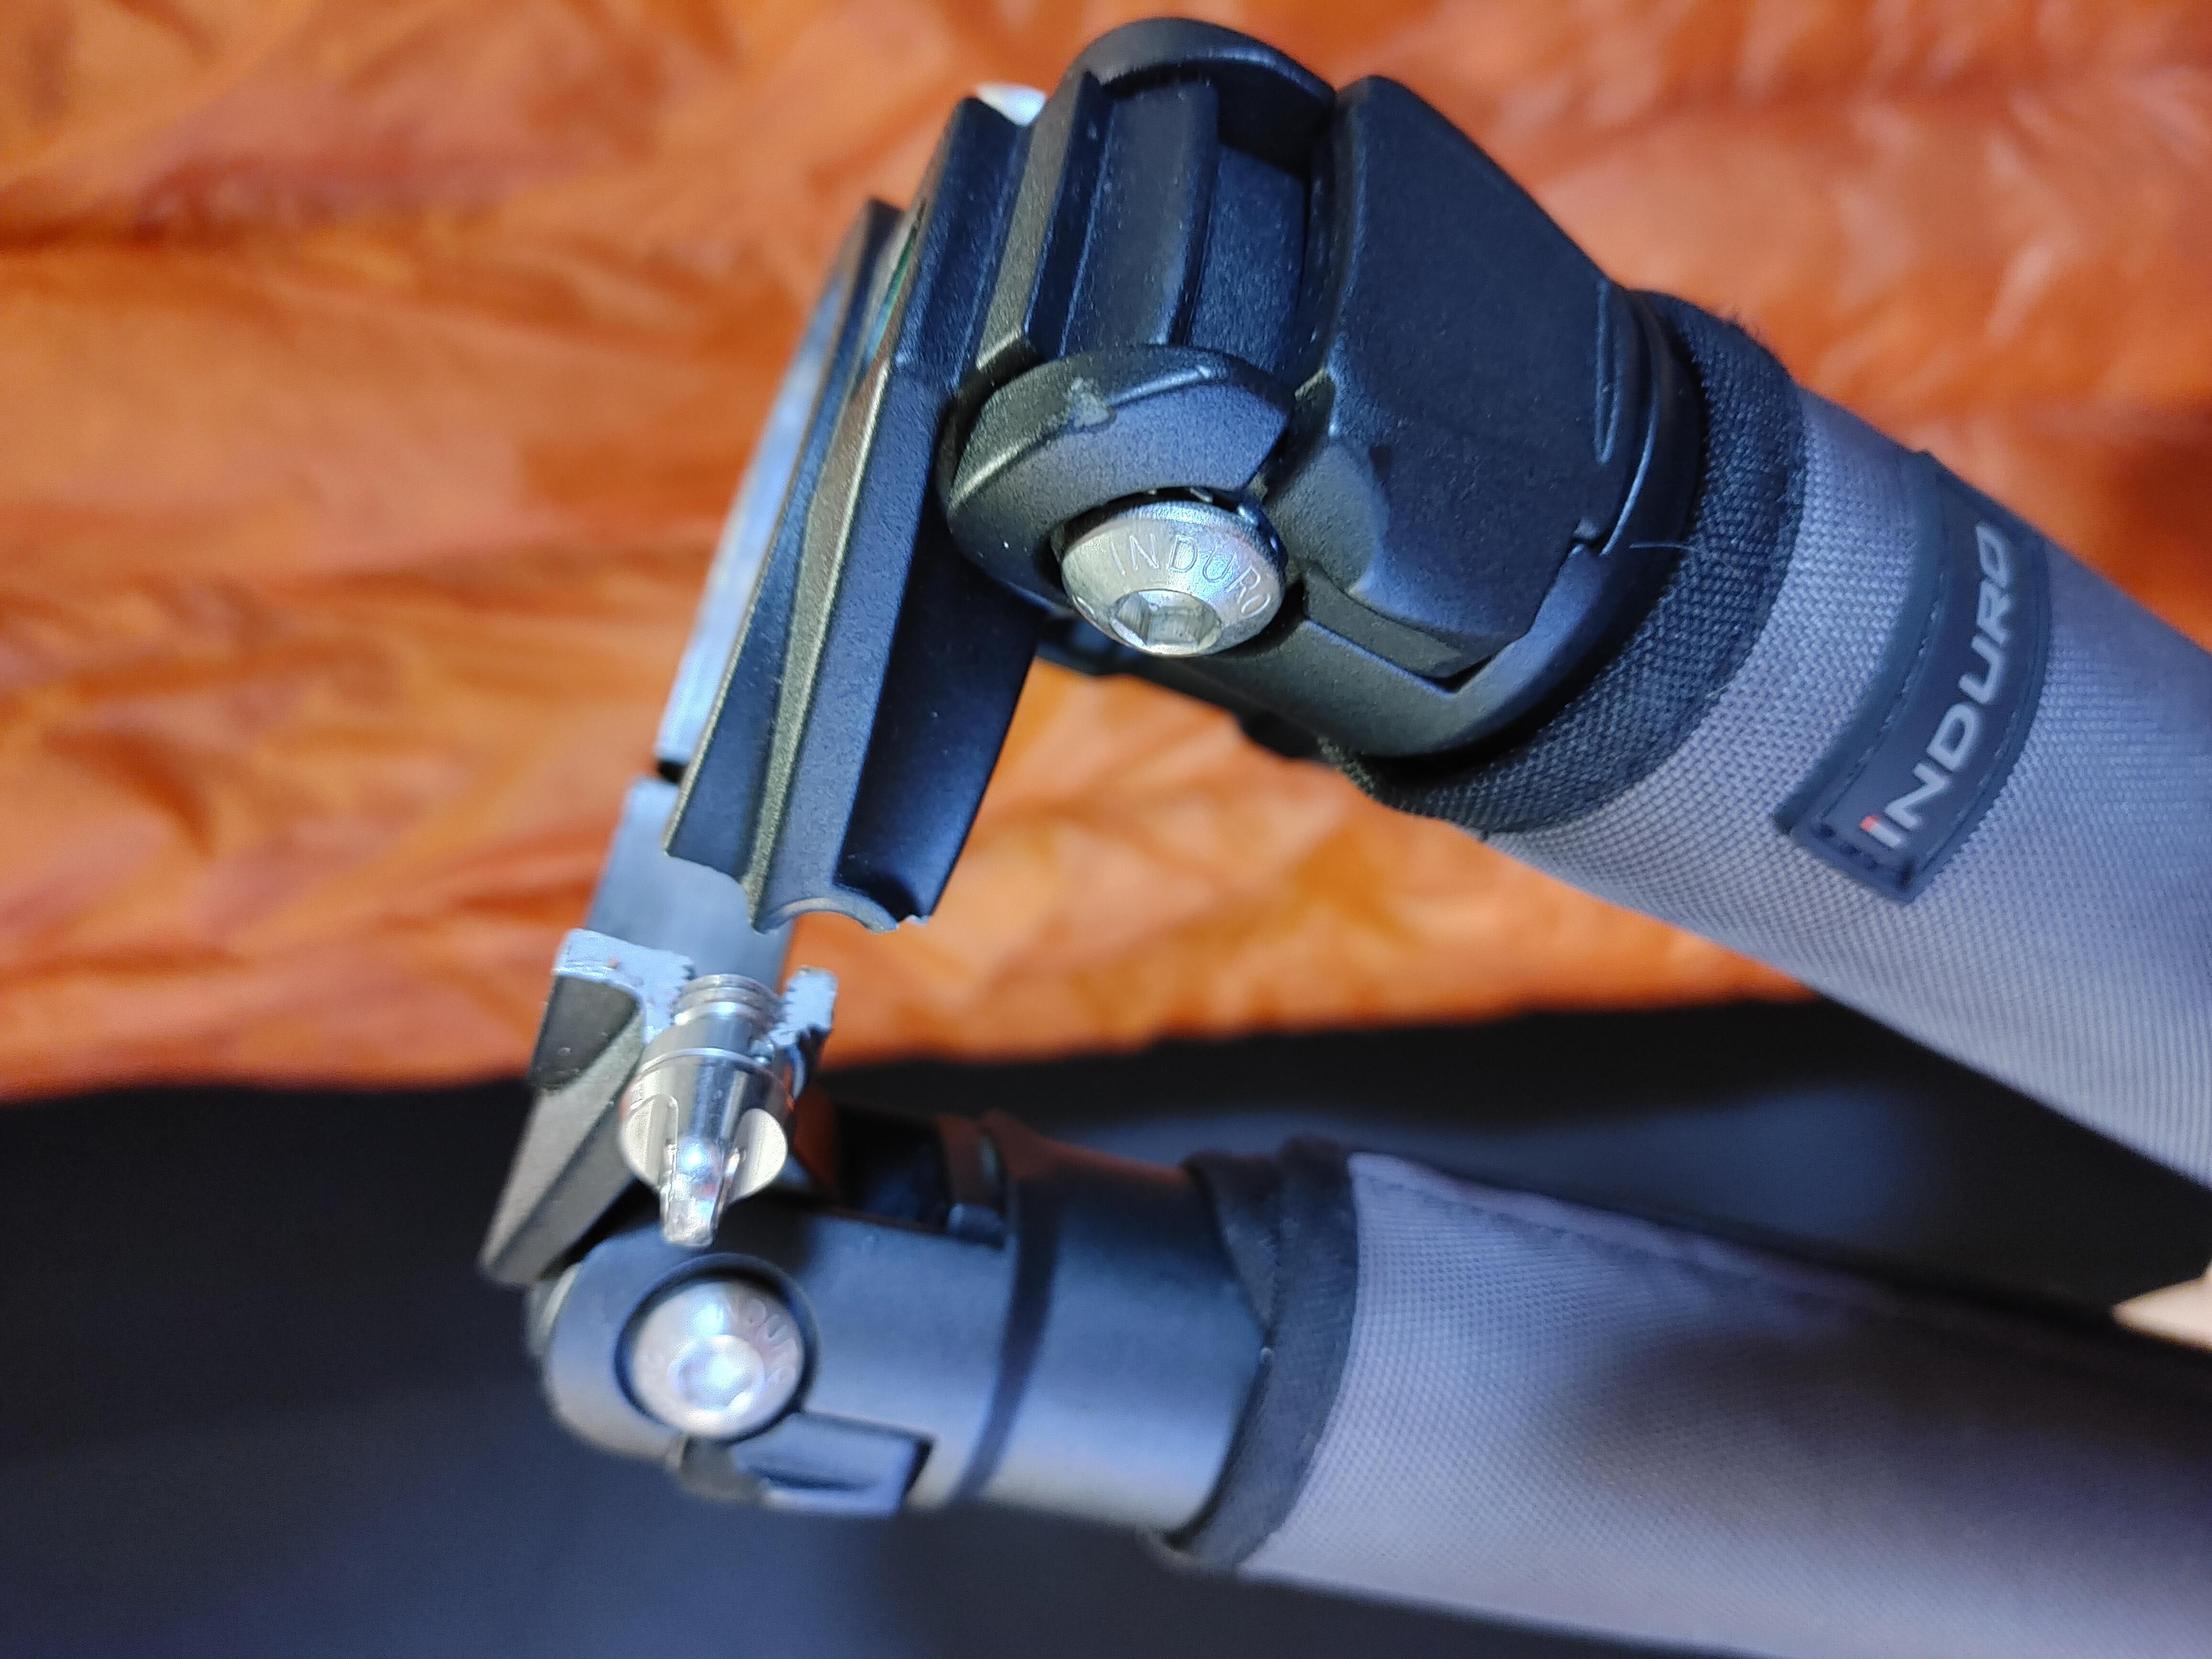
woo whooo.. Induro came through and sent me the replacement spider for my shoot tomorrow (shooting an OktoberFest). I'm going to fill in that screw hole with some 6,000 psi ePoxy I have and hope it doesn't happen again
-
yep, that was the issue SMH Now to figure out the best way to lighten the image from this point without crushing my highlights, lol. Anyone else use a Leeming LUT workflow and could give some advice on bringing the dark starting point to something showable? I don't want to introduce my own personal grade on it, just a common starting point that will show the dynamic range. THANKS for the input so far, I really appreciate it 😉
-
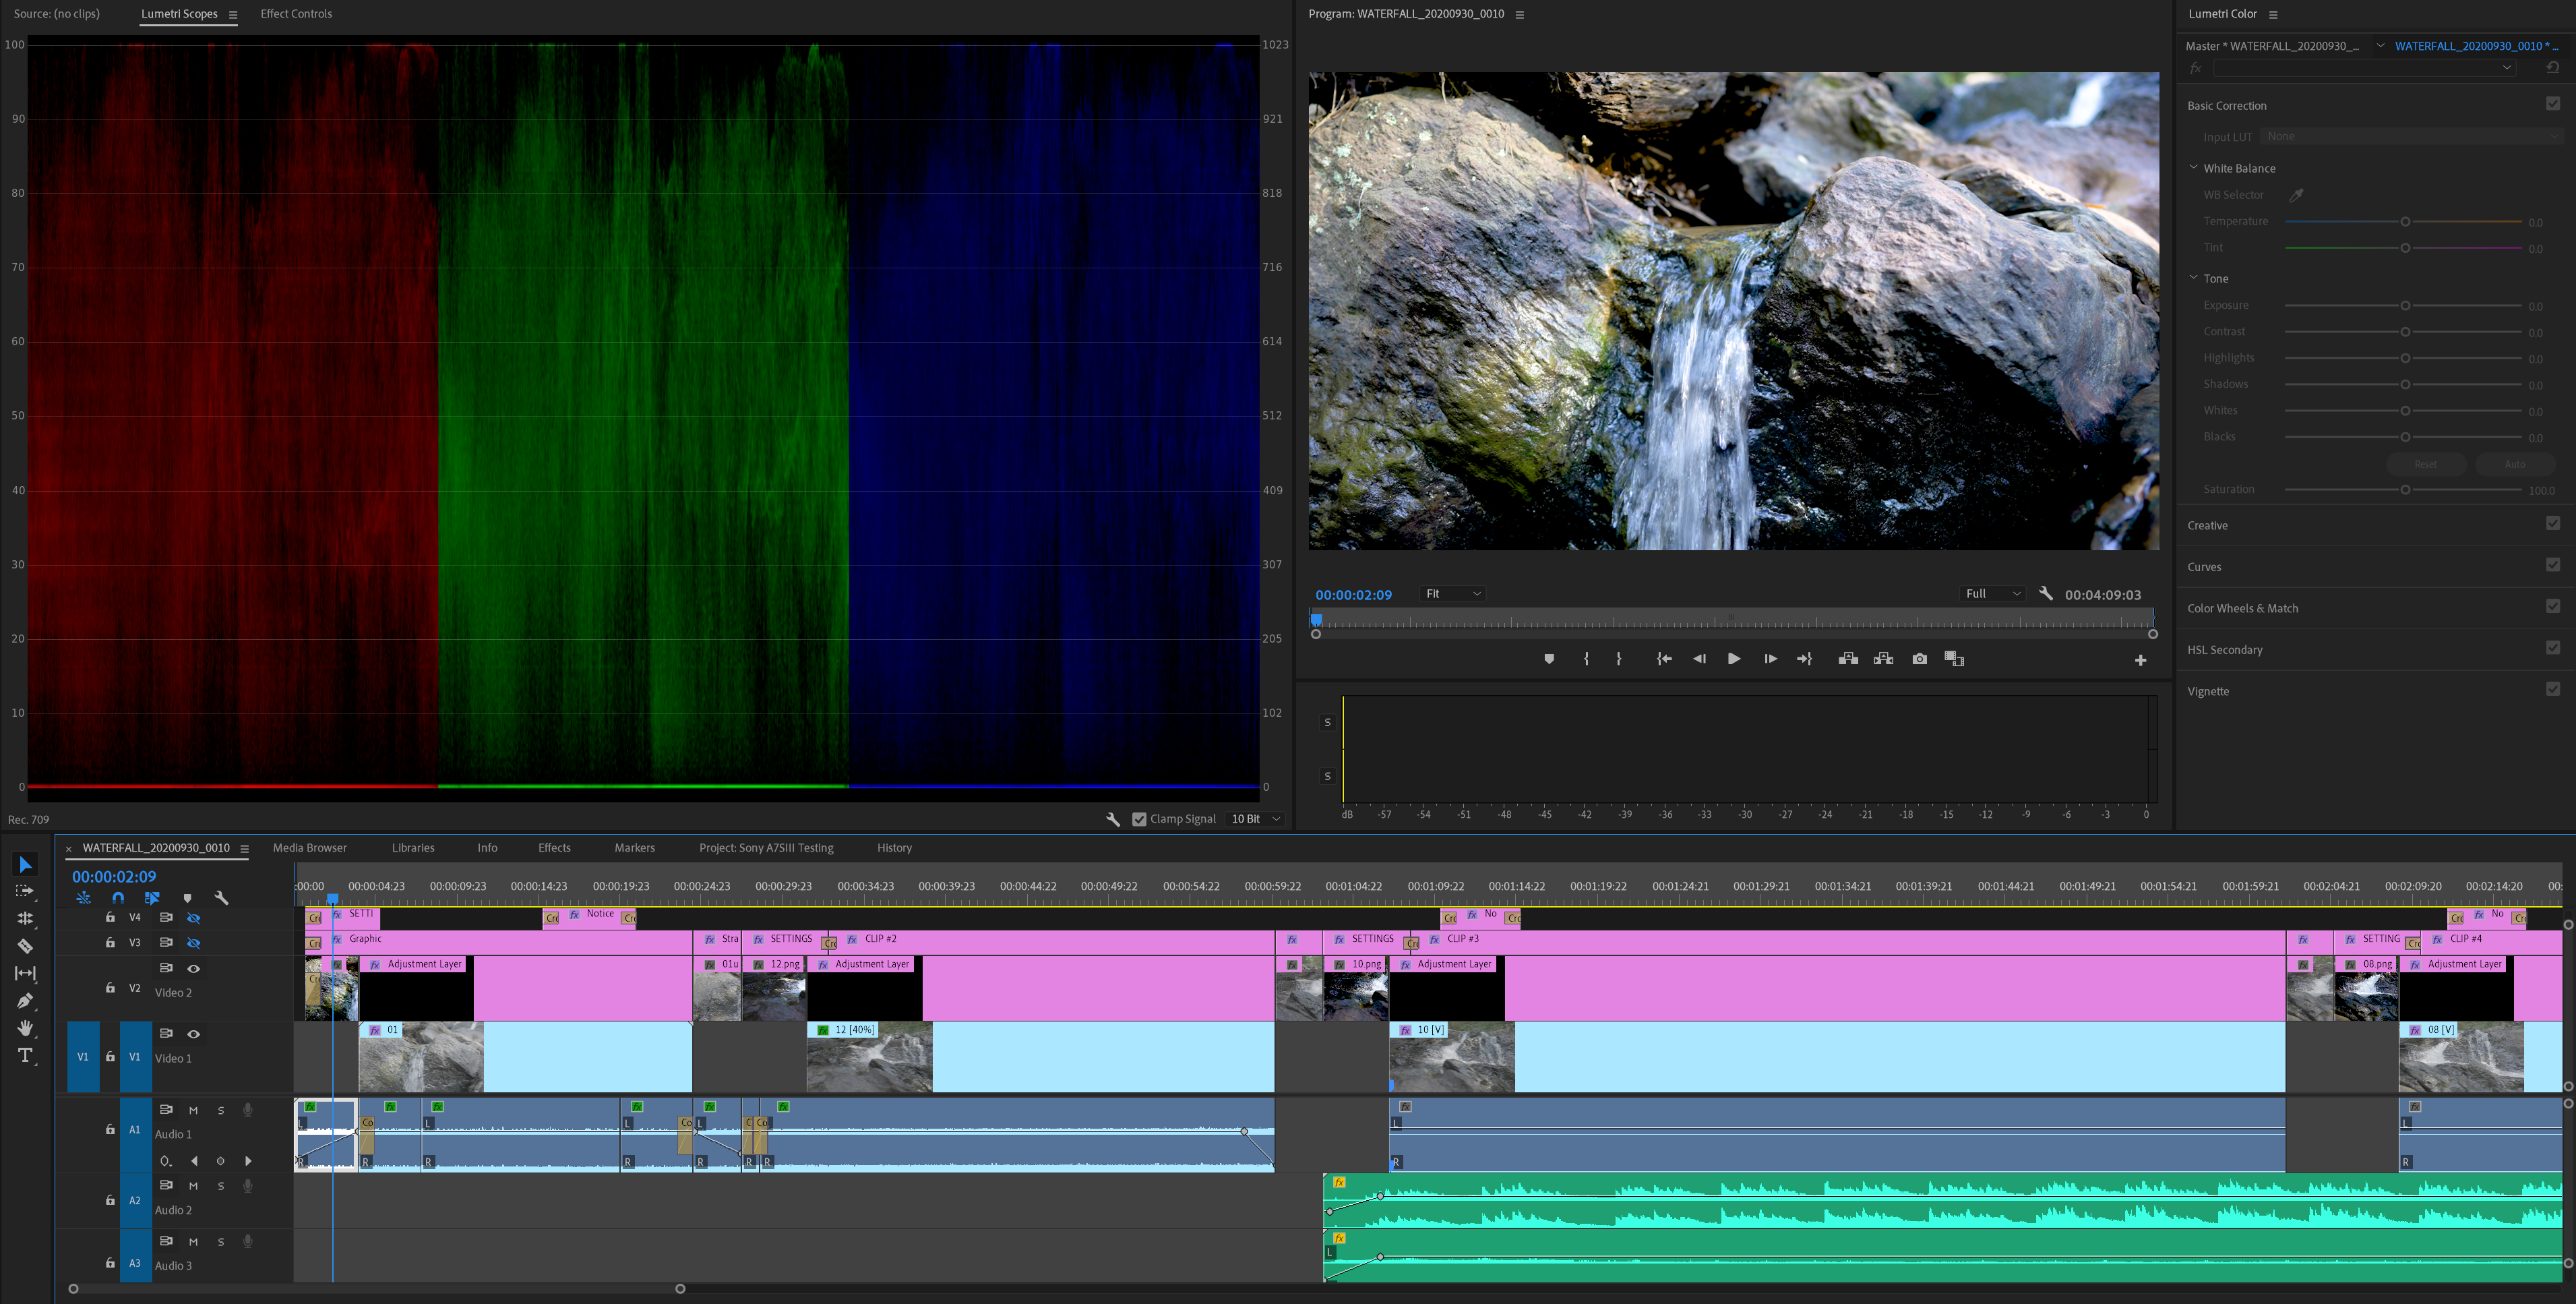
holy crap, I just did a reset on the correction and the image went darker of course, but there popped back all of the black details! Though it is back to being a darker image, but all of the shadow areas have full data again. Have you used the Leeming LUTs for the Alpha series on the A7SIII yet? What is your workflow from the corrective standpoint? I'm trying to find the best approach to publishing a version of the footage that is a neutral and starting point as possible, but also not too dark.
-
Let me check, when I did it, I noticed that all of the "basic correction" exposure values didn't change, so I just assumed it didn't do anything. Other than that or the export (it's not YT or Vimeo, because I checked and the exported files also have the zeroed black areas), there wasn't much else to do, I had my zebra's set to the 94+ that Paul recommended for the A7SIII. That being said, I sent him the colorchecker results and this, and he said he's getting married today 🙂 and will work on a new set just for the A7SIII when he is back from his honeymoon. Until then, any suggestions to try in the image capture if it's not the "AUTO" option? If I remember correctly, only 1 of the clips, showed any changes after hitting AUTO, but to your point that could be it. Much appreciated, I really want to dial in my production workflow, so I have the confidence to shoot in S-Log3 and know what I can and can't do with it in post after it is too late 😉
-
I was just looking at that and I see what you are saying with the rendered version. Something happened from Premiere to the exported Vimeo/YouTube... I didn't adjust the Preset for Vimeo 4K or YouTube 4K at all. What export do you do?
-
If you've ever used any of the Leeming corrective LUT's, they correct the manufacturer luma curves to be linear. In most (but not all) cases, this results in the image “appearing” to be darker, but it’s not affecting anything, nor clipping anything, nor adding additional noise that wasn’t in the shot to begin with. Now you just adjust the exposure, saturation, and contrast to taste and/or use a creative LUT. My point of this post though was to not do anything like that, that in interpretive, like a color grade would be, so instead picked something that was just a starting point. The important thing being that from that point grade it as per my customer, my own preferences, etc. If you had perfect blacks at this stage with a high dynamic scene, there is no way hell you have protected your highlights, which the whole point of the Leeming LUT's. Now, if I went to grade the footage from here and the blacks were actually crushed (and they are not), then I would balance the exposure down a bit and give up some highlight detail. I can share an actual graded version, but that was not intent here.
-
there was no grade yet. This was a test to see how straight out of the camera and a corrective LUT (not a creative LUT) got it to a starting point for S-Log3. I can post a graded version and you will see there is plenty of info in the blacks and shadows.
-
Thanks. Sadly my tripod's 75mm bowl broke, so I was literally holding it together AND trying to slide and keep from falling in the cold water (rocks were all smooth and slick, lol). My CFast cards will be in next Friday, so I plan to reshoot with the higher 120 rates, 240, and RAW then. PLUS, my tripod will be fixed and I can add the Jib/Pan/Tilt movement (and that is fully motorized). 🙂
-
that wasn't my rig, it was my temp rig, since I don't have the final cage, magic arm, etc yet. It's literally hodge podged together for a shoot this weekend. I am very aware of adapters and cables and stuff getting in the way. There is no need for 4 channel audio when you are handheld, so there is a slight transformation to go from tripod to run and gun. My run and gun setup is very compact, but again, I can't finish that buildout until the new cage comes for the A7SIII. I will see if I can share some photos from my other camera rig
-
I exported 2 different 4K versions of this, one best for Vimeo and one best for YouTube. I don't have a CFast card yet, so this is limited to v90, and had issues with gear and couldn't get RAW this time (well add both RAW and the higher options once I get my CFast card. On my monitor the vimeo image looks better, it seems to have more details in the white water section. Here is the YouTube video: https://youtu.be/PgS_RUuPun Here is the Vimeo video: https://vimeo.com/464041748 Besides not having my longer HDMI cable packed (missing out on RAW footage), I also broke the 75mm spider of my trusty Induro GIT304L, which ended my ability to use my motorized Jib/pan/tilt setup, and had to revert to the much lighter slider. Was able to somewhat hold up the tripod with the slider on it to do dolly out and slides, but it was very sketchy. This also kept from using my Ninja V and getting some RAW because I only had a 14" hdmi cable and couldn't hold it and the tripod and the slider together. I will get back out there and next get the higher quality 4K/120fps and HD/240fps as well as RAW. But in this video, you will see 4K XAVC S-I 24fps and 60fps, 4k XAVC HS 120fps, and 4K XAVC S 120fps from 100mbps to 600mbps; the first two with audio. For each clip I provide all of the details of the shot (camera, lens, all exposure settings, codec, gamma, gamut, frame rate, file size, size per second of video, etc.